How to Modify Invoice Template in QuickBooks Desktop
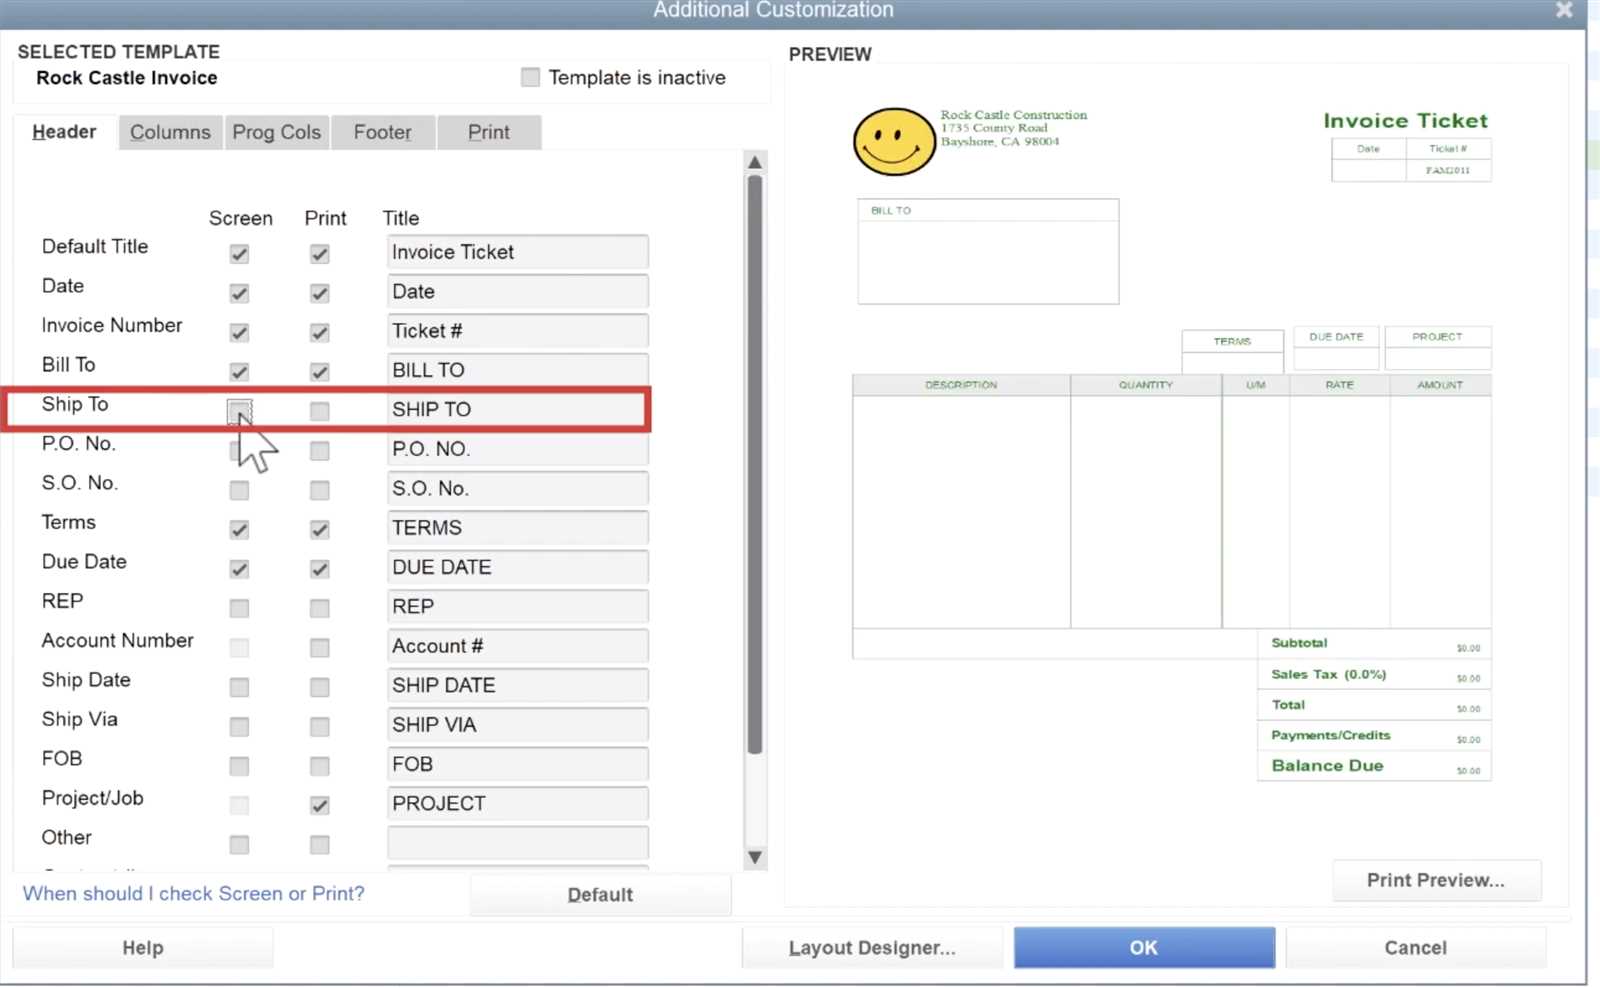
Creating professional and personalized business documents is essential for maintaining a polished image and clear communication with clients. Adjusting the appearance and content of your financial records can ensure they align with your brand identity while meeting specific business needs.
With a few simple steps, you can change the layout, add custom elements, and tailor various details to enhance your billing system. Whether it’s adjusting fonts, adding logos, or including extra fields, making these changes can improve both functionality and presentation.
In this guide, we will walk you through the process of personalizing your payment statements to fit your business requirements. This way, you can make sure every transaction looks as professional as possible, all while keeping your workflow efficient and organized.
How to Modify Invoice Template in QuickBooks Desktop
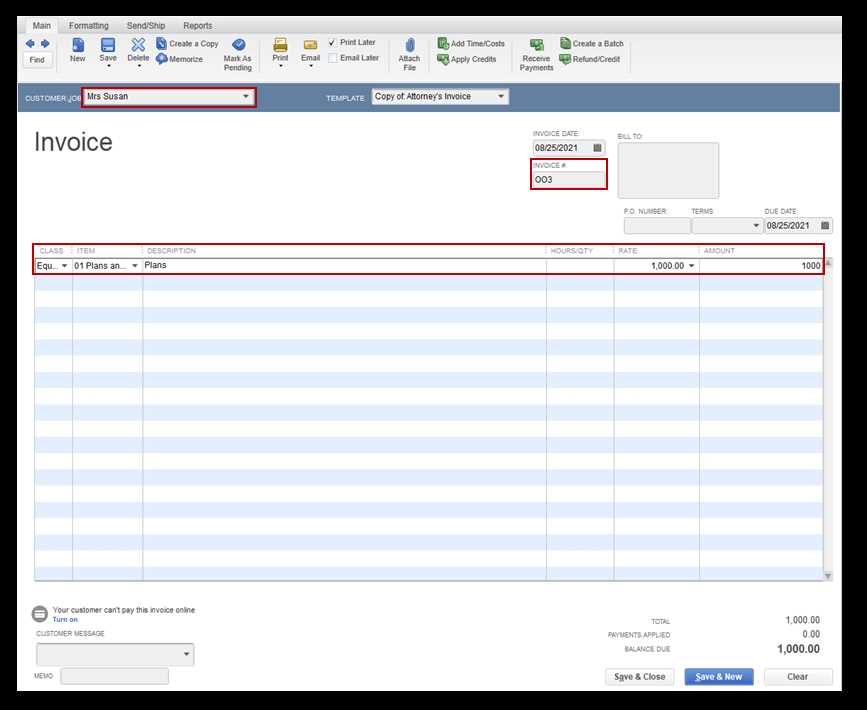
Customizing the design and layout of your business documents can greatly enhance both their functionality and appearance. By adjusting key elements such as logos, text formatting, and field arrangements, you can ensure that your records reflect your brand and meet specific requirements. The following steps guide you through the process of changing the structure and content of your business forms, ensuring they align with your needs.
Accessing the Document Customization Section
Before you can make any changes, you’ll need to access the area where all your forms are stored. Follow these steps to begin the process:
- Open your accounting software and navigate to the “Lists” menu.
- Select the “Templates” option from the dropdown list.
- Browse through the existing options to find the one you wish to alter.
Editing the Layout and Design
Once you’ve selected the document you want to change, you can start adjusting its layout. Here are some of the most common customization options:
- Change text size and font for headers, body content, and footers.
- Add or remove columns, fields, and data sections.
- Upload your company logo or adjust its position on the page.
- Modify color schemes to match your brand identity.
After completing the necessary adjustments, save the updated version and apply it to future records for consistency.
Understanding Document Customization in QuickBooks
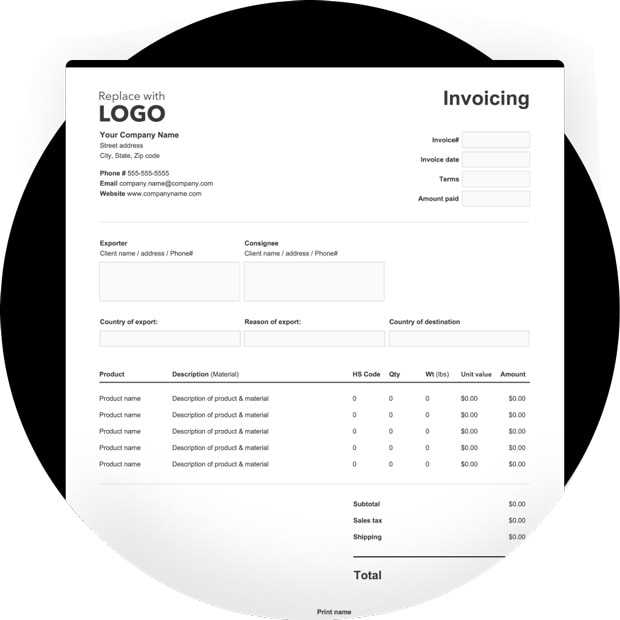
Personalizing your business forms allows you to create professional, branded documents that align with your company’s unique needs. Customization not only enhances the visual appeal of your records but also helps streamline your workflow, ensuring that all necessary information is included and presented clearly. By adjusting key elements, you can ensure that your financial documents are both functional and visually aligned with your business identity.
The Benefits of Customization
Making changes to your financial documents offers several advantages:
- Branding: Customize colors, fonts, and logos to match your company’s branding, giving your records a professional and consistent appearance.
- Clarity: Tailor the layout and content to focus on the most important information, ensuring your clients easily understand your terms.
- Efficiency: Remove unnecessary fields or add essential ones, improving the speed of data entry and ensuring no key details are missed.
What Can Be Customized?
There are various aspects of your business documents that can be adjusted to suit your needs:
- Text Fields: Modify content such as headings, descriptions, and terms to reflect your specific business language.
- Layout: Reorganize sections and adjust column widths to optimize the presentation of your information.
- Visual Elements: Insert logos, choose color schemes, and alter fonts to maintain a cohesive brand image across all documents.
Why You Should Customize Your Invoices
Customizing your business documents is essential for creating a professional and recognizable image. When tailored to your specific needs, these records can reflect your brand’s personality while providing the necessary details in a clear and organized manner. Adjusting key elements such as layout, design, and content not only enhances communication but also helps streamline your internal processes.
Enhance Professionalism
Custom-designed records create a strong first impression and reinforce your brand identity. By including your logo, adjusting colors to match your brand, and organizing the information efficiently, you present a polished image that builds trust with clients.
Improve Efficiency and Clarity
Personalized forms allow you to remove unnecessary information and highlight what matters most. This reduces confusion and ensures that your clients can easily understand the details of each transaction. Customizing your business documents also speeds up data entry and minimizes errors, allowing you to focus on more critical tasks.
- Brand Consistency: Keep your records aligned with your company’s style for a cohesive look across all client interactions.
- Tailored Information: Include specific fields relevant to your business operations, helping to ensure completeness and clarity.
Accessing Invoice Templates in QuickBooks Desktop
To begin customizing your financial documents, you first need to access the section where all your pre-designed forms are stored. Once you have access to these files, you can select, edit, or create new versions tailored to your specific business needs. The process is simple and allows you to make adjustments in a few easy steps.
Steps to Access Your Documents
Follow these instructions to locate and work with your current forms:
- Open your accounting software and navigate to the main menu.
- Click on the “Lists” option to open the drop-down menu.
- Select “Templates” from the list of available options to access your pre-existing records.
Choosing the Right Document to Edit
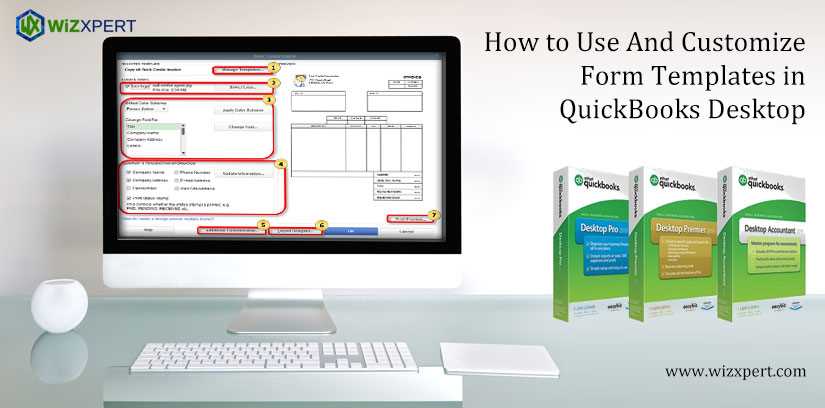
Once you are in the Templates section, you can browse through the available options. You’ll see a list of pre-configured formats that are ready for use. Select the one that best matches the style you want to customize, and proceed with editing as necessary.
- Review the available options to ensure you select the correct one.
- If no suitable choice is available, you can create a new version from scratch or duplicate an existing design.
Exploring Default Invoice Templates
Within the software, there are several pre-configured designs that help generate professional-looking documents for financial transactions. These layouts are structured to meet common business needs, ensuring that all necessary information is clearly presented. Understanding the features of these standard formats allows for better customization later on, should the need arise.
Each of these built-in designs includes fields for essential details, such as client names, dates, amounts, and services rendered. While some formats are minimal and straightforward, others offer more comprehensive layouts with additional sections. Exploring the different options can help users choose the best one for their particular requirements.
Step-by-Step Guide to Modify an Invoice
Making changes to a document that outlines transaction details can be a straightforward process if approached systematically. Whether you need to adjust text, reorganize sections, or update certain fields, following a clear sequence helps ensure all necessary adjustments are made effectively.
1. Open the Document – Begin by selecting the transaction you wish to update from your list of records. Access it through the main interface and open the specific entry you want to change.
2. Adjust Fields – Once opened, you can modify the details such as client information, service descriptions, and amounts. These sections are editable directly within the form.
3. Rearrange Layout – If needed, you can reorganize the structure by shifting or resizing sections to better suit your needs. This allows for a customized look that fits the transaction type.
4. Save Changes – After completing the changes, ensure you save the document to retain the updated information. Always verify that all adjustments appear as expected before finalizing.
Editing the Layout of Your Invoice
Changing the design of a document can greatly enhance its visual appeal and make it more aligned with your business needs. Adjusting the arrangement of sections allows for a personalized and professional presentation, improving the clarity and flow of the information.
To begin customizing the structure, consider the following key aspects:
- Section Placement: Rearrange the position of important elements such as company name, client details, and amounts. This allows for a more intuitive and organized layout.
- Text Alignment: Adjust the alignment of text in various sections to create a balanced look. For example, aligning titles to the left and totals to the right can enhance readability.
- Font and Style: Modify fonts, sizes, and styles to ensure the document is both easy to read and reflective of your brand. Experiment with bold or italicized text for emphasis.
- Spacing and Margins: Alter the spacing between elements to avoid clutter and create a clean, professional look. Proper margins also help the document fit well on a printed page.
These adjustments can help tailor the document to better suit your preferences, ensuring it effectively communicates your information while maintaining a polished appearance.
Changing the Invoice Design and Style
Adjusting the appearance and layout of a transaction document can significantly improve its presentation. A well-designed document not only reflects professionalism but also ensures that essential details are easily accessible and visually appealing. Customizing the overall style can include altering the fonts, colors, and structure to better align with your business identity.
Choosing the Right Layout
Start by selecting a layout that suits the nature of your business. Some designs focus on simplicity, while others provide more detailed sections for additional information. It’s essential to consider how you want your clients to interact with the document and prioritize the most relevant details.
Adjusting Visual Elements
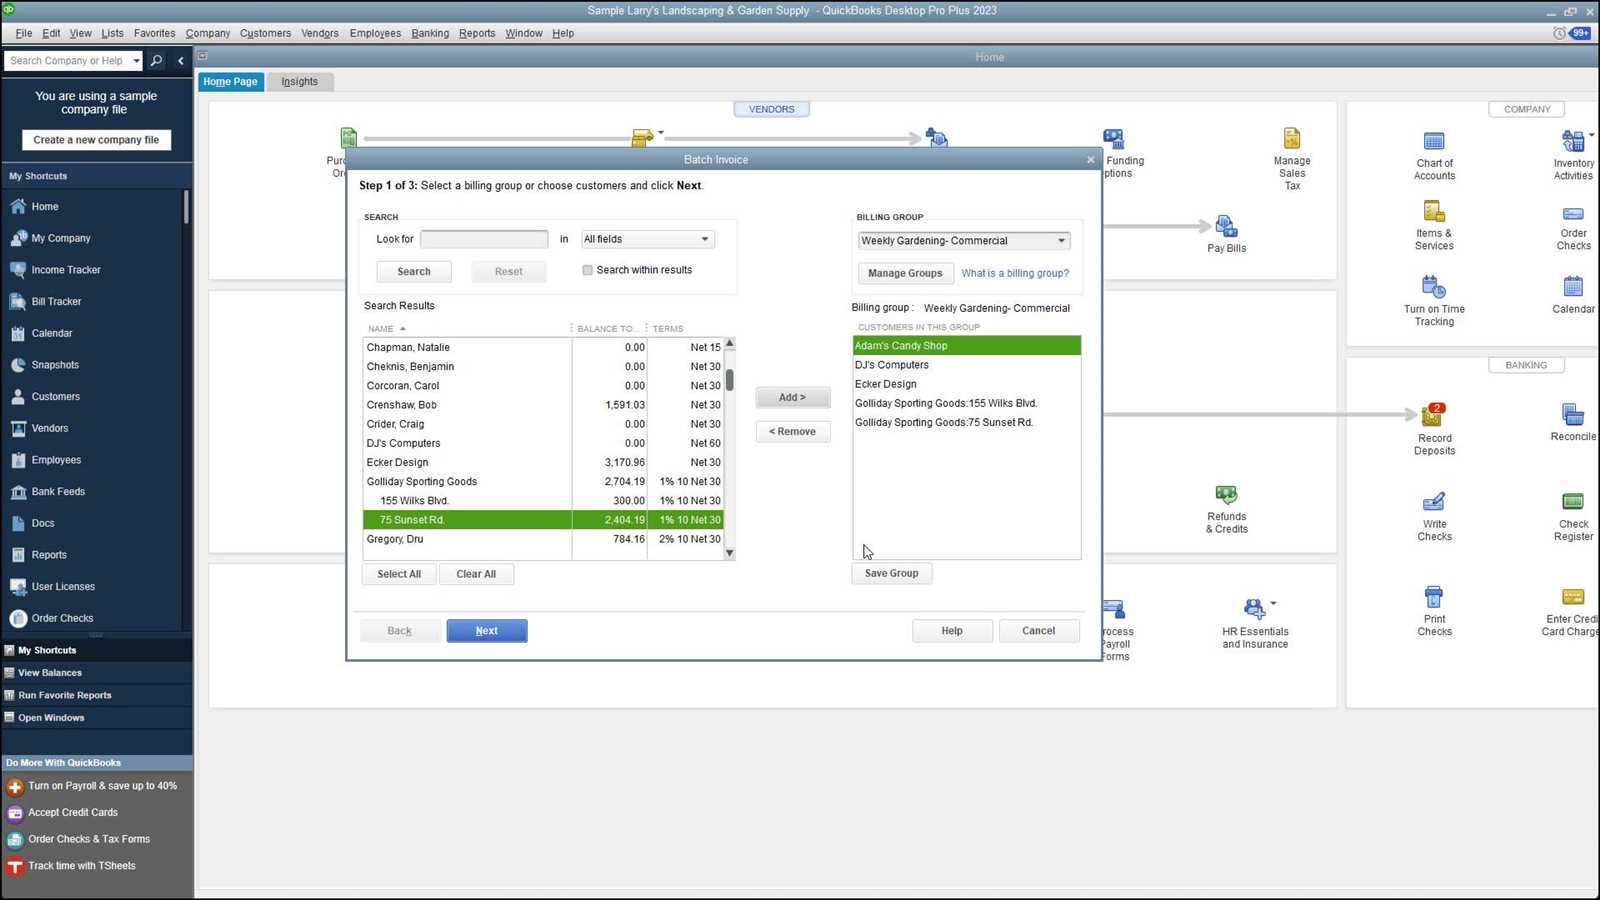
Once the layout is chosen, you can begin customizing various visual elements. Modifying text styles, adding logos, and choosing a color scheme that matches your branding are key steps in the process. These adjustments help convey a consistent and professional image.
| Visual Element | Customization Options |
|---|---|
| Font Style | Change to a more formal or casual typeface depending on your business tone. |
| Colors | Choose brand colors for headings, borders, and text to maintain consistency. |
| Logo Placement | Place your company logo at the top or in a corner for easy identification. |
These design adjustments allow you to create a document that not only serves its purpose but also reinforces your brand identity in every transaction.
Adding Custom Fields to Your Invoice
Including additional information specific to your business or transaction can enhance the functionality of a document. Custom fields allow for the inclusion of unique details such as order numbers, project codes, or special terms that are relevant to your clients or internal processes. These fields can be added to any section to further personalize the document.
To incorporate custom fields, begin by selecting the section where you want to add extra details. Fields can be placed in areas like the header, footer, or body of the document, depending on where the information is most useful. You can name each field according to the type of data it will contain, such as “Purchase Order,” “Project ID,” or “Payment Terms.” Once added, these fields will appear on each new document you create, ensuring consistency.
By using custom fields, you can streamline communication and ensure that every transaction contains all the relevant information for both you and your clients. This level of personalization helps improve accuracy and reduces the likelihood of miscommunication.
Incorporating Your Logo into the Invoice
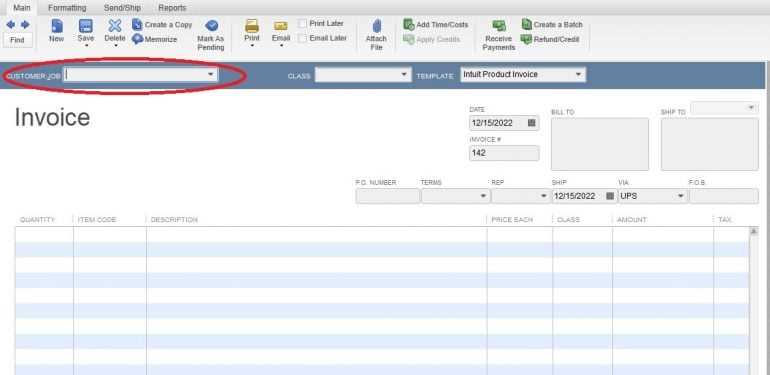
Adding your company’s logo to the document can reinforce brand identity and give your transactions a professional appearance. This visual element not only makes your documents look more polished but also helps clients easily recognize the source of the document. Including your logo at strategic locations ensures that it remains visible without overwhelming the content.
To add a logo, choose the ideal spot–typically at the top of the page or in the header section where it is most noticeable. Ensure that the logo is sized appropriately to fit the layout and does not distort the surrounding text. The image should maintain clarity even when scaled to fit the designated space.
| Placement Option | Benefit |
|---|---|
| Top of the Document | Highly visible and reinforces brand identity at the beginning of the document. |
| Header Area | Maintains focus on important details while still showcasing your logo in the background. |
| Footer Area | Subtle, yet effective branding without distracting from the primary content of the document. |
Incorporating your logo helps ensure your documents look consistent and reflect the professionalism of your business in every transaction.
Adjusting Text Fonts and Colors
Customizing the appearance of text within your document can greatly enhance readability and align it with your company’s branding. By changing fonts and adjusting colors, you can create a more cohesive and professional look that stands out while still maintaining clarity. These adjustments help guide the reader’s attention to key sections and make the overall design more appealing.
Choosing the Right Font Style
The font style you choose plays a crucial role in how the document is perceived. A clean, easy-to-read font enhances comprehension, while a more decorative style can be used to highlight specific sections or create emphasis. It’s important to maintain consistency throughout the document to ensure professionalism.
Color Customization
Colors can also be used strategically to draw attention to important details or to match your business’s brand identity. Choosing complementary colors for headings, amounts, or borders can improve the visual hierarchy and make the document more engaging.
| Font Element | Customization Options |
|---|---|
| Headings | Bold, larger font sizes to create clear section titles. |
| Body Text | Simple and clean fonts such as Arial or Times New Roman for easy readability. |
| Highlighting | Use bold or italics to emphasize key information, like amounts or dates. |
By carefully selecting both font styles and colors, you can improve the effectiveness and aesthetics of your documents while ensuring they reflect your brand’s identity and maintain a professional tone.
Setting Up Payment Terms and Due Dates
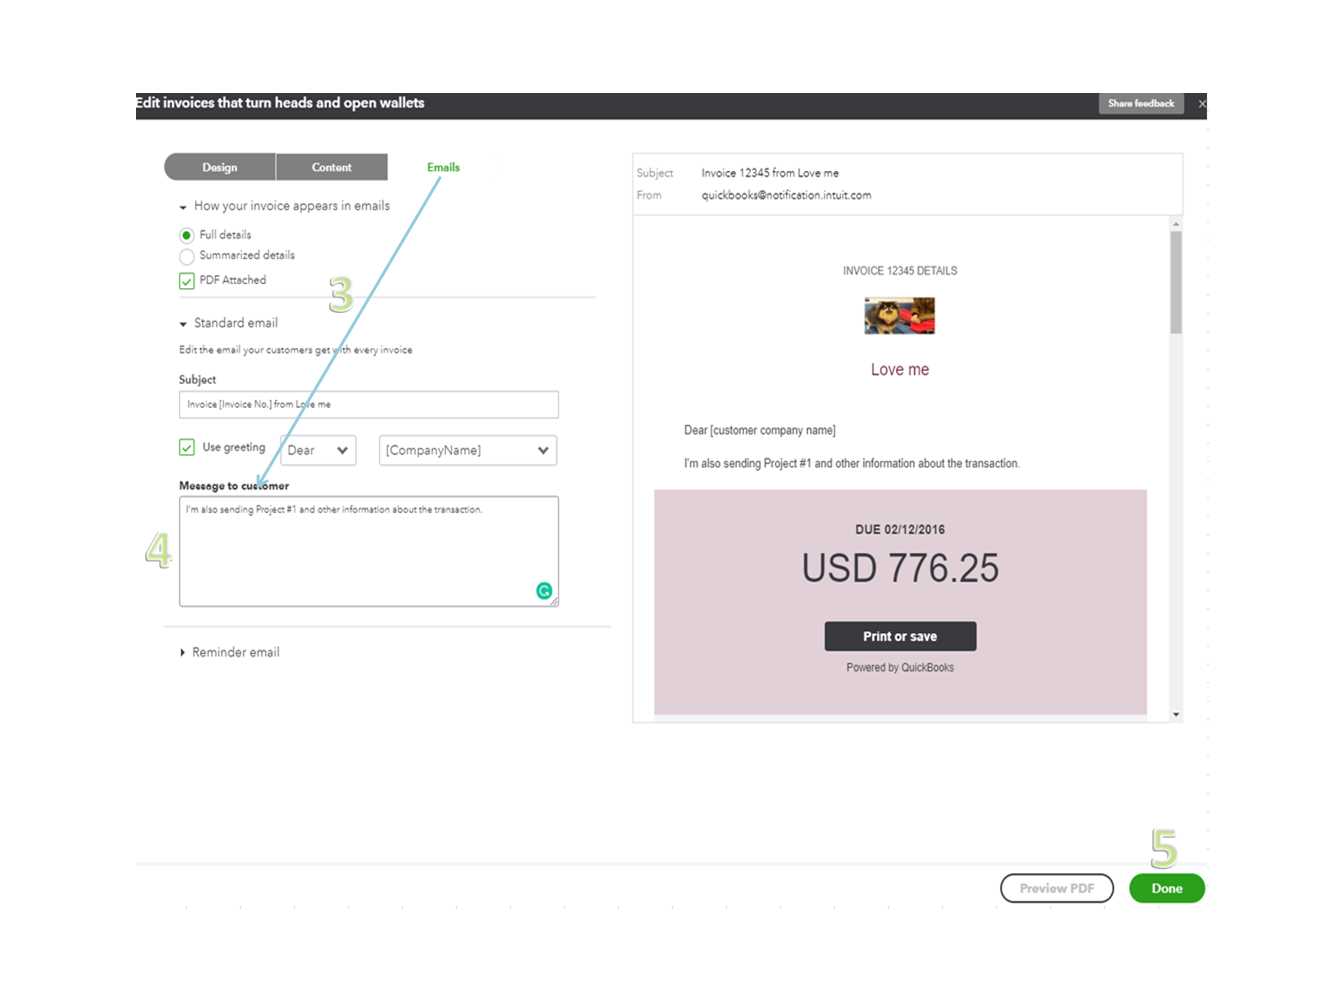
Establishing clear payment expectations is crucial for maintaining smooth business operations. By specifying the payment terms and setting appropriate due dates, you can help ensure that clients are aware of when payments are due and any applicable conditions. These details are essential for managing cash flow and reducing the chances of delayed payments.
Defining Payment Terms
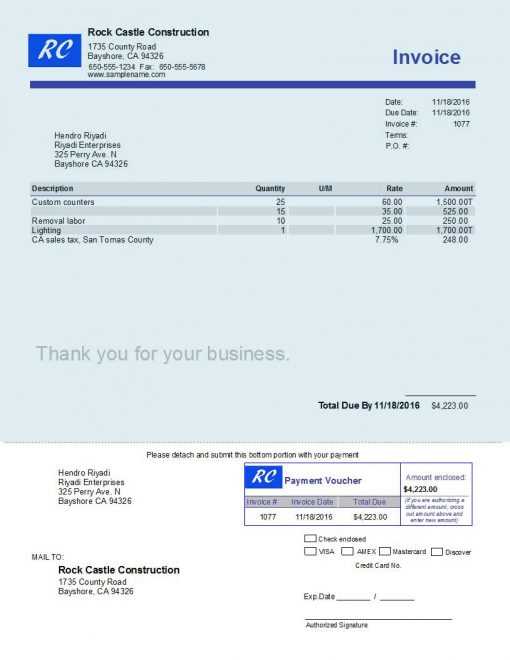
Payment terms outline the agreement between the business and the client regarding when and how payments should be made. Terms such as “Net 30,” “Due on Receipt,” or “2/10 Net 30” are commonly used to specify the time frame for payment. Customizing these terms allows you to adapt to different client needs and industry standards.
Setting Due Dates
Setting a clear due date helps prevent confusion and ensures timely payments. It is important to consider the nature of the transaction and the client relationship when choosing due dates. You can specify exact dates or use terms that are relative to the transaction date, such as “30 days from the issue date.”
Example: If you select “Net 30,” the payment will be expected 30 days from the date the document is issued. This helps clients know exactly when to make their payment and allows for better planning on your part.
Both payment terms and due dates should be consistently applied to avoid misunderstandings and maintain professional business practices.
How to Include Additional Information
Including extra details in a transaction document can be beneficial for providing clarity and ensuring that all relevant information is communicated effectively. Whether you need to add special instructions, promotional offers, or tax-related information, including these details can help avoid misunderstandings and keep your clients informed.
1. Custom Notes Section
You can add a custom notes section at the bottom or in a designated space within the document. This allows you to include anything from personalized messages to specific terms or conditions that are unique to the transaction. For example, you might want to add a thank-you note or remind the client of a special discount for early payment.
2. Additional Terms
In some cases, it’s important to outline extra terms, such as return policies, late fees, or any warranties related to the goods or services provided. This ensures that both parties are on the same page regarding expectations and responsibilities.
3. Payment Instructions
If you have specific instructions regarding how payments should be made, such as bank transfer details, online payment links, or check instructions, these can be included to avoid any confusion on the client’s part. Providing clear payment instructions ensures a smooth transaction process.
4. Custom Fields
Adding custom fields allows you to enter specialized data that may be unique to your business, such as job numbers, order references, or client project details. This can be particularly useful for businesses that deal with large or ongoing projects.
By strategically incorporating extra information, you can improve the communication with your clients and help ensure that all necessary details are clear and easily accessible.
Previewing Your Customized Invoice Template
Before finalizing any changes to your transaction documents, it’s important to review how the modifications will appear in practice. Previewing allows you to assess the layout, formatting, and overall design to ensure that everything is correctly aligned and visually appealing. This step helps you catch any potential errors or inconsistencies before sending documents to clients.
Steps to Preview the Document
- Open the document creation or editing interface.
- Select the option to view a preview of the document.
- Review the document’s layout and ensure all elements are in place as expected.
What to Look For
When previewing, focus on several key elements to ensure that your document meets professional standards:
- Alignment: Ensure that text, numbers, and graphics are properly aligned within the document.
- Spacing: Check the spacing between sections to ensure that information is clearly separated and easy to read.
- Font Consistency: Make sure that the font styles and sizes are consistent throughout the document.
- Color Usage: Confirm that colors used for text, headings, and other elements match your branding and improve readability.
Previewing your document is essential for confirming that all customizations enhance the document’s appearance and functionality, ultimately creating a polished final product.
Saving and Applying the New Template
Once the desired changes are complete, it is important to save your customized layout so that it can be easily accessed and used for future transactions. By applying the new design to new documents, you ensure consistency and save time. Properly saving and applying the updated version guarantees that your edits will be used every time a new document is created.
Saving Your Custom Design
After reviewing and ensuring everything is to your satisfaction, save the changes by selecting the appropriate option. This will preserve all your adjustments, including text styles, colors, and any added fields, ensuring that they are ready for future use. Remember to give your custom layout a distinct name, so it is easy to identify among other templates.
Applying the Updated Version
- Select the saved layout when creating a new document or transaction.
- Ensure that the updated design is applied automatically or manually, depending on your preferences.
- Verify that the correct version appears each time you generate a new document to maintain consistency.
By saving and applying the new design, you streamline your workflow and maintain a professional look across all documents, making it easier to keep track of your transactions and improve client communication.
Testing the Modified Invoice Template
Before using your newly customized document layout for real transactions, it’s crucial to test it thoroughly. Testing ensures that all the changes you made are working as expected, and helps identify any potential issues with formatting, alignment, or functionality. This step provides confidence that the document will appear professionally when shared with clients.
Start by creating a test document using the newly adjusted design. This will give you the opportunity to see how the changes appear in a live environment, simulating what the final product will look like once it’s sent. It’s essential to check every aspect, including text formatting, date placements, totals, and any custom fields you’ve added.
Look out for any potential errors such as:
- Misaligned text: Ensure that all text boxes and fields align properly with one another.
- Incorrect fonts or colors: Check that your selected fonts and color schemes are consistent and visually clear.
- Missing elements: Verify that all necessary fields and information are included in the layout.
- Formatting issues: Ensure the document maintains its structure, with proper spacing and sections clearly defined.
After performing the test, make adjustments if necessary. Re-run the test to ensure that all issues have been resolved before using the layout for actual transactions. Testing this process helps avoid mistakes and ensures a smooth experience for both you and your clients.
Common Issues with Invoice Templates
When adjusting the layout of transaction documents, certain issues may arise that can affect the final output. Understanding and troubleshooting these common problems can help you ensure that your final documents appear as intended, with all necessary information properly formatted and presented. Below are some typical challenges users face when working with document layouts.
- Misaligned Fields: One of the most common issues is the misalignment of text boxes, numbers, or fields. This often occurs when sections are resized or customized without adjusting their placement.
- Inconsistent Formatting: Inconsistent font styles, sizes, and colors can make the document look unprofessional. This usually happens when different settings are applied across various sections.
- Missing Information: Certain fields, such as tax rates, payment terms, or client details, may not appear as expected if the layout was altered without updating the field settings.
- Overlapping Text: If the text fields are not appropriately spaced, text can overlap with other elements, making the document difficult to read and causing confusion.
- Incorrect Calculations: If the document includes totals or subtotals, errors in formulas or misconfigured fields may lead to incorrect calculations, which can cause problems for both the business and the client.
- Graphics and Logos Not Displaying: Sometimes, logos or other images might not appear in the document, or they could be misaligned or stretched, affecting the overall visual quality.
- Page Breaks: In some cases, the document may not paginate correctly, especially when there are long lists or additional information added. This can lead to awkward breaks or content that spills over onto multiple pages.
Identifying and addressing these common issues during the setup process ensures that the final result is both functional and visually appealing. Taking the time to check for these potential problems will help you create error-free documents that present your business in a professional light.
Tips for Streamlining Your Billing Process
Optimizing your payment procedures can save time, reduce errors, and ensure quicker processing. By making a few simple adjustments, you can create a smoother workflow that helps improve efficiency and client satisfaction. Below are some practical tips to help streamline the way you handle billing and payments.
Organize Your Documents Efficiently
- Use Consistent Layouts: Having a standard format for all your transaction documents reduces confusion and allows for quicker creation of new documents.
- Save Custom Designs: Save custom designs or layouts for future use, so you don’t need to recreate the same format every time.
- Automate Recurrent Entries: Set up recurring templates for frequent transactions, so you only need to adjust the details rather than entering the same information repeatedly.
Improve Communication with Clients
- Clarify Payment Terms: Always include clear payment terms and due dates in your documents to avoid misunderstandings and delays.
- Provide Multiple Payment Options: Offering several payment methods can increase the likelihood of receiving payments on time.
- Send Reminders: Use automated reminders for upcoming or overdue payments to stay on top of your accounts receivable.
By following these steps, you can simplify your workflow, reduce administrative tasks, and ensure that your payment process is efficient and professional. Streamlining your billing system not only saves you time but also helps to maintain a positive relationship with your clients.