Free Hourly Invoice Template in Word for Easy Billing and Time Tracking
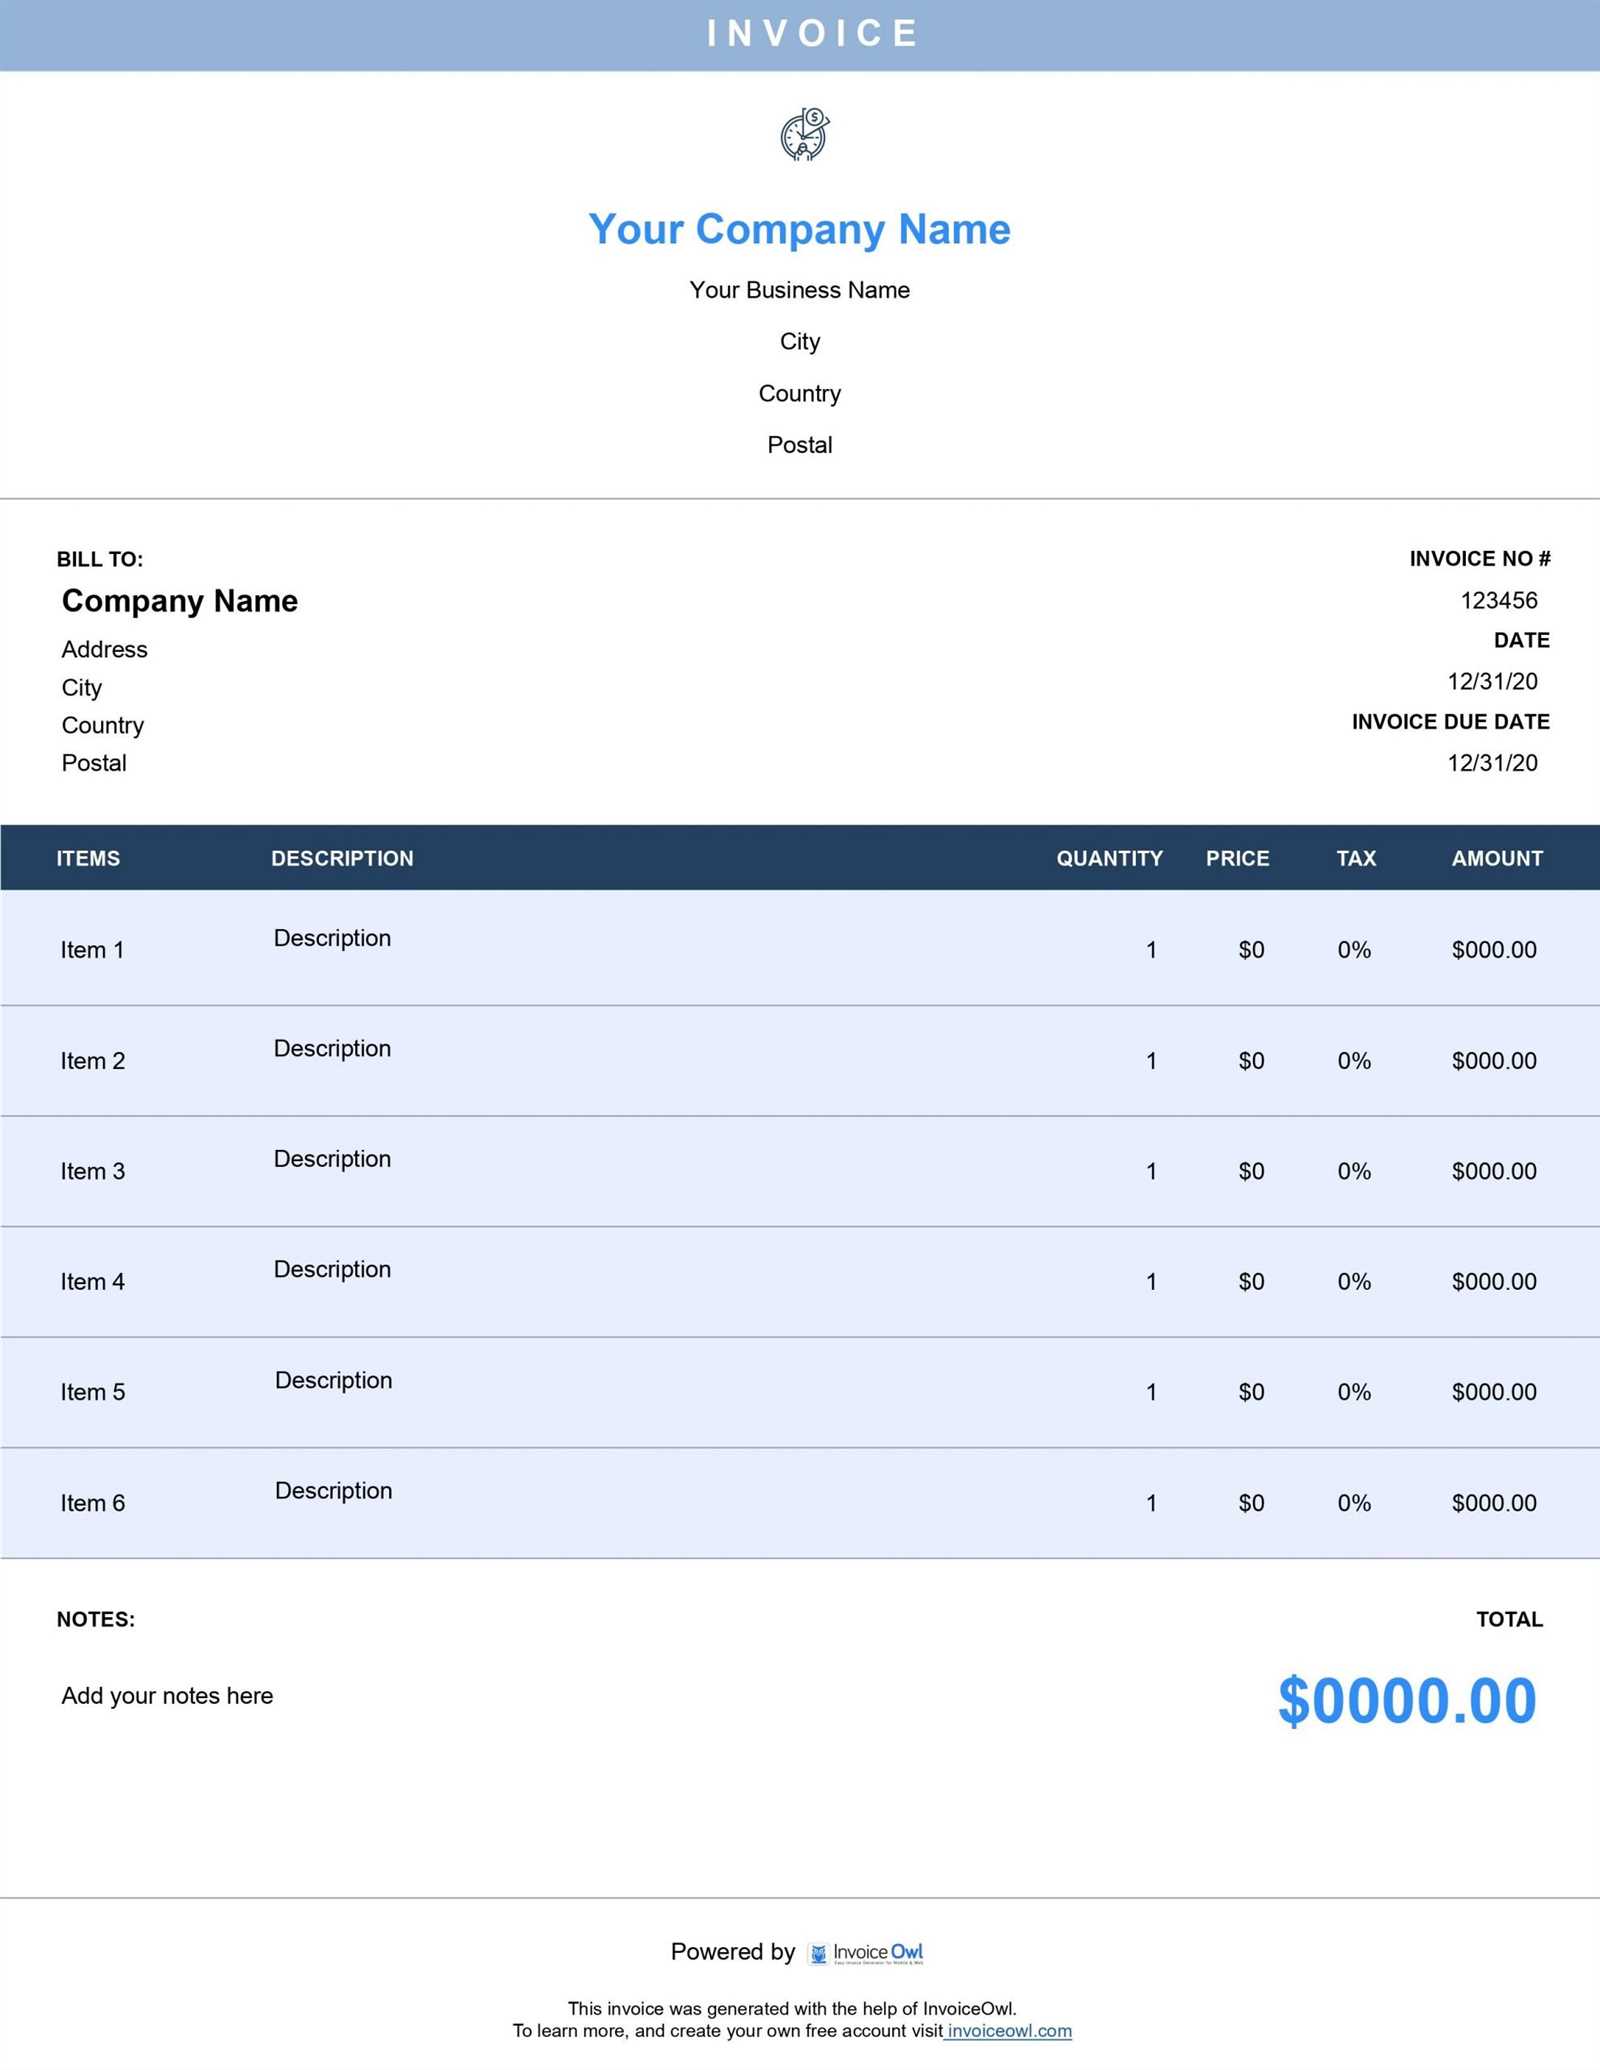
For any business or independent contractor, tracking and presenting work completed is essential for maintaining transparency and ensuring prompt payments. Using a structured document to detail the services provided, along with time spent and agreed rates, simplifies this process. By adopting an effective format, you can maintain professionalism and clarity with clients while streamlining your financial management.
Customizable templates offer an easy way to create these important records quickly. Whether you’re offering services by the hour or working on a project with specific milestones, having a standardized format allows you to focus more on your work rather than the paperwork. These ready-made layouts can be tailored to fit various industries, ensuring that all necessary information is included while keeping the presentation neat and consistent.
In this article, we will explore how to build and personalize these documents, highlight the advantages of using such formats, and discuss best practices for generating professional reports that meet client expectations. With the right tools, managing billable time and services becomes more efficient, giving you more time to focus on your business goals.
Hourly Invoice Template in Word
When it comes to managing payments for services provided based on time worked, using a customizable format is a practical solution. By utilizing a pre-designed layout, you can easily input necessary details such as the amount of time spent, rates, and additional charges. This streamlined approach ensures that all essential information is presented clearly and professionally, making it easier for clients to process payments promptly.
Key Features of a Time-Based Billing Document
A well-structured billing document not only provides a summary of the work completed but also makes tracking and organizing payments much simpler. Some of the most important features to include are:
- Client Information: Include details such as the client’s name, address, and contact information for easy reference.
- Service Description: Provide a clear breakdown of the tasks performed to ensure transparency.
- Hours Worked: List the amount of time spent on each task or service, along with the corresponding rates.
- Total Payment: Calculate and clearly display the total amount due based on time and agreed-upon rates.
- Payment Terms: Specify any deadlines for payment, discounts, or late fees if applicable.
How to Customize for Different Clients
One of the advantages of using a pre-made layout is the ability to easily adjust it according to the specific needs of each client. Customization can range from adjusting the service descriptions to altering the payment terms. To make the document truly adaptable:
- Start by editing the header with your business name and contact details.
- Modify the service descriptions to reflect the nature of the work done for each client.
- Adjust the rates or payment structure based on your agreement with the client.
- Ensure that the total amount is correctly calculated based on the number of hours worked and rates.
By making these small adjustments, you can create a professional-looking document that fits the needs of each client, saving time and ensuring accuracy in your billing process.
Why Use an Hourly Invoice Template
Using a pre-designed format for billing your clients based on time worked can significantly simplify the process. Instead of creating a new document from scratch each time, you can rely on a standardized layout that ensures all important details are included. This consistency not only saves time but also enhances professionalism, making it easier for clients to understand the charges and for you to track payments.
Efficiency and Time-Saving
One of the primary benefits of utilizing a structured document is the efficiency it provides. Instead of repeatedly formatting a new document for each client, a ready-made layout allows you to quickly fill in the necessary information, such as hours worked, rate, and total payment due. This streamlined process minimizes the time spent on administrative tasks and lets you focus on the actual work you do.
Professional Appearance
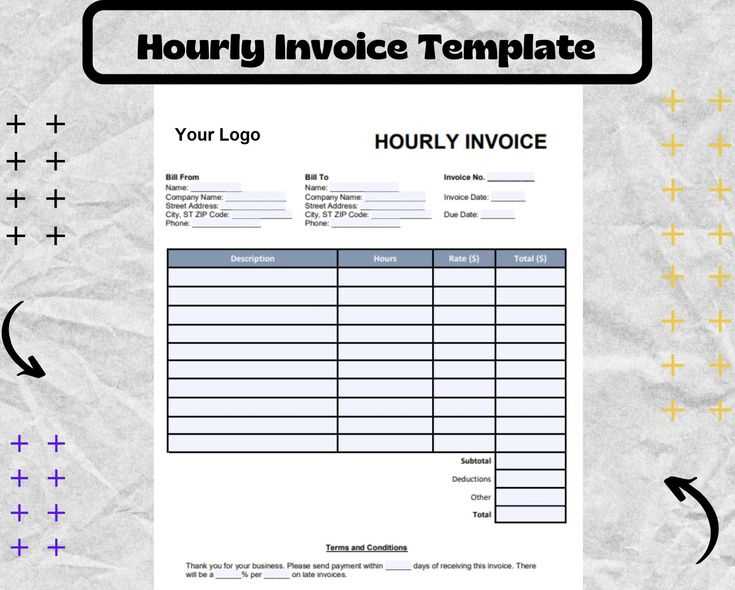
With a consistent, organized format, you can present your work in a polished and professional manner. Using a pre-made layout ensures that each billing statement looks clean and is easy to read. The clarity of the document reflects positively on your business, which can help build trust and strengthen relationships with clients.
Additionally, these layouts often come with built-in sections for the payment terms and due dates, further ensuring that expectations are clear and transparent. This level of professionalism can be crucial in encouraging timely payments and avoiding misunderstandings.
Benefits of Using Word for Invoices
Creating billing documents using a word processing program offers a variety of advantages. Its flexibility, ease of use, and wide accessibility make it an ideal tool for professionals and small businesses alike. With just a few clicks, you can produce polished documents that are both functional and customizable, helping to streamline the billing process.
Flexibility and Customization
One of the key benefits of using a word processor for financial documents is the ability to easily tailor them to your needs. You can adjust the layout, fonts, and style to reflect your business’s branding or to suit specific client requirements. Some of the customization options include:
- Customizable Fonts: Change the font style and size to match your business identity.
- Adjustable Layout: Rearrange sections such as item descriptions, rates, or totals based on your preferences.
- Personalized Branding: Add your logo, colors, and other design elements to make documents more professional.
Wide Accessibility and Compatibility
Another significant advantage is the widespread use of word processing software. Almost every business and client is familiar with this format, ensuring easy access to your documents. Word files are compatible across multiple platforms, making it simple to share and open them without concern for compatibility issues. You can:
- Share via Email: Easily send your billing documents as attachments.
- Edit Anywhere: Make changes on the go using different devices or software versions.
- Convert Formats: Quickly convert documents into other formats, such as PDF, for secure sharing.
By choosing this method for creating your payment requests, you ensure that they are both professional and easily accessible for clients, promoting smooth communication and timely payments.
How to Customize Your Billing Document
Customizing your payment request document allows you to adapt it to your specific needs, ensuring that it aligns with both your business requirements and your clients’ expectations. By modifying different sections such as service descriptions, rates, and payment terms, you can create a clear and professional record that accurately reflects the work completed.
Adjusting Layout and Design
One of the first steps in personalizing your billing document is modifying its layout to suit your preferences. You can change the structure to better organize the information, making it easier for your clients to understand the charges. Here are some key customization options:
- Header Customization: Add your business name, logo, and contact information to the top of the document.
- Section Organization: Arrange sections such as task descriptions, dates, and payment details in a logical order for clarity.
- Color and Fonts: Choose colors and fonts that match your branding or make the document more visually appealing.
Updating Service Descriptions and Rates
Every client and project may have different needs, and your document should reflect that. Adjusting the service descriptions and rates allows you to tailor the content to the specific work you’ve done. You can:
- Modify Task Details: Be specific about the work performed, including time spent on each task or phase.
- Set Individual Rates: If you charge different rates for different services, make sure each rate is clearly listed next to its corresponding task.
- Include Discounts or Extra Charges: If applicable, add special offers, discounts, or additional fees to ensure the total amount is accurate.
By customizing these sections, you ensure that your billing document accurately represents the work completed and the agreed-upon terms, which helps foster clear communication with your clients.
Step-by-Step Guide to Creating a Payment Document
Creating a professional billing document from scratch is simple when you follow a clear and organized approach. By breaking the process down into manageable steps, you ensure that each detail is covered, from client information to the final payment amount. This guide will walk you through the process, ensuring that you can generate a well-structured and effective statement every time.
Step 1: Start with the Basics
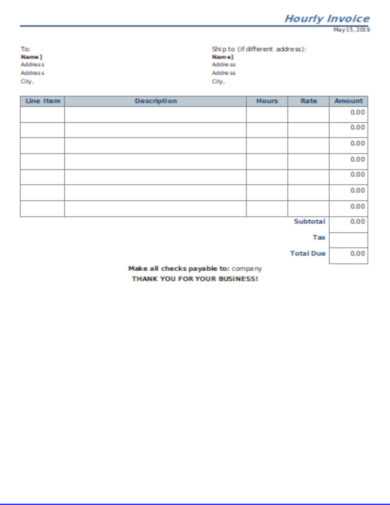
Begin by entering the basic information that is essential for any payment request. These details provide a clear identification of both parties involved and the nature of the work. Include the following:
- Your Contact Information: Business name, address, phone number, and email.
- Client’s Details: Name, address, and contact information for easy reference.
- Unique Document Number: A unique reference number helps in tracking and organizing your billing records.
- Date of Issue: The date when the document is created or sent to the client.
Step 2: Detail the Services Provided
Next, describe the work completed in a clear and concise manner. This section should provide enough detail to make the payment breakdown understandable for your client. Include the following elements:
- Task Descriptions: A brief but thorough explanation of the services or work done.
- Time Spent: Specify the duration for each task, along with the associated rates.
- Subtotals: Calculate the cost for each task based on the time spent and the rate applied.
Once the services are listed, calculate the total amount due by adding up the subtotals for each task. This is the total that the client will be responsible for paying.
Step 3: Finalize Payment Terms
Clarify the terms of payment to avoid misunderstandings. This section should include:
- Due Date: Specify when the payment is expected.
- Accepted Payment Methods: List the payment methods you accept, such as bank transfer, PayPal, or credit cards.
- Late Fees or Discounts: If applicable, include any discounts for early payment or penalties for overdue payments.
By following these steps, you’ll create a comprehensive, professional document that ensures both you and your clients have a clear understanding of the terms, helping to facilitate smooth transactions and timely payments.
Top Features of an Hourly Invoice Template
When creating a billing document for time-based work, there are several key features that make the process easier and more efficient. These essential elements help ensure that both you and your client have a clear understanding of the work done, the time spent, and the payment terms. A well-designed document not only saves you time but also contributes to a professional presentation that facilitates prompt payments.
Essential Information and Structure
One of the most important aspects of any payment document is the inclusion of all relevant information in an organized, easy-to-read layout. A well-structured document typically includes:
- Client and Contractor Details: Clear identification of both parties, including contact information and business details.
- Unique Reference Number: A specific number for each document, helping with easy tracking and reference.
- Task Breakdown: A detailed description of the services performed, including the time spent on each task.
- Payment Calculation: A clear breakdown of costs, showing rates and totals for each task, followed by the grand total.
Customizability and Professional Appearance
Another significant advantage is the ability to easily customize the layout to suit your specific needs. Customizable sections allow you to tailor the document for different clients or projects, ensuring it aligns with your business style. Key customizable elements include:
- Fonts and Colors: Adjust the fonts, colors, and logo placement to match your brand identity.
- Additional Sections: Include additional fields for payment terms, discounts, or late fees based on your agreements.
- Flexible Layout: Rearrange the sections to highlight the most important details and make the document more visually appealing.
These features help create a clean, professional billing statement that not only improves communication with your clients but also increases the likelihood of timely payments.
Free Billing Documents to Download
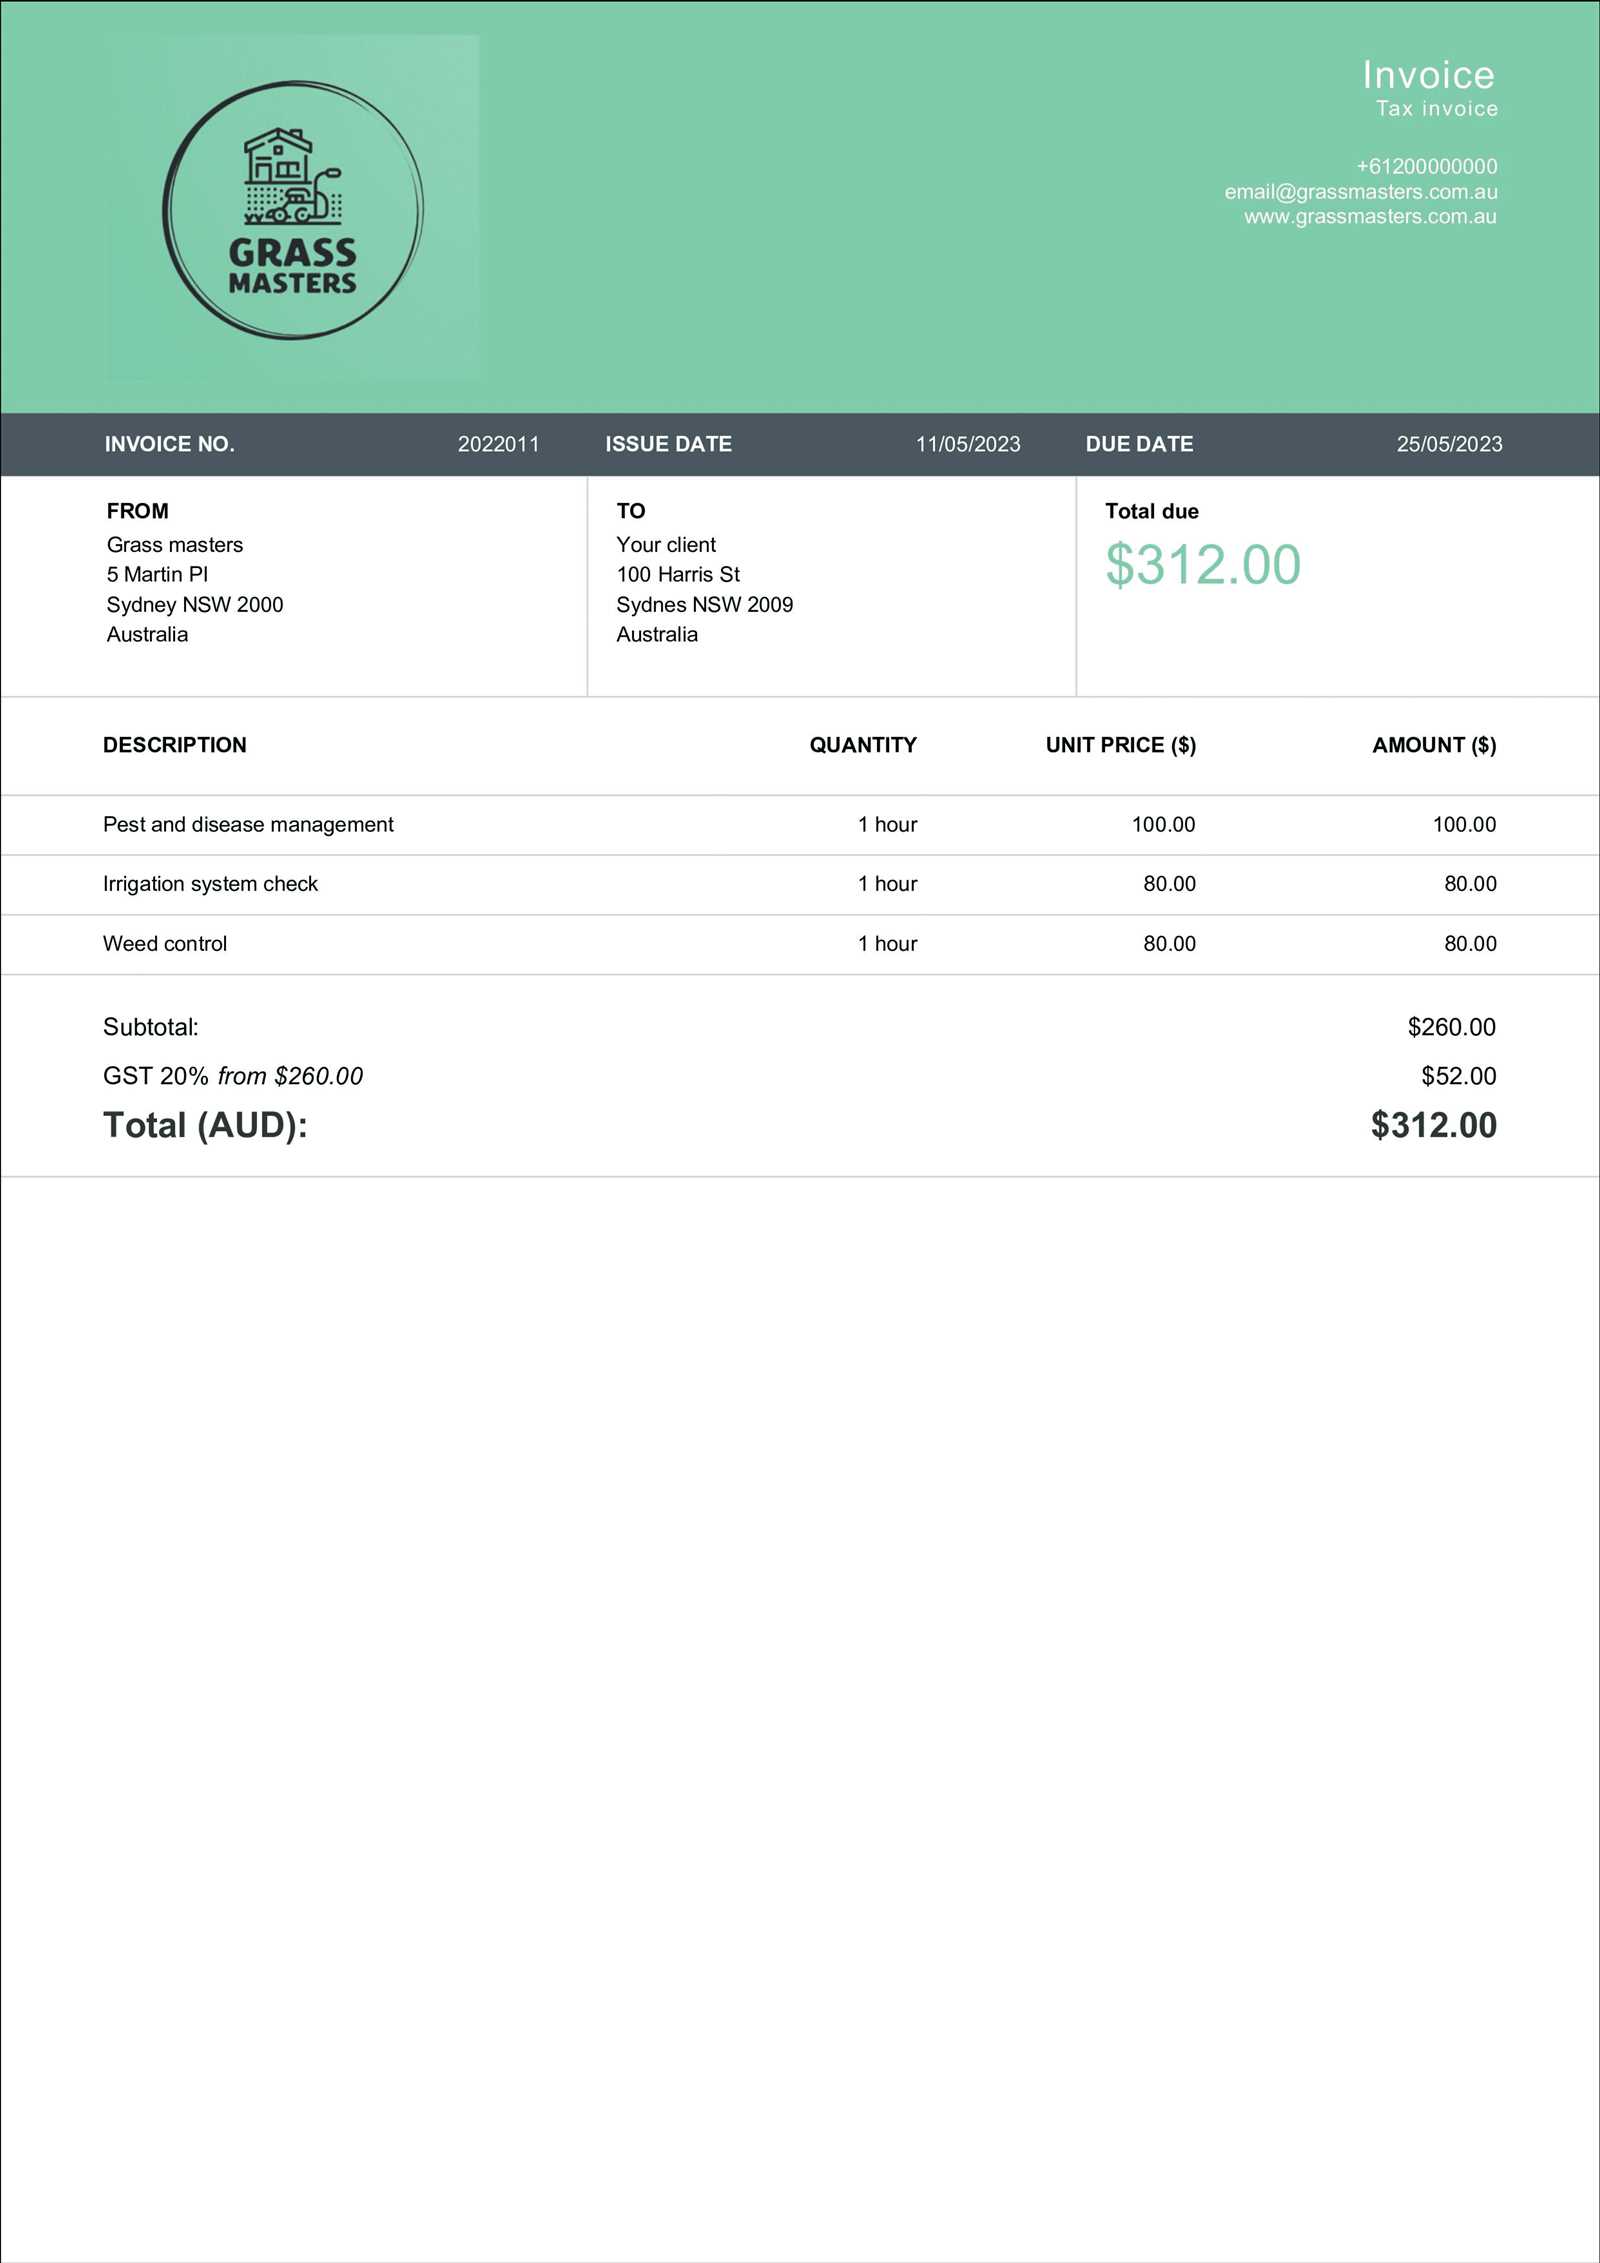
If you’re looking for a quick and efficient way to create a professional payment record, there are many free downloadable resources available. These ready-made layouts are designed to help you manage time-based work and provide clients with clear, accurate documentation. By downloading these documents, you can save time on formatting and focus on delivering quality work to your clients.
Why Choose Free Downloadable Files?
Free downloadable files offer several benefits for freelancers, small businesses, and contractors. They provide a simple and effective way to generate professional documents without needing to design them from scratch. Key advantages include:
- Time-Saving: No need to spend time creating a document layout – just download and fill in the details.
- Cost-Effective: These resources are completely free, making them ideal for businesses on a budget.
- Variety of Designs: Choose from different styles and formats that suit your brand or client preferences.
Where to Find Free Resources
Many websites offer free downloadable files in various formats, including Microsoft and PDF. These documents are customizable and can be easily edited to fit your specific needs. Some popular sources include:
- Freelancer Websites: Platforms like Fiverr or Upwork often have free resources for their community.
- Business Resource Blogs: Many business blogs offer free templates as part of their resource libraries.
- Document-Sharing Websites: Sites like Google Docs or Template.net provide a variety of options for quick downloads.
By downloading one of these free resources, you can start creating professional documents quickly and efficiently, allowing you to focus on your work and improving your client relationships.
How to Track Billable Hours Efficiently
For professionals who charge based on the time they work, accurately tracking the hours spent on each task is crucial for both client satisfaction and business profitability. Efficiently recording time ensures that no hours are missed, and that clients are billed fairly for the services provided. By implementing the right strategies and tools, you can improve your time-tracking process and ensure more accurate billing.
Use Time-Tracking Tools
One of the most effective ways to keep track of time is to use specialized software or apps designed for time management. These tools allow you to record work as it happens, often with features like automatic timers or project-specific tracking. Some popular time-tracking options include:
- Clockify: A free and easy-to-use time tracker with features like project tracking and reporting.
- Toggl: A simple tool that lets you track time on tasks, with the ability to categorize work for different clients.
- Harvest: A time-tracking app with integrated billing features, helping you automatically generate reports.
These tools allow you to log your hours in real-time, ensuring you don’t forget any time worked and reducing the chances of errors when you generate a final report.
Manual Time Logs and Simple Spreadsheets
If you prefer a more hands-on approach, keeping a manual log or using a spreadsheet to track hours can also be highly effective. By manually entering time as you work, you can ensure that no details are overlooked. Here’s how you can do it:
- Keep a Daily Log: Record the start and end time of each task as you go, along with a brief description of the work performed.
- Use Spreadsheets: Create a simple spreadsheet that calculates the total time spent on each project or task and automatically totals the hours for each client.
Though less automated than time-tracking software, these methods allow for a high level of control over the process and are easy to adapt for different work environments.
By using these techniques, whether with specialized software or manual tracking, you can stay organized, ensure accuracy in your billing process, and improve your overall time management.
Designing a Professional Billing Document
Creating a professional billing document is essential for establishing trust with your clients and ensuring timely payments. A well-designed payment request clearly communicates the work completed, the amount owed, and the payment terms. By focusing on clarity, organization, and presentation, you can create a document that reflects the quality of your work and professionalism.
Focus on Clear Structure and Readability
One of the key elements of a professional billing statement is its readability. The layout should be clean and well-organized, with a logical flow of information. Start by dividing the document into clearly defined sections such as client details, services provided, payment terms, and totals. This makes it easy for clients to find the information they need. Key points to consider include:
- Use Headings: Use clear headings for each section (e.g., “Client Information,” “Work Performed,” “Payment Terms”) to make navigation easy.
- Logical Order: Organize the document so that the most important information comes first, such as client details and a summary of the services rendered.
- Whitespace: Don’t overcrowd the document. Use whitespace effectively to make the content easy on the eyes.
Incorporating Branding and Personalization
Personalizing the billing document to reflect your brand or business style can add a professional touch. Incorporating your business logo, colors, and contact details not only makes the document more recognizable but also helps to establish a cohesive brand image. Here are some ways to personalize your document:
- Logo and Brand Colors: Include your company logo at the top of the document and use your business colors for text or borders.
- Business Information: Include your address, phone number, email, and website to
Common Mistakes in Hourly Billing Documents
Creating a payment request based on time worked may seem straightforward, but there are several common mistakes that can lead to confusion or even delayed payments. These errors can cause misunderstandings with clients, reduce professionalism, and complicate the billing process. By being aware of these pitfalls and taking steps to avoid them, you can ensure your documents are accurate and clear.
Incorrect Time Entries
One of the most frequent mistakes is inaccurately recording the time worked. Whether it’s forgetting to log hours or mistakenly overstating the time spent on a task, errors in time tracking can lead to disputes or underpayment. Some common issues include:
- Missing Hours: Forgetting to record time for certain tasks or sessions can result in lost income.
- Overestimated Time: Padding the hours worked can damage trust and lead to disputes when clients compare the bill with the actual work done.
- Inconsistent Time Entries: Using inconsistent time intervals or not following a consistent format can create confusion.
Unclear Descriptions of Services Rendered
Another mistake is failing to provide sufficient detail about the work performed. Vague or unclear descriptions can cause clients to question the charges. To avoid this issue, make sure to:
- Be Specific: Clearly describe each task or service provided. For example, rather than just stating “consulting,” detail the specific topics discussed or the work completed.
- Include Dates: Ensure each task is linked to a specific date or timeframe, especially if work spans over multiple days.
- Avoid Ambiguity: Ensure that all charges are well-explained so the client understands exactly what they are paying for.
By taking care to track time accurately and provide clear, detailed descriptions of the work completed, you can avoid common mistakes and ensure a smoother, more professional billing process.
How to Include Payment Terms in Billing Documents
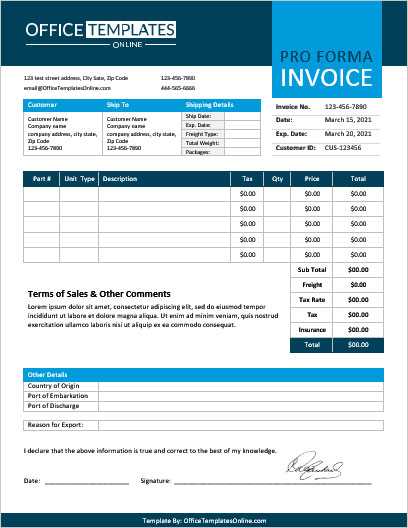
Clearly outlining payment terms in your billing documents is essential for ensuring smooth transactions with clients. Payment terms define the expectations for when and how payment should be made, helping to prevent misunderstandings and delays. By including precise payment conditions, you establish clear guidelines that both you and your clients can follow, ensuring timely and fair compensation for your work.
Essential Payment Information to Include
To avoid confusion, your payment terms should cover all key details related to payment expectations. Here are the essential elements to include in this section:
- Due Date: Clearly specify when payment is due. For example, you might use terms such as “Due within 30 days” or “Due upon receipt.”
- Accepted Payment Methods: List the payment methods you accept, such as bank transfers, credit cards, PayPal, or checks. Be sure to provide the necessary details (e.g., account numbers, links) for each method.
- Late Fees: If applicable, specify any late fees or penalties that will be applied if payment is not received by the due date. For example, “A late fee of 5% will be applied to payments received after the due date.”
Additional Considerations for Payment Terms
Aside from the essential details, there are a few other considerations you may want to include to clarify payment expectations and protect your business:
- Early Payment Discounts: You can offer a discount for early payment, such as “A 2% discount is available if payment is made within 10 days.”
- Payment Installments: If the total amount is significant, you can offer a payment plan with multiple due dates, clearly specifying the amount and due date for each installment.
- Currency and Taxes: Make sure to mention the currency in which payment is expected, especially if working with international clients. Also, include information about taxes, if applicable.
By including clear, concise payment terms in your billing documents, you ensure that both you and your c
What Information Should Be on a Billing Document
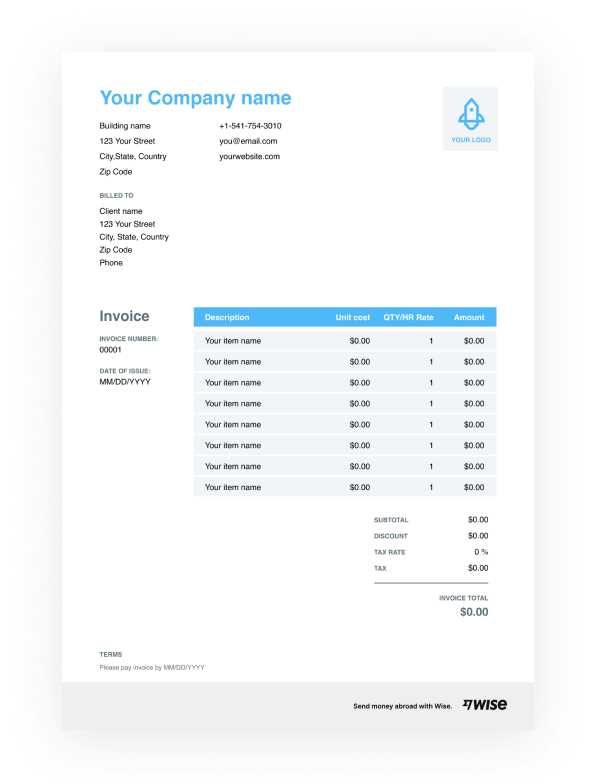
Creating a comprehensive billing statement is essential for ensuring smooth transactions between you and your clients. A well-structured document not only helps clients understand the charges but also provides a clear record for both parties. To ensure accuracy and professionalism, certain details should always be included. These elements help to clarify the services provided, payment terms, and contact information, minimizing any potential confusion or disputes.
Key Details to Include
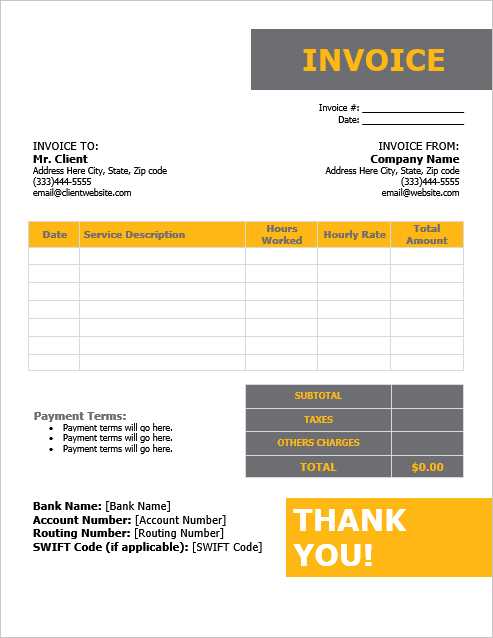
A complete billing statement should contain all the necessary information to provide a clear breakdown of services rendered and the payment expected. Here are the critical details you should include:
- Client and Service Provider Information: Include both your contact details and the client’s. This includes names, addresses, phone numbers, and email addresses.
- Unique Reference Number: A distinct identification number for each document helps with tracking and future reference.
- Work Description: Provide a detailed description of the work completed, including the nature of the services and the time spent on each task.
- Total Amount Due: Clearly state the total amount due, including any taxes, fees, or discounts applied.
- Due Date: Indicate when payment is due, whether it is immediate, within a specific number of days, or on a set date.
Optional but Useful Information
While not mandatory, certain additional information can be helpful for clarity and to ensure that both parties are on the same page:
- Payment Terms: Specify any late fees, early payment discounts, or installment plans, as well as acceptable payment methods.
- Work Dates: Include the date range during which the work was performed, particularly if the project spanned multiple days or weeks.
- Tax Information: If applicable, include tax rates or exemptions, as well as your business tax identification number.
By ensuring these essential elements are included, your billing document will be clear, professional, and complete, helping to facilitate smooth payment processing and maintaining positive client relationships.
How to Calculate Total Hours and Payment
Accurately calculating the total time spent on a project and the corresponding payment is critical for both freelancers and businesses. Ensuring that the work is billed correctly helps maintain transparency with clients and ensures fair compensation. To calculate total hours and payment, you need to account for the time spent on each task, apply the agreed-upon rate, and factor in any additional charges or discounts.
Steps for Calculating Total Hours
The first step in determining the payment is calculating the total hours worked. This requires you to record the start and end time for each task or session. If you’re working on multiple tasks, break down the time for each and add them together. Here’s how to do it:
- Record Start and End Times: Make sure to log the exact start and end times for each task. If possible, use a time-tracking tool to avoid errors.
- Account for Breaks: Subtract any breaks or non-working hours from the total time if you are tracking the work in increments.
- Sum Up the Hours: Add up the total time spent on all tasks or work periods to get the overall hours worked.
Calculating Payment Based on Total Time
Once the total time is calculated, the next step is to determine the total amount owed by the client. To do this, multiply the total hours worked by your agreed-upon rate. Consider any adjustments that need to be made for additional fees, taxes, or discounts:
- Multiply Time by Rate: Multiply the total hours by your hourly rate (or daily rate if applicable) to determine the base amount.
- Include Additional Charges: If you’ve agreed upon any extra fees (e.g., rush charges, equipment usage), add those to the total.
- Apply Taxes: Depending on your location and the nature of the work, apply any relevant taxes to the total amount.
- Adjust for Discounts: If you’re offering any discounts (e.g., early payment discounts), subtract those from the total amount.
By carefully following these steps, you can accurately calculate both the total hours worked and the payment due, ensuring that both you and your clients are on the same page when it comes to billing.
Customizing Your Billing Statement for Different Clients
Customizing your billing document for each client helps build stronger relationships and ensures that the payment process goes smoothly. Different clients may have different expectations, preferences, or requirements when it comes to billing, and adapting your document to meet these needs can make a significant difference in how quickly payments are processed. Customization also shows that you are attentive to detail and committed to providing personalized service.
Adapting to Client Preferences
Each client may have specific requirements or preferences regarding the format and content of the billing document. Customizing for these preferences ensures that you meet their expectations while maintaining professionalism. Here are some ways to tailor your document:
- Client-Specific Information: Make sure to include the correct client name, address, and contact details. For businesses, include the client’s department or relevant project managers if needed.
- Service Breakdown: Some clients may prefer a detailed breakdown of the work, while others may only want a high-level overview. Adjust the level of detail accordingly.
- Payment Terms: Some clients may have their own standard payment terms, such as 30 days or upon receipt. Make sure to adjust your payment terms to align with their expectations.
Creating Custom Pricing Structures
Different clients might require unique pricing models, which should be reflected in the billing document. Here’s how to adjust your pricing structure:
- Flat Rates vs. Hourly Rates: Some clients may prefer a fixed rate for the entire project, while others may want a detailed breakdown of hours worked. Adjust your pricing accordingly.
- Discounts or Bulk Rates: If you offer discounts for repeat clients or bulk services, make sure to include those details on the billing statement. For example, “10% discount for services over 50 hours.”
- Special Fees: Certain clients may have special requests that require additional charges, such as expedited work or travel costs. Be sure to clearly indicate these charges in the document.
By customizing your billing statement for each client, you not only enhance their experience but also increase the likelihood of prompt payment and long-term business relationships.
Using Billing Documents for Freelancers
For freelancers, keeping track of time worked and ensuring proper compensation for services rendered is essential. A well-structured payment document helps both freelancers and their clients stay on the same page regarding the hours worked and the amount owed. It’s especially important when services are billed based on time spent, as it establishes transparency and clarity in financial dealings. By using a proper structure, freelancers can streamline the billing process and avoid confusion or delays in payments.
When preparing a payment request, freelancers should ensure it reflects not only the hours worked but also any specific details of the job performed. This helps in creating an accurate and professional record, which can be referred to later if necessary. The following is an example structure of a billing document used by freelancers who bill based on time:
Task Description Time Spent Rate Total Consultation Session 2 hours $50/hour $100 Design Work 5 hours $60/hour $300 Revisions 1 hour $55/hour $55 Total Amount Due $455 In the example above, each task is clearly described, the time spent on each is recorded, and the rate is applied accordingly. This approach ensures that the freelancer is paid accurately for the time they invest in each part of the project. Additionally, maintaining a detailed log of hours worked can help protect against disputes and enhance
Best Practices for Sending Billing Documents
Sending clear and professional payment requests is crucial for maintaining smooth transactions with clients. Properly issued billing documents help ensure timely payments, reduce misunderstandings, and foster strong client relationships. To achieve these goals, it’s important to follow best practices when sending payment statements, from the timing of the submission to the method of delivery. By doing so, you can streamline the payment process and avoid delays in receiving compensation for your work.
Key Considerations When Sending Payment Requests
When preparing to send a payment document, consider the following practices to ensure that your submission is professional and effective:
- Be Timely: Send the payment request promptly after completing the work or when agreed upon. Delayed invoices can lead to delayed payments.
- Use Clear and Accurate Information: Ensure that all details are correct, including the client’s name, the description of services, the amount due, and the due date. Any errors may cause confusion and delays.
- Choose the Right Delivery Method: Deliver the payment request in the way that is most convenient for your client, whether by email, through an online payment platform, or via traditional mail.
- Follow Up: If payment has not been made by the due date, send a polite follow-up message to remind your client of the outstanding balance.
Formatting the Document Properly
It’s important that your payment request is easy to read and understand. This can be achieved through proper formatting. Here’s a simple example structure for organizing the document:
Task Description Time Spent Rate Total Initial Consultation 2 hours $50/hour $100 Design Work 5 hours $60/hour $300 Revisions 1 hour $55/hour $55 Total Amount Due $455 In this example, each task is clearly described, and the totals are easy to see. A well-organized layout ensures the recipient can quickly review the details of the work and process the payment without confusion.
By following these best practices, you can create professional, clear, and efficient payment requests that not only improve your chances of receiving timely payments but also help build trust
How to Organize and Save Your Billing Documents
Proper organization and storage of your payment records are essential for maintaining financial clarity and avoiding confusion. Whether you need to refer back to a past transaction for tax purposes, resolve disputes, or track your earnings, having an effective system in place is crucial. Efficient document management not only ensures that you can easily find any relevant information but also helps you stay on top of deadlines and manage cash flow effectively.
Organizing Your Payment Records
The first step in maintaining well-organized financial records is deciding on a method that works best for your workflow. Here are some tips for organizing your billing documents:
- Sort by Client: Keep separate folders or files for each client. This makes it easier to locate all related transactions when needed.
- Use Descriptive Naming Conventions: Name each document in a way that includes the client’s name, date of service, or project description. For example: “JohnDoe_Consulting_September2024.pdf.”
- Group by Year or Quarter: For larger volumes of work, consider grouping your documents by the year or quarter. This can make financial summaries or tax filing more efficient.
Saving and Backing Up Your Records
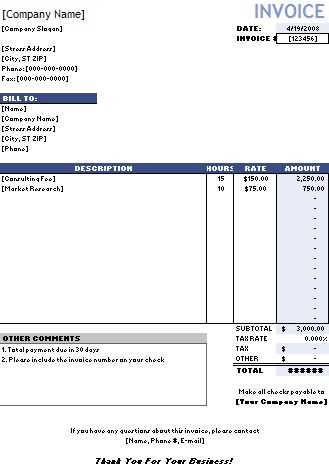
Once your documents are organized, it’s important to save and back them up properly to prevent data loss. Below are some options for securely storing your records:
- Digital Storage: Save your records in digital formats (PDF, Excel, etc.). Use cloud-based storage services like Google Drive or Dropbox for easy access and backup.
- Local Backup: Consider using an external hard drive or a separate backup device to ensure you have a copy of your records in case of technical issues.
- Physical Storage: If you prefer hard copies, keep your documents in a secure, organized filing system. Use labeled folders or binders to separate them by client or project.
By following these steps for organizing and saving your payment documents, you ensure that your financial records are easy to access, secure, and well-preserved for future reference.
How to Convert Documents to PDF
Converting your billing statements to a PDF format is an important step for ensuring they are easily shareable, secure, and accessible across different devices. PDFs are a universally accepted format that preserves the layout and design of your documents, making them ideal for professional communication. Whether you’re sending your payment request to a client or storing it for future reference, converting your document to a PDF ensures consistency and prevents any unintentional formatting changes.
Why Convert to PDF?
There are several reasons why converting your document to a PDF is beneficial:
- Preserves Formatting: PDF files maintain the original layout and formatting, so your document will appear the same to the recipient regardless of the software or device they use.
- Universal Compatibility: PDF files can be opened on almost any device, making them easy for clients to view without needing specific software.
- Security: PDFs can be password-protected and encrypted, offering an extra layer of security for sensitive information.
Steps to Convert Your Document to PDF
Converting your billing statement from a text or document format to a PDF is simple and can be done in a few easy steps. Below is an example process using Microsoft Office:
Step Action 1 Open your document in the software you used to create it (e.g., Microsoft Office, Google Docs, etc.). 2 Go to the “File” menu and select “Save As” or “Export” (depending on the program). 3 Choose “PDF” as the file format from the list of available options. 4 Choose the location where you want to save the file and click “Save” or “Export.” Once saved, you will have a PDF version of your document ready for easy sharing or printing.
By converting your documents to PDF, you ensure that they are professionally presented, easy to share, and securely stored for future reference.