Freelance Web Developer Invoice Template for Easy and Professional Billing
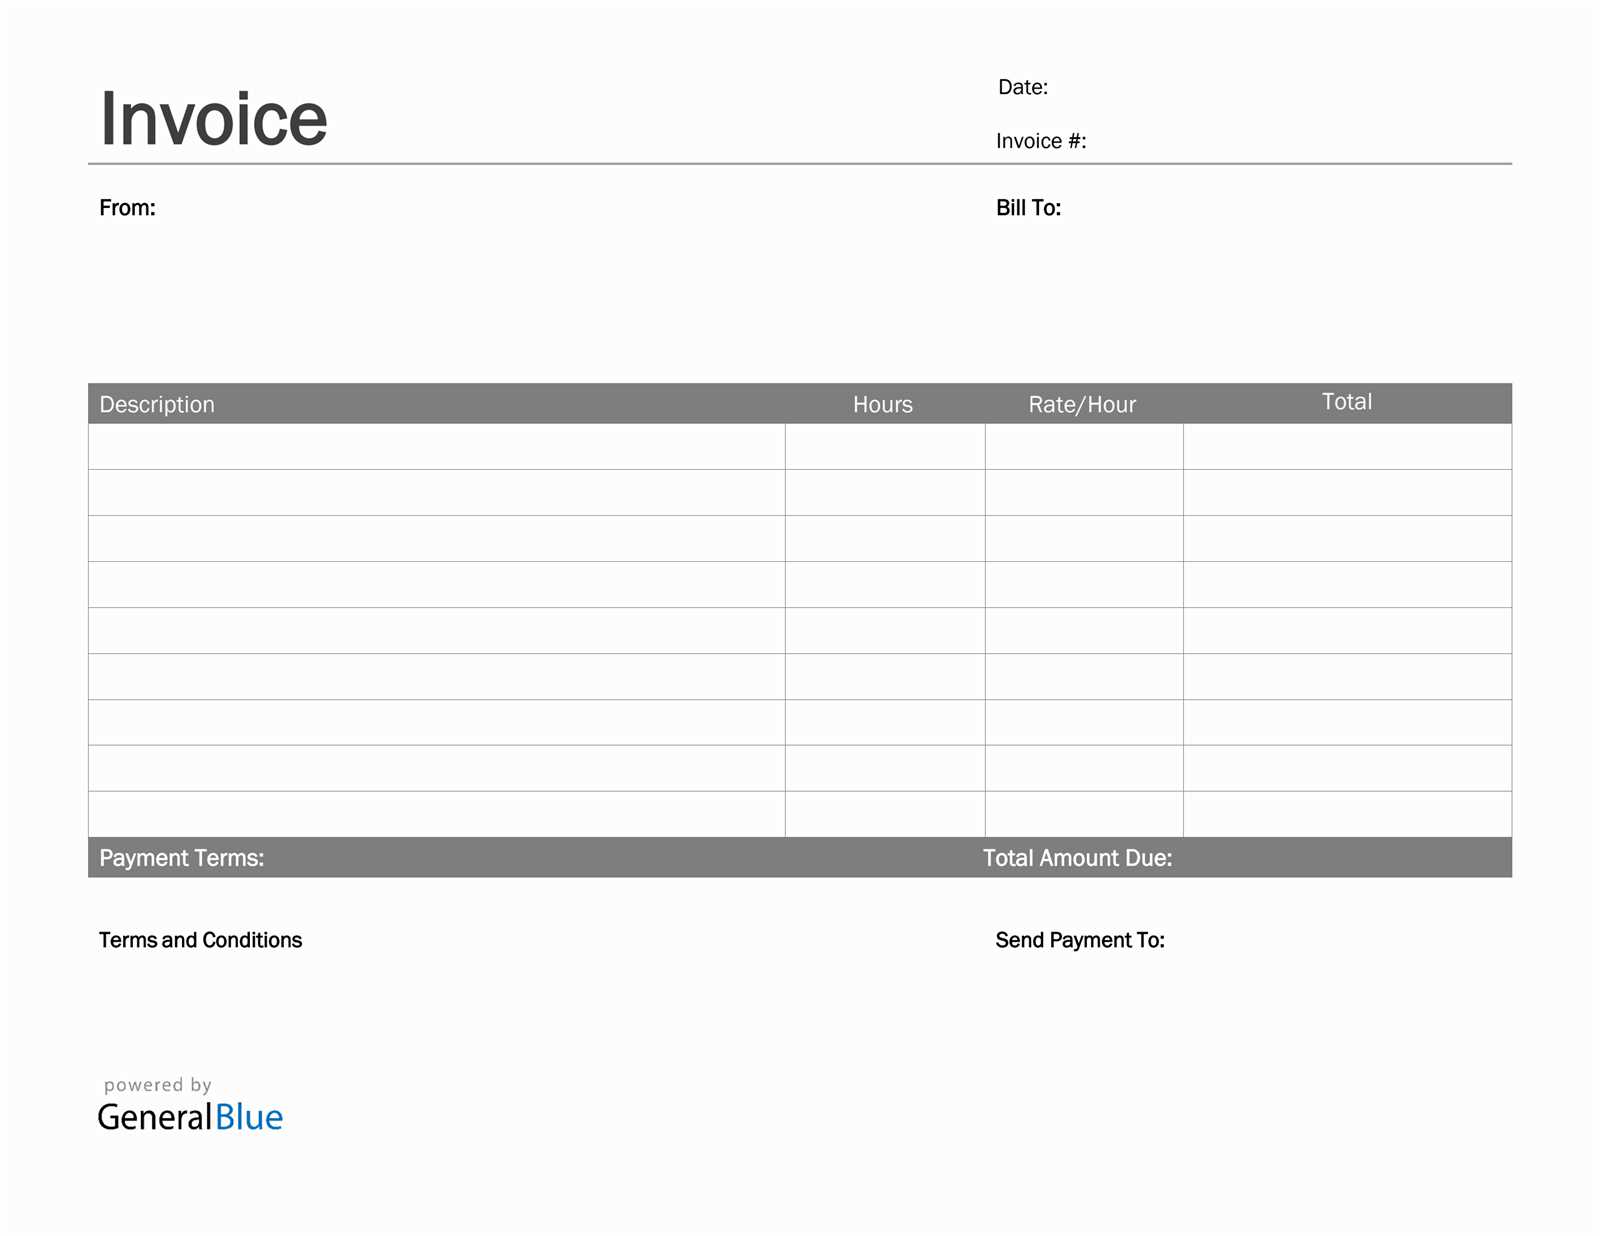
When working independently, clear and effective billing is crucial to ensure timely payments and maintain professional relationships with clients. A well-organized document outlining the work completed, payment terms, and due dates is an essential part of any independent contractor’s workflow. This document serves as a formal request for compensation and helps avoid misunderstandings about services provided and their costs.
Creating a customized form to manage this process efficiently allows you to focus more on your craft and less on administrative tasks. By using the right structure and tools, you can streamline your billing practices and ensure both accuracy and professionalism in every transaction. Whether you’re handling hourly rates, fixed project fees, or additional expenses, having the right approach is key to a smooth business operation.
Professional Billing Document Guide
Creating an organized and easy-to-understand billing document is essential for anyone working independently in the digital industry. It helps establish clear expectations with clients, outlining the scope of work, agreed-upon rates, and payment timelines. By using a consistent format, you can present your work professionally while ensuring that all necessary information is included for smooth financial transactions.
Key Elements to Include
For an effective billing statement, there are several key components that must be included to ensure completeness and clarity:
- Client Information: Include the client’s name, company, address, and contact details.
- Your Information: Make sure your name, business name (if applicable), and contact details are clear and visible.
- Work Description: Clearly outline the services you provided, including project milestones or specific tasks completed.
- Payment Amount: Specify the agreed rate or total amount for the services rendered, along with any additional costs or fees.
- Payment Terms: Indicate the due date, accepted payment methods, and any late fees or penalties.
- Tax Information: If applicable, include tax rates or other mandatory deductions that need to be accounted for.
Choosing the Right Document Format
When it comes to creating your billing statement, you have various format options, such as Word documents, spreadsheets, or online invoicing tools. Each format has its benefits:
- Word or PDF: Easy to customize, professional-looking, and widely accepted.
- Spreadsheet: Great for freelancers with multiple clients or ongoing projects, as it allows for easier tracking and calculations.
- Online Tools: Automate
Why Billing Documents Are Important for Independent Professionals
For those working on their own, creating and sending a detailed statement of work completed is an essential part of managing your business. This document serves as a formal request for payment and ensures that both you and your client are on the same page regarding services rendered and the agreed-upon compensation. Without a well-prepared statement, misunderstandings or delays in payment can occur, which could affect cash flow and client relationships.
Having a professional billing system in place offers several important benefits:
- Clear Communication: A detailed statement helps prevent confusion by specifying the services provided, the total amount due, and payment terms.
- Legal Protection: A formalized record of the work completed and agreed upon can serve as evidence in case of disputes or payment issues.
- Financial Tracking: Regularly creating these documents helps track income, manage cash flow, and stay organized for tax purposes.
- Professionalism: Providing a structured and clear payment request shows that you take your business seriously and enhances your professional reputation.
- Timely Payments: By specifying due dates and terms, clients are more likely to make payments on time, reducing the risk of delays.
In short, a well-prepared document not only ensures that you receive the payments you’re owed, but it also strengthens your reputation and builds trust with clients. Proper billing practices are a key part of maintaining a successful and sustainable independent career.
Key Elements of a Professional Billing Document
A well-constructed billing document is crucial for any independent contractor to ensure transparency and clarity in the payment process. It not only outlines the services provided but also sets clear expectations for both the contractor and the client. Including the right elements in this document ensures that no details are overlooked, preventing potential misunderstandings and ensuring timely payments.
Here are the essential components that should be included in a comprehensive billing document:
- Your Contact Information: Make sure to clearly display your full name, business name (if applicable), and contact details such as email and phone number.
- Client Details: Include the client’s name, company name, and contact information. This helps both parties easily identify the transaction.
- Invoice Number: Each document should have a unique identifier for tracking purposes. This is crucial for record-keeping and avoids confusion with other documents.
- Issue and Due Date: Clearly specify when the document was issued and the exact date payment is due. This sets expectations for the client and helps track overdue payments.
- Description of Services: List the tasks or projects completed, detailing the work done. Be specific, and if necessary, break down the tasks into smaller parts or phases.
- Payment Amount: State the total amount due for the work completed. If applicable, provide a breakdown of individual costs (e.g., hourly rate, fixed fees, additional expenses).
- Payment Terms: Specify the payment methods accepted (bank transfer, PayPal, etc.), any late fees, and discounts for early payments, if relevant.
- Tax Information: If applicable, ensure that any relevant taxes or VAT are included, along with your tax identification number, if necessary.
By incorporating these key elements into your billing document, you create a clear and professional request for payment that will help build trust with your clients and streamline th
How to Create a Professional Billing Document
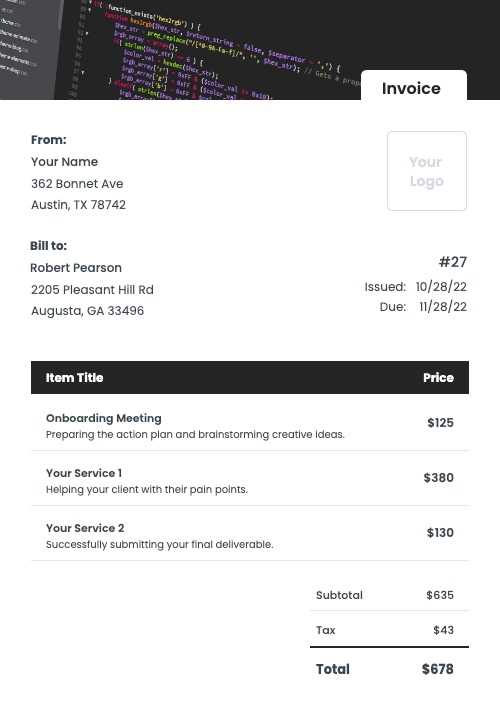
Creating a professional billing statement is a critical step in ensuring that you receive timely and accurate payments for your work. A well-crafted document not only communicates the value of your services but also helps to establish your professionalism and trustworthiness in the eyes of clients. By following a few straightforward steps, you can create a clear, organized, and effective request for payment that covers all necessary details.
Step 1: Choose a Format
First, decide on the format that best suits your needs. There are several options to consider:
- Word Documents: Easy to customize, with the ability to add logos and adjust layout elements.
- Spreadsheets: Ideal for those who track multiple clients or projects and need automated calculations for billing.
- Online Tools: Numerous online platforms offer pre-built formats that can simplify the process, often with added features such as payment tracking.
Step 2: Add Key Details
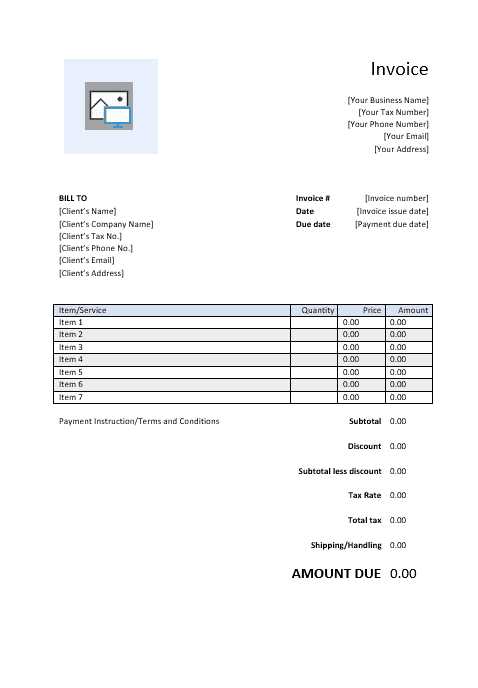
Once you’ve chosen your format, include the following essential elements to ensure clarity and professionalism:
- Your Information: Include your full name, business name (if applicable), and contact details (email, phone number, etc.).
- Client Information: List the client’s name, business name, and their contact details for easy identification.
- Work Description: Clearly describe the services you provided, specifying the tasks or deliverables. Be specific to avoid any confusion later.
- Payment Amount: Clearly outline the agreed-upon amount for your services. If there are multiple tasks or milestones, break down the total into line items for clarity.
- Due Date: Clearly state when payment is due and any applicable late fees for overdue payments.
By ensuring that these elements are included in your billing document, you’ll provide the necessary information for both yourself and your client to stay organized and transparent thr
Choosing the Right Billing Document Format
Selecting the right format for your billing document is essential to ensuring that you maintain a professional appearance and simplify the payment process. The correct structure can save you time, reduce errors, and help your clients understand the charges more clearly. With a variety of options available, it’s important to choose a format that fits your workflow and meets both your needs and your clients’ expectations.
Here are several factors to consider when choosing the best format for your billing statements:
- Customization Options: Look for a format that allows you to easily add and modify details, such as your logo, company name, and specific charges. Customization ensures that the document aligns with your brand identity.
- Ease of Use: Choose a format that is user-friendly and doesn’t require complex software or excessive manual input. The simpler the process, the faster you can create accurate documents.
- Professional Layout: Ensure the format provides a clean, organized structure that highlights important information like service descriptions, payment terms, and totals. A cluttered or poorly designed document can look unprofessional.
- Automatic Calculations: Some formats, especially spreadsheet-based ones, offer automatic calculations for totals, taxes, and discounts. This reduces human error and saves you time.
- Compatibility: Choose a format that can be easily shared with clients in a universally accepted file type, such as PDF. This ensures that the document looks the same on any device and is easily accessible for clients.
By considering these factors, you can select a format that not only suits your needs but also enhances your professional image. A well-designed document helps build trust with clients and makes the payment process smoother for both parties.
Customizing Your Billing Document
Customizing your billing statement ensures that it reflects your brand identity while meeting both your business needs and your clients’ expectations. A personalized document not only looks more professional but also makes the payment process smoother by clearly conveying important details. By tailoring the format to include relevant information and presenting it in a way that resonates with your clients, you increase the chances of timely and accurate payments.
Here are some key areas to focus on when personalizing your billing document:
- Branding and Logo: Adding your logo and using your business colors can make the document feel more professional and reinforce your brand identity. This is especially important if you work with corporate clients or need to create a cohesive image across different communications.
- Personalized Contact Information: Ensure that your contact details (name, phone number, email address) are clear and prominently displayed. This makes it easy for clients to reach out if they have questions or need clarification.
- Work Descriptions: Be specific in describing the services you provided. Instead of just listing “consulting” or “development,” break the tasks down into detailed descriptions that make it clear what the client is paying for. This helps avoid confusion and potential disputes later.
- Payment Terms and Methods: Clearly state the accepted methods of payment (bank transfer, credit card, PayPal, etc.). Also, specify due dates and any penalties for late payments to manage client expectations and encourage timely payment.
- Customizable Fields: Some formats allow you to add custom fields or categories specific to your work, such as “Project Phase,” “Milestone,” or “Travel Expenses.” Including these will ensure that your document reflects the unique aspects of each job.
By making these customizations, you create a billing document that is not only functional but also tailored to your unique business style. A personalized and well-organized documen
How to Add Client and Project Details
Including client and project information in your billing statement is essential for ensuring clarity and transparency in your transactions. By properly documenting these details, you provide a clear reference for both you and the client, which helps to avoid misunderstandings or disputes later on. Properly organized data also makes it easier for clients to verify the work completed and track their payments.
Client Information
Accurate client details are vital for both identification and communication purposes. Here’s what should be included:
- Client Name: Always include the full legal name of the client or the company name.
- Contact Information: Provide the client’s phone number, email address, or other preferred contact methods to facilitate easy communication.
- Billing Address: If the client is a business or organization, include their full mailing address for official records and billing purposes.
Project Details
Adding project-specific information helps to clarify the scope of the work completed and ensures that both parties are aligned on what was agreed upon. Include the following details:
- Project Title or Description: Include a brief title or description that accurately reflects the work completed. For example, “Website Redesign for XYZ Company” or “Mobile App Development for AB
Calculating Hourly vs Fixed Rates
When deciding how to charge for your services, two common approaches are typically considered: hourly rates and fixed project fees. Both methods have their advantages and challenges, and the right choice often depends on the type of work, client preferences, and the scope of the project. Understanding how to properly calculate and apply each method is essential for ensuring that you’re fairly compensated for your time and expertise.
Hourly Rates
Charging by the hour is a popular option for projects that are variable or difficult to estimate in advance. This method is straightforward and allows you to charge based on the actual time spent on a task. To calculate an hourly rate, consider the following:
- Hourly Rate Calculation: Start by determining your desired annual salary or income. Then, divide that by the number of hours you plan to work per year. This will give you an approximate hourly rate. For example, if you aim to earn $50,000 annually and work 2,000 hours a year, your rate would be $25 per hour.
- Tracking Time: To ensure accurate billing, track the time spent on each task using time-tracking software or tools. This helps prevent undercharging and ensures transparency with clients.
- Rate Adjustments: Hourly rates may need to be adjusted based on factors such as project complexity, urgency, or your experience level. Clients should be informed of any changes in rate before the work begins.
Fixed Project Rates
Charging a fixed rate for a project is another common method, often preferred for well-defined tasks or projects with a clear scope. This method provides clients with predictable costs, while
How to List Services and Deliverables
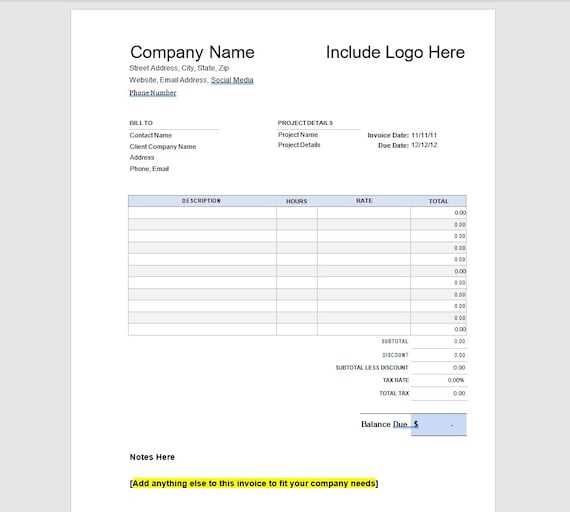
Clearly outlining the services provided and the deliverables you are offering is a crucial part of creating an effective billing document. This section not only helps the client understand exactly what they are paying for, but it also protects you by setting expectations upfront. Whether the project includes a range of tasks or specific outputs, providing a detailed breakdown ensures both parties are aligned on what has been agreed upon and what is expected.
Listing the Services
When describing the services provided, it’s important to be both specific and concise. Here are a few tips for listing services effectively:
- Be Descriptive: Use clear language to describe the work completed. For example, instead of “design,” write “created custom logo and website layout.” This gives clients a clearer understanding of what was done.
- Include Milestones: If the work was completed in phases, break down each phase or milestone. For example, “Phase 1: Initial design concepts,” or “Phase 2: Development of main website functionality.”
- Quantify Where Possible: If applicable, include measurable outcomes. For example, “Created five unique landing pages” or “Integrated payment gateway into the client’s website.”
Describing the Deliverables
Deliverables are the final tangible outputs or results that the client will receive upon completion of the work. Here’s how to list them clearly:
- Be Specific: List exactly what the client will receive at the end of the project. For example, “Final HTML/CSS files” or “Completed app source code with documentation.” This leaves no room for ambiguity.
- Include Format Details: If your deliverables are in specific formats (such as PDFs, HTML files, or JPGs), specify this so clients know exactly what to expect and in what form.
- Set Clear Expectations: Define the timeline for the delivery of each item and note whether any final adjustments or revisions are inc
Setting Payment Terms and Deadlines
Establishing clear payment terms and deadlines is essential for maintaining a smooth business relationship. This ensures that both parties understand the expectations regarding when and how payments should be made, reducing the likelihood of delays or misunderstandings. By defining these terms early, you protect your time and resources, while providing your client with clear guidelines on how to handle payments.
Defining Payment Terms
Payment terms should specify how and when payments are expected. These terms can vary depending on the project scope, timeline, and mutual agreement. Here are a few important details to include:
- Payment Methods: Clearly state the accepted forms of payment (e.g., bank transfer, credit card, PayPal, etc.). This ensures the client knows how to make the payment.
- Due Date: Specify when payment is due. This can be a fixed date or based on project milestones.
- Late Payment Fees: Include a penalty for late payments to encourage timely action. For example, “A 2% late fee will be added for every 7 days the payment is overdue.”
Setting Deadlines
Setting deadlines is equally important for keeping both parties accountable. Clearly outline when you expect payment and when the client can expect to receive the deliverables. Use a table to present the deadlines for easy reference:
Milestone Deadline Payment Due Initial Deposit Upon Agreement 50% of total cost Completion of First Phase End of Week 2 25% of total cost Project Finalization End of Proje Including Tax Information on Billing Statements
Including tax information on your billing statement is crucial for ensuring compliance with tax laws and maintaining transparency with your clients. It provides clarity on the total amount due and how taxes are applied to your services. Properly documenting taxes helps avoid confusion and ensures that both you and your client are aware of the final payment amount, including any applicable tax obligations.
Types of Taxes to Include
Different regions have different tax requirements, so it’s essential to understand what taxes apply to your services. Here are some common types of taxes you may need to include:
- Sales Tax: A tax on goods and services, typically applied to the total amount billed. The rate can vary depending on your location or the client’s location.
- Value-Added Tax (VAT): Common in many countries, VAT is applied at each stage of the supply chain. If applicable, include the VAT rate and amount in your document.
- GST (Goods and Services Tax): This is another common form of tax in some regions, and like VAT, it’s applied to goods and services, often at a fixed rate.
How to Calculate and Display Taxes
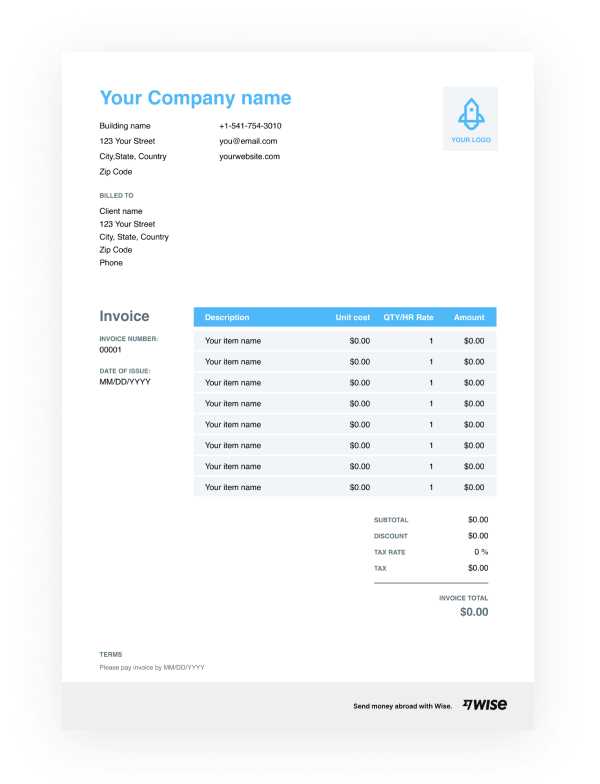
To ensure clarity, you should calculate and list taxes separately from the service fees, showing the specific amounts applied. Here’s how to structure the tax information:
Service Description Amount Tax Rate Tax Amount Total Amount Website De Best Practices for Billing Statements
When managing payments for your services, it’s essential to follow best practices that not only ensure smooth transactions but also help maintain professionalism and build trust with your clients. A well-structured billing document is a key part of this process, providing clarity on the work completed and the amount due, while setting clear expectations for both you and your client.
Clear and Concise Information
The most important aspect of any billing document is clarity. The more detailed and transparent your statement is, the less likely it is to lead to confusion or disputes. Consider the following practices:
- Include All Relevant Details: Make sure to include your name, business name (if applicable), client’s name, contact information, and any other important details like the project description or service dates.
- Itemize Services: Break down the work you have done into individual items or phases. This makes it easier for the client to understand exactly what they are paying for.
- State Payment Terms Clearly: Ensure that payment terms, including deadlines, accepted methods, and late fees, are easy to find and understand. This helps to avoid confusion when the payment is due.
Timely Billing
Sending bills promptly after completing a task or project is critical for maintaining consistent cash flow. Late invoicing can delay payments and may give the impression that you are unorganized. Here are some tips to ensure you bill on time:
- Send Invoices Immediately: Aim to send your billing document as soon as possible after completing a milestone or project. This way, the work is fresh in the client’s mind, and they are more likely to make timely payments.
- Set a Payment Deadline: Include a clear payment due date in your document. For example, “Payment is due within 30 days of receipt.” This establishes a clear timeframe for your clients to follow.
Profess
Common Mistakes to Avoid in Billing Statements
Creating a clear and professional billing document is key to maintaining a smooth business operation and fostering positive relationships with clients. However, even minor errors can lead to confusion, delays in payment, or damage to your reputation. Understanding the common mistakes to avoid when creating these documents will help ensure that you remain organized, transparent, and professional in all your financial transactions.
Missing or Incorrect Information
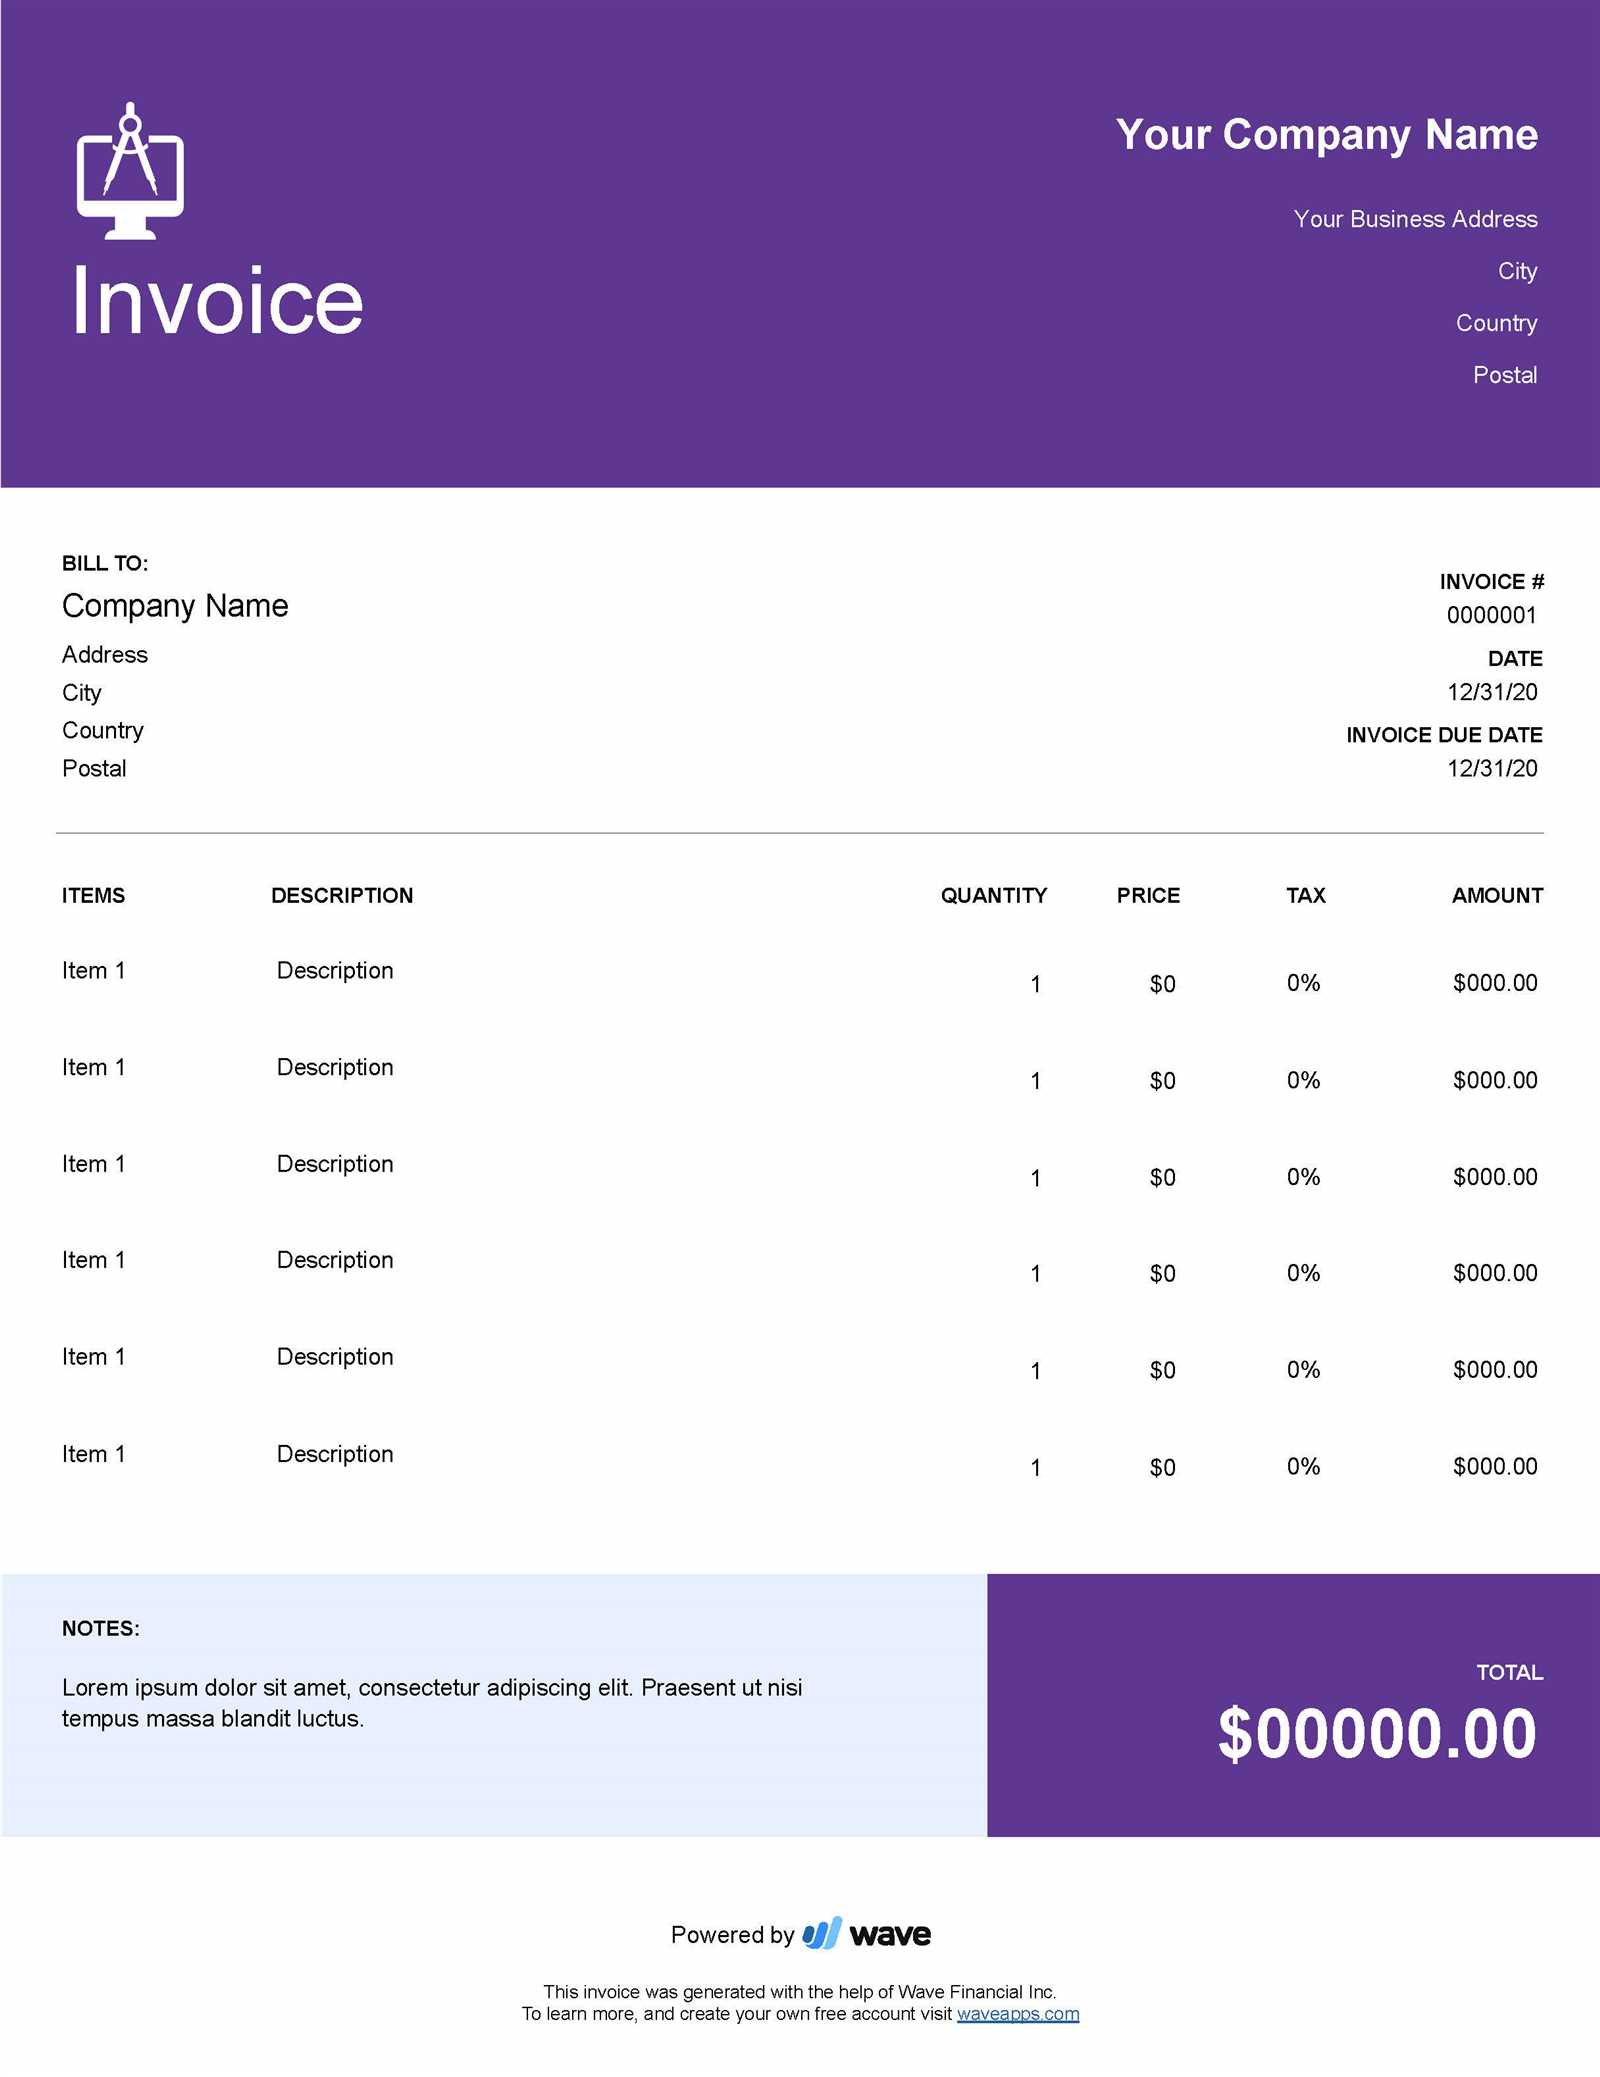
One of the most common mistakes is failing to include all necessary details or entering inaccurate information. This can delay payments or lead to misunderstandings. To avoid this:
- Double-Check Client Information: Ensure that the client’s name, address, and contact details are correct. A simple typo can lead to confusion or an incorrect payment.
- Be Accurate with Dates: Always include the correct billing date and payment due date. Missing or incorrect dates can cause confusion about payment timelines.
- Provide a Detailed Breakdown: Be sure to list the services or products provided in clear terms, with prices or rates for each. A vague or incomplete description can lead to questions or disputes over the amount owed.
Failure to Include Payment Terms

Another common oversight is neglecting to clearly outline payment terms, which can cause delays or confusion. It’s essential to make sure your client knows when and how they should pay. Here’s how to avoid this mistake:
- Clarify Payment Deadlines: Specify when the payment is due and if there are any late fees associated with overdue payments. For example, “Payment is due within 30 days of receipt, with a 2% late fee added after that period.”
- State Accepted Payment Methods: Always sp
How to Send Your Billing Statement to Clients
Sending a billing statement to clients is a key part of maintaining professionalism and ensuring timely payments. The method you choose to send the document can impact how quickly your client processes the payment, as well as how they perceive your professionalism. Understanding the best practices for sending these documents can help you avoid delays and ensure that the process is smooth for both you and your client.
Choosing the Right Delivery Method
There are several methods you can use to send your billing document, each with its own advantages. It’s important to choose the method that is most convenient for both you and your client, while ensuring that the document is received promptly and securely. Common delivery options include:
- Email: Sending a billing document via email is one of the quickest and most efficient methods. Be sure to attach the document in a widely accepted format, such as PDF, to ensure it is easily accessible and cannot be easily altered.
- Online Billing Platforms: Using an invoicing software or online platform is another effective way to send a billing statement. These platforms often provide additional features such as payment tracking, automatic reminders, and integrated payment methods, making the process easier for both you and your client.
- Physical Mail: Although less common, some clients may prefer receiving physical copies of documents. If you choose this method, ensure that you use a reliable mailing service and send the document well in advance of the payment deadline.
Professional Presentation and Timing
When sending your billing statement, always ensure that it is professionally presented and sent at the right time. Here are some tips to consider:
- Double-Check Your Document: Before sending, verify that all the details are correct, including client info
What to Do if Payments Are Late
When a payment is delayed, it can disrupt your cash flow and cause unnecessary stress. However, how you handle late payments can affect your professional relationships and ensure that you are paid fairly for the work you’ve done. It’s important to remain calm, professional, and organized when addressing overdue payments to avoid escalating the situation.
The first step is always to review the terms of your agreement and confirm that the payment is indeed late. If it is, here are the actions you can take to address the issue:
Send a Friendly Reminder
Sometimes, a simple reminder is all that’s needed. Clients may have missed the payment deadline or forgotten to make the payment. Sending a courteous follow-up message can often resolve the issue without tension. In your reminder:
- Be Polite: Use a friendly and professional tone. For example, “I hope this message finds you well. I wanted to follow up on the payment for the recent project, which was due on [date]. Please let me know if you need any further details to complete the transaction.”
- Provide Payment Details: Include relevant information like the amount due, your payment instructions, and the original due date to make it easy for your client to make the payment.
- State a New Due Date: If necessary, set a new deadline for the payment and offer a reasonable time frame for settlement.
Consider a Late Fee
If the payment continues to be delayed, i
Free vs Paid Billing Documents for Independent Professionals
When it comes to creating professional documents for your business transactions, choosing between free and paid options can have a significant impact on your workflow. Free templates may be tempting due to their cost-effectiveness, but paid options can offer additional features and customization that can help streamline your operations. Understanding the pros and cons of each can help you make an informed decision on which is best suited for your needs.
Advantages and Disadvantages
Both free and paid options offer various benefits depending on your specific requirements. Below is a comparison that highlights the key differences between the two choices:
Feature Free Templates Paid Templates Customization Options Limited customization options, often with basic layouts. Highly customizable designs and additional features like branding, color schemes, and logos. Ease of Use Simple to use but may lack advanced features like automated calculations or integrations. More user-friendly with advanced functionalities, such as pre-filled fields and automated calculations. Support No support; you may need to rely on external guides or forums. Customer support and assistance from the software provider if you encounter any issues. Cost Free, no cost involved. Requires a one-time fee or subsc Tools to Automate Your Billing Process
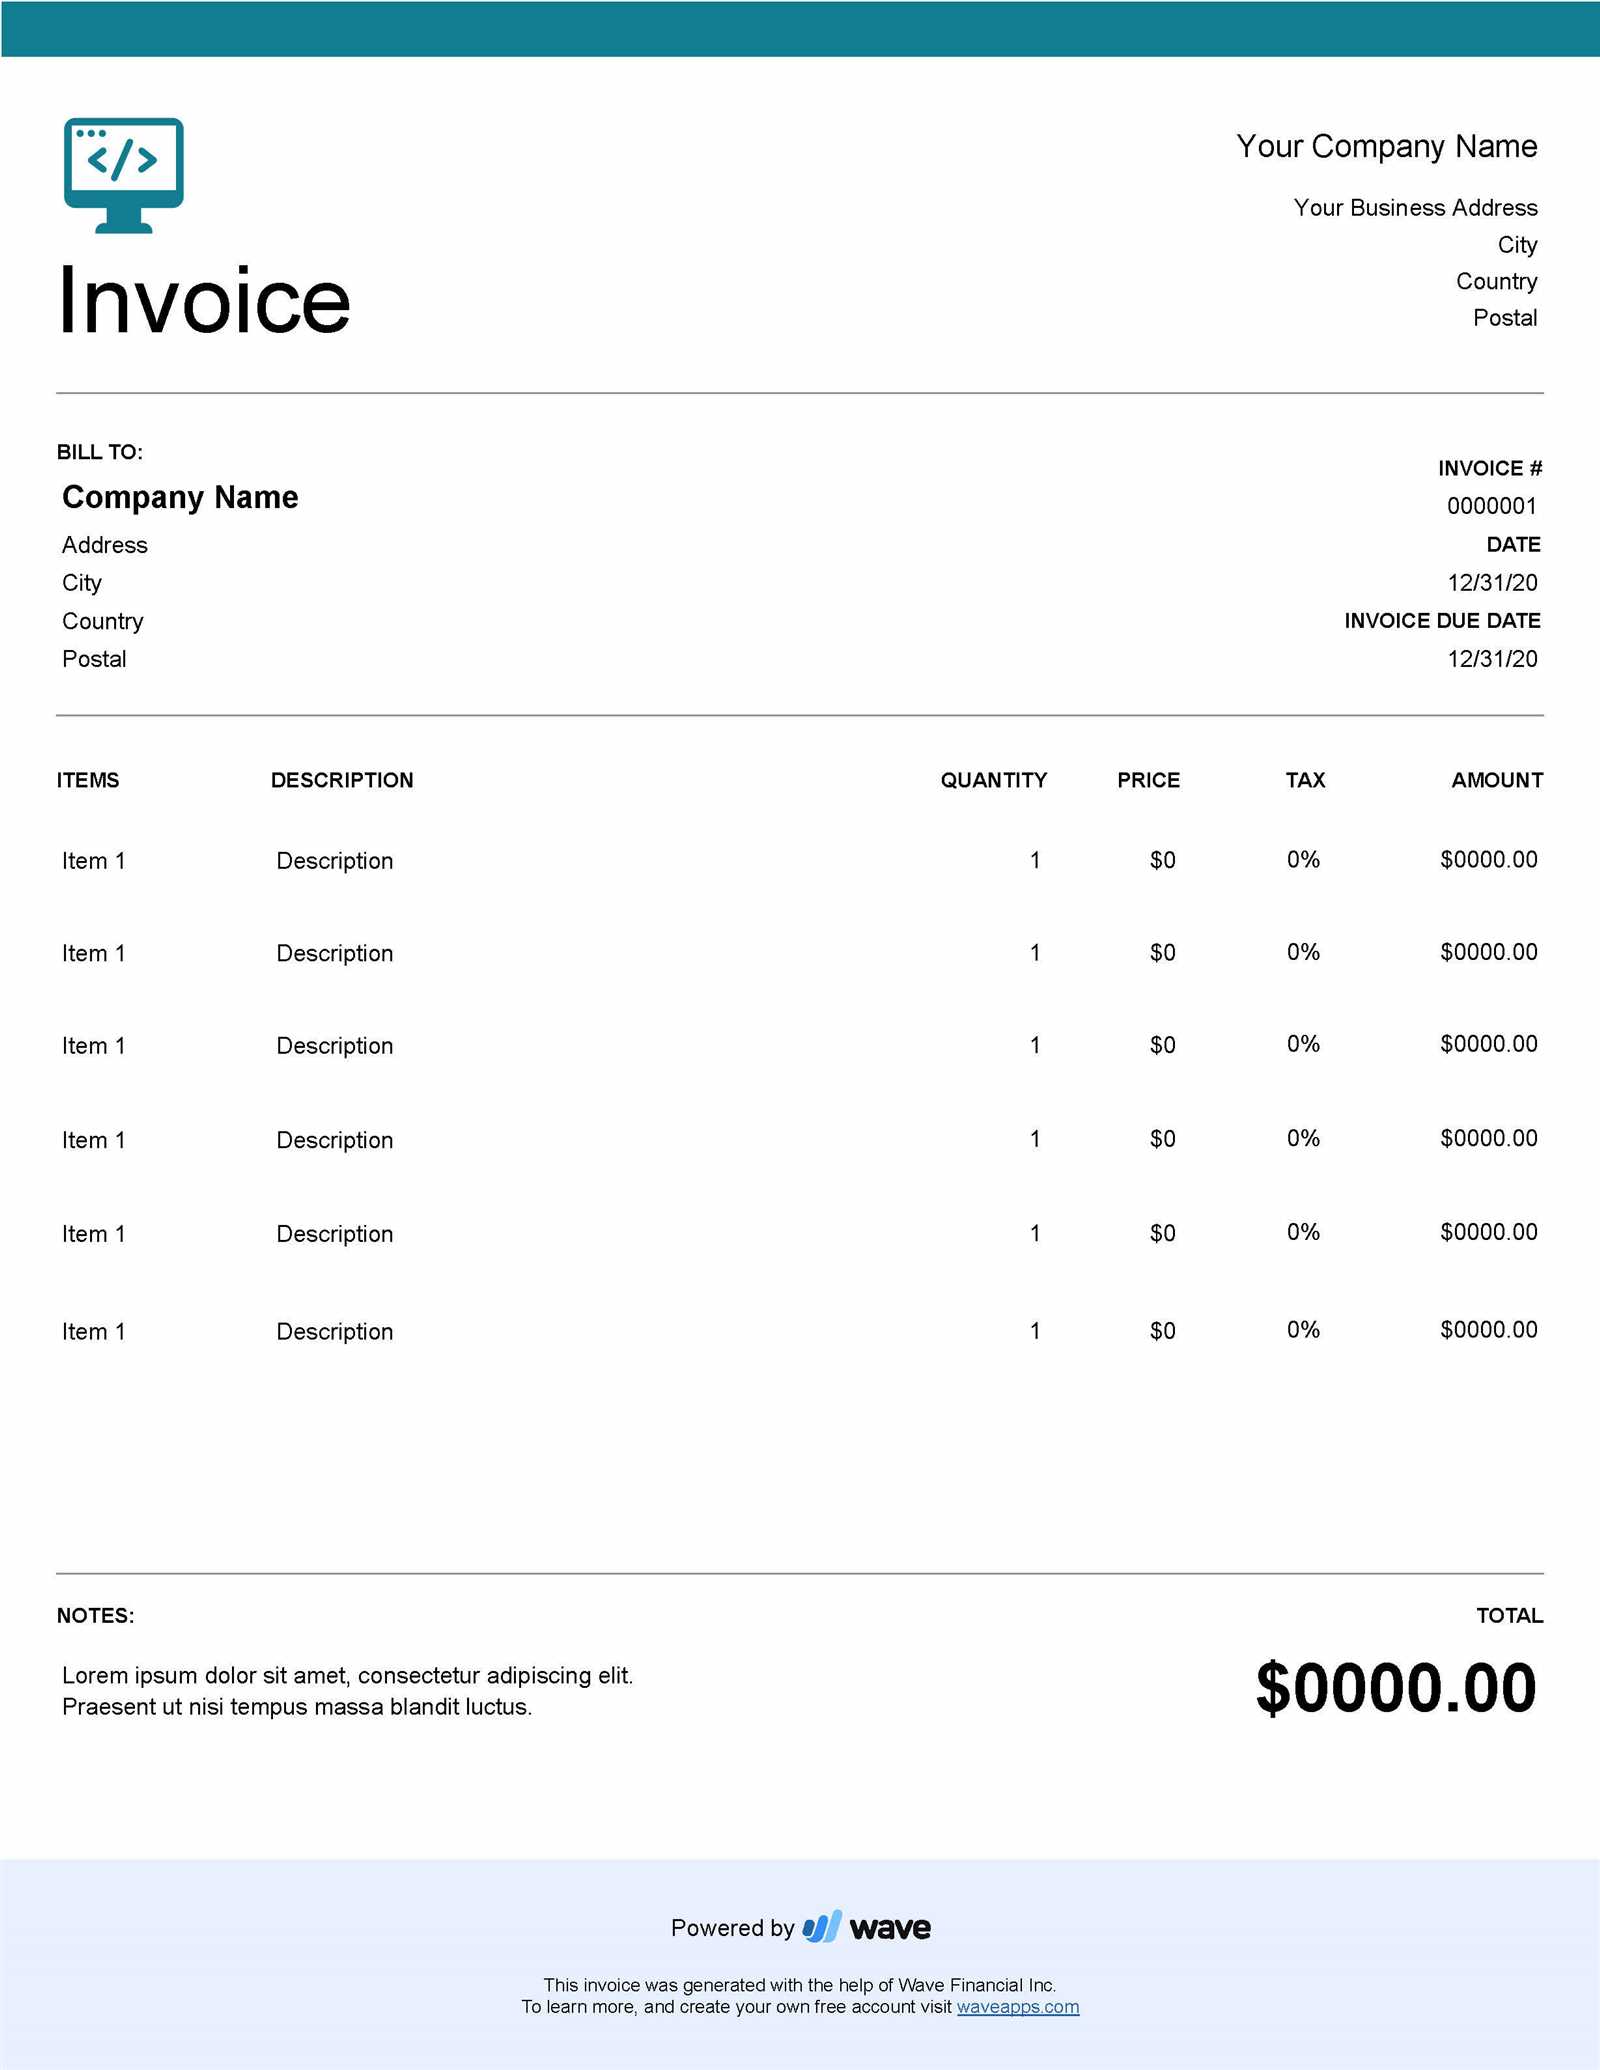
Managing your billing process manually can be time-consuming and prone to errors, especially as your business grows. Fortunately, there are a variety of tools designed to automate this task, helping you save time and reduce the risk of mistakes. By leveraging automation, you can focus more on your core tasks while ensuring that payments are processed efficiently and on time.
Popular Tools for Streamlining Your Billing
There are several software options available that can simplify and automate your billing tasks. Below are some of the most popular and widely used tools for independent professionals:
- FreshBooks: A user-friendly invoicing and accounting software that allows you to create professional billing documents, track expenses, and even accept payments online. FreshBooks also includes automated reminders and recurring billing features.
- QuickBooks: This comprehensive accounting tool offers robust invoicing features, including automated invoice creation, expense tracking, and integration with payment systems. QuickBooks is suitable for businesses of all sizes.
- Zoho Invoice: An intuitive invoicing platform that allows you to automate tasks such as recurring billing, payment reminders, and time tracking. Zoho Invoice also provides a range of customizable templates to suit different business needs.
- PayPal: While primarily a payment gateway, PayPal also offers tools for creating and automating simple billing documents. It’s a great option for smaller businesses looking for a straightforward solution with the added benefit of easy payment processing.
- Harvest: Known for its time-tracking features, Harvest also allows you to create and send automated billing documents, track payments, and set up recurring invoices. It’s ideal for businesses that need to bill based on time worked.
Key Features to Look for in Billing Automation Tools
When choosing an automation tool for your billing process, there are several features to keep in mind to ensure that the tool meets your needs:
- Re