How to Create an Effective Invoice Template
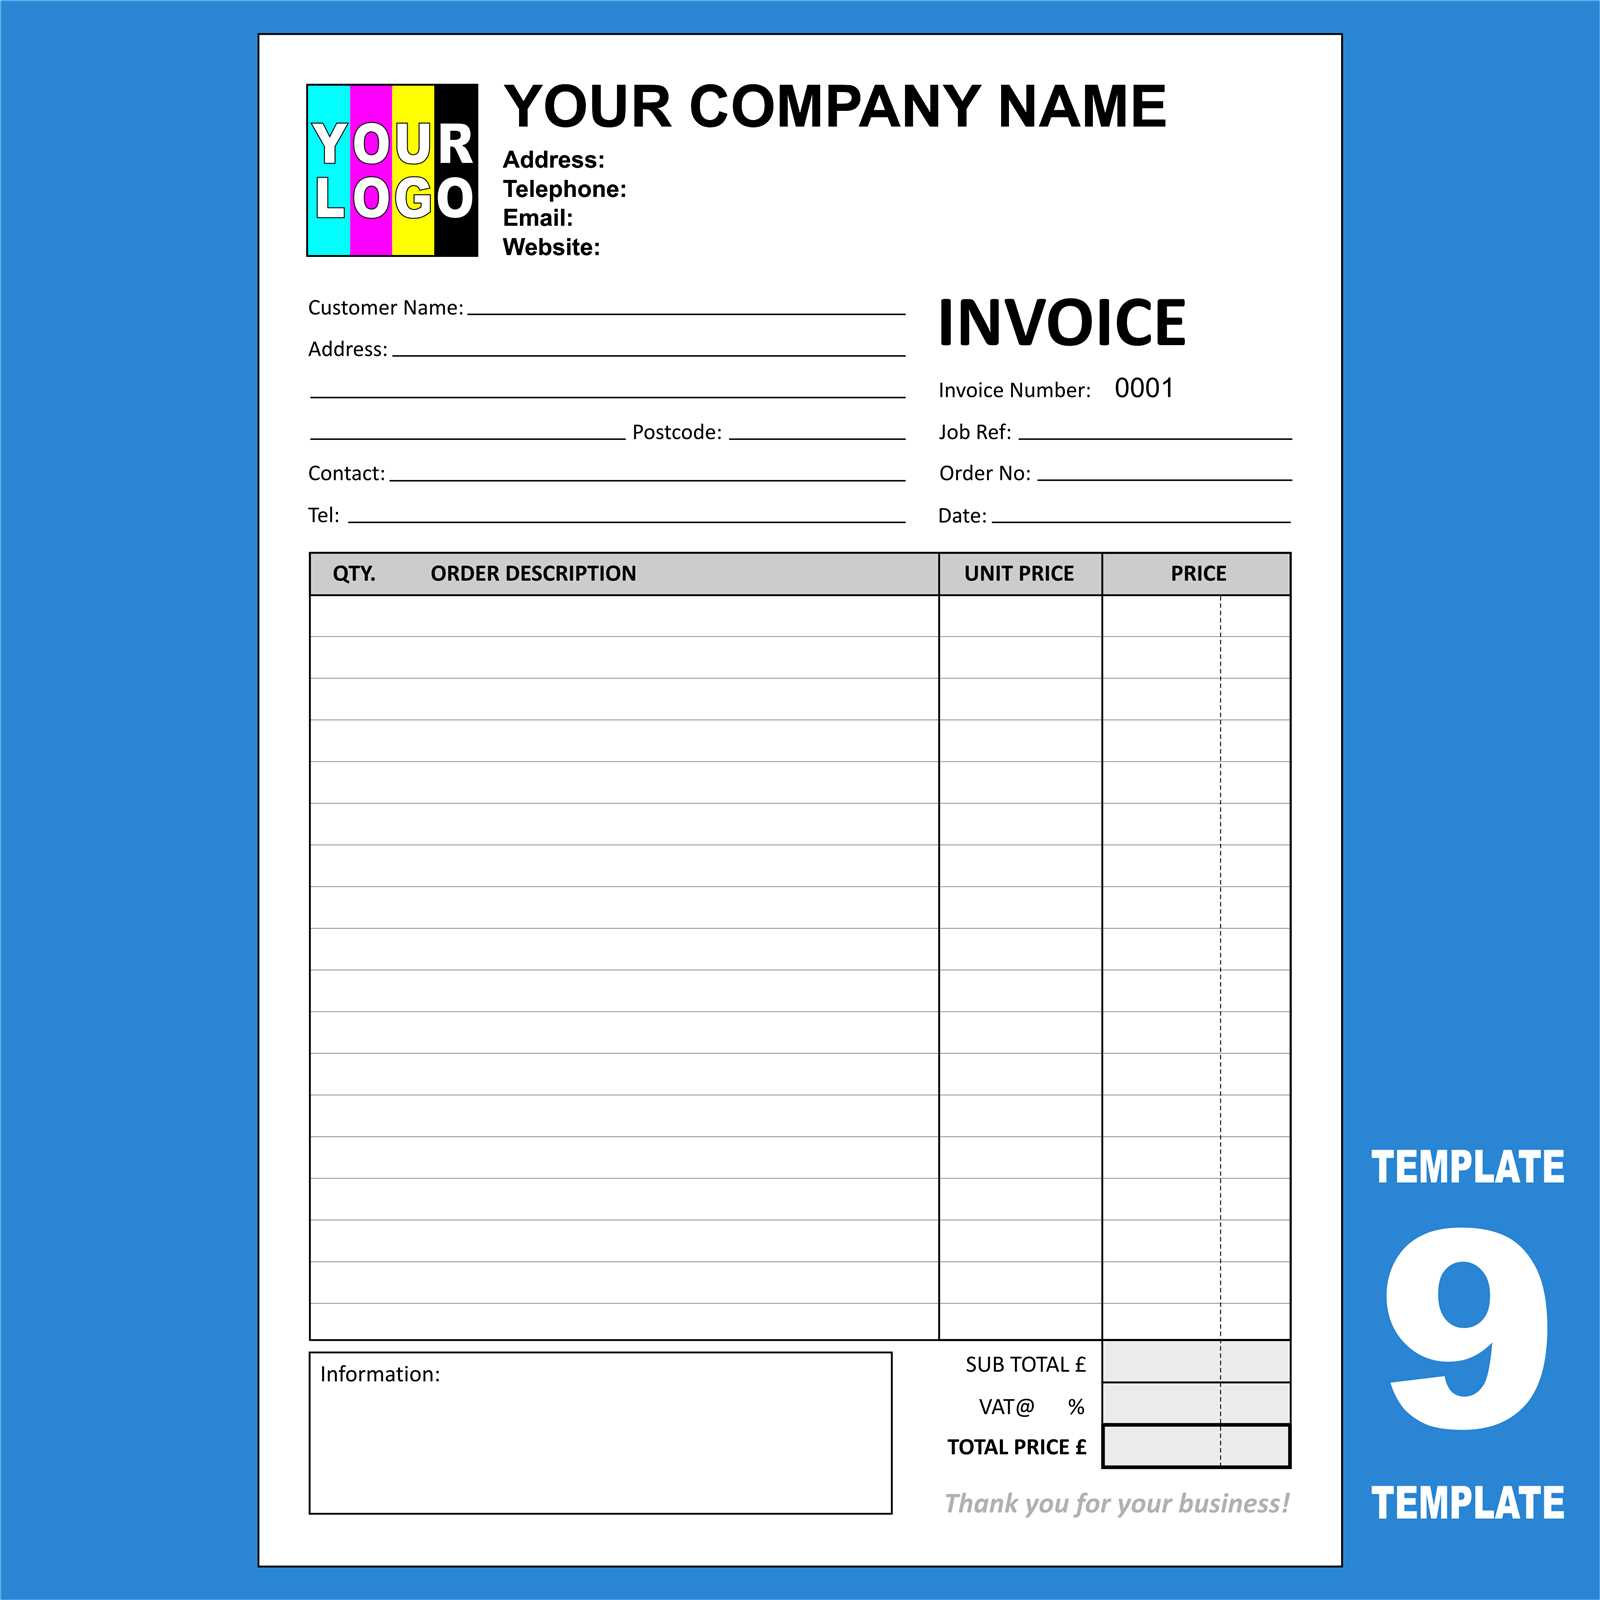
Running a business involves many tasks, one of which is managing financial transactions. A well-organized document that outlines payments, services, and due dates is essential for smooth operations. It helps both you and your clients stay on track with financial matters, ensuring clarity and professionalism in every deal.
By crafting a structured and easy-to-use document, you can streamline the process of requesting payments. This guide will walk you through the steps of creating a useful, personalized format that meets the needs of your business while maintaining a professional appearance. With just a few simple adjustments, you’ll be able to make this tool work for any transaction.
Whether you are a freelancer, small business owner, or part of a larger company, having an efficient system in place is crucial. Designing a document that suits your brand and provides essential information can save time and avoid errors when dealing with customers or clients.
Why You Need an Invoice Template
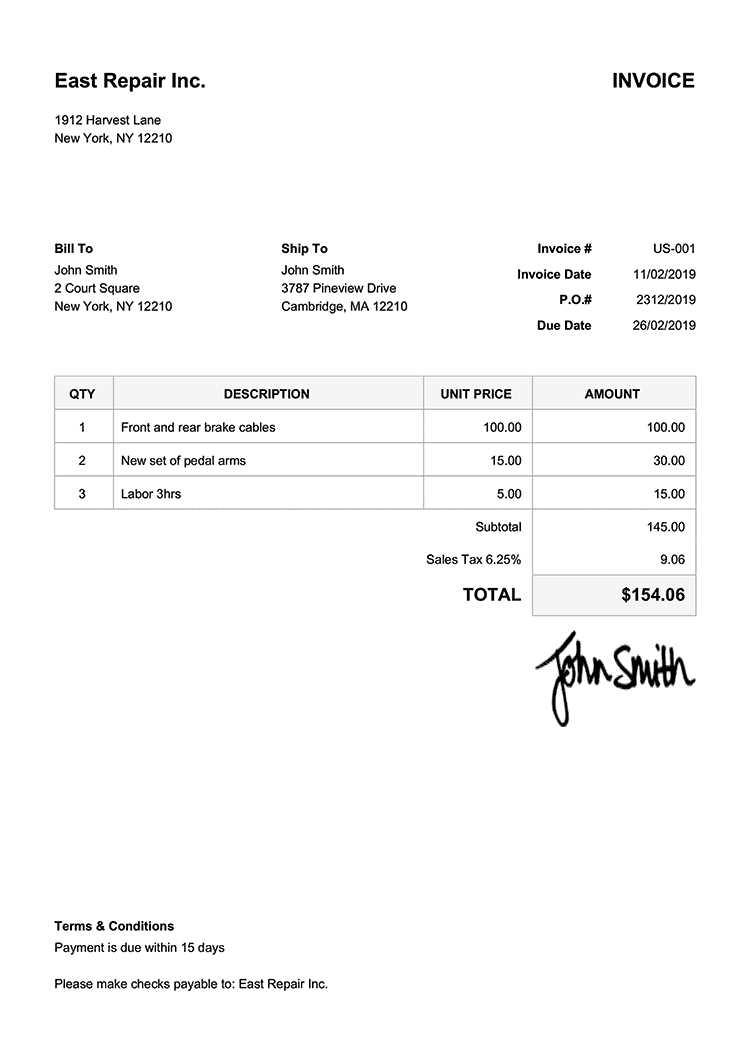
Having a structured document for billing is essential for every business, regardless of size. It ensures that all necessary information is included in a clear and professional format, making the payment process smoother for both you and your clients.
By using a pre-designed layout, you eliminate the need to start from scratch each time, saving time and reducing the risk of errors. Here are some reasons why adopting such a system is important:
- Consistency: A uniform document gives your business a professional image, making it instantly recognizable to clients.
- Efficiency: Having a set format speeds up the process of generating new records, allowing you to focus on other tasks.
- Clarity: A well-organized document ensures that all relevant details, such as amounts due, services rendered, and due dates, are easily understood.
- Tracking: A standard format makes it easier to keep track of past transactions, payments, and overdue amounts.
- Customization: A flexible layout can be tailored to fit your unique business needs, allowing you to add or remove fields as necessary.
In summary, using a standardized billing document simplifies your financial processes, helps maintain professionalism, and ensures that both parties are on the same page regarding payments.
Choosing the Right Invoice Format
Selecting the correct layout for your billing documents is crucial for effective communication and smooth transactions. A well-structured format ensures all necessary information is displayed clearly and professionally, helping to avoid confusion or delays in payment.
When deciding on a structure, consider factors such as the nature of your business, your client’s preferences, and the specific details you need to include. Different formats serve different purposes, so it’s important to choose one that fits your workflow and provides all relevant data in an easy-to-read manner.
Here are some key elements to consider when choosing the right structure:
| Factor | Considerations |
|---|---|
| Business Type | Service-based businesses may need more detailed descriptions, while product-based businesses may focus on quantities and prices. |
| Client Requirements | Some clients may request specific formatting or additional fields, such as purchase order numbers or payment instructions. |
| Legal Compliance | Ensure your layout meets any legal requirements for taxes, addresses, or other relevant information specific to your location or industry. |
| Ease of Use | Choose a format that allows for quick updates and adjustments, especially if you work with different clients regularly. |
By evaluating these factors, you can choose the right structure that not only fits your needs but also enhances professionalism and clarity in your financial transactions.
Key Components of an Invoice
A well-constructed billing document should contain all the essential details to ensure both parties are clear on the terms of the transaction. It’s not just about requesting payment; it’s about providing a record that includes everything needed to avoid confusion and maintain professionalism.
The following elements are critical for a complete and functional document:
- Business Information: Your company name, contact details, and logo should be clearly displayed for easy identification.
- Client Information: Include the recipient’s name, address, and contact information to ensure the correct person is billed.
- Unique Reference Number: A specific number or code helps to track and organize records efficiently.
- Description of Goods/Services: Provide a clear breakdown of what is being billed, including quantities and unit prices, if applicable.
- Amount Due: List the total amount to be paid, including any applicable taxes, fees, or discounts.
- Payment Terms: Clearly outline the payment due date, methods of payment, and any late fees if applicable.
- Payment Instructions: Provide your preferred payment details, such as bank account numbers or online payment links.
- Additional Notes: Include any other relevant information, such as terms of service, return policies, or special instructions.
These components ensure that your document provides all the information needed to facilitate a smooth and transparent financial exchange between you and your client.
How to Design Your Layout
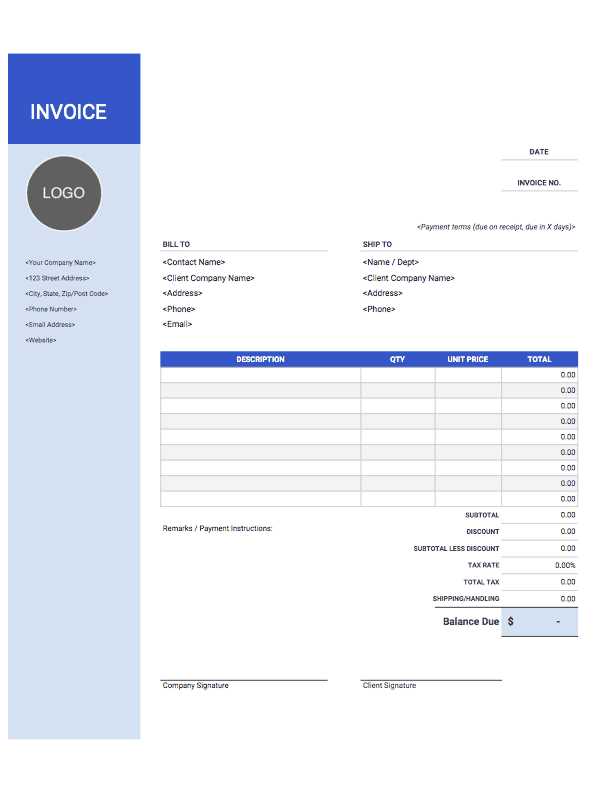
The layout of your billing document plays a crucial role in ensuring that all the information is presented clearly and professionally. A well-organized design helps prevent confusion and makes it easy for your clients to review and process payments. By structuring the content in a logical, visually appealing way, you can improve the overall user experience for both you and your clients.
Basic Design Considerations
When designing your document, consider the following elements to create a clean and effective layout:
- Clarity: Ensure that all key information is easy to find and read. Use headers, bold text, and clear spacing to separate different sections.
- Branding: Incorporate your company’s logo and color scheme to maintain brand consistency and professionalism.
- Readability: Choose legible fonts and avoid overly complex styles. Stick to standard font sizes for easy reading.
- Alignment: Keep text and numbers aligned properly, especially when listing items or services. Proper alignment improves the document’s overall flow.
- Whitespace: Leave enough space between sections to avoid a cluttered look. This helps to keep the document clean and visually balanced.
Choosing the Right Structure
The structure of your document should be both functional and visually appealing. Consider dividing it into distinct sections for easy reference. Here’s an example of a simple structure:
- Header: Include your company’s logo, name, and contact information.
- Client Information: Display the client’s name, address, and contact details.
- Details of Services/Products: List what is being billed, including descriptions, quantities, and prices.
- Total Due: Highlight the total amount payable clearly at the bottom.
- Payment Instructions: Provide clear and concise instructions on how to pay.
By focusing on clarity and consistency, you can create a layout that is both functional and professional, making the billing process smooth for everyone involved.
Customizing Your Document for Branding
Your billing document is more than just a request for payment; it’s an opportunity to reinforce your brand identity. By customizing the design and content, you can create a consistent, professional appearance that reflects your company’s values and personality. Whether you’re a freelancer or a large business, a branded document helps to build trust and makes your communications instantly recognizable.
Incorporating Your Brand Elements
When customizing your layout, consider the following elements to ensure that your document aligns with your brand image:
- Logo: Place your company logo at the top of the document to establish a clear connection with your brand.
- Color Scheme: Use your brand’s colors throughout the document, whether in the header, footer, or section headings, to maintain visual consistency.
- Fonts: Stick to the fonts used in your other branding materials. Using your brand’s typography ensures a cohesive look across all business communications.
- Tagline or Slogan: If applicable, include your tagline in the header or footer to further emphasize your brand’s message.
Personalizing the Message
In addition to the visual elements, personalizing the content can also strengthen your brand’s presence. Here are some tips:
- Professional Tone: Maintain a consistent tone that reflects your brand’s personality. Whether it’s formal, friendly, or casual, the language should match your company’s voice.
- Customizable Notes: Include a personal message or thank-you note to enhance the customer experience. A small gesture like this can help establish a positive relationship.
- Clear Branding Guidelines: Ensure that your document follows your overall branding guidelines, such as logo placement, color usage, and typography style, for a polished and professional look.
By thoughtfully integrating these branding elements, you ensure that your billing documents not only function as payment requests but also act as an extension of your brand, leaving a lasting impression on your clients.
Adding Payment Terms and Conditions
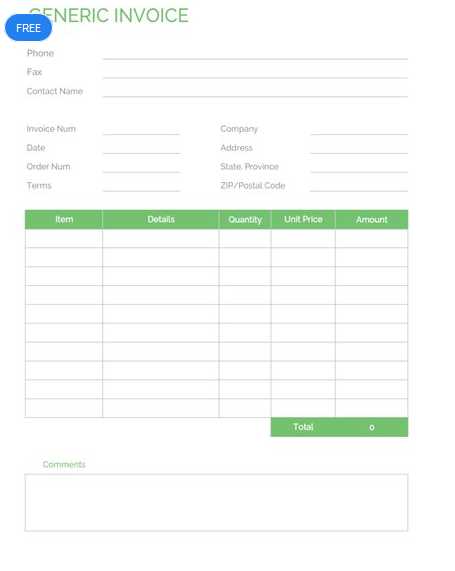
Clearly defined payment terms and conditions are crucial to ensure both parties understand the expectations surrounding payment. Including this information helps to prevent misunderstandings and ensures that your client knows exactly when and how to settle their account. By outlining specific terms, you also protect your business from late payments or disputes.
When adding payment terms, it is important to cover the following aspects:
- Due Date: Specify when payment is expected, whether it’s due upon receipt, within 30 days, or on a particular date. This sets clear expectations for timely payment.
- Accepted Payment Methods: List the types of payment you accept, such as bank transfers, credit cards, or online payment platforms. This removes any ambiguity regarding how the transaction should be completed.
- Late Fees: Include a clause outlining any late fees or interest charges for overdue payments. This encourages prompt payment and helps you recover any costs associated with delays.
- Discounts for Early Payment: If applicable, offer discounts for early settlement, which can incentivize faster payments and strengthen client relationships.
- Refund and Return Policy: If your services or products are subject to refunds or returns, outline your policy to avoid confusion or disputes later on.
Including these details not only clarifies the payment process but also enhances the professionalism of your communications. It ensures that both you and your clients are aligned, reducing the chances of miscommunication and fostering a positive working relationship.
Creating a Simple Document in Word
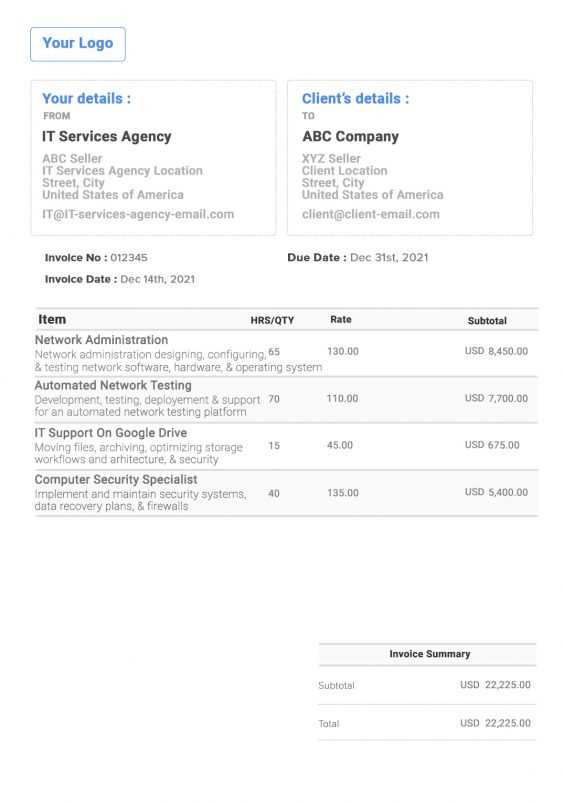
Designing a straightforward billing document in Word is a quick and efficient way to manage payment requests. With a few simple steps, you can craft a clean and professional-looking document that contains all the necessary information, from client details to the total amount due. Word offers flexibility in formatting, making it an ideal tool for those who prefer a basic yet functional solution for their business needs.
Steps to Design Your Document
Follow these steps to create a simple yet effective document using Microsoft Word:
- Open a New Document: Start by creating a blank document in Word to work with a clean slate.
- Insert Your Business Information: At the top of the document, add your company name, logo, contact details, and any other relevant business information.
- Client Information: Below your business details, include the client’s name, address, and contact details. Ensure that these are clearly separated from your business information.
- Detail the Items/Services: Create a simple table to list the products or services you are charging for. Include columns for descriptions, quantities, unit prices, and totals.
- Summarize the Payment: At the bottom of the table, calculate the total amount due. Make sure this figure is easy to spot by using bold text or a larger font size.
- Specify Payment Terms: Below the payment summary, add your payment terms, such as due date, accepted payment methods, and late fees, if applicable.
Final Touches
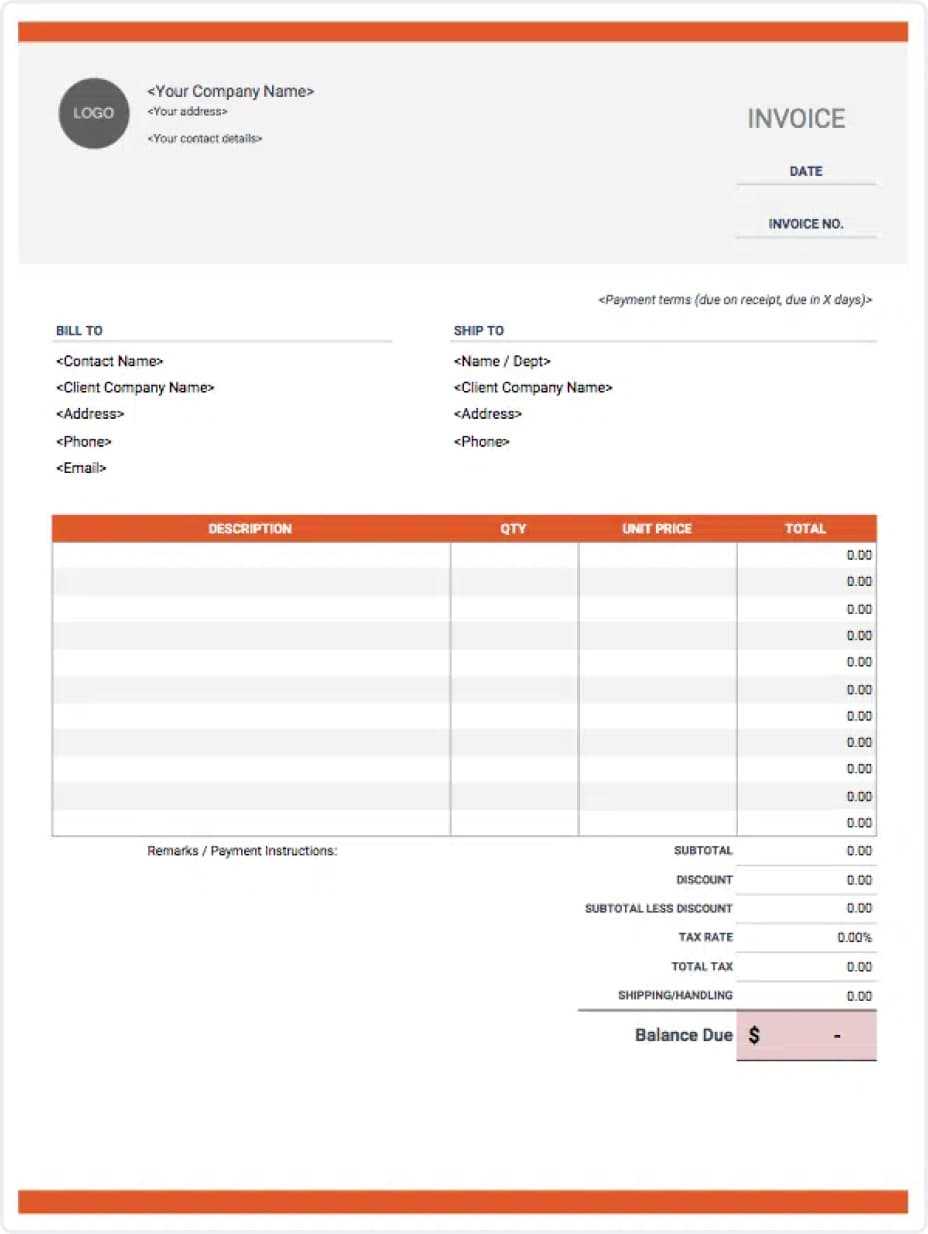
After inputting all the necessary details, give your document a final review. Ensure that everything is aligned properly, the text is clear, and the layout looks professional. You may also want to save the document as a template for future use, so you can easily update the details for new clients.
By following these simple steps, you can create a professional and easy-to-use document that serves your business needs effectively, all within the familiar environment of Microsoft Word.
Using Excel to Build an Invoice
Excel offers a powerful and flexible platform for designing and managing billing documents. Its built-in tools for calculation and formatting make it an ideal choice for creating organized, accurate financial records. Whether you’re running a small business or need a simple way to track payments, Excel allows you to efficiently manage the details of any transaction.
To build a functional and professional-looking document using Excel, follow these simple steps:
- Set Up the Layout: Start with a blank sheet and create sections for your business information, client details, and transaction breakdown. Excel’s grid layout helps you align and organize your content easily.
- Business Information: In the header, include your company name, logo, and contact information. Use larger font sizes or bold formatting to make it stand out.
- Client Details: Below your business information, list your client’s name, address, and contact information. Keep this section clear and separated from the rest of the document.
- Detail the Products/Services: Use a table to list each product or service, including columns for description, quantity, unit price, and total amount. Excel will automatically calculate totals if you use formulas.
- Calculate the Total Amount: In the bottom row, create a formula to sum up the total cost. Excel’s SUM function will help you easily calculate the overall amount due.
- Payment Terms: Below the totals, include a section for your payment terms, such as the due date, accepted payment methods, and any late fees.
Once you’ve built your document, you can save it for future use and even create variations for different clients or services. Excel also allows you to customize the layout with borders, colors, and fonts to match your branding.
By using Excel, you can streamline the process of managing transactions and create professional, error-free documents with ease.
Designing an Invoice in Google Docs
Google Docs provides a simple yet effective platform for designing professional billing documents. With its cloud-based functionality, it’s easy to create and store your documents online, making them accessible from anywhere. Google Docs allows you to design a clean, straightforward layout while maintaining a high level of customization to match your brand identity.
Here’s how to design a functional document in Google Docs:
- Start with a Blank Document: Open a new document in Google Docs to begin. This gives you a clean slate to work with, allowing full flexibility for your design.
- Insert Your Company Information: At the top of the document, add your company name, logo, and contact details. This helps establish a professional appearance and ensures your clients know how to reach you.
- Client Details: Below your company information, include the client’s name, address, and contact details. Make sure this section is clearly separated from the rest of the document for better readability.
Now, to organize the billing information, follow these steps:
| Description | Quantity | Unit Price | Total |
|---|---|---|---|
| Service/Product 1 | 1 | $100 | $100 |
| Service/Product 2 | 2 | $50 | $100 |
Ensure that the table includes columns for the description, quantity, unit price, and total for each item. This helps to break down the costs in a clear and structured way. After listing all the items or services, sum the total cost at the bottom of the table.
- Calculate the Total: Add a final row in the table to sum up all the totals and display the overall amount due.
- Include Payment Terms: After the table, add a section for payment instructions, including the due date, accepted payment methods, and any late fees if applicable.
Google Docs allows you to adjust fonts, spacing, and alignment to further personalize the document and make it visually appealing. Once you’ve finished designing, you can save it to your Google Drive or download it as a PDF for easy sharing with your clients.
Automating Invoice Creation with Software
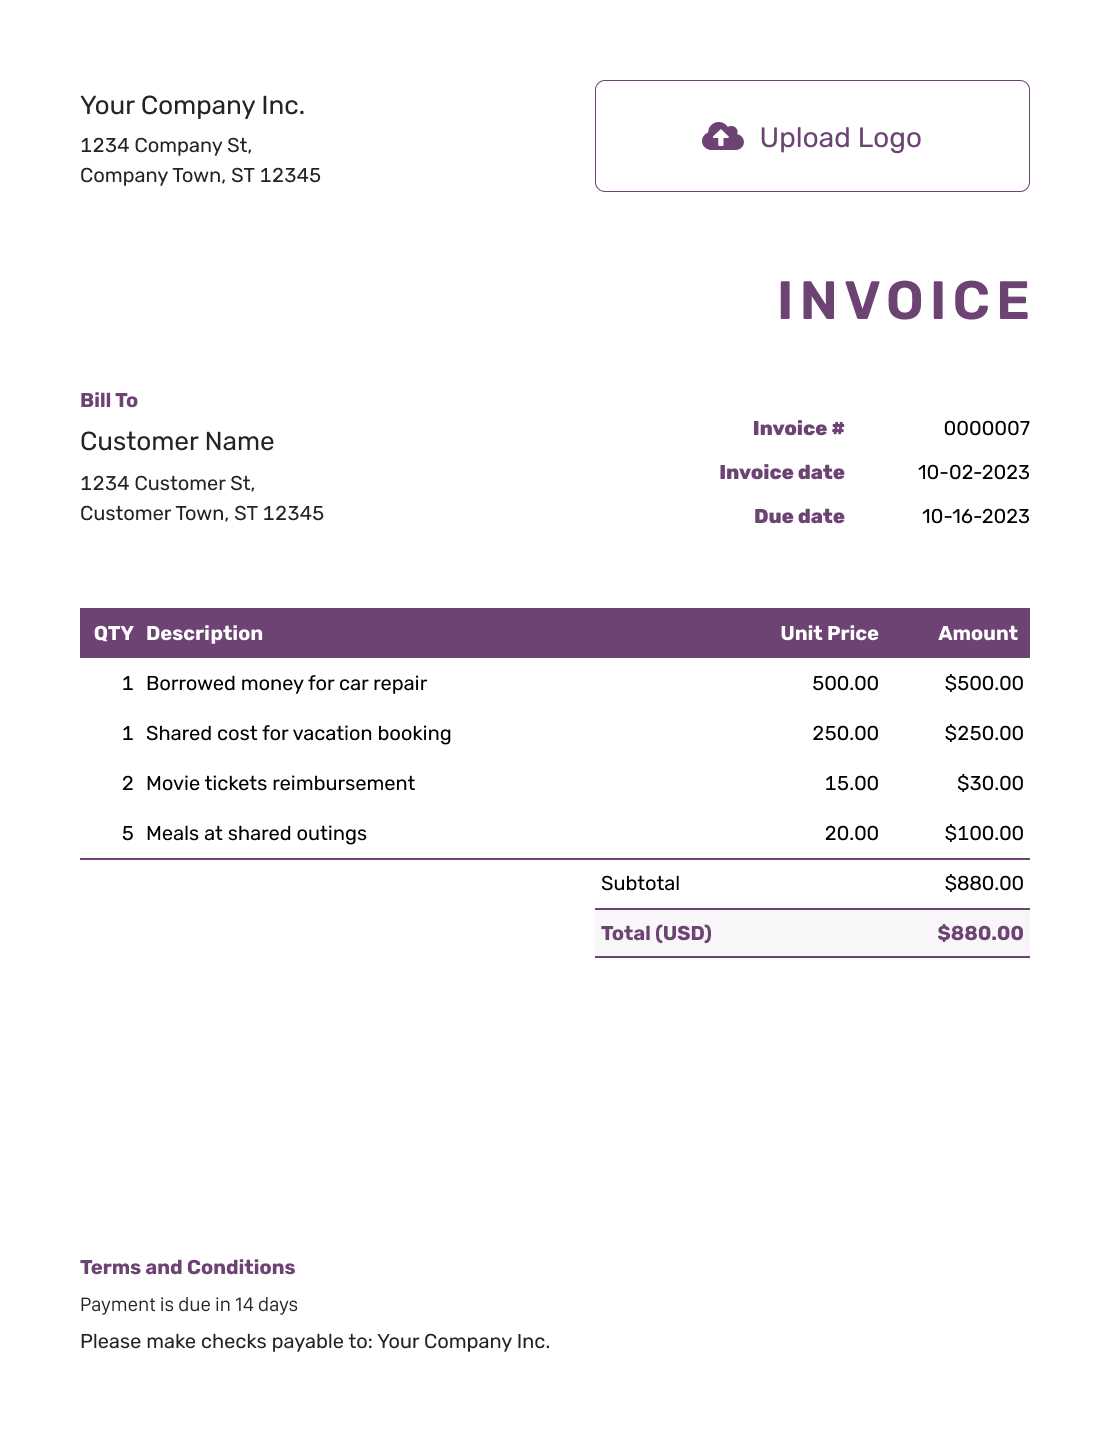
Using specialized software to automate the process of generating billing documents can significantly streamline your business operations. Automation tools help reduce human error, save time, and ensure consistency across all your financial records. With the right software, you can quickly create accurate and professional documents without needing to manually input every detail for each transaction.
Here’s how automation can benefit your billing process:
- Efficiency: Software can automatically populate the document with client information, items or services provided, and pricing based on previous entries, reducing the need for manual data entry.
- Time Savings: By setting up templates and automation rules, you can create billing documents in a fraction of the time compared to doing everything manually.
- Consistency: With automated systems, you ensure that all your documents follow the same format and style, promoting a professional appearance for your business.
- Accuracy: Automated software minimizes human error, ensuring that all calculations are correct and that no essential details are overlooked.
Most modern billing software allows you to store client data securely and reuse it for future transactions. This means you don’t have to re-enter client information each time you generate a document, further improving workflow efficiency.
In addition, many platforms offer features like integrating payment systems, sending reminders, and tracking the status of outstanding payments, making it easier to manage your finances and follow up with clients as needed.
By adopting automation for your billing processes, you can free up valuable time for other aspects of your business while ensuring that your financial documents are accurate and professional every time.
How to Incorporate Your Logo
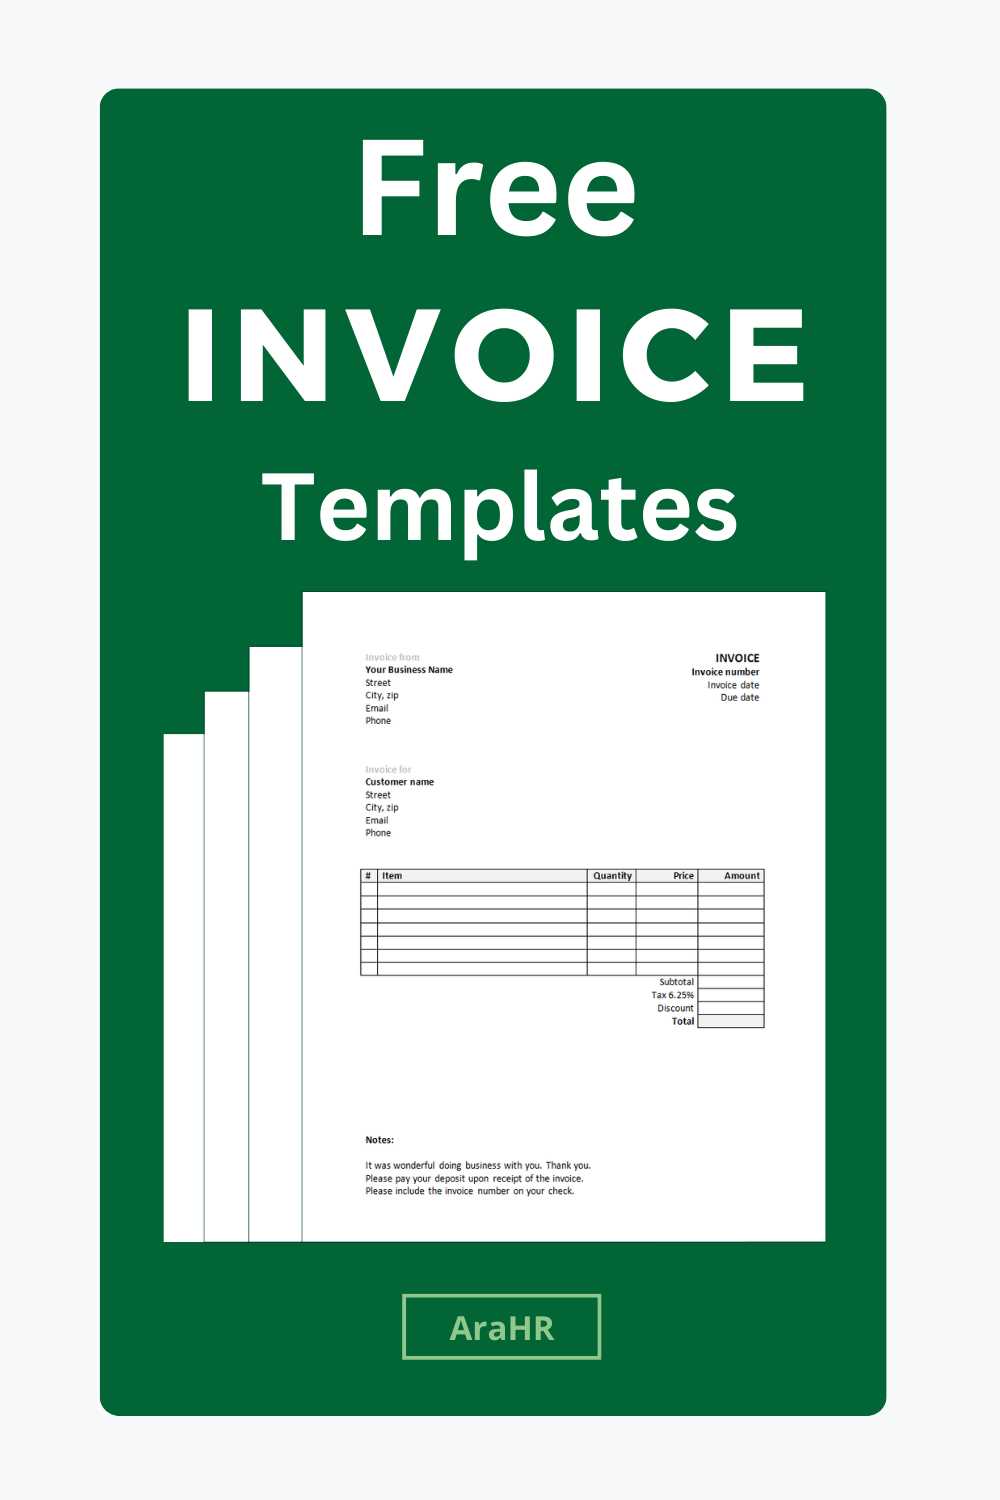
Adding your company’s logo to a billing document is an essential step in reinforcing your brand identity. A logo helps to make your document instantly recognizable, professional, and aligned with your overall marketing efforts. Whether you’re using a word processor or a spreadsheet, there are simple ways to ensure that your logo enhances the design without overwhelming the content.
Here’s how to incorporate your logo effectively:
Positioning Your Logo
- Top Left or Center: Placing your logo at the top left corner or in the center of the document ensures it stands out and is visible to the reader right away. This placement is ideal for creating a polished and professional look.
- Consider Size: Keep your logo at an appropriate size–large enough to be visible but not so large that it distracts from the rest of the content. Aim for a size that is in proportion with the document’s layout.
- Avoid Overcrowding: Ensure there is enough space around the logo so that it doesn’t feel crowded by text or other elements. This gives the design a clean, organized appearance.
File Format and Quality
- Use High-Resolution Files: Make sure your logo is of high quality, preferably in vector format (e.g., SVG or PNG), to maintain clarity when printed or viewed on different devices.
- Transparent Background: Logos with a transparent background integrate seamlessly into different document designs without any unwanted borders or color blocks. This creates a professional and neat look.
By following these steps, your logo will not only serve as a branding tool but also contribute to the overall aesthetic and professionalism of your document. Proper placement and file format are key to ensuring your logo enhances, rather than detracts from, the document’s content.
Setting Up Invoice Numbering System
Having a clear and consistent numbering system for your billing documents is crucial for tracking and organizing financial records. A well-structured system helps avoid confusion, ensures proper record-keeping, and makes it easier to manage your accounts. Properly numbering your documents also helps with audits and legal compliance by providing a unique reference for each transaction.
Here are some key points to consider when setting up your numbering system:
- Start with a Simple Format: Begin with a straightforward numbering structure such as a sequential number starting from 001. For example, the first document can be labeled “001,” the second “002,” and so on. This keeps the system simple and easy to follow.
- Include Year or Date: Including the year or date in your numbering can help keep track of documents over multiple years. For instance, “2024-001” could represent the first document issued in 2024, making it easier to sort and find invoices for a specific period.
- Use Prefixes for Specific Purposes: You can use specific prefixes to differentiate between types of documents. For example, “SR” for service-related documents or “PR” for product-related bills. This makes sorting and tracking more efficient.
When designing your numbering system, consider your business needs and whether you require a more complex structure, such as including client codes or internal project identifiers. A system that works well for your workflow will help ensure accuracy and efficiency in your record-keeping.
Additionally, most modern software solutions allow you to automate the numbering process, reducing the chance of errors and providing an easy way to maintain consistency across all documents.
How to Add Tax Information
Including tax details in your billing documents is an essential part of maintaining financial transparency and compliance. Properly indicating applicable taxes helps both you and your clients understand the total cost of a transaction. Tax information should be presented clearly and accurately to avoid misunderstandings and ensure that all legal obligations are met.
Follow these steps to add tax information correctly:
| Item | Description |
|---|---|
| Tax Rate | Specify the percentage of tax being applied (e.g., 10%, 15%) based on the applicable tax laws in your region or industry. |
| Tax Identification Number | Include your business’s tax ID or VAT number. This is especially important for international transactions and for businesses that are registered for tax purposes. |
| Breakdown of Charges | List each item or service separately with the corresponding tax amount. This breakdown ensures the client understands how the tax is applied to each portion of the bill. |
| Total Tax | Sum the taxes for each item or service and clearly display the total amount of tax charged at the bottom of the document. |
When displaying tax information, clarity is key. Ensure that the tax amount is easy to identify by placing it near the total or at the end of the bill, where the client can see it clearly. For added convenience, consider offering a separate section or line item dedicated solely to taxes. This not only improves transparency but also simplifies any necessary reporting or reconciliation of tax payments.
Including Discounts and Adjustments
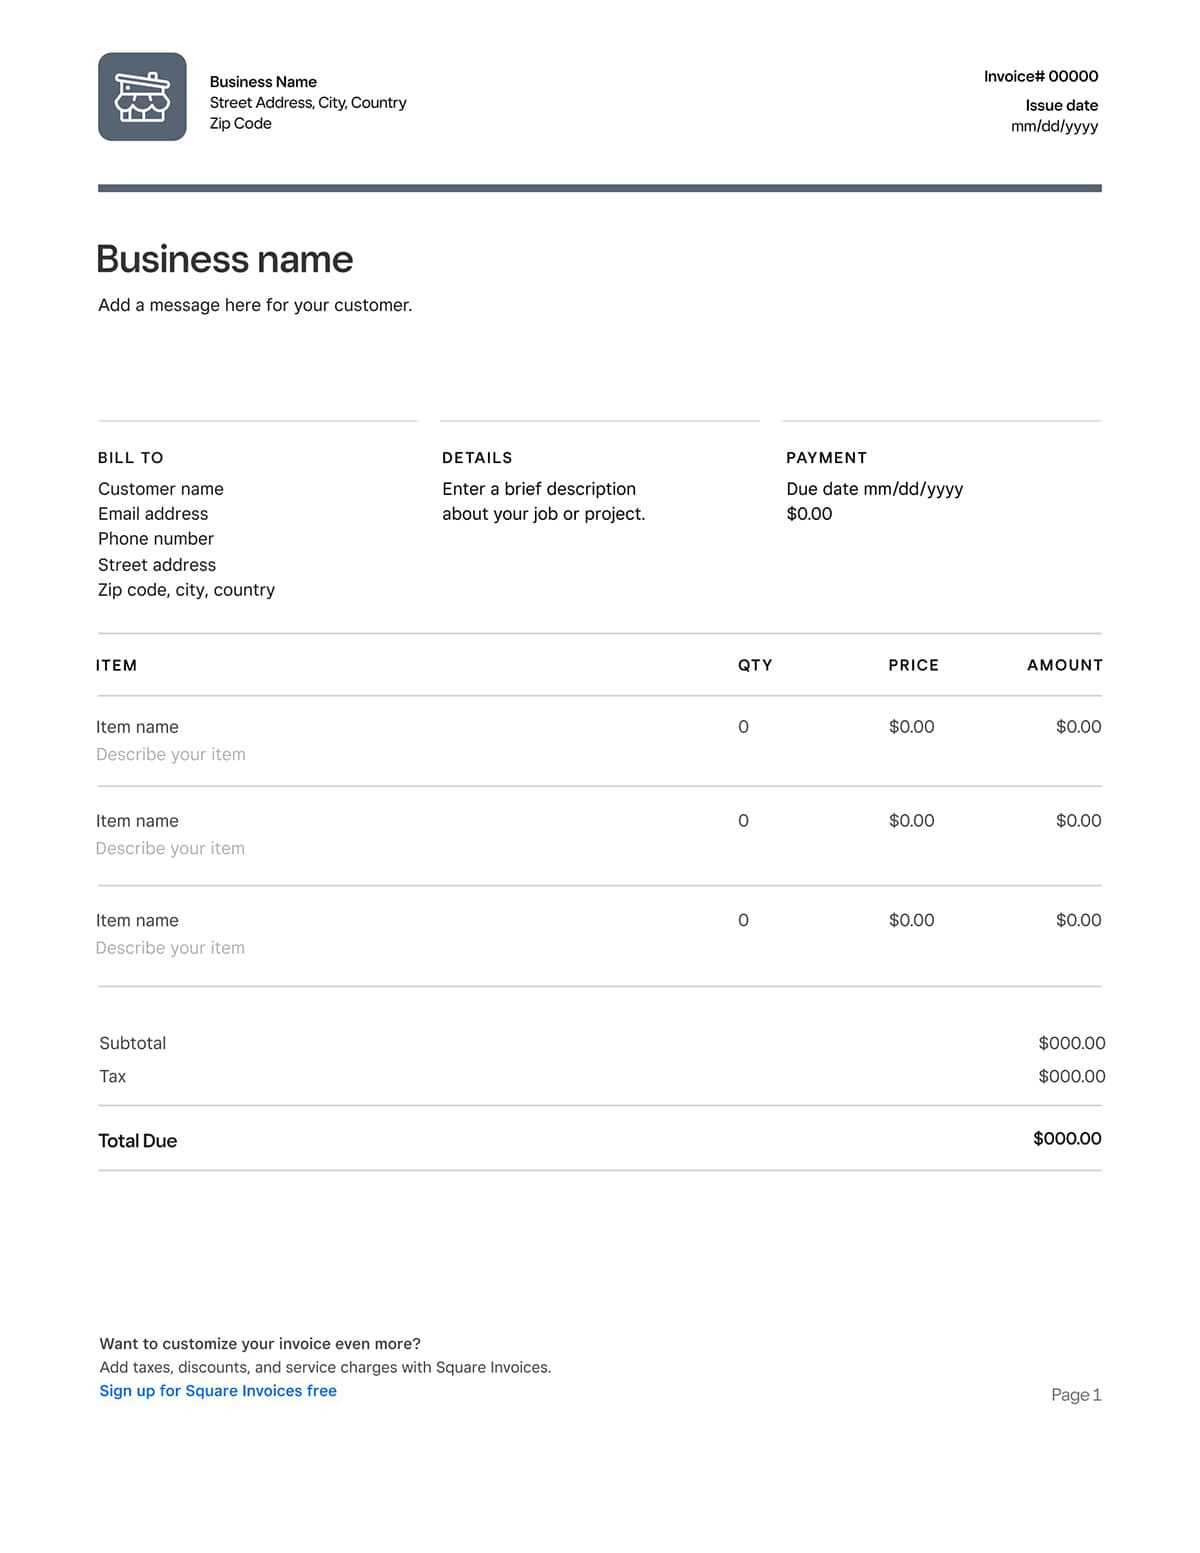
Providing discounts or making adjustments to the amount due can play a key role in building positive customer relationships while ensuring your business remains competitive. When offering reductions or changes to the billed amount, it’s important to clearly present these modifications to avoid any confusion or miscommunication. Properly documenting any deductions ensures that both you and your client understand the final charges and helps maintain transparency in your financial records.
How to Present Discounts
Discounts can be presented as a percentage or a fixed amount. It’s essential to specify the discount type and make sure it is easy for your client to see. For example, if a 10% discount is applied to the subtotal, this should be clearly labeled in the document.
- Percentage-Based Discounts: If you’re applying a discount based on a percentage, include both the percentage and the amount being reduced. For example, “10% discount – $20 off”.
- Fixed Amount Discounts: When offering a fixed discount, state the exact amount that will be deducted from the total. For example, “Special Offer – $50 discount”.
Adjustments and Corrections
Adjustments may include changes in pricing due to errors, late fees, or credit issued after a previous billing. It’s vital to clearly note the reason for any adjustment and the amount changed. This helps prevent any confusion and ensures that both parties are aligned on the final amount due.
- Price Corrections: If there was an error in pricing or quantity, document the correction with a brief explanation of what was adjusted.
- Late Fees: If there’s an applicable late fee, clearly state the fee and its reason, ensuring transparency in the billing process.
By providing a detailed breakdown of discounts and adjustments, you help your clients understand the final charges, making it easier to maintain trust and reduce the chances of disputes. Always ensure that these changes are visible and well-documented for clarity and accuracy.
Reviewing the Invoice for Accuracy
Before sending any billing document to a client, it’s crucial to review it for accuracy. An error in the details could lead to misunderstandings, delayed payments, or even disputes. Ensuring that all elements are correct before submission can save time and maintain trust with your clients. A careful check of every component of the document will help avoid costly mistakes and create a smoother transaction process.
Key Areas to Verify
When reviewing your billing document, focus on the following essential elements:
- Client Information: Ensure that the client’s name, address, and contact details are accurate and up to date. An incorrect name or address could lead to delivery or communication issues.
- Item Descriptions and Pricing: Double-check that each item or service is listed with the correct description and corresponding price. Verify the quantities and ensure there are no missing or duplicated items.
- Tax and Fees: Review the tax rates applied and ensure that any additional fees or charges are correctly calculated and listed. This includes checking for discounts or special offers that might apply.
- Total Amount: Ensure that the total amount matches the sum of all line items, taxes, and fees. A simple math error can cause confusion and delay payments.
Additional Considerations
In addition to the basic information, take time to verify these additional elements:
- Payment Terms: Check that payment terms, including due dates, accepted methods of payment, and any late fees, are clearly stated.
- Terms and Conditions: Review any legal terms, such as refund policies or delivery conditions, to ensure they are correct and relevant.
By carefully checking all aspects of the document, you can ensure that your billing process runs smoothly, avoiding errors and strengthening your professional reputation. It’s always worth taking the time to review before sending any document, as this prevents delays and potential misunderstandings with clients.
Saving and Sending Your Invoice
Once you have completed your billing document, the next step is to save it securely and send it to your client. Proper handling of this final stage ensures that your document remains accessible and professional. It is important to choose the right format for saving and to use a reliable method for delivering the document to the client.
Saving Your Billing Document
Before sending your document, save it in a format that maintains its integrity across different devices. The most commonly used format is PDF, as it preserves the layout and prevents any alterations. Be sure to save a copy for your records as well. Depending on the software you use, you may also have the option to save the document to cloud storage, making it easily accessible for future reference.
Methods for Sending the Document
Once saved, it’s time to send the document to your client. Here are some common methods:
- Email: The most common method for sending billing documents. Simply attach the saved file to an email and include a brief message explaining the contents.
- Postal Service: For clients who prefer physical copies, you can print the document and mail it. Be sure to use a secure method, such as certified mail, to ensure delivery.
- Invoice Management Software: If you’re using specialized software to manage billing, most platforms allow you to send documents directly through their interface. This method often includes tracking and delivery confirmation.
Tracking and Confirmation
It’s important to confirm that your client has received the document. When sending by email, you can request a read receipt or simply follow up with a quick message. If sending by postal mail or software, be sure to use a service that provides confirmation of receipt. This ensures that your document has been successfully delivered and opens the door for timely payment.
By following these steps, you ensure that your document is delivered securely and professionally, maintaining good relations with your client and helping to facilitate the payment process.
Keeping Track of Paid and Unpaid Invoices
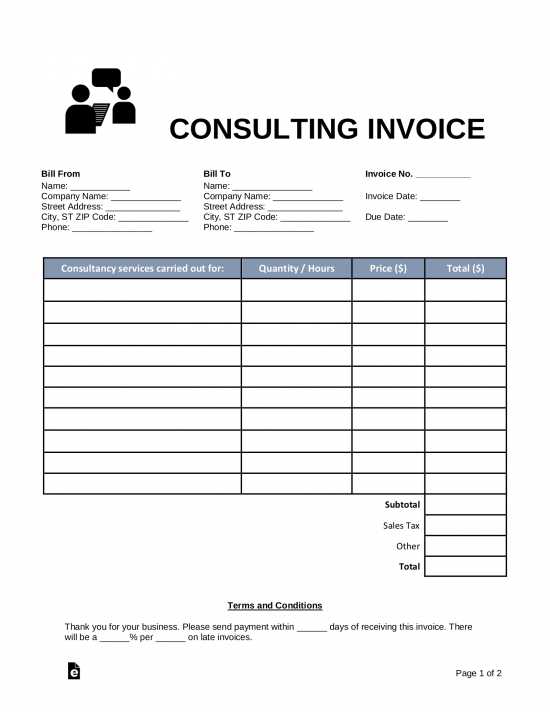
Managing financial documents effectively is crucial for maintaining a smooth cash flow and ensuring that payments are received on time. One of the most important aspects of this process is keeping track of which documents have been paid and which are still outstanding. This allows you to quickly identify overdue accounts and take the necessary steps to follow up with clients.
Organizing Your Records
To track paid and unpaid documents efficiently, you need a well-organized system. Whether you use software, spreadsheets, or paper records, having a clear system in place will help you stay on top of your accounts. Make sure to record the following details for each document:
- Document Number: This is essential for identifying each entry in your system.
- Issue Date: Helps you track the time passed since the document was created.
- Due Date: Knowing the due date allows you to monitor overdue payments.
- Amount Due: Clearly stating the amount that remains to be paid.
- Status: Labeling whether the document is paid or unpaid is key for follow-up actions.
Automating Your Tracking System
If you find manual tracking to be too time-consuming, consider using automated accounting software. Many programs can automatically update the status of each document when a payment is received, reducing the chances of human error. In addition, software often sends reminders to clients about overdue payments, which can improve the chances of prompt payment.
Following Up on Unpaid Amounts
If a document is marked as unpaid after the due date, it’s important to follow up. You can send a polite reminder via email or contact the client directly. Be sure to include details such as the document number, due date, and the amount outstanding. This keeps the communication clear and professional, ensuring that both parties are aware of the situation.
Staying on Top of Payments
Regularly review your records to ensure you haven’t missed any unpaid amounts. Set up alerts or reminders to help you keep track of upcoming payments and overdue documents. By staying on top of your records, you’ll ensure that your business operates smoothly and that payments are received in a timely manner.