How to Create an Invoice Template for Your Business
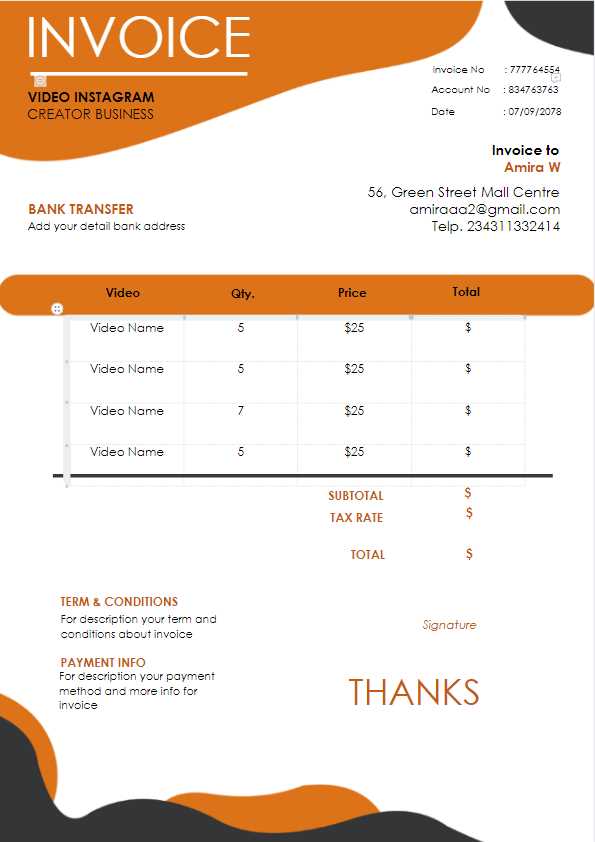
Managing financial transactions effectively requires a well-structured document that clearly outlines services, amounts due, and payment instructions. Whether you’re running a small business or freelancing, having a consistent format for detailing what your clients owe is essential. A clear and easy-to-understand structure not only simplifies your work but also helps avoid confusion and delays in payments.
In this guide, we’ll explore the key components to include when developing a payment record, how to tailor it to fit your needs, and how to enhance its design for better client communication. By following a few straightforward steps, you’ll be able to craft a professional-looking document that reflects your brand while ensuring smooth financial transactions.
Creating an Invoice Template
When managing your business transactions, having a well-organized document that summarizes the work completed and the amounts due is essential for both you and your clients. This type of document ensures clarity in financial dealings and helps to streamline your payment process. The key is designing a format that is clear, professional, and easily understood by everyone involved.
Essential Information to Include
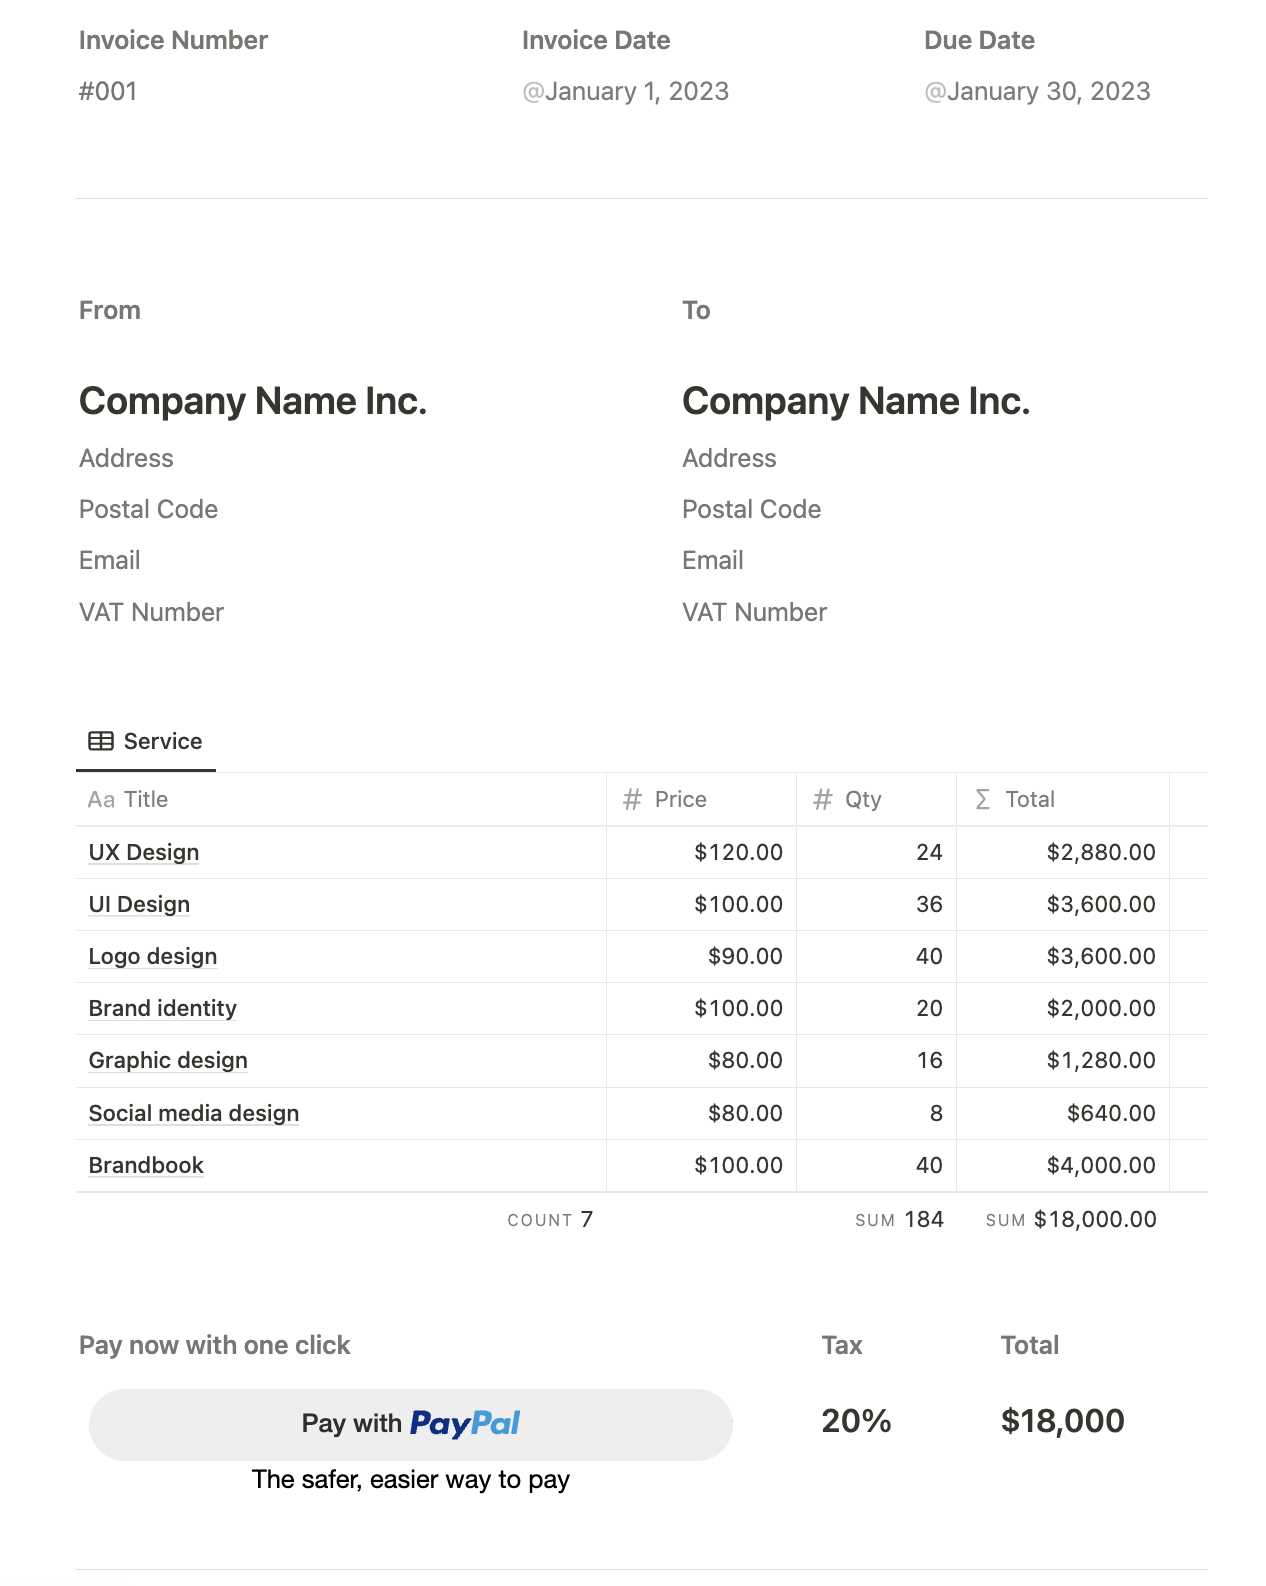
A successful billing form needs to capture the right details. Here’s a list of the most important elements to include:
- Business Information: Your name or company name, address, phone number, and email.
- Client Details: Name, address, and contact information of the person or company receiving the payment.
- Service Description: A brief description of the product or service provided, including dates and quantities if applicable.
- Payment Terms: Clear instructions on when the payment is due, accepted payment methods, and any late fees.
- Total Amount Due: A breakdown of charges and the total owed.
Customizing the Structure
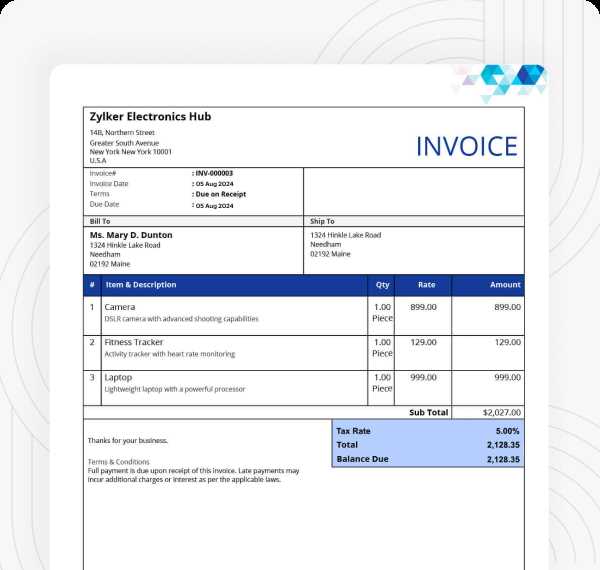
Once the essential elements are in place, you can further enhance the layout to reflect your brand. Consider using your business’s logo, choosing a clean and professional font, and organizing the sections in a way that makes it easy for clients to navigate. You can also create sections for discounts, taxes, or additional notes that may be relevant to the transaction.
Why You Need an Invoice Template
Having a standardized format for billing is essential for maintaining consistency and professionalism in your business transactions. A well-structured document helps avoid confusion, ensures clarity for both parties, and speeds up the process of collecting payments. With the right design, you can save time and reduce the likelihood of errors, making your financial dealings more efficient and streamlined.
Here are some key reasons why a standardized billing form is important:
- Time Efficiency: By using a predefined format, you avoid having to create a new document from scratch every time you need to bill a client.
- Consistency: A uniform layout helps maintain a professional image, ensuring that all your clients receive the same clear and well-organized details.
- Accuracy: Including all necessary fields and sections reduces the risk of forgetting important information, such as payment terms or tax details.
- Branding: Customizing your form with your business logo and contact details adds a personal touch that reinforces your brand’s identity.
- Legal Protection: A properly structured document serves as a legal record of the transaction, helping protect both parties in case of disputes.
Key Elements of an Invoice
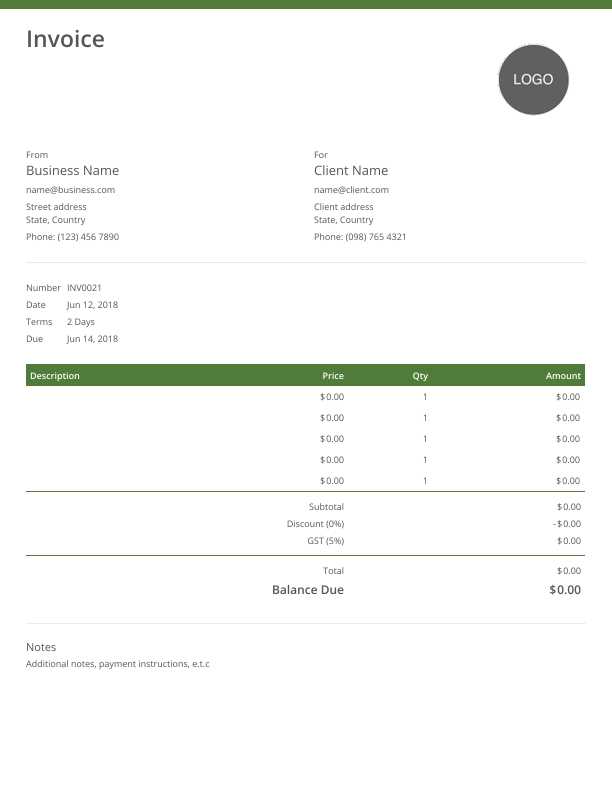
To ensure clarity and professionalism, a billing document should include specific details that are essential for both parties to understand the transaction fully. These key components ensure that the recipient has all the necessary information to process payment accurately and on time, while also safeguarding both sides legally and financially.
Critical Information to Include
There are several fundamental elements that should always appear in a well-designed document. These include:
- Your Business Information: This should include your company name, address, contact details, and any registration or tax ID number if applicable.
- Client Details: Clearly state the recipient’s name, address, and contact information to ensure proper identification and delivery.
- Description of Services or Products: List each item or service provided, including quantities, rates, and dates to avoid ambiguity.
- Total Amount Due: A breakdown of the charges and the final sum to be paid, including any taxes or additional fees.
- Payment Terms: Clear instructions on the payment deadline, methods of payment, and any late fees for overdue amounts.
Additional Helpful Information
While the above elements are essential, certain optional details can enhance the clarity and professionalism of your document:
- Discounts or Special Offers: If applicable, be sure to clearly outline any discounts provided.
- Purchase Order Number: If the client has issued a purchase order, including this can help both parties track the transaction easily.
- Notes or Instructions: Any special instructions or additional comments that may clarify the agreement.
Choosing the Right Format for Invoices
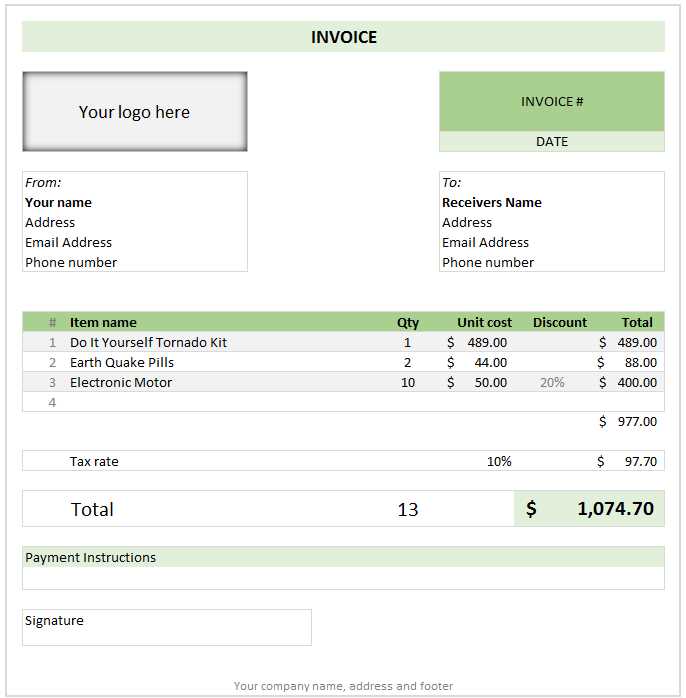
Selecting the appropriate structure for your billing documents is essential to ensure clarity and professionalism in every transaction. The format you choose can affect how easily clients understand the charges and terms, which can, in turn, influence how quickly payments are processed. Whether you opt for a digital or physical version, a simple yet organized layout ensures the document is both functional and easy to navigate.
Here are a few considerations to help you choose the right design:
- Simplicity and Clarity: The layout should be clean and straightforward, making it easy for your clients to identify key details, such as the total amount due, payment terms, and your contact information.
- Customization Options: Depending on your business type, you may need additional fields for things like discounts, taxes, or custom payment instructions. Choose a format that allows you to customize these elements as needed.
- Digital vs. Paper: If you’re managing transactions electronically, consider using a PDF or an online platform that supports digital signatures and automatic reminders. For physical documents, ensure that the format is professional and easy to print.
Choosing a format that aligns with your business operations and communication style will make the payment process smoother for both you and your clients, ultimately improving your cash flow management.
Customizing Your Invoice Layout
Personalizing your billing document allows you to create a design that reflects your business’s branding and meets your specific needs. Whether you want to emphasize your company logo, highlight payment terms, or add unique sections for discounts or additional services, customization helps ensure your form stands out and provides all necessary information in an organized manner.
Essential Customization Options
There are several elements you can adjust to improve the structure and look of your document. Consider the following:
- Logo and Branding: Adding your logo and using your brand’s colors and fonts gives your document a professional appearance while reinforcing your business identity.
- Section Placement: Organize the sections based on importance. For example, placing the total amount due at the top ensures that clients see it immediately, while payment terms can be positioned near the bottom.
- Additional Fields: Include sections for notes, discounts, or custom messages. This is especially useful for businesses offering seasonal promotions or specific payment options.
Making Your Layout Client-Friendly
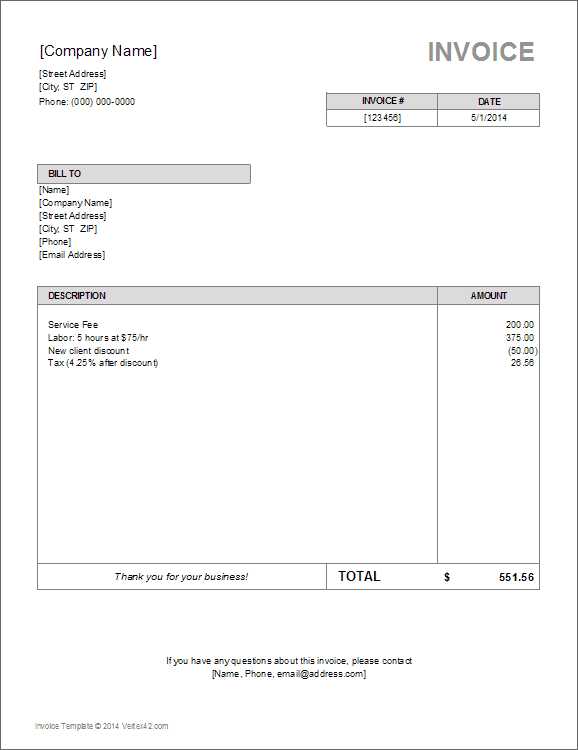
While customization is essential, it’s equally important to maintain a layout that is easy for clients to read and understand. Here are some tips:
- Whitespace: Ensure there is enough space between sections so the document doesn’t feel overcrowded. A clean, open layout enhances readability.
- Clear Headings: Use bold text or larger fonts for headings to make each section distinct and easy to navigate.
- Consistent Alignment: Align the text and columns consistently to create a tidy and professional-looking document.
Essential Information for Accurate Invoices
For a billing document to be both clear and legally sound, it must include all the key details necessary to outline the terms of the transaction. Missing information or errors can lead to misunderstandings, delayed payments, or even disputes. Ensuring that every required field is filled out correctly is crucial for maintaining professionalism and avoiding potential issues.
The following elements are essential for creating an accurate and reliable document:
- Your Business Details: Always include your business name, address, phone number, and email to make it easy for the client to reach you. Additionally, any tax ID number or registration number should be listed if relevant.
- Client’s Information: Clearly state the full name or company name of the recipient, along with their contact details, to ensure proper identification.
- Item or Service Description: Provide a detailed breakdown of the services rendered or goods delivered, including dates, quantities, and rates to avoid any confusion.
- Total Amount Due: List the total amount owed, including any taxes, discounts, or additional charges. Make sure this is clearly visible and easy to understand.
- Payment Instructions: Specify the payment methods accepted, along with any due dates and penalties for late payments. This ensures that the client knows exactly how to settle the amount.
How to Add Payment Terms
Clearly stating the payment terms in a billing document is crucial for avoiding misunderstandings and ensuring timely payments. Payment terms outline when and how the client should pay, including any specific conditions or penalties for late payments. By setting these terms upfront, you create transparency and reduce the chance of disputes.
Here are the key components to include when adding payment terms:
- Due Date: Specify the exact date by which the payment should be made. Common terms include “Net 30” (payment due in 30 days), “Due Upon Receipt” (payment expected immediately), or a custom date based on your agreement.
- Accepted Payment Methods: List all the methods you accept, such as bank transfers, credit cards, checks, or online payment platforms like PayPal or Stripe.
- Late Payment Fees: If applicable, outline any fees for late payments. For example, “A 5% late fee will be applied for payments received after 30 days.”
- Discounts for Early Payment: Some businesses offer a discount for early payments. For example, “A 2% discount will be applied if payment is made within 10 days.”
- Partial Payments: If you accept partial payments, specify how they should be made and the schedule for subsequent payments.
Including clear payment terms helps both parties understand the expectations and ensures smooth financial transactions.
Incorporating Your Branding into Invoices
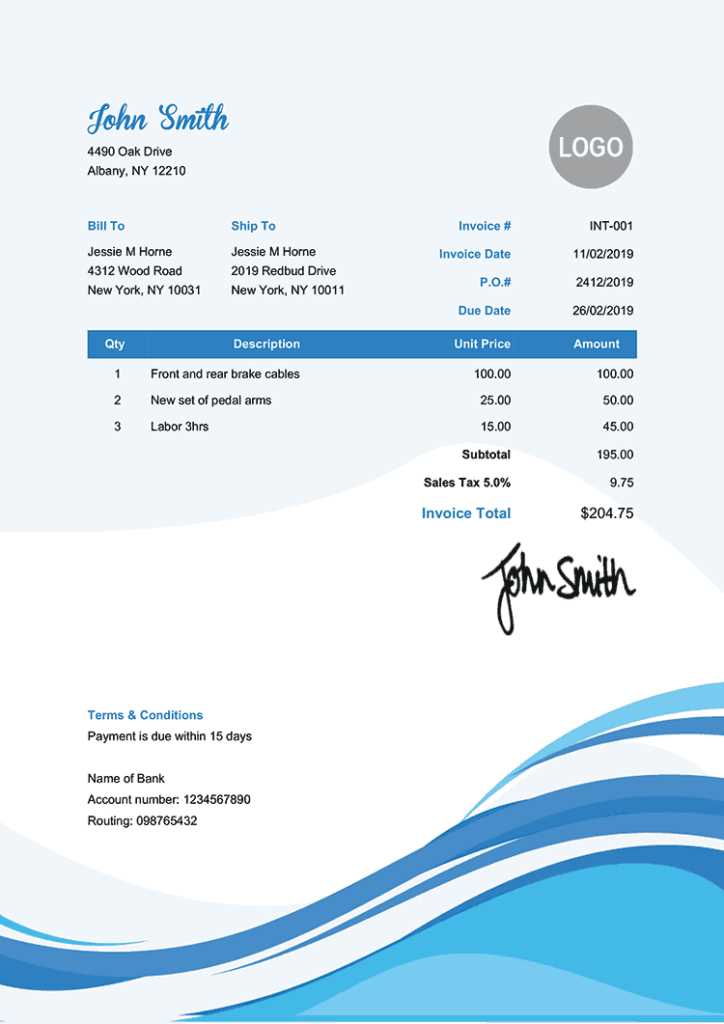
Integrating your company’s branding into your billing documents not only enhances their professional appearance but also reinforces your identity in every transaction. By customizing the layout with your logo, colors, and fonts, you create a cohesive experience for your clients and present your business as organized and trustworthy.
Here are several ways to incorporate your branding effectively:
- Logo Placement: Include your company logo at the top of the document, where it’s easily visible. This reinforces brand recognition and gives the document a polished look.
- Brand Colors: Use your company’s color scheme for headings, borders, or section highlights. This can make your billing forms feel more aligned with your overall brand identity.
- Font Consistency: Choose fonts that match your brand’s style guide. Use the same typefaces across your documents to ensure consistency and a professional tone.
- Custom Footer: Add a custom footer with your business contact information, website, or social media links. This adds an extra layer of professionalism and gives your clients easy access to reach out.
- Personalized Message: Including a thank-you note or a personalized message can make your document feel more friendly and engaging, further reinforcing your brand’s customer-focused approach.
By aligning your billing format with your business’s visual identity, you ensure that every interaction with your clients reflects the professionalism and consistency of your brand.
Using Software to Design Templates
Designing your billing documents with specialized software can significantly streamline the process and give you more control over the final result. Whether you need to create a custom layout or choose from pre-designed options, these tools allow you to easily organize information, maintain consistency, and ensure your documents look professional every time.
Many software solutions offer intuitive drag-and-drop features, customizable fields, and various formatting options that help speed up the design process. These tools can also automate certain tasks, such as calculations or generating recurring documents, saving you time and reducing the risk of errors.
Common software tools for designing billing forms include:
- Microsoft Word or Google Docs: These word processors offer simple formatting tools and pre-built templates for quick document creation.
- Accounting Software: Programs like QuickBooks or FreshBooks provide specialized billing features, including customizable layouts and the ability to track payments and due dates.
- Graphic Design Software: Tools such as Adobe InDesign or Canva give you full creative control, allowing you to create visually striking layouts from scratch.
- Spreadsheet Software: Excel or Google Sheets can be used to design simple, functional billing documents with customizable fields and automated calculations.
By using software to design your billing forms, you can ensure that they meet your specific needs while maintaining a high level of professionalism and efficiency.
Best Practices for Invoice Design
Designing a billing document that is both functional and visually appealing is crucial for fostering professionalism and clarity. A well-organized structure ensures that all necessary details are easy to find, while a clean and consistent layout enhances the overall experience for both you and your clients. Following best practices when designing such documents helps avoid confusion and streamlines the payment process.
Key Design Principles
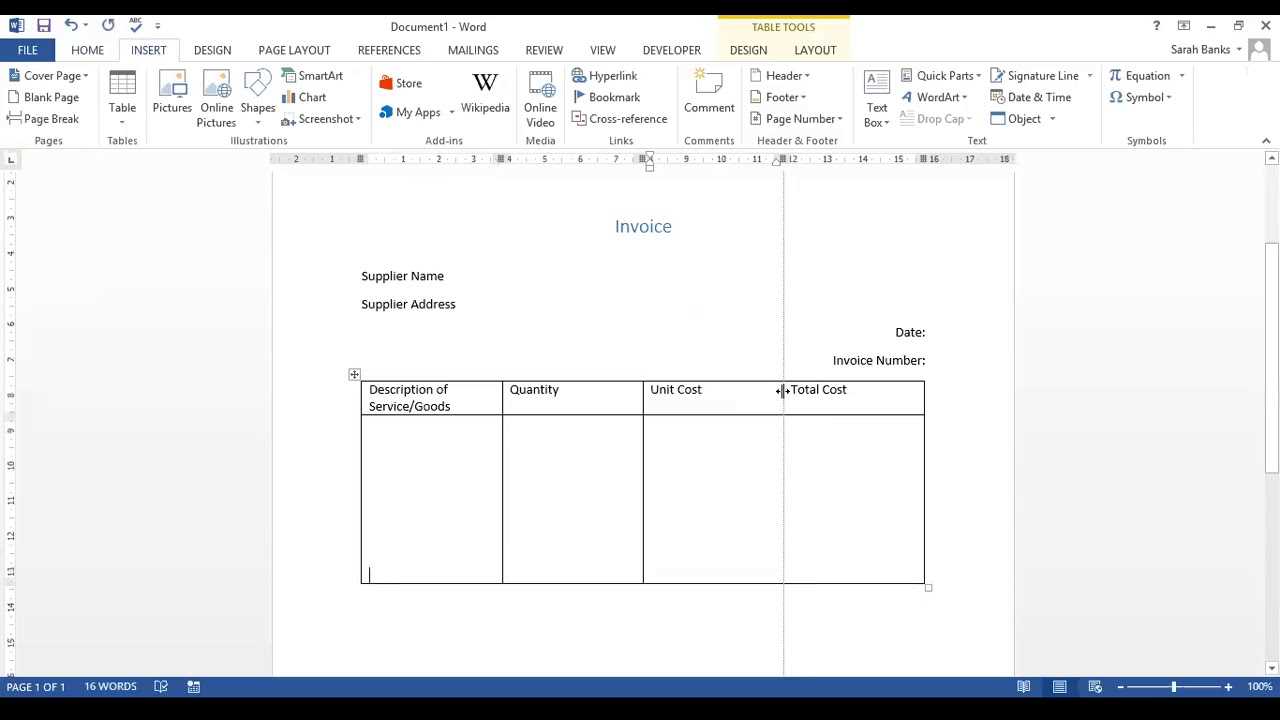
There are several fundamental design principles that can make your billing documents more effective:
- Clarity: Ensure that the document is easy to read with clear headings, appropriate font sizes, and well-spaced sections. Avoid clutter by keeping the layout clean and organized.
- Consistency: Use consistent fonts, colors, and formatting throughout the document to establish a professional and cohesive look.
- Highlight Important Information: Make key details, such as the total amount due and due date, stand out by using bold text or larger font sizes.
Organizing the Information
Organizing the content logically is another critical aspect of effective design. The following table outlines how to structure your document to ensure the most important details are easily accessible:
| Section | Details |
|---|---|
| Business Information | Include your company name, logo, address, and contact details for easy identification. |
| Client Information | Clearly state the recipient’s name, address, and contact information. |
| Itemized List | Provide a breakdown of services or products, including descriptions, quantities, and prices. |
| Total Amount Due | Make the total amount easy to find and prominently displayed. |
| Payment Instructions | Include details on accepted payment methods and any late fee policies. |
By adhering to these best practices, you ensure that your billing documents are not only professional in appearance but also efficient and easy to navigate for your clients.
How to Include Taxes on Invoices
Incorporating tax details accurately in your billing documents is essential for compliance and transparency. Clear tax breakdowns help clients understand exactly what they are paying for and ensure that your business adheres to legal tax requirements. It’s important to specify which taxes are being charged and how they are calculated to avoid confusion.
Here are the steps to follow when adding tax information:
- Specify the Tax Rate: Include the applicable tax rate for the products or services. If there are multiple rates (e.g., local and federal), list each separately and provide a brief explanation of each rate.
- Incl
Creating an Invoice for Multiple Products
When billing for several items or services, it is essential to ensure that each product is clearly detailed and accounted for. Organizing each entry with specific descriptions, quantities, and prices will not only make the document more understandable but also help prevent confusion for both the customer and your business. A structured approach to listing multiple products makes the transaction transparent and helps streamline the payment process.
Follow these steps to create a detailed and accurate document for multiple products:
- List Each Product or Service: Provide a clear description of each item or service, ensuring that there is no ambiguity about what is being charged.
- Include Quantities: If applicable, list the quantity of each product or the number of services provided. This ensures the client knows exactly how many units they are being charged for.
- Specify Unit Prices: State the price per unit for each item or service. This helps clarify how the total is calculated for each product.
- Show Subtotals: After listing each product or service, calculate and display the subtotal for each line item (price multiplied by quantity). This makes it easy to understand how the final amount was reached.
- Include Discounts or Adjustments: If any discounts are applied, clearly indicate the amount deducted from the total for each item. Make sure any adjustments are also visible to avoid confusion.
- Calculate Total Amount: Add up the subtotals to arrive at the total amount due. Don’t forget to include any applicable taxes or additional fees at the end of the list to give a complete picture of the payment due.
By organizing the details in this manner, you provide a clear and easy-to-read breakdown that helps your clients understand exactly what they are being charged for. A well-detailed list not only ensures transparency but also builds trust between you and your customers, making the billing process smoother and more efficient.
Adding Discounts and Additional Charges
When managing payments, it’s important to clearly reflect any discounts or extra fees that apply to the transaction. These adjustments can impact the final amount owed and should be listed in a transparent way to avoid confusion. Whether it’s a promotional discount, shipping cost, or any other additional charge, including these details ensures the document is comprehensive and accurate.
Here are some key steps to include discounts and extra charges effectively:
- Apply Discounts: If a customer is eligible for a discount, specify the percentage or fixed amount that is being subtracted from the total. Be sure to indicate whether the discount is applied before or after tax calculations.
- Show Discount Type: Mention the reason for the discount if relevant, such as a seasonal offer or loyalty benefit, to give clarity to your client.
- Include Additional Fees: If there are extra charges, such as shipping, handling, or service fees, list them separately. Clearly state what each fee represents to avoid any misunderstandings.
- Be Clear About Taxes: Ensure that any taxes are listed separately from the original price, and make sure the tax rate is clearly indicated. If applicable, mention any regional or national tax rates that are being applied.
- Final Total: After applying all discounts and adding any additional charges, provide a final total that includes the adjustments. This amount should be easy to identify to ensure that both parties are on the same page.
By following these guidelines, you ensure that your customers can clearly see how the final amount is calculated, building trust and preventing disputes. Transparent communication about discounts and additional costs is crucial for maintaining good customer relationships and ensuring smooth transactions.
Saving and Reusing Your Invoice Template
Once you’ve established a well-organized billing document, it’s important to save it for future use. Having a ready-to-go format can save time and ensure consistency in all your transactions. Instead of recreating a new one from scratch each time, you can reuse your existing layout with minimal adjustments, making the entire billing process faster and more efficient.
Here are some tips on saving and reusing your billing layout:
- Save in Multiple Formats: To ensure compatibility, save your document in various formats such as PDF, Word, or Excel. This allows you to easily edit or share the document with clients.
- Use Cloud Storage: Store your layout in a cloud-based platform, such as Google Drive or Dropbox, to access it from anywhere and on any device. This also ensures that the file is backed up and secure.
- Keep It Organized: Label each saved file with clear naming conventions, such as “Standard Billing Layout” or “Service Billing,” to avoid confusion when accessing your documents.
- Adjust for New Clients: When reusing the layout, make sure to customize the details such as client name, contact information, and specific charges, but keep the overall structure intact.
- Set Up for Automation: Some software allows you to automate the process of filling in client-specific information. This can save even more time when sending out recurring invoices.
By saving and reusing your billing structure, you streamline your workflow and reduce errors. With a standardized approach, you ensure that every client receives consistent and professional-looking documents, making the payment process smoother for both parties.
Printing and Sending Your Invoice
Once your billing document is ready, the next step is to send it to your client. Whether you prefer to deliver it physically or electronically, ensuring that the document reaches your client promptly is essential for a smooth transaction. Choosing the right method of delivery depends on the client’s preferences and the nature of the service or product provided.
Printing Your Billing Document
If you choose to send a physical copy, ensure that your document is formatted neatly for printing. Here’s how to prepare it:
- Check Page Layout: Ensure that the document fits well on the page, with margins and spacing that make it easy to read. Choose a clean and professional font for clarity.
- Print Quality: Use a good quality printer to ensure that the text and any graphics appear clearly. A high-quality print reflects professionalism.
- Include Contact Information: Make sure your contact details are clearly visible in case the client needs to reach out regarding the payment.
Sending Your Document
When it comes to delivery, you can choose from the following methods:
- Email: Sending the document via email is the fastest and most efficient way. Attach the document in a PDF format to preserve the layout and prevent accidental changes.
- Postal Service: If a physical copy is required, print the document and send it via mail. Ensure that it is properly addressed and delivered in a timely manner.
- Online Payment Systems: Some payment platforms allow you to send billing documents directly through their interface, along with payment options.
By ensuring that the document is well-presented and delivered using the preferred method, you can help maintain a positive relationship with your clients and speed up the payment process.
Managing Invoice Payment Tracking
Effective tracking of payments is crucial for maintaining cash flow and ensuring that all transactions are accounted for. Once a billing document is sent to a client, it’s important to keep an eye on the payment status and follow up when necessary. This process helps prevent overdue payments and ensures that any discrepancies are promptly addressed.
Methods for Tracking Payments
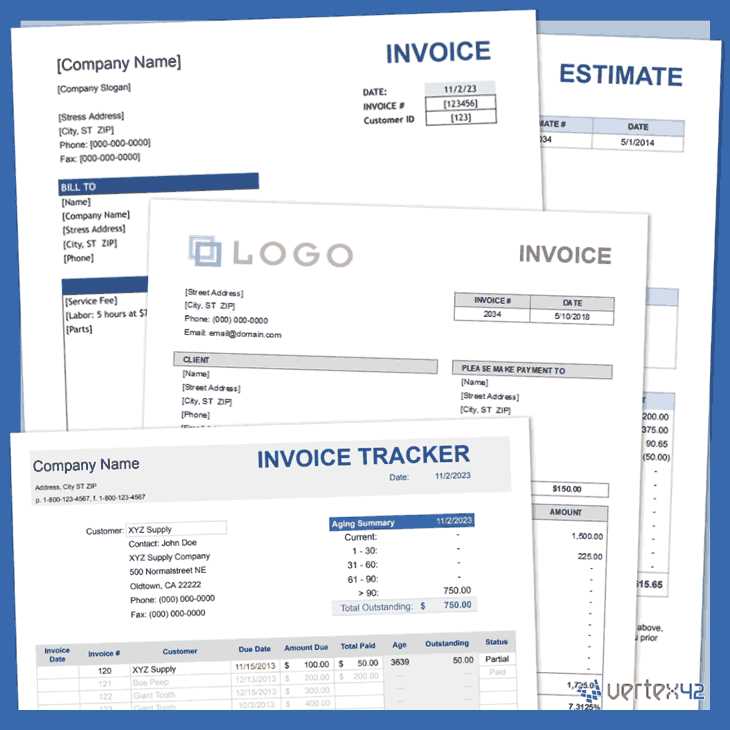
There are various ways to monitor the status of your payments. Here are some common methods:
- Manual Tracking: This involves keeping a record of payments in a spreadsheet or ledger. It’s essential to note down the payment date, amount received, and the method used. Regular updates are required to keep the record accurate.
- Accounting Software: Many businesses use accounting programs that automatically track the status of payments. These tools can send reminders to clients and generate reports on outstanding balances.
- Payment Platforms: Online payment systems often offer tracking features. These platforms notify you when a payment is made and allow you to track payment history, including partial payments or late fees.
Handling Overdue Payments
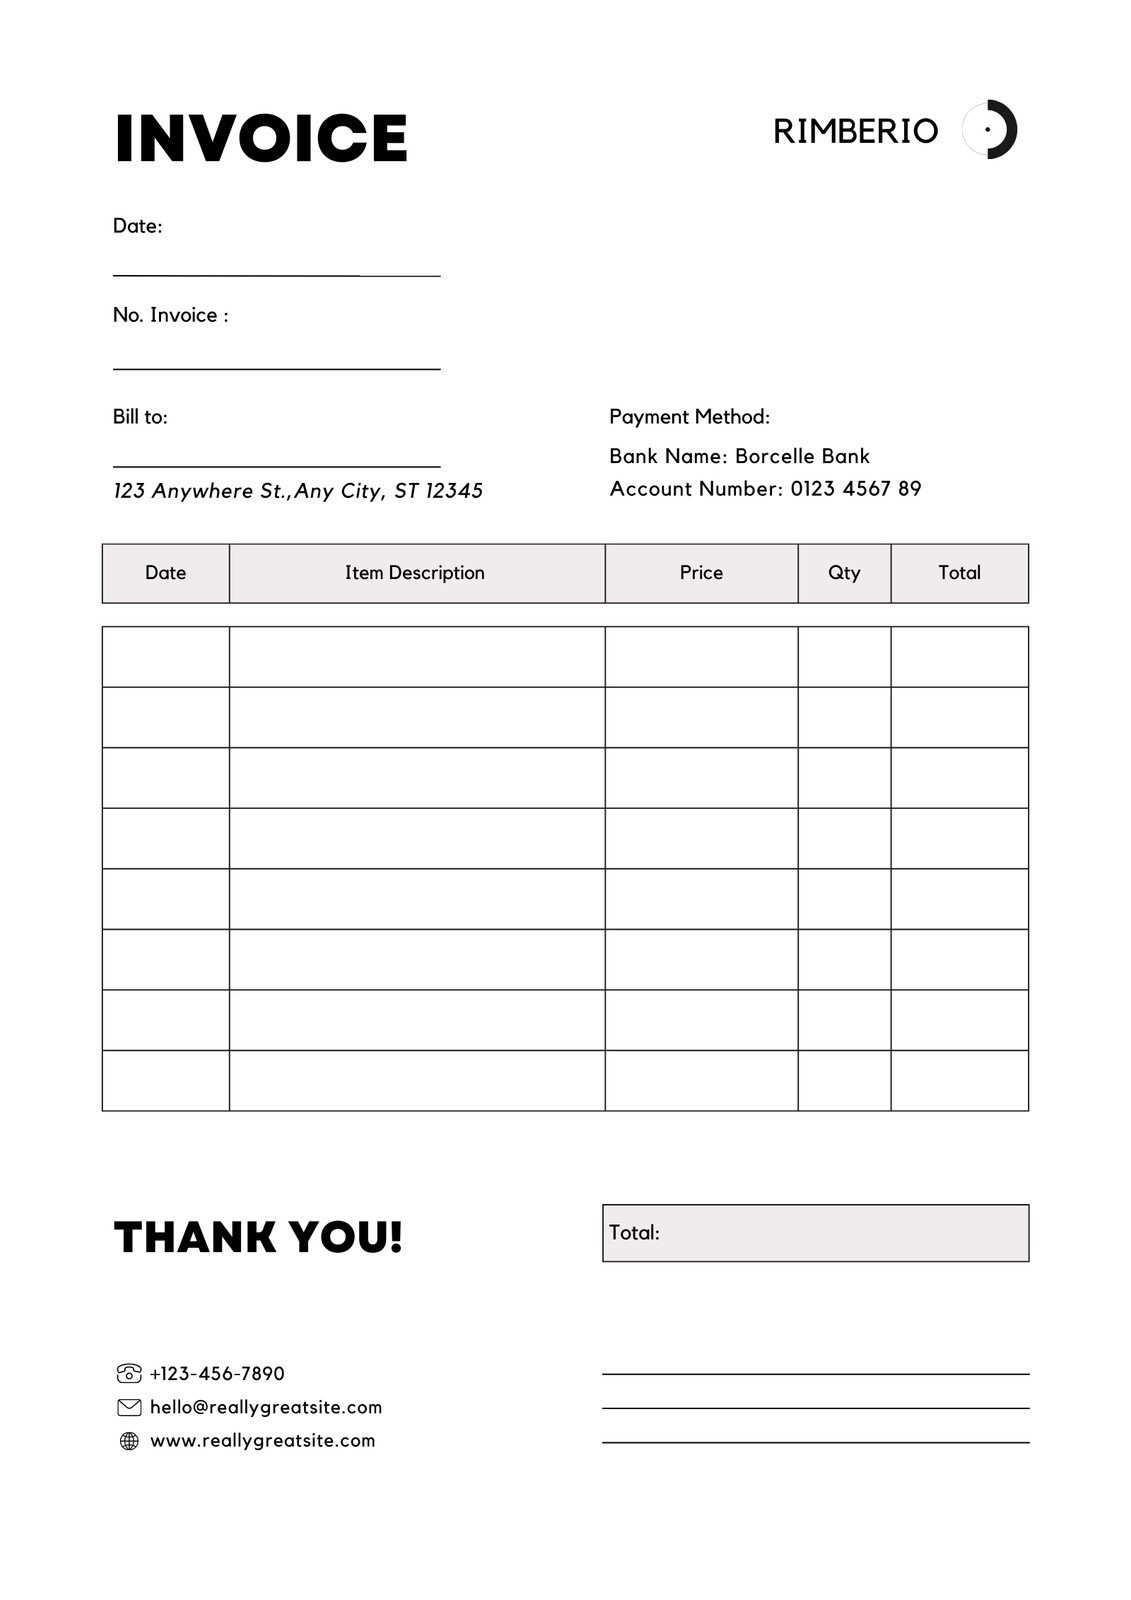
If a payment is overdue, taking prompt action is important to avoid financial strain. Here are some strategies for managing overdue payments:
- Send a Reminder: A gentle follow-up email or letter can help remind the client of their outstanding balance. Be polite but firm in your communication.
- Set Up Late Fees: Including late fees in your payment terms can encourage clients to pay on time. Ensure that the fees are clearly communicated upfront.
- Offer Payment Plans: If the client is facing financial difficulties, offering a payment plan can help them settle the balance over time without putting too much strain on their finances.
By efficiently tracking payments and addressing overdue accounts, businesses can maintain better financial control and foster positive relationships with their clients.
Improving Invoice Template Efficiency
Optimizing the process of generating billing documents can save both time and effort, ensuring that every transaction is recorded accurately and efficiently. By refining the layout and content of your billing forms, you can streamline workflows, reduce human error, and accelerate the payment process. Here are some ways to enhance the efficiency of your billing documentation system:
Key Strategies to Enhance Efficiency
Several practical approaches can help you increase the overall effectiveness of your billing system. These include:
- Automate Fields: Pre-fill commonly used data fields such as company name, address, and payment terms. Automation reduces manual input and ensures consistency across all documents.
- Use Standardized Sections: Create reusable sections for services or products. This allows for faster document generation when multiple items are similar.
- Digital Templates: Use digital tools to design and save standardized forms. This way, you don’t need to recreate them from scratch each time, speeding up the overall process.
- Integration with Accounting Software: Sync your document system with your accounting platform to easily update financial records and track payment statuses automatically.
Efficient Layout Design
A well-organized layout can also play a significant role in the efficiency of the document generation process. A clean, user-friendly design reduces the time needed to review or edit the document. Here’s how to improve your layout:
Element Purpose Efficiency Benefit Clear Itemized List Organizes products/services with details like quantity and price Reduces errors and confusion during verification Visible Payment Terms Clearly states deadlines and payment methods Minimizes delays by setting expectations upfront Easy-to-Read Totals Bold totals for quick reference Accelerates the approval and payment process By implementing these strategies, businesses can ensure a more efficient and streamlined process for generating and managing billing documents, leading to improved productivity and better client relationships.