How to Create an Invoice Template in Excel
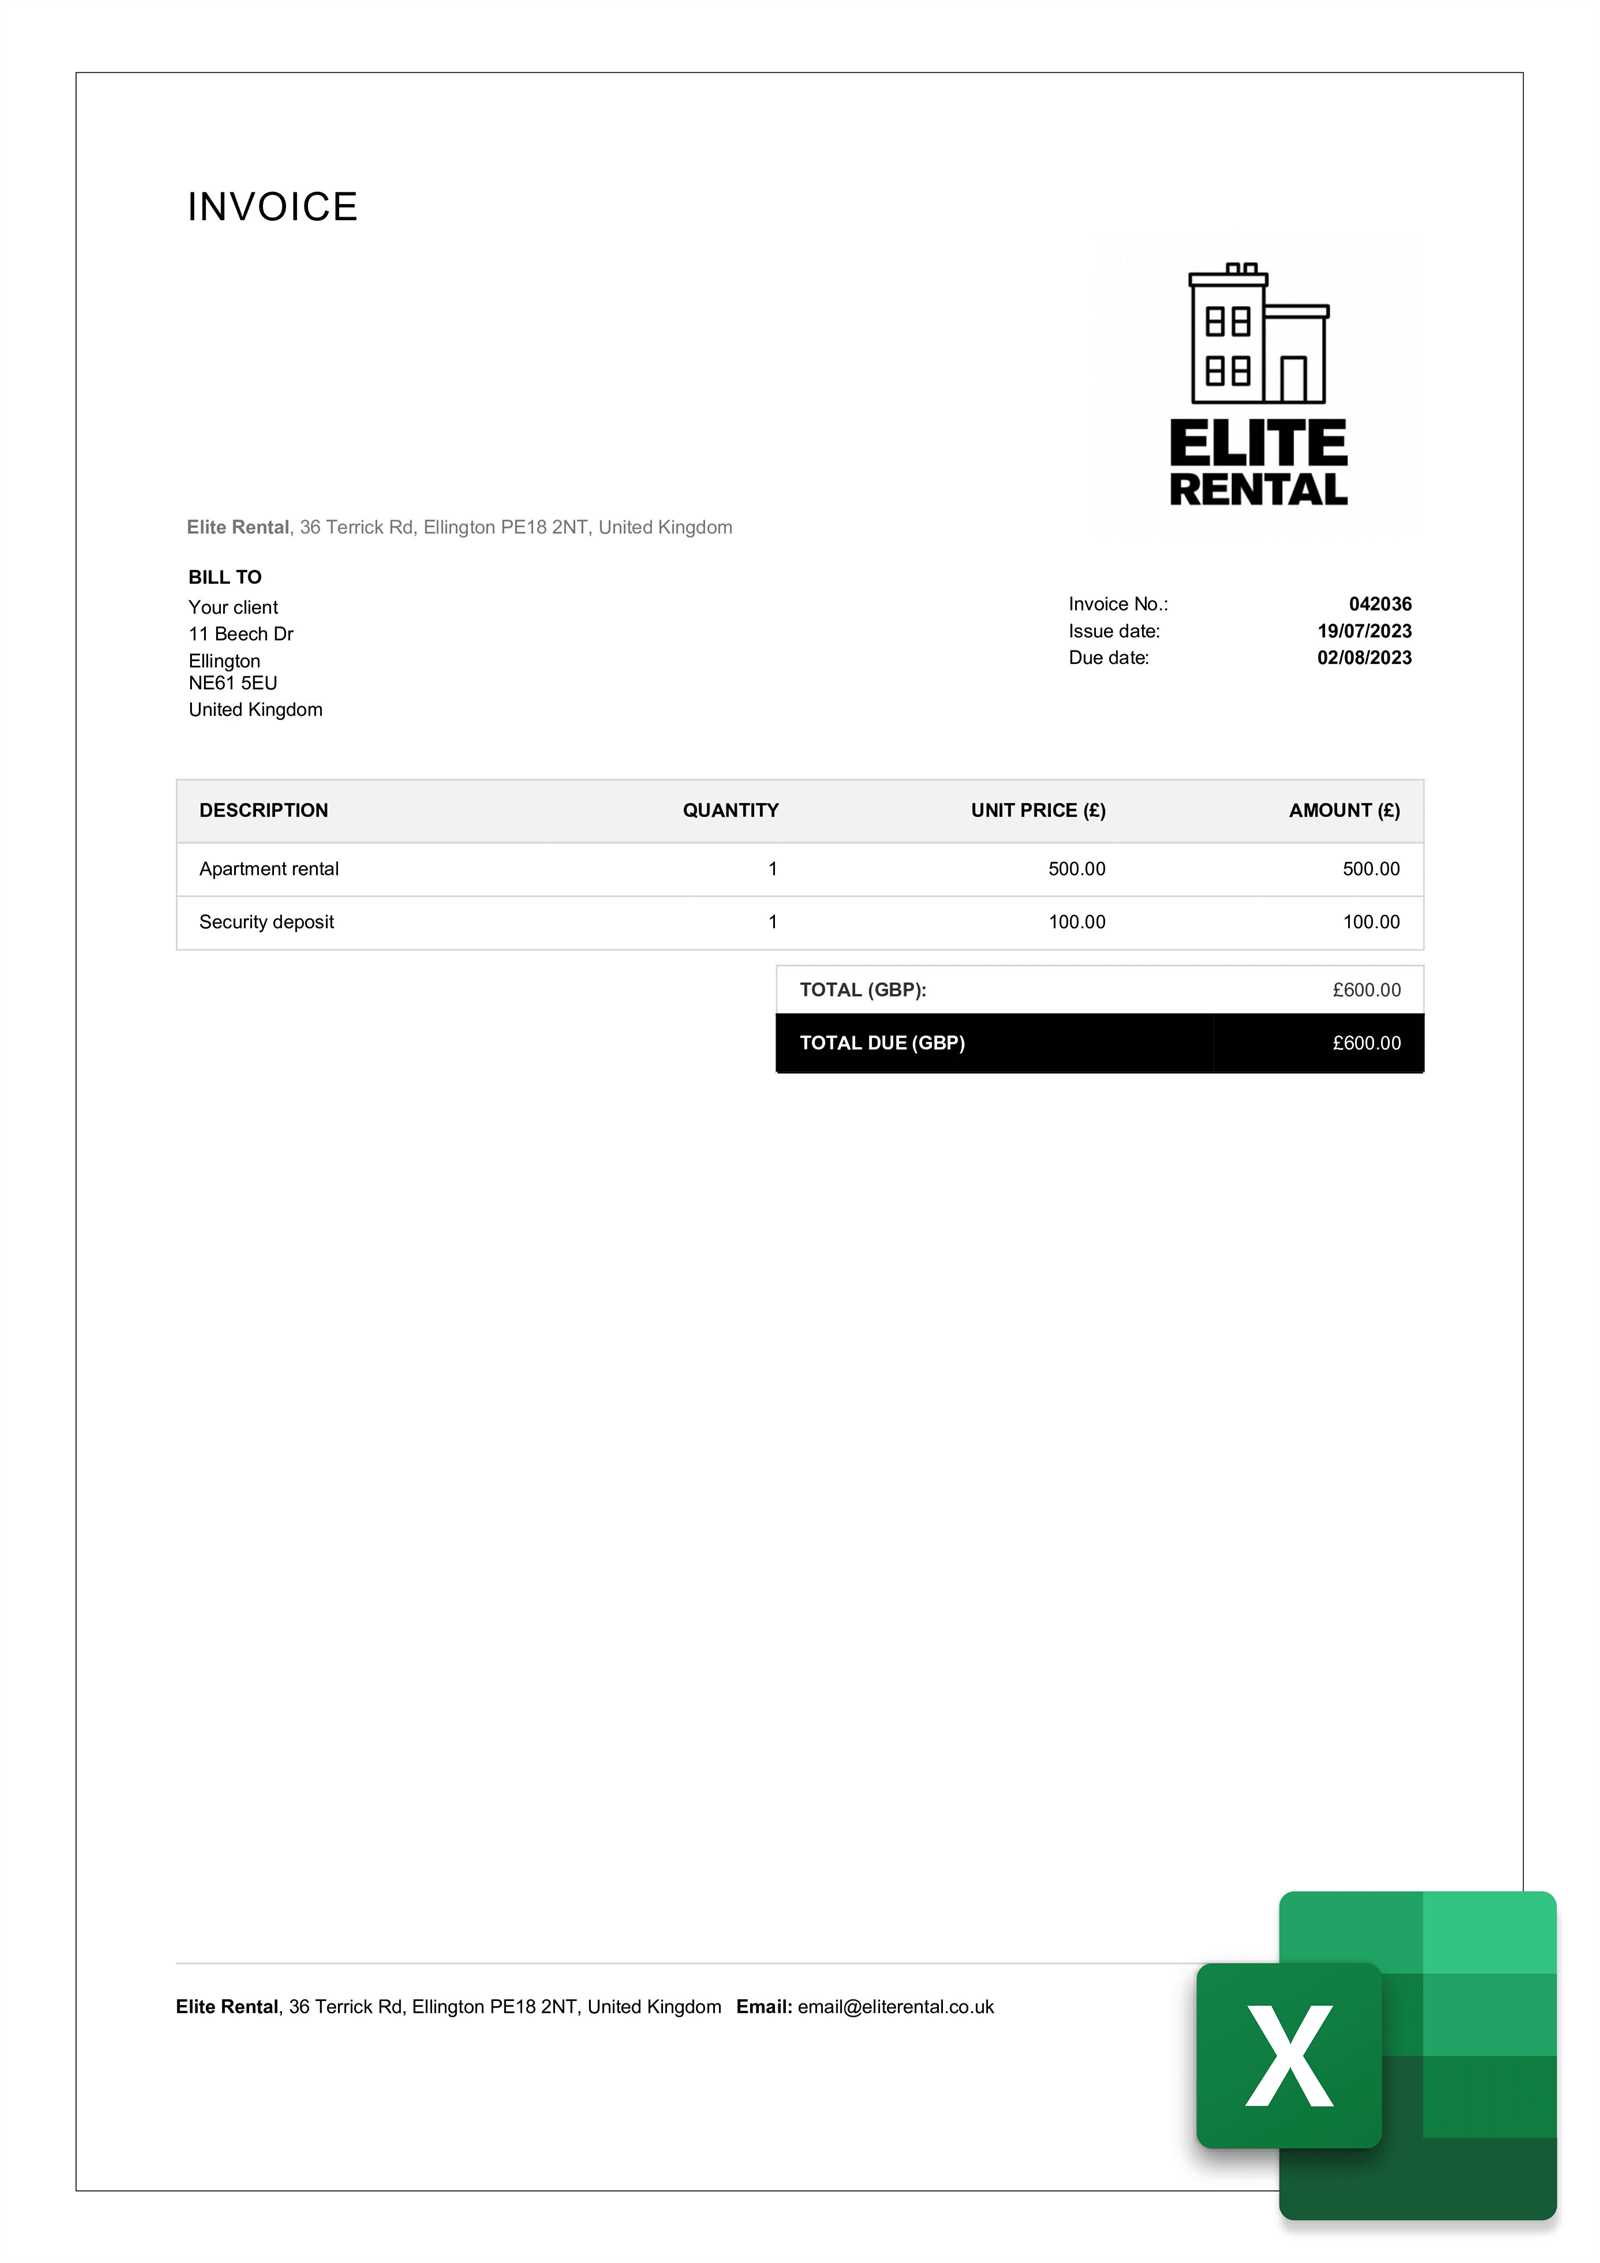
Managing finances efficiently requires the ability to generate clear and accurate financial records. Whether you’re a freelancer, small business owner, or part of a larger organization, having a reliable and customizable system for documenting transactions is essential. A well-structured billing document ensures smooth transactions and can help avoid misunderstandings between parties.
Creating an effective bill format involves understanding the key components that make up a professional statement. You need a layout that includes important details like amounts, dates, and client information, while remaining easy to read and navigate. Fortunately, there are tools available that can simplify the process, allowing you to craft a personalized design that suits your needs.
One of the most accessible and flexible options for building such a document is through a widely used spreadsheet program. This approach not only offers the ability to customize the layout but also enables the use of automated calculations, saving valuable time and reducing the chance of errors. By following a few simple steps, you can create a functional and polished billing solution tailored to your business requirements.
How to Create an Invoice Template in Excel
Building a well-organized document for billing purposes starts with understanding the key components that should be included. The goal is to design a simple yet professional document that effectively communicates all the necessary details for each transaction. A structured approach ensures that you won’t miss important information, and the final result will be clear and easy to use for both you and your clients.
Step 1: Set Up Basic Structure
The first step is to outline the basic framework of your document. This involves organizing the sections into logical categories such as client details, service/product descriptions, payment terms, and totals. Using a spreadsheet program, you can begin by dividing the page into columns and rows, keeping everything neat and aligned. Here’s a basic layout to consider:
- Top section: Your company’s name and contact information
- Client details: Name, address, and contact info
- Description of goods or services provided
- Payment terms: Due date and payment methods
- Calculation area: Total amount, tax, discounts
Step 2: Add Functional Elements
Next, you’ll want to incorporate some functional features to make your document more efficient and automated. Adding simple formulas can save time and reduce errors in calculations:
- Sum Formula: Automatically calculate the total cost based on quantities and unit prices.
- Tax Formula: Add taxes or VAT based on predefined rates.
- Discount Calculation: Apply discounts where necessary using simple percentage formulas.
By incorporating these elements, you can ensure that your document not only looks professional but also works seamlessly for your needs, allowing you to generate accurate billing statements with ease.
Understanding the Importance of Invoice Templates
Having a standardized document for billing is essential for maintaining organization and ensuring consistency in business transactions. A well-structured billing record not only helps you stay on top of payments but also builds trust with clients by presenting a professional image. Whether you’re managing a small business or handling personal projects, an efficient billing system can streamline your workflow and reduce the chances of errors or disputes.
When using a pre-designed format, businesses benefit from several advantages:
| Advantage | Description |
|---|---|
| Consistency | Having a uniform layout for every document ensures that all necessary details are always included, making your records more reliable. |
| Time-saving | With a ready-made structure, you can quickly generate accurate bills without having to start from scratch every time. |
| Professionalism | A polished document makes a positive impression on clients, enhancing your company’s credibility and trustworthiness. |
| Accuracy | Built-in calculations and preset fields help minimize errors in amounts, taxes, and discounts, leading to more precise records. |
By implementing such a system, businesses not only ensure a smooth billing process but also position themselves as organized and detail-oriented. This ultimately helps foster stronger relationships with clients and reduces the risk of late payments or misunderstandings.
Why Excel is Ideal for Invoices
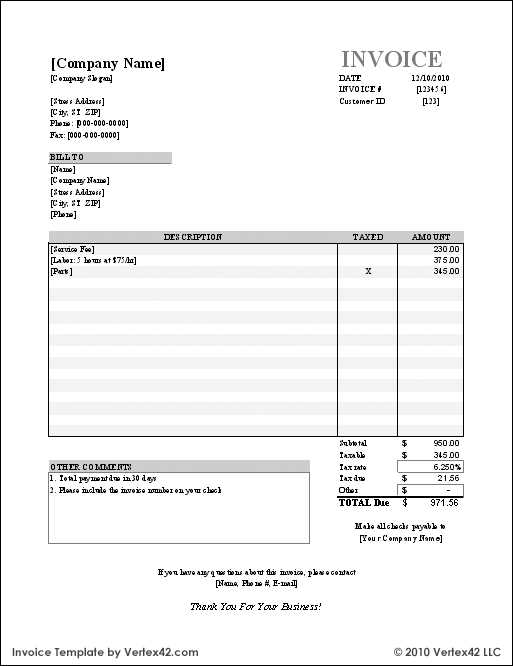
Choosing the right tool for managing billing records can greatly impact the efficiency of your financial processes. A versatile and powerful spreadsheet program offers a variety of features that make it a top choice for creating well-structured financial documents. With its flexible layout options, built-in formulas, and ease of use, this software simplifies the task of organizing and calculating payments, helping businesses save time and reduce errors.
One of the main reasons this program is preferred for billing purposes is its customizability. You can adjust the structure to fit the specific needs of your business, from setting up unique columns for services to adding personalized branding. Additionally, the ability to automate calculations makes it easier to apply taxes, discounts, or calculate totals without manual effort, reducing the risk of mistakes.
Another advantage is its accessibility. Most people are familiar with how spreadsheets work, making it a user-friendly solution for anyone, regardless of technical expertise. You can easily share, update, and store your documents securely, allowing both small businesses and large enterprises to maintain consistent billing practices.
Step-by-Step Guide to Designing an Invoice
Designing a clear and professional document for billing involves careful planning and organization. Each section must be thoughtfully arranged to ensure all necessary details are easy to find and understand. By following a structured approach, you can produce a functional and visually appealing financial record that effectively communicates the terms of the transaction.
Step 1: Set Up Basic Information
The first stage is to include essential information about both the business and the client. This ensures both parties have clear reference points for the transaction.
- Your company details: Name, address, and contact information
- Client information: Client’s name, address, and contact info
- Document number: A unique reference number for easy tracking
Step 2: Add Transaction Details
Next, list the services or products provided along with their respective costs. This section ensures both parties understand exactly what is being billed.
- Service or product description: A detailed list of what was provided
- Quantity: The number of units or hours
- Unit price: The cost per unit or hourly rate
- Total amount: The cost for each line item
Step 3: Apply Calculations and Payment Terms
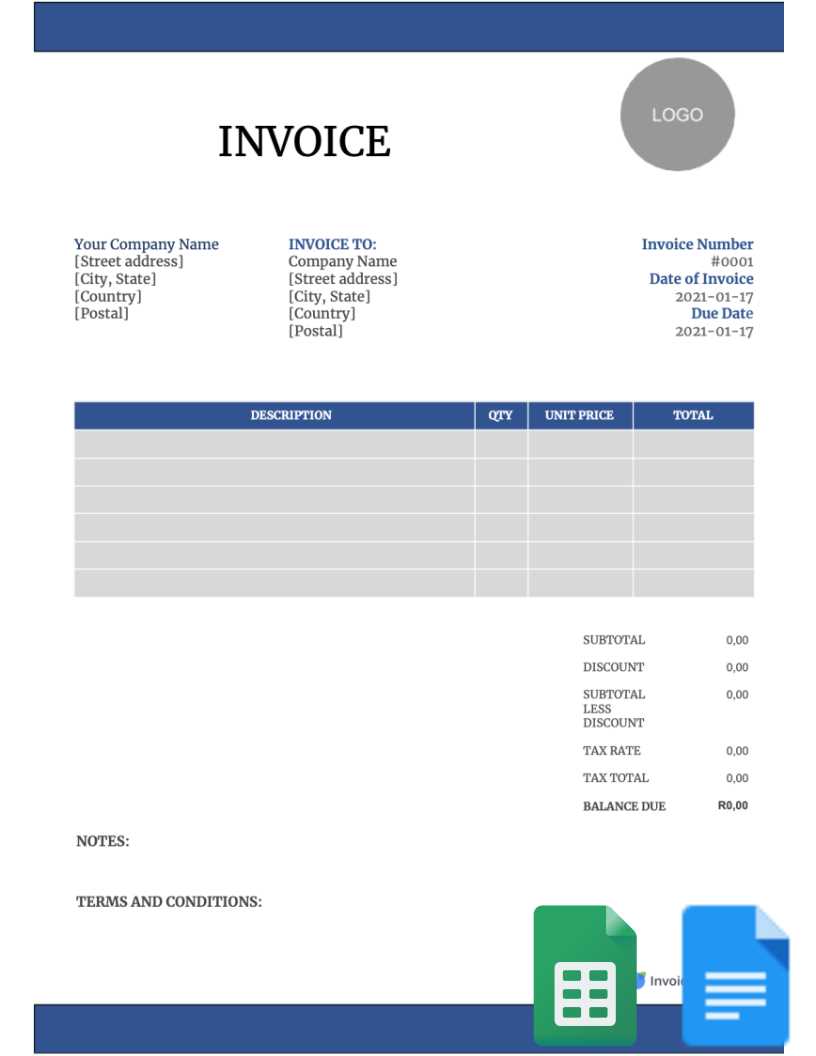
Now, calculate the total amount due by adding any taxes, discounts, or additional charges, and specify the payment terms.
- Subtotal: The sum of all individual items
- Taxes: Apply the appropriate tax rate to the subtotal
- Discounts: If applicable, apply any discounts or promotions
- Total amount due: The final amount after all adjustments
- Due date: Specify when payment is expected
- Payment methods: Mention available options for payment
Adapting your billing document to fit the specific needs of each client is an important part of maintaining strong business relationships. Personalizing the format ensures that all relevant details are presented clearly, catering to the preferences and requirements of the client. By customizing the document, you can enhance professionalism, streamline communication, and ensure a smoother payment process.
Tailoring Layout and Content
Different clients may require different types of information, depending on their industry, location, or the scope of the work. Customizing the layout allows you to highlight the most important details for each client. Below are some elements you may need to adjust:
| Client Type | Customizable Element |
|---|---|
| Corporate Clients | Include additional fields like purchase order numbers, contract references, and department details |
| Freelance/Individual Clients | Focus on a simpler format with clear breakdowns of services and costs |
| International Clients | Make sure to include applicable tax rates for different countries, currency exchange rates, and terms in multiple languages if necessary |
| Recurring Clients | Incorporate a recurring charge section, along with payment history or subscriptions |
Formatting for Clarity and Ease of Use
Adjust the visual design to align with the branding and preferences of the client. This could include changing the color scheme, font size, or layout structure. By providing a clear and organized billing document, you help clients easily understand the charges and avoid potential disputes. Always ensure that the important information, such as totals and payment terms, stands out clearly.
Key Elements Every Invoice Should Include
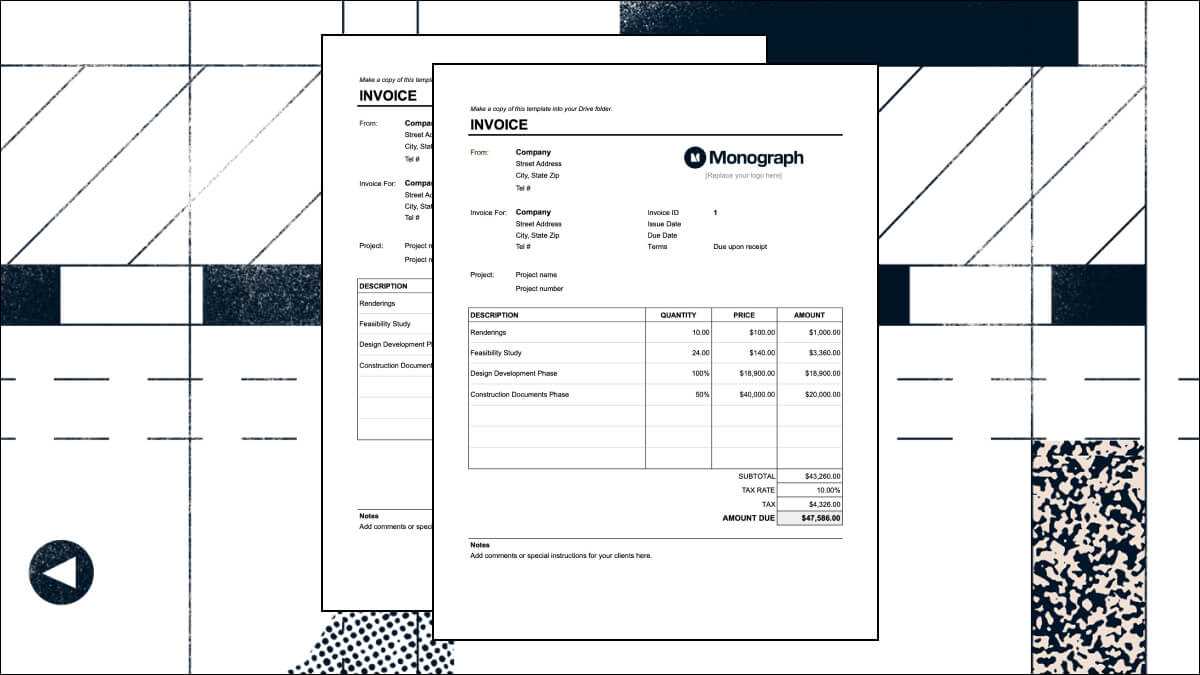
To ensure that all necessary information is conveyed and payments are processed smoothly, it’s essential to include certain key components in your billing document. Each section plays a specific role in communicating the details of the transaction and helps avoid confusion. These elements not only enhance professionalism but also ensure compliance with legal and financial standards.
Essential Information to Include
The following table outlines the crucial sections that should appear in every billing statement, regardless of the type of business or service provided:
| Element | Description |
|---|---|
| Business Details | Company name, address, phone number, and email for easy contact |
| Client Information | Name, address, and contact information for the recipient of the bill |
| Document Number | A unique reference number for tracking and record-keeping purposes |
| Transaction Date | The date when the services or goods were provided |
| Description of Goods/Services | A detailed breakdown of the products or services, including quantities and unit prices |
| Payment Terms | Due date, accepted payment methods, and any applicable late fees or discounts |
| Total Amount Due | The final amount payable after applying taxes, discounts, and additional fees |
Additional Information
In addition to the above elements, there are a few optional details that may be included depending on the nature of the transaction:
- Purchase Order Number: Useful for corporate clients or large transactions that require tracking by purchase order.
- Tax Identification Number: Required in some countries for tax reporting purposes.
- Payment Instructions: Specific details on how payments should be made, such as bank account details or online payment links.
By including all the essential elements, you can ensure that your billing documents are complete, clear, and effective, which helps build trust with your clients and encourages timely payments.
Setting Up the Invoice Layout in Excel
Organizing the layout of your billing document is a crucial step in ensuring clarity and professionalism. A clean, well-structured layout not only makes the document more readable but also helps clients quickly locate the information they need. The layout should follow a logical flow, from your business details at the top to the final payment amount at the bottom, with clear separation between sections.
Begin by dividing the document into sections that are easy to follow. Use rows and columns to separate different types of information, ensuring everything is aligned properly. The following guidelines will help you set up an efficient and organized structure:
- Header Section: At the top, place your company’s name, logo, contact information, and the client’s details. This creates a professional first impression.
- Transaction Information: Just below the header, include the date of the transaction, the unique document reference number, and any relevant purchase order numbers if applicable.
- Itemized List: Set up a section with clear columns for each service or product provided, including descriptions, quantities, unit prices, and total costs. Each of these should be separated for clarity.
- Summary Section: After listing all items, provide a breakdown of the subtotal, taxes, discounts, and any other charges. Ensure that each amount is clearly labeled and easy to identify.
- Payment Information: Include a space for payment terms, due dates, and acceptable payment methods. It’s important that this section stands out to ensure timely payments.
By following this layout, you’ll create a visually appealing document that is both functional and easy for clients to understand. This structure ensures that all necessary details are presented logically and that the client has a seamless experience when reviewing the transaction.
Formatting Tips for a Professional Look
The appearance of your billing document plays a significant role in conveying professionalism and ensuring that the information is both clear and easy to understand. By using effective formatting, you can enhance the overall presentation, making it more visually appealing while maintaining clarity. A well-designed layout not only creates a lasting impression but also helps the recipient process the details more quickly.
Consistent and Clean Design
Consistency is key to achieving a polished look. Keep the following tips in mind when formatting your document:
- Use clear, readable fonts: Opt for standard fonts like Arial or Calibri, which are easy to read. Ensure that the text size is large enough to be legible, typically around 10 to 12 points.
- Align text and numbers: Make sure all text is left-aligned for descriptions and right-aligned for numbers, especially when dealing with costs and totals. This helps create a tidy and organized appearance.
- Use bold for section headers: Bold text can help highlight key sections such as the total amount due, dates, and payment terms. This makes the most important details stand out.
- Avoid clutter: Don’t overcrowd the page with excessive information or images. A clean, simple layout enhances readability and makes the document look more professional.
Color and Style Usage
While color can add to the appeal of your document, it’s important to use it sparingly and thoughtfully. Here’s how to use colors and styles to your advantage:
- Stick to a limited color palette: Use one or two colors that complement your brand. Typically, darker colors like navy blue or gray for text work well with lighter background shades like white or light gray.
- Use shading for sections: Applying subtle background shading to certain sections (like totals or payment terms) helps distinguish them from the rest of the document and draws attention to the most impor
Adding Formulas for Automatic Calculations
Incorporating automatic calculations into your billing document can save time, reduce errors, and ensure accurate totals every time. By using formulas, you can eliminate the need for manual math, allowing the software to handle calculations such as totals, taxes, discounts, and more. This feature ensures that any adjustments made to quantities or prices are reflected immediately, streamlining the billing process and improving efficiency.
Basic Calculations
The most common calculations you’ll need in a billing document are the sum of item totals and the overall amount due. Here are a few essential formulas to include:
- Subtotal: To calculate the subtotal (before taxes or discounts), use the SUM formula. For example, if you have the prices in column B and quantities in column C, the formula in column D could be: =B2*C2, which multiplies the unit price by the quantity.
- Total Amount: To get the total amount for all items, use the SUM formula to add all individual item totals. For instance, =SUM(D2:D10) will calculate the total of all items listed from rows 2 to 10.
Advanced Calculations
In addition to basic totals, you may need more complex calculations, such as taxes, discounts, or currency conversions. Here are some formulas you can use:
- Tax Calculation: If you need to apply a tax rate, use a simple formula like =D11*0.10 to calculate 10% tax on the total amount in cell D11.
- Discounts: To apply a discount, use a formula such as =D11-(D11*0.05) for a 5% discount, where D11 is the total amount.
- Final Total: Once tax and discounts are applied, the final amount can be calculated using =D11+D12-D13, where D12 is the tax and D13 is the discount.
These automatic calculations not only save time but also reduce the likelihood of human errors, ensuring that your billing records are both accurate and efficient. By utilizing formulas, you can create a more streamlined and professional system for managing financial transactions.
How to Include Taxes and Discounts
Incorporating taxes and discounts into your billing document is essential for providing accurate totals and ensuring transparency with clients. These adjustments can significantly affect the final amount due, so it’s important to include them correctly. By calculating taxes and applying discounts automatically, you can save time and reduce errors, ensuring both you and your clients are on the same page.
Including Taxes
To apply taxes to your total amount, you need to calculate the tax based on a specified rate and then add it to the subtotal. Most commonly, taxes are calculated as a percentage of the subtotal, which can easily be done using formulas.
- Step 1: Identify the tax rate. For example, if the tax rate is 10%, use 0.10 in the formula.
- Step 2: Apply the tax to the subtotal by multiplying the subtotal by the tax rate. For example, if the subtotal is in cell D10, the formula would be =D10*0.10.
- Step 3: Add the tax amount to the subtotal to get the total amount due. For example, the formula in the total field would be =D10+D11, where D11 is the tax amount.
Applying Discounts
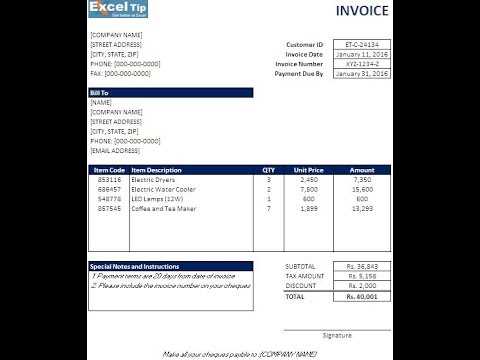
Discounts can be applied either as a fixed amount or a percentage of the subtotal. When offering discounts, it’s important to ensure that they are clearly noted in the billing document to avoid confusion.
- Step 1: Determine the discount rate or amount. For instance, a 5% discount would be 0.05, while a fixed amount might be $10.
- Step 2: If applying a percentage discount, multiply the subtotal by the discount rate. For example, =D10*0.05 for a 5% discount.
- Step 3: Subtract the discount from the subtotal to determine the adjusted total. For example, =D10-D12, where D12 is the discount amount.
Both taxes and discounts can be easily incorporated into your billing document by following these simple formulas. Automating these calculations ensures that the total amount is always accurate, even when adjustments are made. This process not only saves time but also enhances the professionalism and reliability of your
Incorporating Your Business Branding
Your billing document is not only a tool for financial transactions but also an extension of your brand identity. Incorporating your business branding into the design adds a professional touch, creates consistency, and reinforces your brand’s presence. By integrating visual elements such as your logo, color scheme, and font choices, you can create a cohesive experience that aligns with the rest of your business materials.
Logo and Company Details
Start by adding your company logo at the top of the document. This is the first visual element that your client will see, and it helps to establish credibility. Be sure to place it in a prominent position, such as the header section, along with your company’s name, address, and contact details. These elements should be easy to spot and read.
- Logo: Make sure your logo is clear and high-resolution. A well-placed logo adds instant recognition and credibility.
- Company Information: Use your brand’s official name, address, and other contact details. Ensure these details are in line with the rest of your branded communications.
Color Scheme and Typography
Consistent use of colors and fonts is a key component of branding. Choose a color palette that matches your business’s branding guidelines. Use these colors subtly in headings, borders, and section highlights to create a balanced, professional design. Similarly, select fonts that reflect your brand’s tone–whether it’s modern, traditional, or creative.
- Colors: Use your brand colors in titles, headings, and important sections like totals. Be mindful not to overwhelm the document with too many colors–simplicity is key.
- Typography: Choose fonts that align with your brand style, such as clean, sans-serif fonts for a modern look or serif fonts for a more formal feel.
Incorporating these elements into your billing document not only enhances its professionalism but also strengthens your overall brand identity. This approach helps create a consistent and polished image for your business, making your communications feel more unified and trustworthy.
Saving and Organizing Invoice Templates
Once you have designed your billing document, it’s important to save and organize it properly for easy access and future use. By creating a system for storing your files, you can quickly find and modify previous documents, track payments, and maintain a clean, professional workflow. Proper organization helps ensure that you always have the correct format ready for any client or transaction.
Saving Your Billing Document
Start by saving your document in a way that makes it easy to identify and retrieve later. Use a clear naming convention that includes key details, such as the client’s name, date, or the type of service provided. For example, “ClientName_Invoice_2024-11” could be a useful format. This method ensures that you can easily search for and identify specific documents when needed.
- Use consistent naming conventions: This helps maintain an organized structure and makes future searches more efficient.
- Save in multiple locations: It’s always a good idea to back up your files in different places, such as cloud storage and an external hard drive, to prevent data loss.
Organizing Your Files
Proper file organization allows you to manage multiple billing documents efficiently. Here are some strategies to keep your files structured:
- Create folders by client or project: Keep all documents related to a specific client or project in one folder. This allows for easy access and tracking of all related transactions.
- Use subfolders for different years or months: For long-term tracking, organizing files by year or month can help you quickly find the right records for any period.
- Label files by status: Consider labeling files based on their status–such as “paid,” “pending,” or “overdue”–to quickly determine the current state of each document.
By saving and organizing your documents properly, you’ll ensure that you always have the right information when you need it. A clear, consistent approach to file management will help streamline your business processes and maintain a professional image.
How to Protect Your Excel Invoice Template
When working with financial documents, it’s essential to ensure that your billing sheet is secure and prevents any accidental changes or unauthorized access. Protecting your files helps preserve the integrity of your calculations, formulas, and design, while also ensuring that sensitive client information remains confidential. By setting up appropriate safeguards, you can protect your work from both accidental edits and malicious tampering.
Locking Cells and Protecting Formulas
One of the easiest ways to protect your document is by locking specific cells that contain critical data or formulas. This way, users can still interact with the document, but they won’t be able to change important calculations or remove data. Here’s how to do it:
- Step 1: Select all cells and right-click to bring up the context menu. Choose “Format Cells” and go to the “Protection” tab. Uncheck the “Locked” option for any cells you want users to edit (such as those for item descriptions or quantities).
- Step 2: Next, protect the sheet by going to the “Review” tab and clicking “Protect Sheet.” You’ll be prompted to set a password for unprotecting the sheet in the future.
- Step 3: Set a password if desired and ensure that the option to allow users to select locked cells is unchecked.
Encrypting the Document
If your document contains sensitive information such as client details or financial data, consider encrypting it to further protect its contents. By encrypting the file, you ensure that only authorized users with the correct password can access the document. Here’s how to encrypt your file:
- Step 1: After saving your document, go to the “File” tab and select “Info.”
- Step 2: Click “Protect Workbook” and
Using Excel for Recurring Invoices
For businesses that provide ongoing services or sell products on a subscription basis, generating a recurring billing document is essential. Instead of manually creating a new document each time, you can set up a system that automates the process. By using software features like date functions, formulas, and saved layouts, you can streamline the process of handling repeat transactions and ensure that every client receives their bill on time.
Setting Up a Recurring Billing System
To manage recurring transactions efficiently, set up a reusable layout that can be easily modified for each billing cycle. By using a base layout that includes all the necessary fields, you can make small adjustments rather than starting from scratch each time. Here are some tips for setting up a system for recurring transactions:
- Step 1: Design your layout with static information, such as your business details, payment terms, and the items or services provided regularly.
- Step 2: Leave space for dynamic fields like the billing period, amounts, and the due date.
- Step 3: Use formulas to calculate totals, taxes, and discounts based on the specific details for each cycle. This way, updates to each cycle are automatic.
Automating Dates and Payment Cycles
One of the key features that can help with recurring documents is automating date calculations. This ensures that each new bill reflects the correct billing period without having to manually update it every time. Here’s how you can use formulas to automate dates:
- Step 1: Use the EDATE function to automatically add months to a given start date. For example, =EDATE(A2,1) will add one month to the date in cell A2, making it ideal for monthly billing cycles.
- Step 2: Set up a formula to update the payment due date based on the billing cycle. For example, =A2+30 will calculate the due date by adding 30 days to the invoice date.
Tracking Recurring Payments
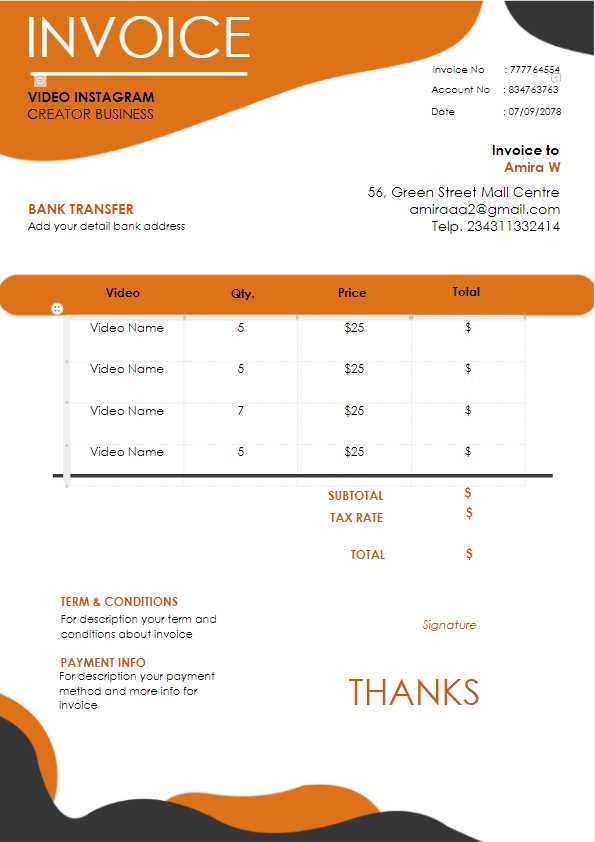
Tracking recurring payments helps ensure that all charges are up-to-date and that no payments are missed. With Excel, you can easily maintain a record of past payments and monitor when the next payment is due.
- Step 1: Add a column to record the payment status (e.g., “Paid,” “Pending,” or “Overdue”).
- Step 2: Use conditional formatting to highlight overdue payments. For example, you can apply a red color to overdue entries to make them easily visible.
- Step 3: Consider setting up a simple reminder system using Excel’s notification tools, or sync your billing system with a calendar to stay on top of due dates.
By utilizing these methods, you can streamline the management of recurring transactions, making it easier to generate new billing documents with minimal effort and ensuring that your business stays organized and efficient in its billing practices.
Best Practices for Invoice Numbering
Properly numbering your billing documents is essential for organization, tracking, and legal compliance. A well-structured numbering system helps to avoid duplication, allows you to maintain an orderly record of transactions, and ensures that each document is uniquely identifiable. Whether you’re handling a large volume of transactions or just a few, having a clear and consistent system is crucial.
Why Invoice Numbering Matters
Invoice numbers are important for several reasons. They provide a unique identifier for each transaction, making it easier to track payments and resolve any disputes. Additionally, many countries and jurisdictions require businesses to maintain a sequential numbering system for accounting and tax purposes. Here are some of the key benefits of a proper numbering system:
- Tracking: Helps keep an organized record of all transactions, making it easier to search and retrieve specific documents.
- Audit Compliance: Sequential numbering is often required for tax and financial auditing purposes.
- Professionalism: A consistent system reinforces your business’s credibility and fosters trust with clients.
How to Set Up a Numbering System
There are several methods to create a numbering system, depending on your needs and the size of your business. Below are some best practices for setting up an effective numbering system:
- Sequential Numbers: This is the most common method, where each document gets a unique, incrementing number. For example, 001, 002, 003, etc.
- Year-based Numbers: Some businesses prefer to include the year in the number for easy identification, such as 2024-001, 2024-002. This system helps you organize documents by year and reduces the chances of duplicating numbers across different years.
- Client-specific Numbers: For larger businesses, it’s helpful to include a client or project code within the number. For example, INV-12345-001, where “12345” refers to the client or project number.
- Prefix/Suffix Codes: You can also use specific prefixes or suffixes to categorize your documents. For example, you might use “S” for sales, “R” for returns, or “P” for partial payments (S001, R002, etc.).
Using Formulas to Automate Numbering
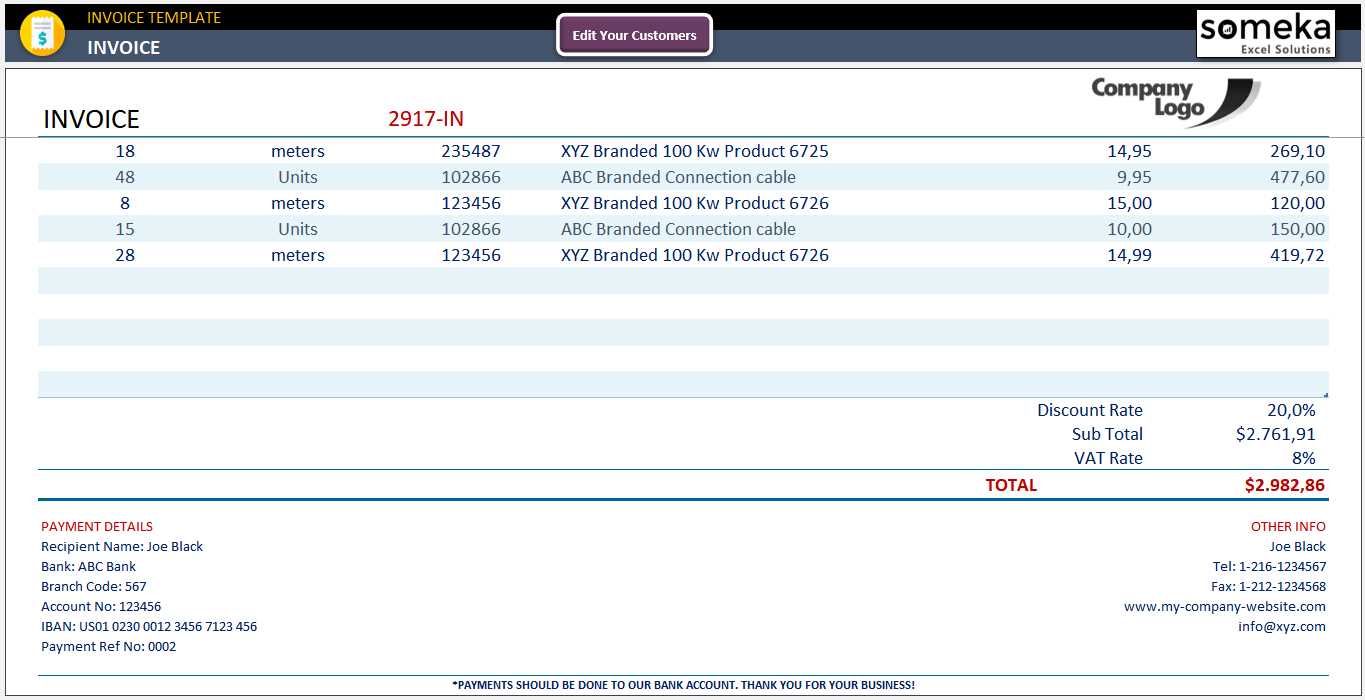
If you are using spreadsheet software, you can take advantage of built-in functions to automate the numbering process. This reduces the risk of errors, especially for businesses that generate multiple documents regularly. Here’s a simple way to set up automated numbering:
- Step 1: In your document, reserve a column for the numbering system.
- Step 2: Use an incremental formula like =ROW()-1 (if you start numbering from 1). This will automatically generate numbers as you add rows.
- Step 3: To include year-based numbering, combine text and formulas, like =TEXT(YEAR(TODAY()),”0000″)&”-“&TEXT(ROW()-1,”000”). This will generate numbers like “2024-001, 2024-002,” etc.
Common Mistakes to Avoid
While numbering might seem simple, there are several common mistakes that businesses should avoid:
- Skipping Numbers: Avoid skipping numbers, as this can cause confusion and disrupt the sequence. Always ensure numbers are sequential, even if a document is canceled or voided.
- Reusing Numbers: Never reuse an invoice number for a different transaction, as this can cause serious tracking and auditing issues.
- Inconsistent Formats: Stick to a consistent format to avoid confusion. Mixing different numbering styles (e.g., changing from 001 to A001) can be disorganized and difficult to manage.
By following these best practices, you can ensure that your numbering system is both effective and compliant with industry standards. Properly organized documents not only help maintain order but also promote trust and professionalism in your business transactions.
Printing and Sending Your Invoice
Once your billing document is ready, the next crucial step is to deliver it to your client in a professional manner. Whether you’re sending it electronically or printing a physical copy, ensuring that the document is clear, properly formatted, and delivered on time is essential for maintaining good business relationships and ensuring timely payments.
Printing Your Document for Physical Delivery
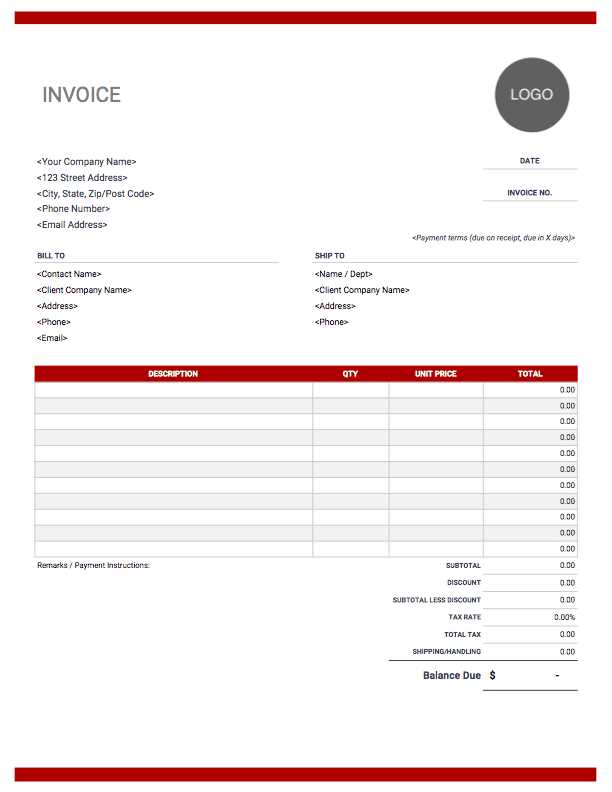
If you prefer to send a hard copy of the document, it’s important to ensure that the layout is properly adjusted for printing. Here are some tips for printing your file effectively:
- Step 1: Check the page orientation (portrait or landscape) and adjust margins to ensure that all content fits neatly on the page.
- Step 2: Preview the document before printing to confirm that there are no cut-off sections or formatting issues.
- Step 3: Choose high-quality paper to enhance the professionalism of the printed document. Opt for a good printer to ensure that text and logos are clear and crisp.
- Step 4: After printing, sign the document if necessary, and prepare it for mailing or hand delivery.
Sending Your Document Electronically
In today’s digital world, sending your document electronically is often the quickest and most efficient option. Here are the steps for sending your file via email:
- Step 1: Save the file in a PDF format to preserve the layout and prevent accidental edits. Most document editing software allows you to export files as PDFs.
- Step 2: Write a clear and professional email subject line (e.g., “Billing Statement for [Month/Service]”).
- Step 3: In the body of the email, include a brief message with a polite request for payment, and mention the due date and payment methods.
Common Mistakes to Avoid in Invoice Creation 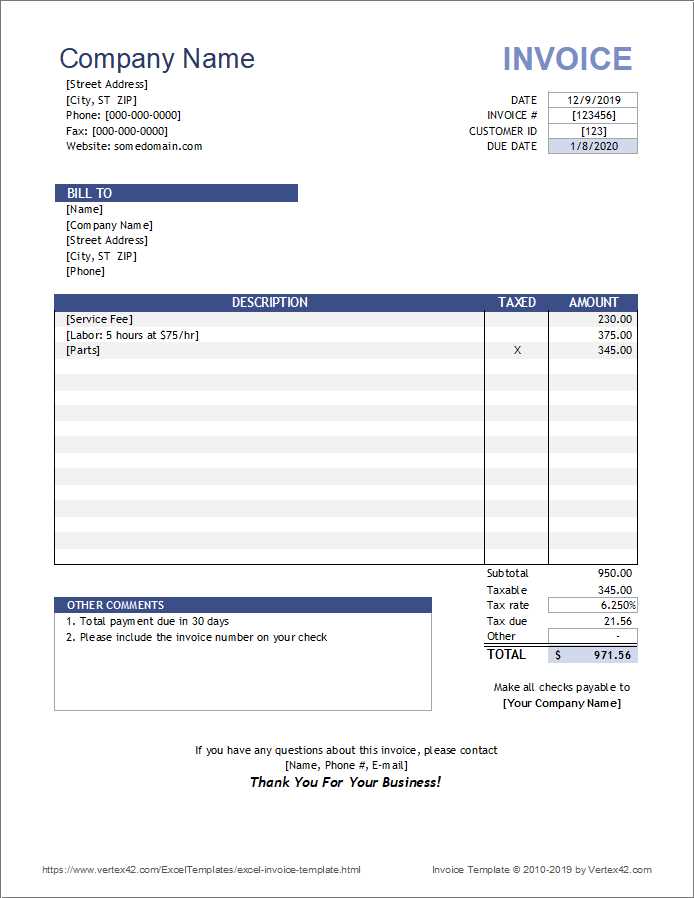
When preparing billing documents for your clients, it’s crucial to ensure accuracy and professionalism. Small errors can cause confusion, delays in payment, or even legal issues. By being aware of common mistakes and taking steps to avoid them, you can streamline the process and maintain a positive relationship with your clients.
Incorrect or Missing Client Information
One of the most frequent mistakes is leaving out important client details or inputting incorrect information. Failing to include accurate contact details or payment terms can lead to misunderstandings or delayed payments. Here’s how to avoid this:
- Ensure accuracy: Double-check the client’s name, address, and contact information before finalizing your document.
- Review terms: Always confirm that the payment terms, such as the due date and any discounts, are correct and clearly stated.
Missing or Incorrect Dates
Dates are crucial for tracking the timing of payments and ensuring that the document follows legal and business guidelines. Common mistakes related to dates include:
- Due date errors: Failing to specify a due date or accidentally listing an incorrect one can lead to confusion about when payment is expected.
- Billing period mismatch: Ensure that the billing period reflects the actual time frame the client is being charged for, whether it’s monthly, quarterly, or another duration.
Failure to Include a Clear Description of Services or Products
A common issue is not providing enough detail about the goods or services rendered. This can leave clients unsure of what they are being charged for, potentially causing disputes. To avoid this:
- Provide detailed descriptions: Clearly describe each product or service, including quantities, unit prices, and any additional charges or fees.
- Be specific: Avoid vague terms and ensure the client knows exactly what they are paying for.
Calculation Errors
Errors in calculations–whether it’s incorrect totals, taxes, or discounts–can cause problems and delay payments. These mistakes are often overlooked but are easy to prevent by:
- Double-checking math: Always verify that all amounts add up correctly, including tax rates, discounts, and totals.
- Using formulas: If possibl