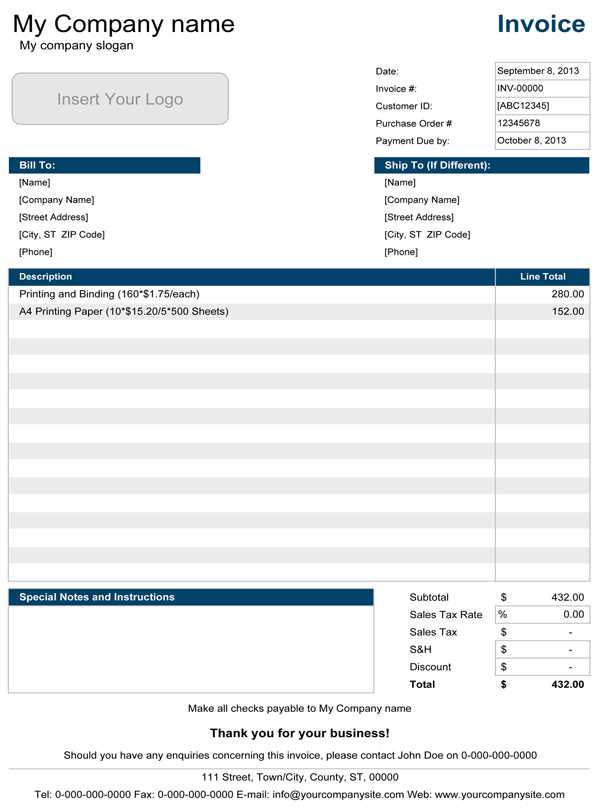
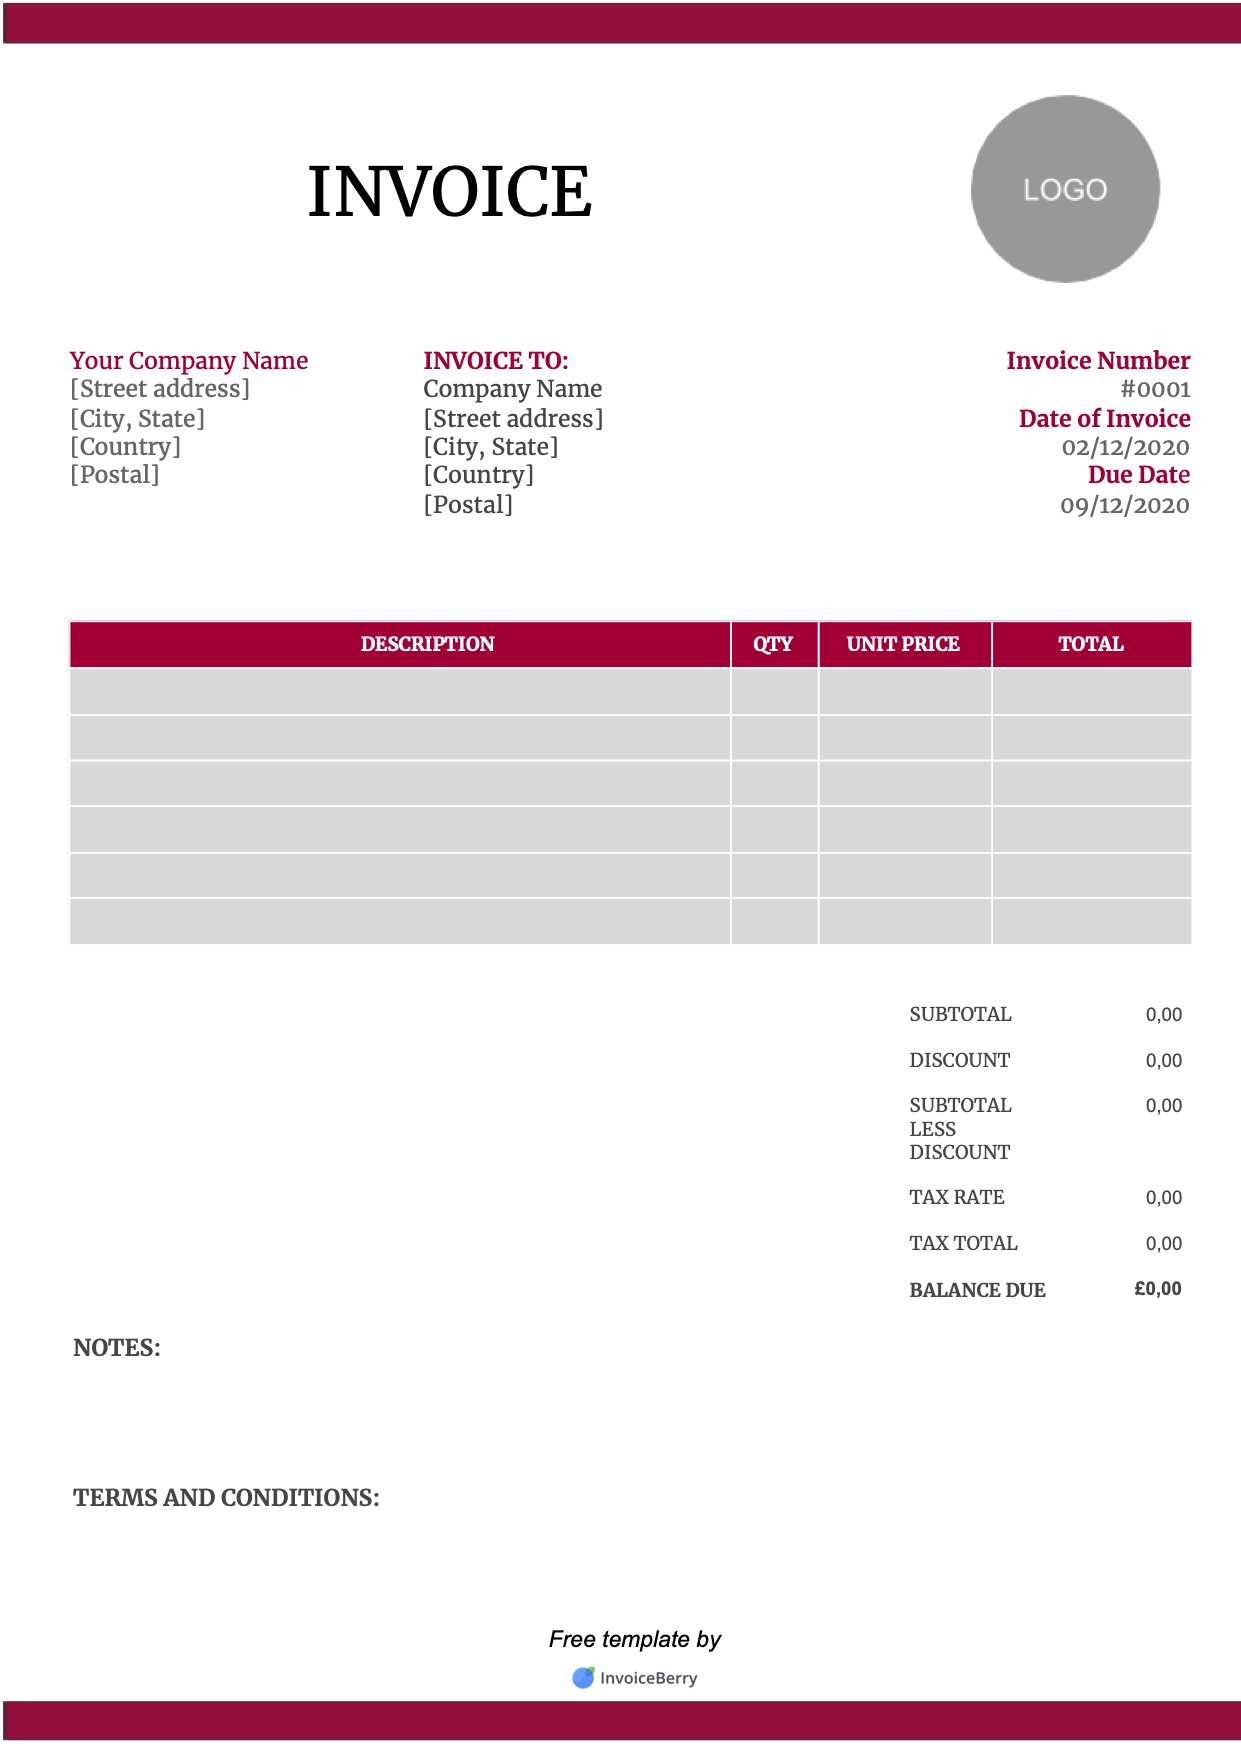
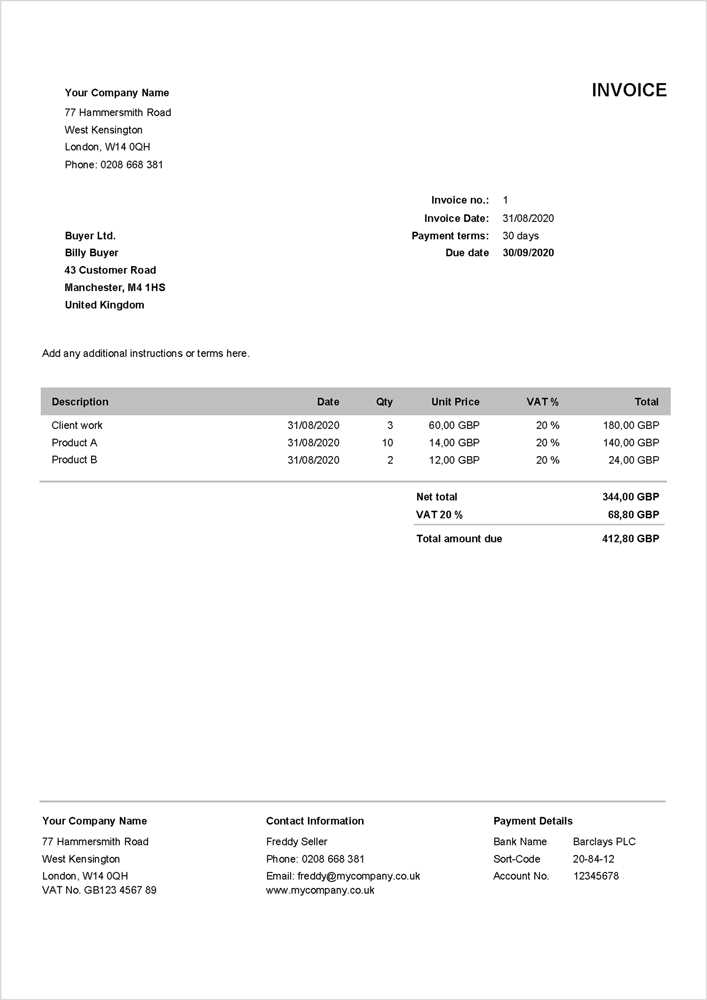
Basic Invoice Template for UK in Word Format
Generating clear and precise billing documents is an essential part of any business operation. Whether you’re a freelancer, a small business owner, or a large company, having a reliable and easily customizable form can save you time and ensure consistency. A well-structured document ensures that your clients understand exactly what they are being charged for and when payment is due.
There are various tools available to help create these forms, but using a widely accessible program like Microsoft Word offers flexibility and simplicity. By starting with a pre-designed layout, you can focus on entering the correct details instead of worrying about formatting. This approach is especially helpful for UK-based businesses, as it allows you to easily incorporate the necessary elements required by local regulations.
With a few simple steps, you can design a document that suits your needs, ensuring that every billing process is smooth and professional. This guide will walk you through the process of choosing, customizing, and using these forms effectively for your business.
How to Create an Invoice in Word
Creating a professional billing document requires a clear layout that is easy for both you and your clients to understand. With the right structure, you can ensure that all necessary details are included, making the payment process efficient. The following steps will guide you through setting up a straightforward, customizable billing form using a commonly available software tool.
Step 1: Open a New Document
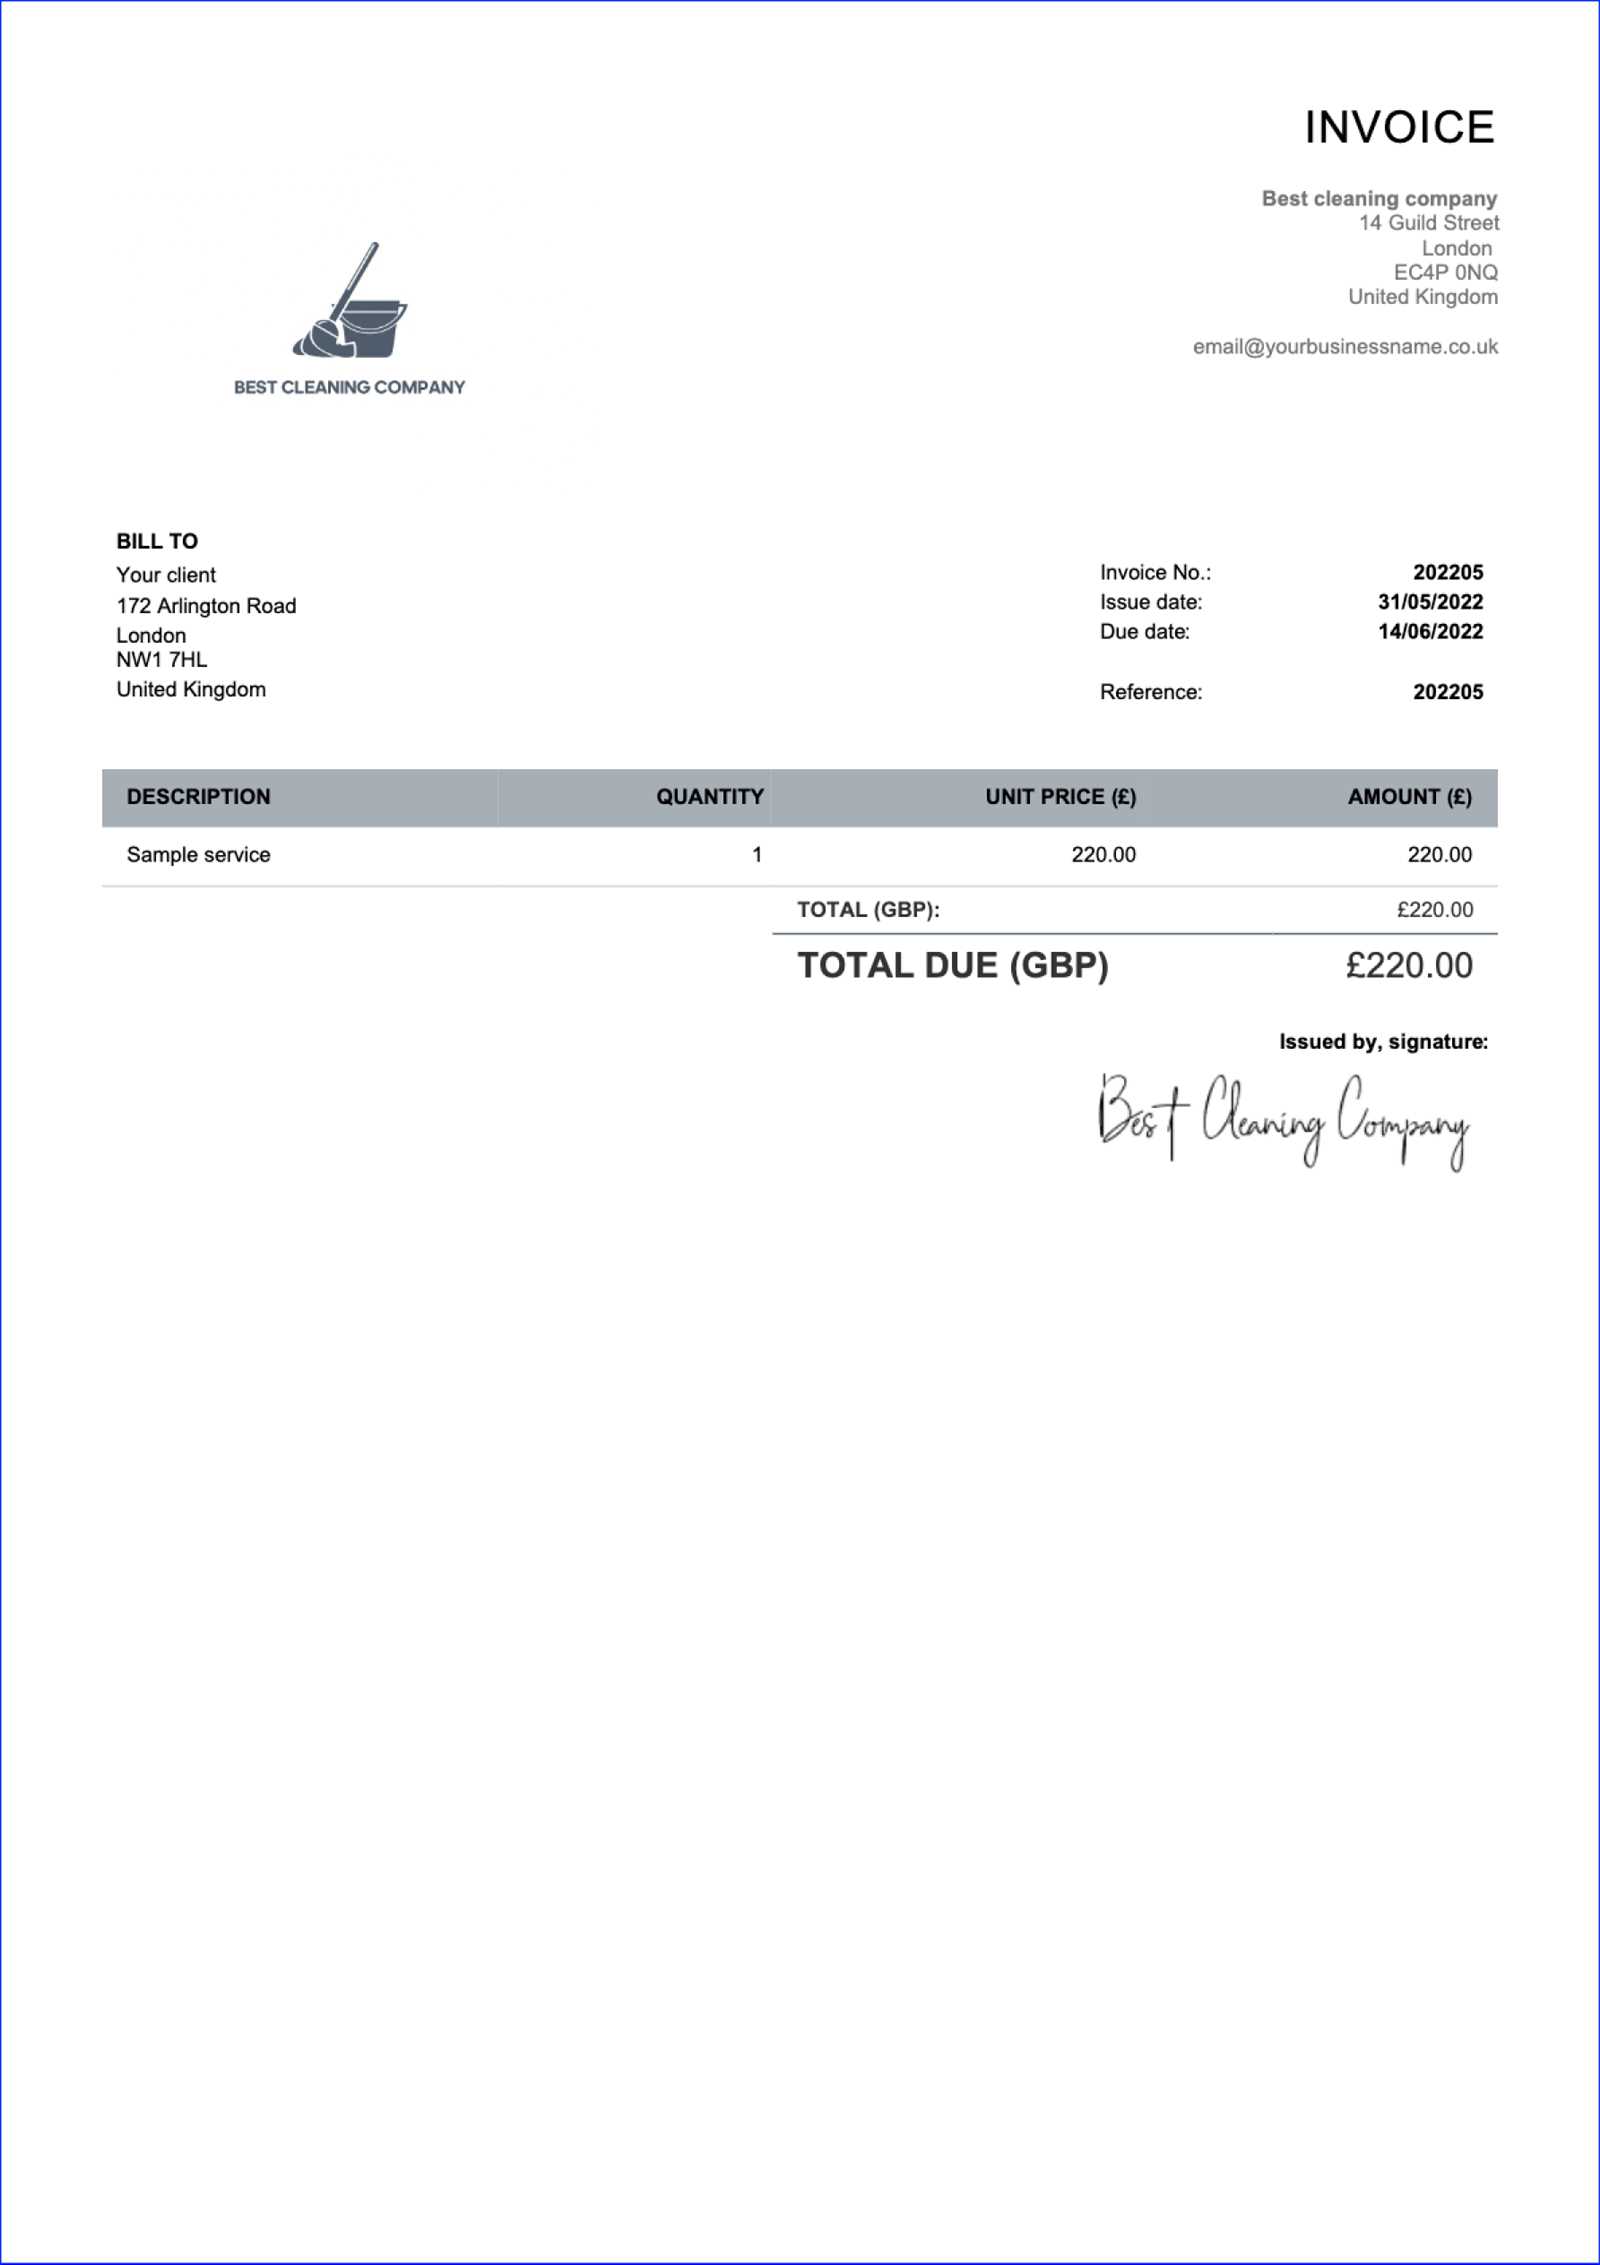
Begin by opening Microsoft Word and creating a new blank document. This will be your starting point for building a custom billing form. You can either start from scratch or choose from available layouts within the program to speed up the process. Starting with a clean slate gives you more control over the design and content placement.
Step 2: Add Essential Information
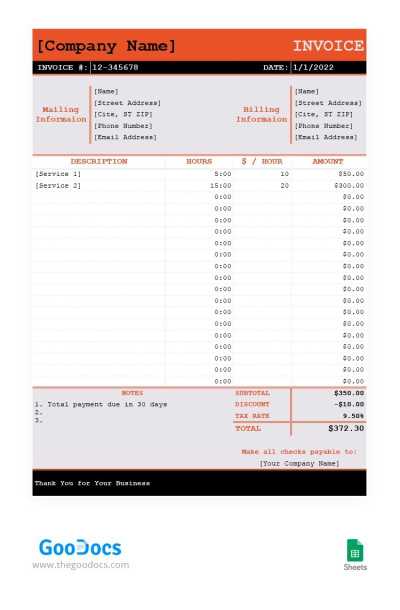
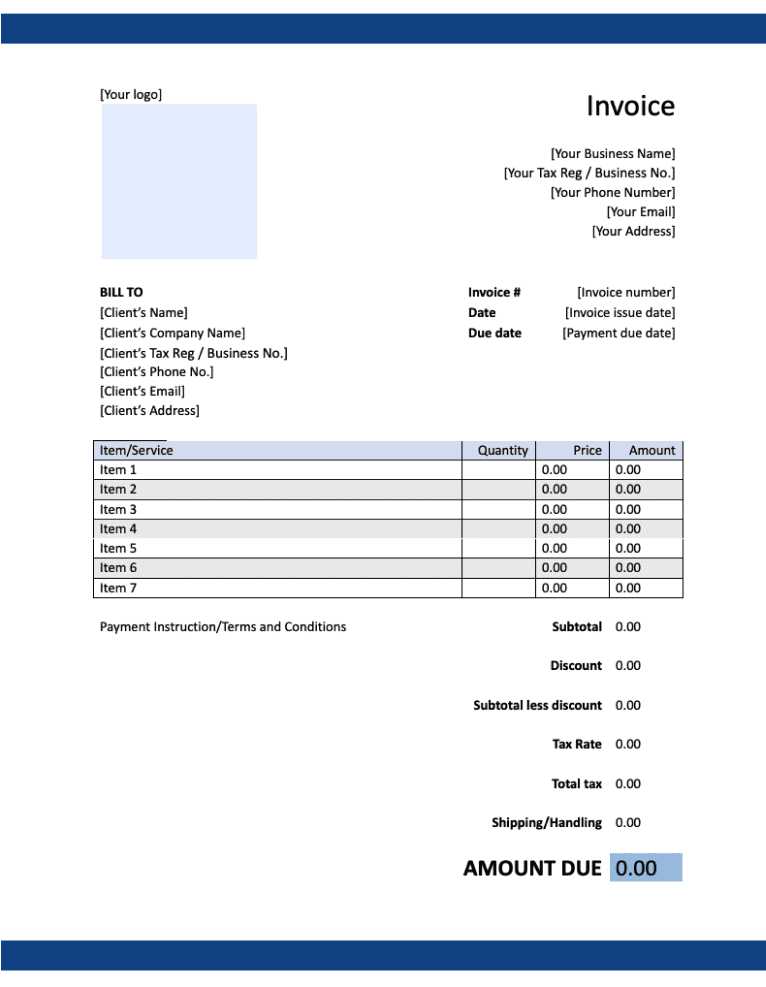
Now, focus on including the necessary details in your form. At the top, include your business name, address, and contact details. Below that, provide the recipient’s information, including their name or company name and contact details. Make sure you clearly label each section to avoid confusion. Then, list the services or products provided, including their prices, quantities, and any applicable taxes. Finally, add the total amount due along with the payment terms, such as the due date and accepted payment methods.
Once you’ve added all the required fields, adjust the layout for clarity and professionalism. Ensure that everything is well-aligned and easy to read. With these simple steps, you can quickly create a custom billing document suited to your business needs.
Why Use a Simple Billing Form
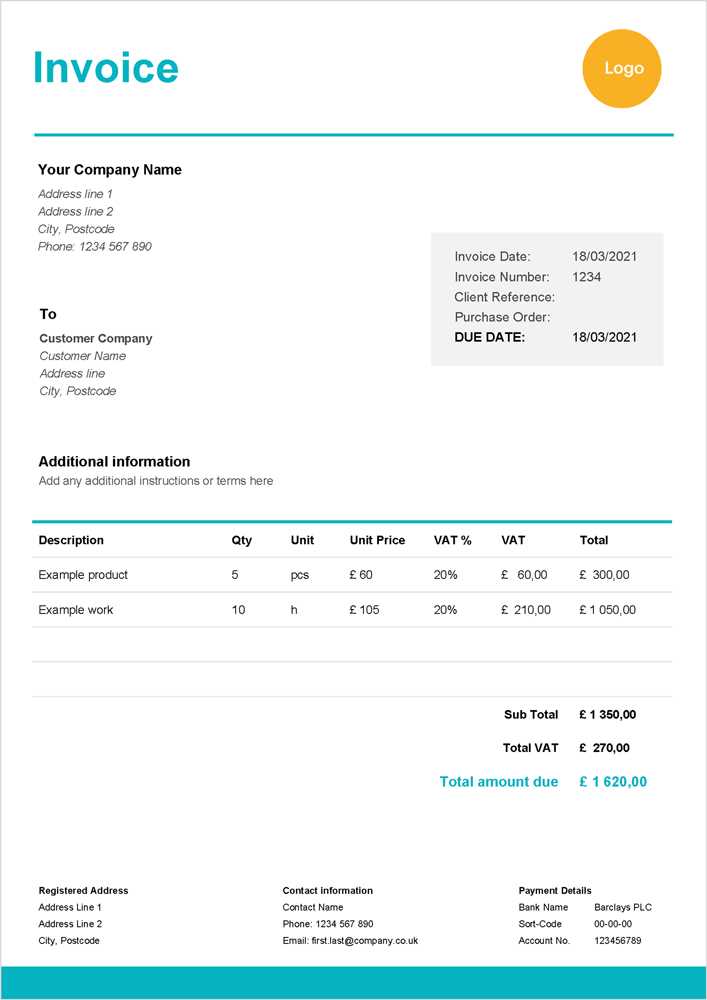
Using a pre-designed billing form offers a variety of benefits for businesses of all sizes. Rather than creating a new document from scratch every time you need to request payment, a ready-to-use structure can save you valuable time and effort. By ensuring consistency and professionalism in your communication, you can streamline the entire billing process.
Here are some key reasons why using a simple billing form can be advantageous:
- Time Efficiency: With a ready-made format, you can quickly fill in the necessary details, reducing the time spent on creating a new document for each transaction.
- Consistency: A standardized layout helps maintain uniformity across all your billing documents, which is important for branding and clarity.
- Accuracy: Predefined fields help reduce the risk of missing important information, such as tax rates, due dates, or item descriptions.
- Professional Appearance: A clean, well-organized billing document gives a positive impression to your clients, showing them that your business is reliable and detail-oriented.
- Ease of Customization: Simple forms are easy to adapt and personalize based on your specific needs, allowing you to adjust payment terms, services, or any other details as necessary.
By using a well-structured form, you can ensure that each billing document is both professional and efficient, making the entire payment process smoother for both your business and your clients.
Essential Features of a UK Billing Document
Creating a billing document that adheres to legal requirements and is easy for both the business and customer to understand is crucial. In the UK, certain key elements must be included to ensure clarity and compliance with tax regulations. These features not only help with accuracy but also create a professional image for your business.
Here are the essential components every UK billing form should have:
- Unique Reference Number: Every document must have a distinct reference number to ensure it can be easily identified for accounting and tax purposes.
- Your Business Information: Include your business name, address, and contact details. This allows your clients to easily reach you if needed.
- Customer Information: Include the name, address, and contact details of the recipient to ensure there is no confusion regarding the billed party.
- Clear Description of Goods or Services: Provide a detailed breakdown of the items or services provided, including quantities, prices, and any relevant descriptions.
- Tax Information: For VAT-registered businesses, include the VAT number and indicate whether VAT is charged on the goods or services, along with the applicable rate.
- Payment Terms: Specify the payment due date and any late fees or penalties if the payment is not received on time.
- Total Amount Due: Clearly state the total amount, including taxes, any discounts, or adjustments to avoid misunderstandings.
By ensuring all these elements are present, your billing documents will be both legally compliant and clear to your clients, which helps in maintaining smooth business operations.
Steps to Customize Your Invoice
Customizing your billing document allows you to tailor it to your business needs, ensuring that all necessary details are included in a clear and professional manner. The process is straightforward, and with just a few adjustments, you can create a personalized form that reflects your brand and meets all regulatory requirements. Below are the steps to help you make your billing document uniquely suited to your business.
Step 1: Add Your Branding
Start by incorporating your business logo, name, and contact information at the top of the form. This helps your clients easily identify the source of the bill and adds a professional touch. You can also adjust the font style and colors to match your brand’s identity, ensuring that the document feels cohesive with your other business materials.
Step 2: Adjust the Layout and Fields
Next, review the layout and adjust the placement of each section to ensure clarity. For example, you might want to make the billing details larger or bold for emphasis. Customize the fields according to the services or products you provide. Add or remove sections as necessary–such as a field for a purchase order number or a discount–so that it fits your specific invoicing requirements.
Finally, make sure all the important information, such as the payment terms and the total amount due, is clearly visible. A clean, easy-to-read format helps prevent misunderstandings and facilitates quicker payments.
Benefits of Word for Invoicing
Using a widely available software tool for creating billing documents offers several advantages for businesses. With its user-friendly interface and versatile features, this program simplifies the process of generating professional forms. Whether you’re a freelancer, a small business owner, or part of a larger organization, this software can streamline your invoicing process and enhance efficiency.
Here are the key benefits of using this program for your billing needs:
- Easy Customization: You can quickly adapt the layout, text, and design to match your branding and business requirements, ensuring each document is tailored to your specific needs.
- Familiarity: Most people are already familiar with the software, making it easier to create and manage your documents without requiring additional training or learning new tools.
- Pre-designed Formats: It offers a variety of pre-built layouts that can be easily adjusted to suit your needs, saving you time on formatting and design.
- Integration with Other Documents: You can easily combine your billing forms with other business documents, such as contracts or quotes, for seamless communication with clients.
- Compatibility: Documents created using this program are easily shareable and compatible with other software, allowing clients to view and print them with no issues.
- Affordable: Since many businesses already use this software, there are no extra costs for additional invoicing tools or subscriptions, making it a cost-effective choice.
By choosing this tool for your billing needs, you benefit from a flexible, cost-effective solution that simplifies the process while maintaining a professional and organized approach to invoicing.
Key Information to Include on an Invoice
To ensure smooth and clear communication with your clients, it is essential to include all the necessary details in your billing document. This not only helps avoid misunderstandings but also ensures that you meet legal and tax requirements. The following are the key pieces of information that should always be present in your billing document to maintain professionalism and accuracy.
- Unique Reference Number: Every document should have a distinct reference number for easy identification and tracking, especially for record-keeping and tax purposes.
- Business Details: Include the name, address, and contact information of your business. If you are VAT-registered, ensure your VAT number is clearly displayed.
- Client Details: Clearly state the name, address, and contact information of the person or company being billed to avoid confusion.
- Description of Products or Services: Provide a detailed breakdown of what has been provided, including quantities, unit prices, and clear descriptions of the items or services delivered.
- Dates: Include the date the bill was issued, as well as the due date for payment. This helps set clear expectations regarding the timeline for payment.
- Payment Terms: Specify the agreed-upon payment terms, such as the accepted methods of payment and any discounts or penalties for early or late payments.
- Total Amount Due: List the total amount to be paid, ensuring it includes any taxes, delivery fees, or other additional charges that apply.
- Bank Details or Payment Information: If you are expecting payment via bank transfer or another method, provide the necessary account details or payment instructions to facilitate smooth transactions.
By including these essential elements in your billing documents, you ensure that clients can easily understand the charges and make prompt payments, while also maintaining a professional appearance for your business.
Choosing the Right Template for UK Businesses
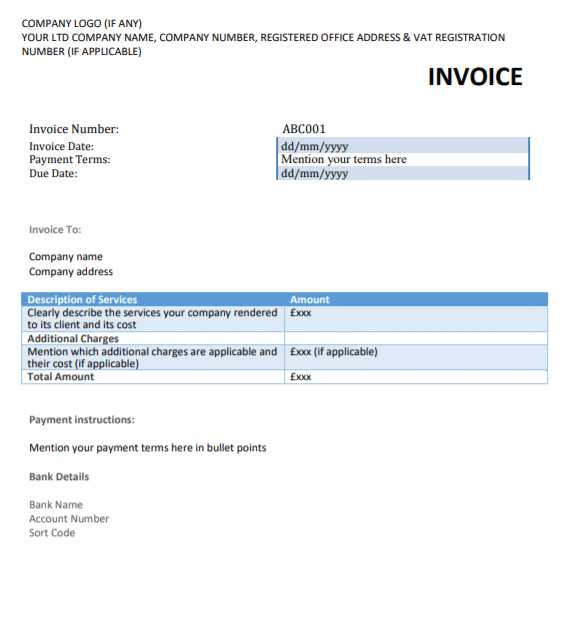
Selecting the appropriate document layout for your business needs is crucial to ensuring that your billing process is efficient, professional, and legally compliant. The right form should not only capture all necessary details but also align with the standards required for UK businesses. In this section, we’ll cover key considerations when choosing a layout that fits your company’s specific needs.
When choosing a layout, it’s important to ensure that it includes all mandatory elements, such as your VAT registration number (if applicable), your company details, and clear payment terms. Additionally, the document should be simple to customize, allowing you to adjust it for different clients and services. Below is a comparison table to help you decide on the best layout for your business:
| Feature | Essential for UK Businesses? | Considerations |
|---|---|---|
| Business Name and Address | Yes | Always include your full business details for transparency and compliance. |
| VAT Number | Yes (if VAT registered) | Make sure it’s included if your business is VAT registered in the UK. |
| Payment Terms | Yes | Clearly outline the due date, late payment fees, and accepted methods of payment. |
| Space for Client Details | Yes | Ensure there’s enough room for the recipient’s full name and address. |
| Line Items with Descriptions | Yes | Include a breakdown of products or services with quantities, prices, and VAT where applicable. |
| Payment Instructions | Optional | Include bank account details or online payment instructions if relevant. |
By carefully reviewing these considerations, you can select a layout that will make invoicing faster, more accurate, and professional, while also ensuring that it meets the legal requirements in the UK. The right form will also help improve communication with clients and streamline your accounting processes.
Common Mistakes to Avoid When Invoicing
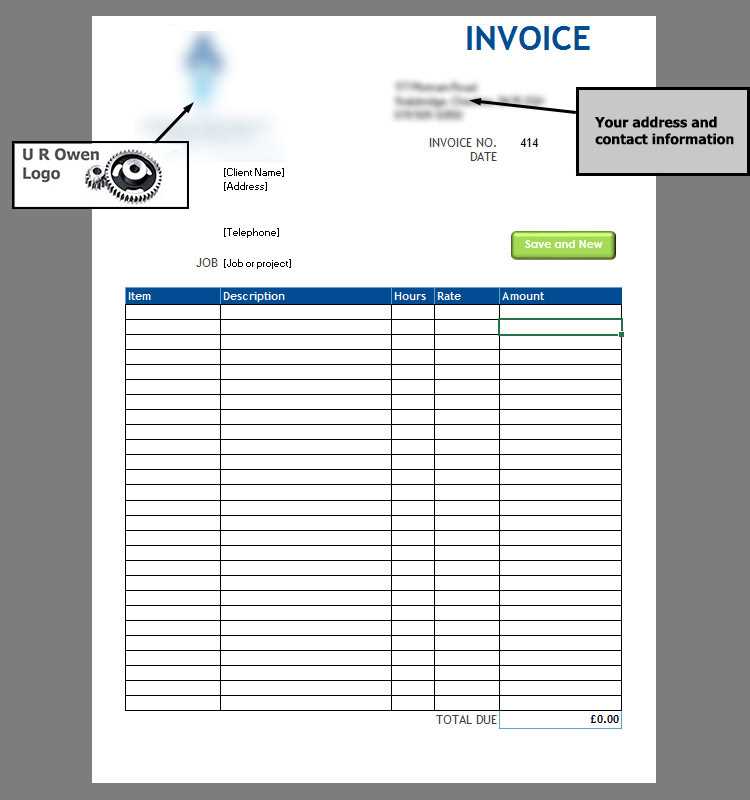
Creating accurate and clear billing documents is essential to maintaining a smooth cash flow and a positive relationship with clients. However, there are several common errors that can cause confusion, delays in payment, or even legal issues. By understanding and avoiding these mistakes, you can ensure that your billing process is both professional and efficient.
Incorrect or Missing Information
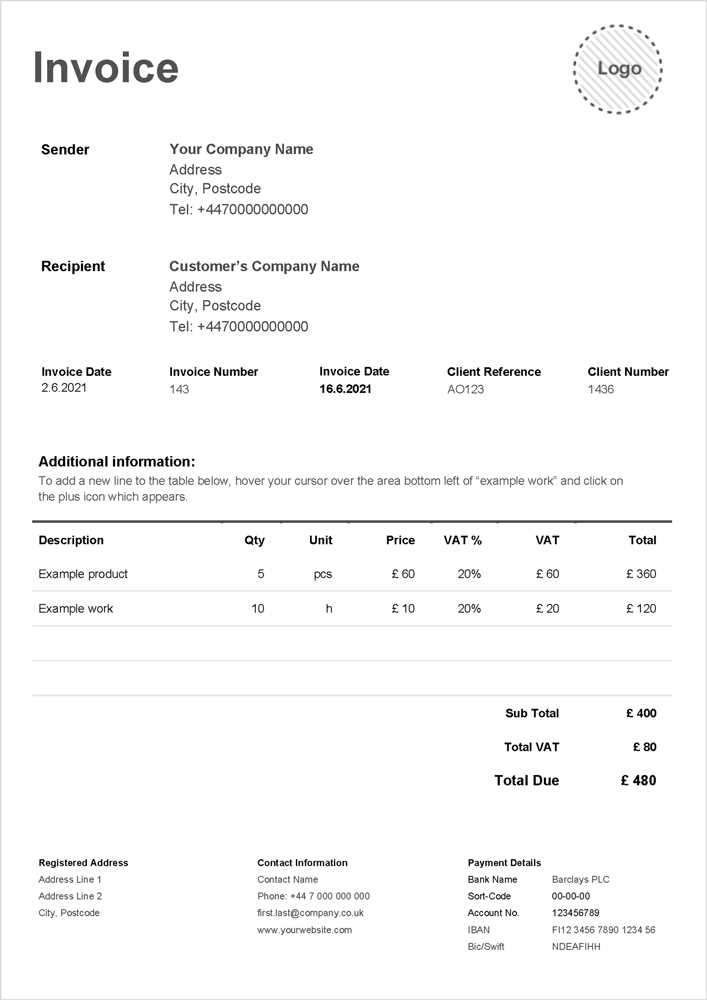
One of the most frequent mistakes is failing to include all necessary details in the document. Omitting important information, such as your business name, client details, or the payment terms, can lead to delays in processing payments. Always double-check that all fields are completed accurately before sending the document. Common missing details include:
- Business or client contact information
- Unique reference number
- Correct breakdown of products/services with prices
Ambiguous Payment Terms
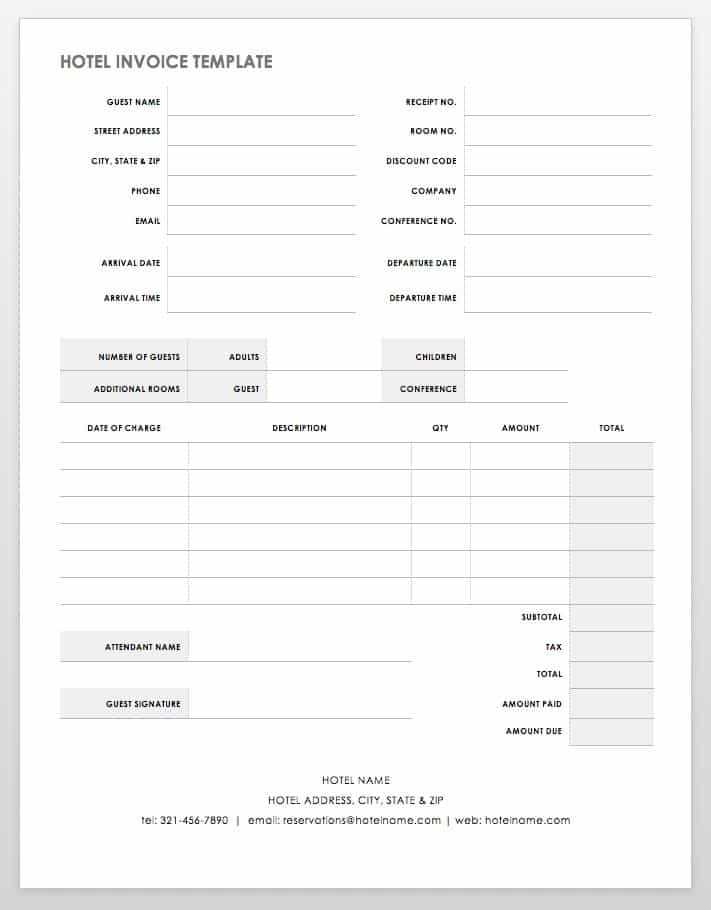
Another common issue is unclear payment instructions. If the due date, payment methods, or penalties for late payment aren’t clearly stated, it can lead to misunderstandings and delays. Always ensure that payment terms are easy to read and unambiguous. Some specific areas to focus on include:
- Clearly stating the due date
- Including payment method options (bank transfer, online payment, etc.)
- Indicating any late fees or interest charges for overdue payments
Avoiding these common mistakes will help streamline your invoicing process, ensuring quicker payments and reducing the chance of misunderstandings with your clients.
Best Practices for Invoice Formatting
Proper formatting is essential to creating clear, professional billing documents. A well-organized layout ensures that clients can easily read and understand the details, leading to quicker payments and fewer disputes. By following a few best practices for document design, you can enhance the clarity of your bills and improve the overall client experience.
Here are some key tips for formatting your billing documents effectively:
- Use Clear, Readable Fonts: Choose professional and easy-to-read fonts like Arial or Times New Roman. Ensure the text is large enough to be legible, especially for important information like the total amount due and payment terms.
- Organize Information Logically: Arrange the details in a clean, structured format. Place your business details at the top, followed by the client’s information, the list of products or services, and the total amount due. Use sections and headings to separate different pieces of information for easy navigation.
- Align Data Properly: Ensure that numbers, such as prices, quantities, and totals, are aligned correctly. This makes it easier for your client to compare and verify the details at a glance.
- Highlight Key Information: Important elements, like the due date, total amount, and payment instructions, should be clearly highlighted using bold or larger font sizes. This ensures that these critical details stand out.
- Leave Adequate Space: Don’t overcrowd your document with too much text. Use ample spacing between sections and lines to make the document visually appealing and easy to read.
- Consistent Layout: Maintain a consistent design throughout your documents. Keep the same font sizes, styles, and spacing across all billing documents to create a cohesive and professional appearance.
By following these best practices, you can create billing documents that are easy for your clients to understand and process, helping to streamline your business’s payment cycle.
How to Add Taxes to Your Invoice
When billing clients, it’s important to accurately reflect any applicable taxes to ensure compliance with local regulations and avoid misunderstandings. Whether your business is VAT registered or you need to apply another type of tax, adding tax details to your billing documents is a straightforward process that can be customized depending on your requirements.
Here’s how to correctly include taxes in your billing documents:
- Identify the Tax Rate: In the UK, the standard VAT rate is 20%, but there are reduced rates for certain items and services. Make sure you know the correct rate to apply based on the nature of your products or services.
- Calculate the Tax Amount: Multiply the total amount of the goods or services provided by the appropriate tax rate. For example, if the subtotal is £100 and the tax rate is 20%, the tax amount will be £20.
- Clearly Label the Tax: In your document, create a separate line item for tax. Clearly state the tax amount and the rate applied. This ensures transparency and helps your client understand how the total was calculated.
- Display the Total Amount: After adding the tax, sum the subtotal and tax amount to show the total amount due. Make sure it’s clearly marked at the bottom of the document, so there is no confusion about the final charge.
- Include Your VAT Number (if applicable): If your business is VAT registered, include your VAT registration number in the document. This is a legal requirement in the UK when charging VAT.
By following these steps, you will ensure that taxes are properly calculated and displayed in your billing documents, keeping everything transparent and compliant with UK tax laws.
Tips for Organizing Your Invoices
Proper organization of billing documents is essential for maintaining a smooth business operation. It helps ensure that you can easily track payments, resolve disputes, and maintain accurate financial records. By implementing a structured approach to managing your billing documents, you can save time and avoid unnecessary stress. Here are some helpful tips for keeping your billing process well-organized.
1. Use a Unique Numbering System
One of the simplest yet most effective ways to organize your billing documents is by implementing a consistent numbering system. A unique number for each document allows for easy tracking and ensures that every transaction is recorded without duplication. Consider using a format like “INV-001,” “INV-002,” etc., or include the date in the reference number, such as “2024-001” to indicate the year.
2. Categorize and Store Documents
It’s essential to categorize your billing documents based on different criteria to help you stay organized. For example, you can store them by:
- Client Name
- Issue Date
- Status (Paid or Unpaid)
- Service or Product Type
Whether you’re using a physical filing system or digital storage, categorizing will allow you to retrieve any document quickly when needed.
3. Implement a Consistent Filing System
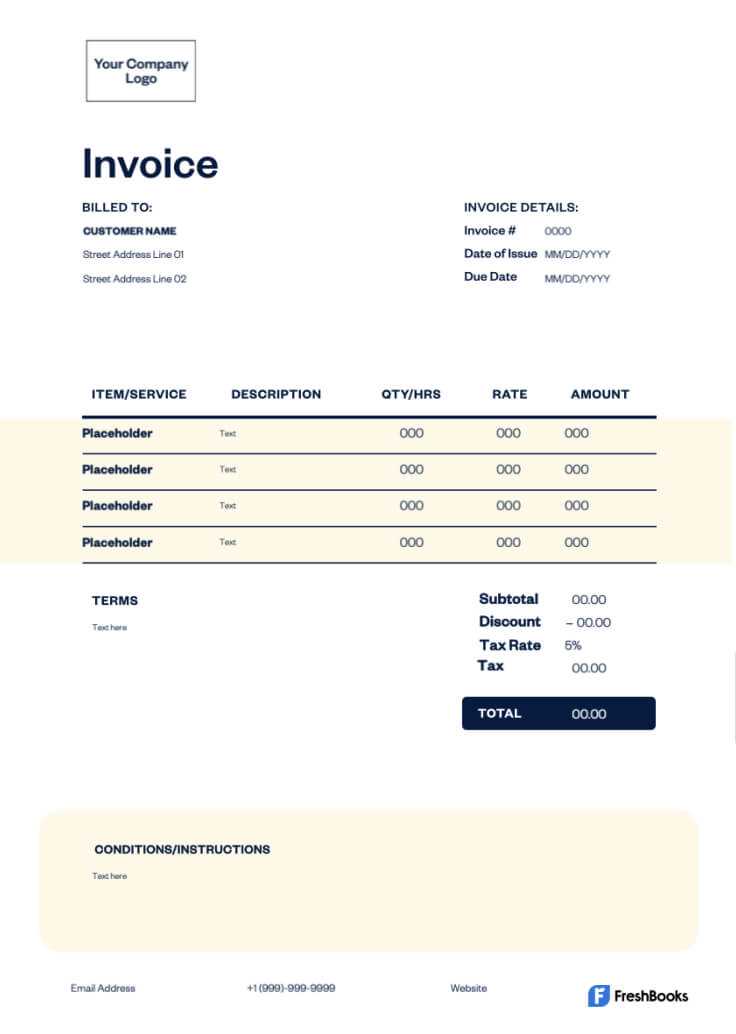
Consistency is key when organizing your billing records. If you choose to store your documents digitally, create specific folders for each client or month. If you prefer paper-based records, use folders or binders with labeled sections for easy access. A well-structured filing system prevents documents from being lost or overlooked.
4. Use a Spreadsheet for Tracking
Another effective method for organizing your billing documents is using a spreadsheet to track key details such as the invoice reference number, client name, due dates, and payment status. This allows you to quickly see which payments are outstanding and which have been completed. Below is a simple example of how you might set up a spreadsheet for tracking:
| Invoice Number | Client Name | Amount Due | Due Date | Status | |||||||||
|---|---|---|---|---|---|---|---|---|---|---|---|---|---|
| 2024-001 | John Doe | £500 | 2024-10-30 | Paid | |||||||||
| 2024-002 | Jane Smith | £300 | 20
Saving and Sharing Your Invoice in WordOnce your billing document is completed, the next step is to save it properly and share it with your client. It’s important to use the right formats and methods to ensure your client can easily access and process the document. In this section, we’ll discuss the best practices for saving and sharing your billing documents. After finalizing your document, saving it in the right format ensures it remains accessible and editable if needed. Commonly, businesses save their documents in either editable or non-editable formats, depending on the situation. You may choose to save your document as a traditional file format or export it as a PDF for a more universally accessible version.
When it comes to sharing, there are several methods available. The most common and convenient ways to share your billing documents with clients include email and cloud-based storage. Both methods are secure and efficient for quick delivery.
By saving your document in the appropriate format and using secure, efficient sharing methods, you can ensure smooth communication and prompt payments from your clients. How to Handle Late Payments on InvoicesLate payments can disrupt your cash flow and affect the financial health of your business. It’s important to have a strategy in place to handle overdue bills professionally and effectively. In this section, we’ll explore practical steps to manage late payments, from sending reminders to enforcing penalties, while maintaining good relationships with your clients. 1. Set Clear Payment Terms
To avoid confusion or disputes, it’s essential to set clear and explicit payment terms in your billing documents from the start. Clearly state the due date, any early payment discounts, and the consequences of late payments. This will make it easier to follow up if payments are delayed.
2. Send Polite Payment RemindersAs soon as a payment becomes overdue, it’s important to follow up with a polite reminder. Most of the time, clients simply forget or have missed the due date. A friendly reminder can often solve the issue without further escalation. Here’s how you can approach this:
3. Implement Late Payment FeesIf reminders don’t work, enforcing late payment fees can help encourage timely payments. Be sure to communicate these fees clearly in your initial payment terms. The threat of additional charges can often motivate clients to pay quickly. Consider the following steps:
4. Offer Payment Plans or Negotiation
In cases where a client is genuinely struggling to pay, consider offering a payment plan. This approach allows you to receive the money over time, which may be better than having to deal with non-payment. Always approach this with flexibility, but also ensure that you create a written agreement on the terms:
5. Seek Legal Action (Last Resort)If all attempts to resolve the late payment fail, and the amount owed is substantial, it may be necessary to escalate the matter. Before resorting to legal action, ensure you’ve followed all previous steps. Legal recourse should be a last Integrating Invoice Templates with Accounting ToolsConnecting your billing documents with accounting software can streamline your financial processes, reduce errors, and save valuable time. By integrating your billing system with tools that manage income, expenses, and taxes, you can ensure that your records are always up-to-date, accurate, and easily accessible. This integration enables automatic synchronization between your invoices and the overall accounting system, simplifying tasks such as tracking payments, generating reports, and managing financial data. Here are some key advantages of linking your billing documents with accounting tools:
To integrate your billing system with accounting tools, follow these general steps:
|
