How to Create an Invoice Template in Word
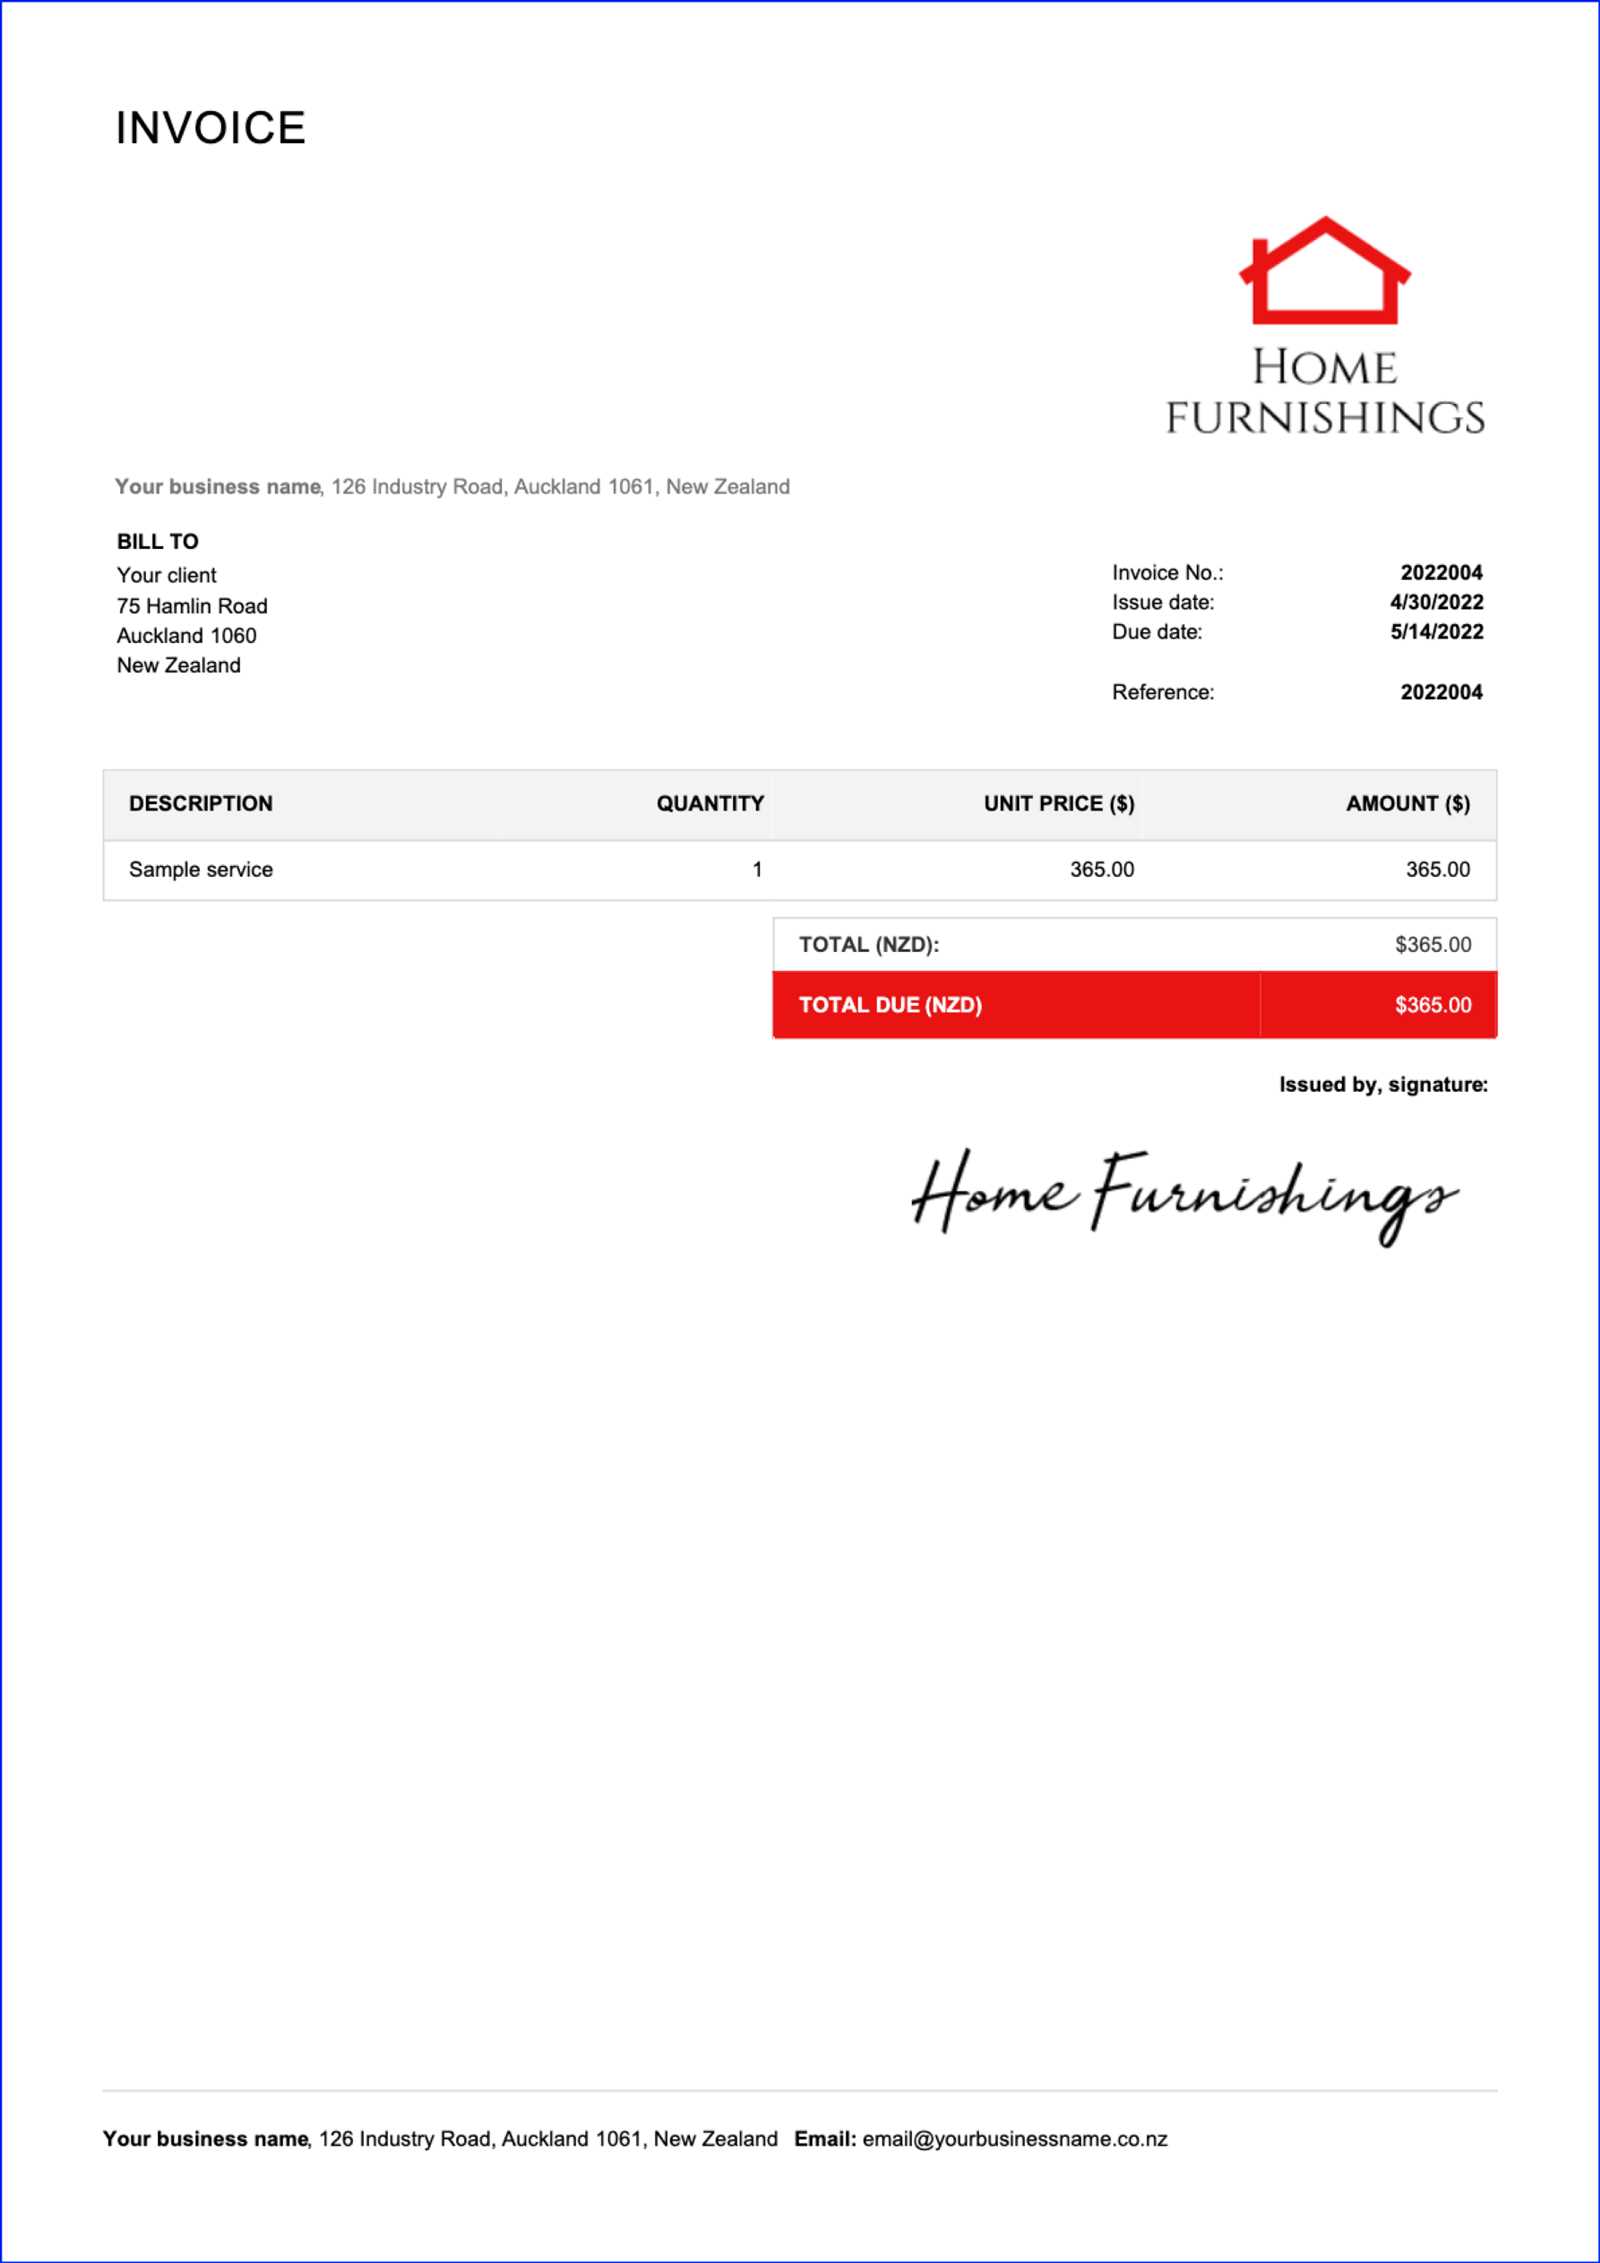
When managing a business, efficient financial documentation is key to maintaining smooth operations. Having a structured, well-designed format for billing helps ensure clarity and professionalism in transactions. Whether you’re working with clients or handling internal records, a customizable solution can save time and reduce errors in your accounting process.
One of the most effective ways to handle this is by using a widely accessible software that allows for easy editing and personalization. With the right approach, you can build a document that suits your specific needs, from adding relevant fields to incorporating company branding. This ensures that each record you generate aligns with your business style while meeting all necessary legal and financial requirements.
In this guide, we’ll walk you through the process of designing a streamlined, professional document that suits any business. With just a few steps, you’ll be able to produce customized records that look polished and are easy to update for every new transaction.
How to Build a Billing Document in Word
Setting up a structured billing document is essential for ensuring that your business transactions are well-organized and easy to understand. By using a familiar software tool, you can quickly design a professional-looking record that includes all the necessary details such as payment terms, itemized services, and company branding. Once set up, the document can be reused for various clients, saving you time and effort.
Step 1: Set Up the Basic Structure
Start by opening a blank document and adjust the layout to suit your needs. You’ll want to set up headers for both your business and client information, as well as sections for services rendered, dates, and amounts due. Using tables can help structure these sections neatly, allowing for easy modification later. Adjust the column width and row height as needed to fit the content properly.
Step 2: Personalize Your Design
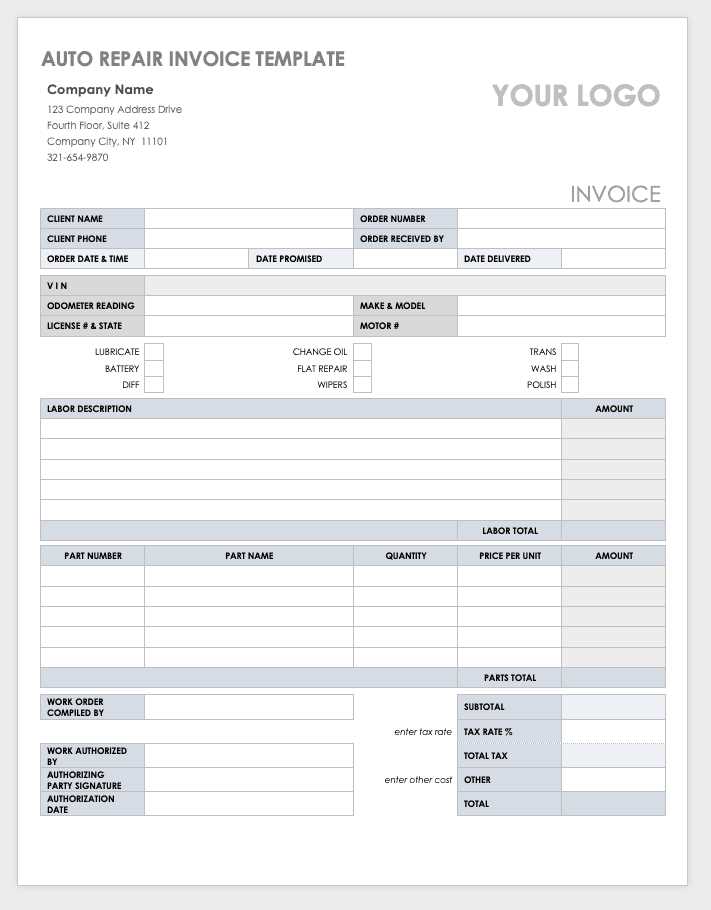
Once the structure is in place, focus on customizing the design. This may include adding your company’s logo, choosing fonts that match your branding, and applying colors that are consistent with your business’s visual identity. You can also include a footer with additional information, such as your contact details or payment instructions, to make the document more comprehensive.
Why Use Word for Billing Documents
Using a popular text editing tool for designing financial documents offers several advantages. It allows for easy customization, quick updates, and simple formatting, making it an ideal choice for small businesses and freelancers. The flexibility of this software ensures that you can create professional-looking records without the need for specialized design tools or complicated software. Its intuitive interface makes it accessible even for those with limited technical experience.
Here are some key reasons why this software is an excellent choice for managing your financial records:
| Advantages | Description |
|---|---|
| Ease of Use | The software is user-friendly, with drag-and-drop features, pre-designed styles, and a simple layout. |
| Customization | It offers numerous options to tailor the document to your specific needs, including fonts, colors, and logos. |
| Wide Accessibility | The program is commonly available on most computers, making it easy to use regardless of your device. |
| Flexibility | It supports various file formats and allows for easy editing, ensuring your document can be reused and modified effortlessly. |
Step-by-Step Guide to Building Invoices
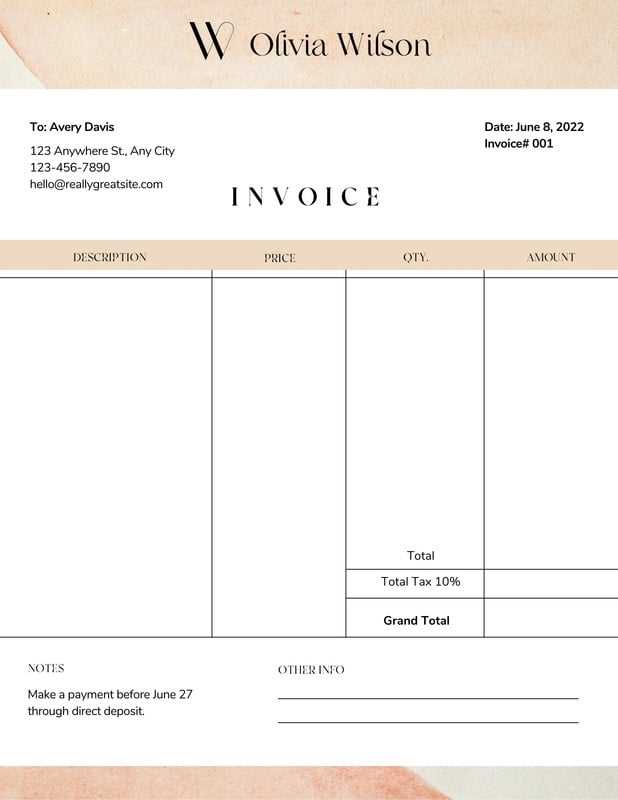
Designing a billing document from scratch is a straightforward process that requires careful attention to detail and organization. By following a few simple steps, you can produce a polished, professional-looking record that is both functional and easy to understand. The goal is to ensure that all essential information is included, such as services rendered, pricing, and payment instructions, while keeping the layout clear and accessible.
Here’s a step-by-step approach to designing a financial record:
Step 1: Choose a Layout
Start by selecting a layout that suits your business needs. You can use columns for organizing data such as dates, descriptions, quantities, and prices. Keep in mind the importance of white space to ensure the document isn’t overcrowded and is easy to read.
Step 2: Add Business Information
Include your company name, address, and contact details at the top of the document. This establishes credibility and makes it easy for clients to reach out if necessary. Also, include your client’s name and contact information to personalize the document.
Step 3: List Products or Services
Clearly outline what was provided, including descriptions, quantities, unit prices, and total amounts. Using tables is a great way to keep the information organized and aligned. If applicable, add any taxes or discounts in separate rows to maintain clarity.
Step 4: Specify Payment Terms
Include payment instructions and due dates. Clearly define the methods of payment you accept and any late fees that might apply if payments are not received on time. Providing these details upfront avoids confusion and helps ensure timely payments.
Step 5: Add Your Branding
Customize the document by adding your logo, colors, and other elements that reflect your company’s identity. This will make the document look more professional and enhance your brand’s visibility in the client’s mind.
Customizing Billing Fields in Word
Customizing the fields in your financial document allows you to tailor it to your specific needs, ensuring that all necessary information is captured clearly and efficiently. By adjusting key sections such as item descriptions, dates, and totals, you can create a professional document that reflects the unique aspects of your business. Customization also makes it easier to update and reuse the document for different clients or services.
Key Fields to Customize
There are several fields in your document that can be adjusted to ensure all necessary details are included. Here are some of the most important:
- Business Information: Include your company name, address, contact details, and logo at the top.
- Client Information: Ensure the recipient’s name, address, and contact details are clearly stated.
- Description of Services or Products: List what was provided, including any relevant details or SKU numbers.
- Dates: Include the issue date, due date, and any relevant service dates to avoid confusion.
- Pricing: Specify unit prices, quantities, and any discounts or taxes that apply.
Adjusting Field Layout and Format
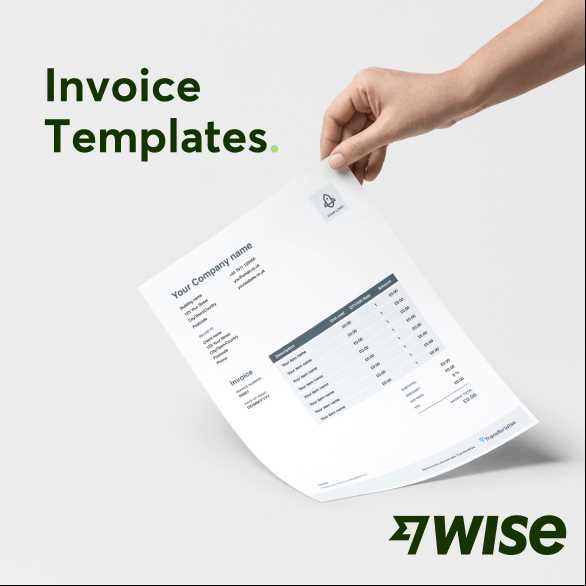
Once the basic fields are in place, you can focus on adjusting the layout and formatting to match your company’s style. Consider the following adjustments:
- Tables: Use tables to organize the items and their corresponding details. You can adjust the size of columns and rows for clarity.
- Fonts and Colors: Choose fonts and colors that match your business branding to make the document visually appealing.
- Spacing: Adjust the line and paragraph spacing to make the document easy to read and professional in appearance.
With these customizations, you can ensure that every document you send reflects your business’s professionalism and meets all the requirements for accurate billing.
Designing a Professional Billing Layout
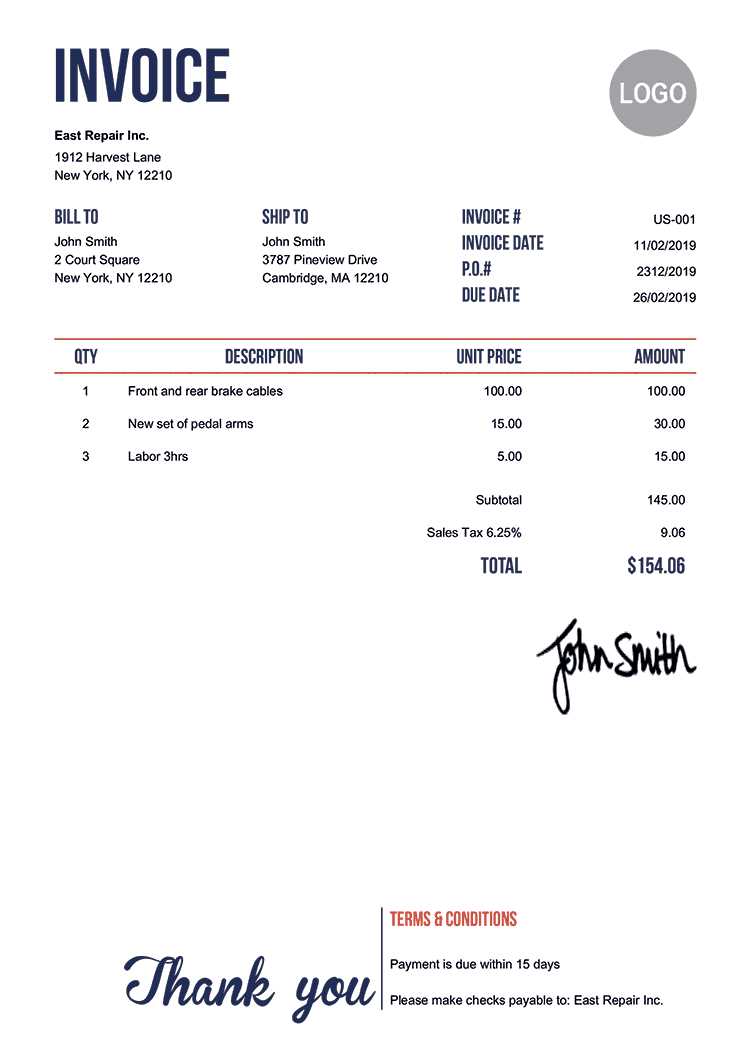
A well-designed billing document is essential for conveying professionalism and clarity to your clients. The layout plays a crucial role in making the content easy to read and ensuring that all important information stands out. A clean, organized format not only helps avoid misunderstandings but also enhances your brand’s image. The goal is to create a document that is visually appealing while providing all necessary details in an efficient and structured manner.
Key Elements of a Professional Layout
When designing a billing document, consider these key elements to ensure your layout is both functional and professional:
- Header Section: Include your business name, logo, and contact information at the top. This makes it easy for clients to identify your brand and reach out if needed.
- Client Information: Ensure the recipient’s details are clearly visible. Include their name, address, and contact details below the header.
- Itemized List: Organize the services or products provided in a clear, easy-to-read table format. Include columns for descriptions, quantities, unit prices, and totals.
- Payment Information: Provide payment terms, due dates, and methods clearly, so there is no confusion about how and when to pay.
Formatting Tips for a Clean Design
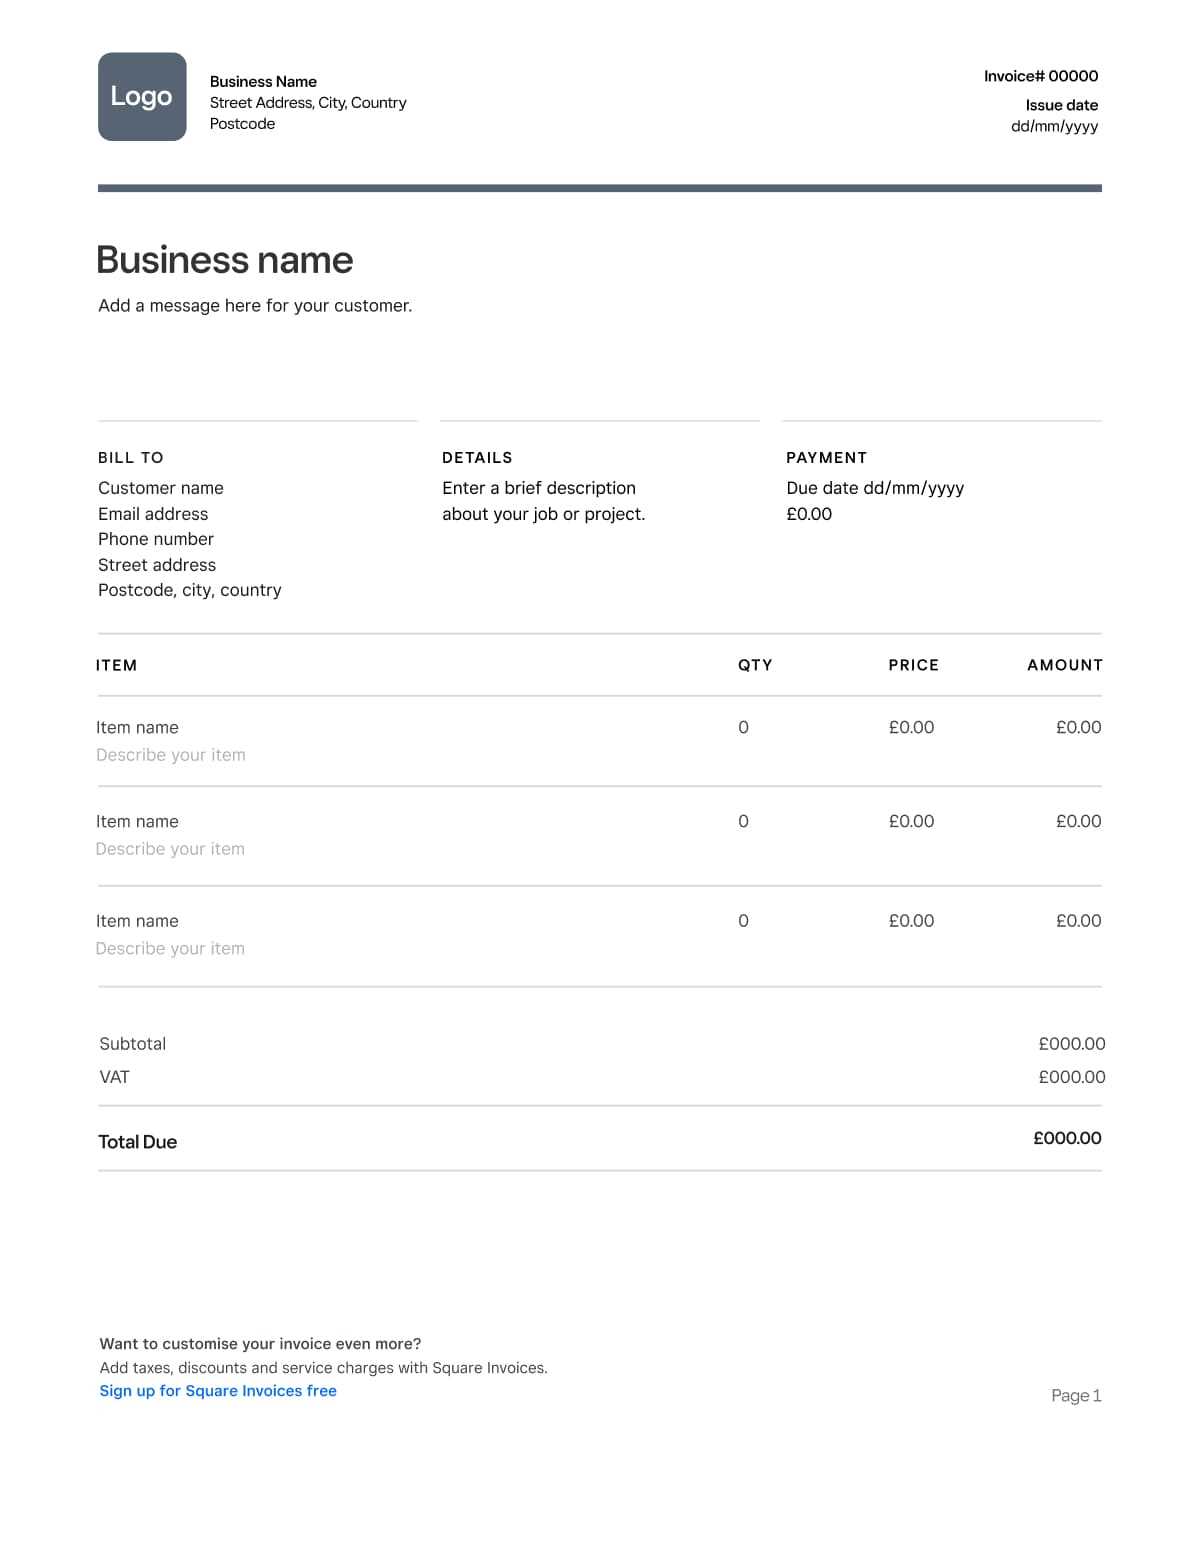
To ensure your billing document looks polished, pay attention to the following formatting tips:
- Consistency: Use consistent fonts, sizes, and colors throughout the document. Stick to one or two professional fonts and a simple color palette that aligns with your brand.
- White Space: Don’t overcrowd the page. Use ample white space between sections to make the content more digestible and visually appealing.
- Alignment: Ensure that all text and tables are properly aligned. This enhances readability and ensures the document looks neat.
- Emphasize Important Information: Highlight key details, such as the total amount due or payment due date, using bold text or larger font sizes.
By following these guidelines, you can design a billing document that not only looks professional but also serves as an effective tool for clear communication with your clients.
Choosing the Right Font for Your Billing Document
The choice of font plays a critical role in the overall presentation of your financial records. It not only affects readability but also contributes to the professionalism of the document. Selecting the right typeface ensures that the information is easy to digest while maintaining a polished, business-like appearance. A good font can enhance the clarity of key details and make your document look cohesive and well-organized.
When selecting a font for your document, consider these important factors:
| Factor | Consideration |
|---|---|
| Readability | The primary goal is to ensure that the text is easy to read. Avoid overly decorative or hard-to-read fonts, especially for body text. |
| Professionalism | Choose a font that aligns with your business’s image. Serif fonts like Times New Roman or Sans Serif fonts like Arial are classic and often used in professional documents. |
| Consistency | Maintain uniformity throughout the document. Stick to one or two fonts maximum to avoid a cluttered, unprofessional look. |
| Font Size | Ensure the font size is large enough to be readable, but not too large. Typically, body text should be around 10 to 12 pt, while headings may be larger. |
By paying attention to these factors, you can select a font that is both functional and aesthetically pleasing, ensuring that your document conveys professionalism and clarity.
How to Add Company Branding to Invoices
Incorporating your company’s branding into financial documents not only enhances your professional image but also helps reinforce your identity in the eyes of your clients. A strong visual identity is key to making a lasting impression, and your documents should reflect that. By adding elements such as logos, colors, and specific fonts, you can ensure your billing documents are aligned with your brand’s overall style and values.
Key Elements to Add for Branding
Here are some key elements you can integrate into your billing documents to reflect your company’s identity:
- Logo: Position your company logo at the top of the document, typically in the header. This instantly identifies the document as coming from your business.
- Color Scheme: Use your company’s colors for headings, borders, and accents. This helps create consistency and adds visual appeal to your document.
- Fonts: Choose fonts that match your branding guidelines. Whether you use a modern sans-serif or a classic serif, maintaining consistency with your marketing materials is important.
- Tagline or Slogan: If your business has a tagline, you can include it beneath your logo or at the footer to reinforce your brand message.
How to Implement These Elements
Once you’ve identified the key elements of your branding, it’s easy to integrate them into your document:
- Logo: Insert your logo as an image in the header or top section of the document.
- Colors: Adjust the color of text, borders, and tables to match your brand’s palette. Use these elements sparingly to maintain a clean and professional look.
- Fonts: Select fonts that are already part of your brand’s style guide. Use these consistently for headers, subheaders, and body text.
- Contact Information: Customize the footer or header with your company’s contact information and website, ensuring it matches the style of your business cards and other materials.
By following these simple steps, you can ensure that every document sent to your clients is a reflection of your company’s professional image and cohesive branding strategy.
Incorporating Tax Calculations in Word
Accurately calculating taxes is a critical aspect of preparing financial records, as it ensures compliance and transparency with your clients. By including tax calculations directly in your documents, you can streamline the process and avoid errors. With the right structure in place, it becomes easy to automatically update totals, apply the correct tax rate, and present a clear breakdown of costs to your clients.
Steps to Include Tax Calculations
Follow these steps to integrate tax calculations into your documents:
- Determine the Tax Rate: Before adding tax calculations, ensure you know the applicable tax rate for your location or industry. This will be essential for accurate computations.
- Set Up a Calculation Table: Use tables to list items or services and their respective costs. Add an additional row for taxes and another for the total, ensuring clarity in the breakdown.
- Apply the Tax Rate: In the tax row, multiply the subtotal by the tax rate to calculate the amount due. Ensure that you clearly label this as “Tax” or “Sales Tax” to avoid confusion.
- Calculate the Final Total: Add the subtotal and tax to get the final amount due. Make sure this is clearly visible at the bottom of the document as the total amount payable.
Example of a Tax Calculation Breakdown
Here is a simple structure for displaying tax calculations:
- Subtotal: The total cost of services or products before tax.
- Tax Rate: The applicable percentage or fixed rate used to calculate tax.
- Sales Tax: The result of applying the tax rate to the subtotal.
- Total Due: The final amount, including both the subtotal and the calculated tax.
By following these steps and organizing your information clearly, you can incorporate tax calculations with ease, helping ensure accuracy and professionalism in your financial records.
Adding Payment Terms and Instructions
Clear payment terms and instructions are essential for ensuring smooth transactions and avoiding confusion between you and your clients. By specifying due dates, payment methods, and any penalties for late payments, you establish clear expectations from the outset. Including these details in your financial documents helps to prevent misunderstandings and ensures that both parties are on the same page regarding payment schedules and procedures.
Here are the key elements you should include when outlining payment terms:
| Element | Description |
|---|---|
| Due Date | Clearly state the date by which payment should be made. This can be a specific date or a set number of days from the issue date (e.g., “Due within 30 days”). |
| Accepted Payment Methods | List the payment methods you accept, such as credit cards, bank transfers, checks, or online payment services. |
| Late Fees | If applicable, specify any late fees that will be charged if the payment is not made by the due date. |
| Discounts for Early Payment | Optionally, include a discount for early payment to encourage prompt settlement of the amount due. |
| Bank Details or Payment Links | If applicable, provide your bank account details or payment links for ease of transfer. |
By clearly outlining payment instructions and terms, you help ensure that your clients know exactly how to make payments and when to make them. This reduces the likelihood of payment delays and contributes to smoother financial operations.
Using Tables to Organize Billing Information
Organizing details in a structured way is essential for clarity and easy understanding. One of the most effective methods to achieve this is by using tables. Tables allow you to neatly display key data such as product descriptions, quantities, prices, and totals in an organized format, making it easier for clients to review the document. By segmenting the information into rows and columns, you enhance the readability of your financial records and ensure that all necessary details are clearly presented.
Advantages of Using Tables
Here are the key benefits of using tables to structure your financial documents:
- Clear Organization: Tables help organize large amounts of data in a way that is easy to follow. Each item or service is listed with corresponding details, making it straightforward for your client to understand the charges.
- Professional Appearance: A well-designed table adds a polished, formal look to your document, which is important when conveying professionalism.
- Accurate Calculations: Tables provide a clean structure for calculating totals, taxes, and any additional fees. This reduces the chances of errors and miscalculations.
- Easy Updates: If you need to modify details (like prices or quantities), updating a table is quick and simple, making it convenient for repeated use.
How to Set Up a Table for Billing Information
Follow these steps to structure your financial record using tables:
- Define Columns: Set up columns for key information such as item description, quantity, unit price, and total amount.
- Include Subtotals: Ensure that subtotals for individual items and any additional charges (like taxes or discounts) are clearly separated.
- Highlight Important Information: Use bold text or shading to highlight totals and taxes, ensuring they stand out at the bottom of the table.
- Use Consistent Spacing: Keep the table neat by maintaining equal spacing between rows and columns, ensuring the document looks well-organized and easy to read.
Using tables in your billing documents not only keeps everything organized but also helps ensure that all necessary details are accurately conveyed to your clients.
Inserting Logos and Other Graphics
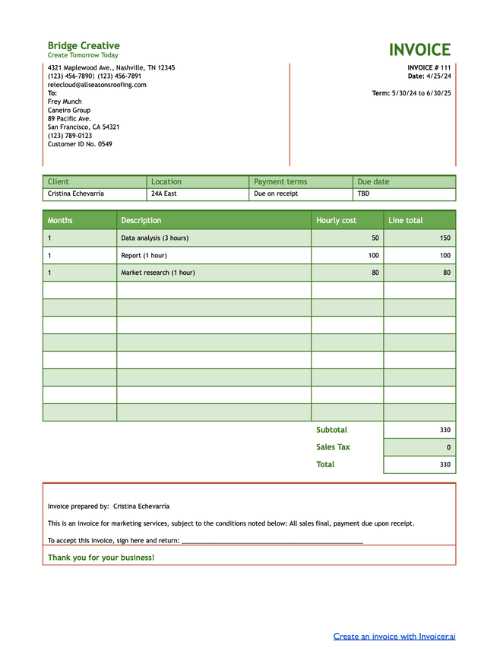
Incorporating logos and graphics into your financial documents helps reinforce your brand identity and adds a professional touch. Visual elements such as logos, icons, or borders can make your document look more polished and easier to recognize, both for your clients and your business. Adding these graphical components allows you to stand out and ensures consistency across all your business materials, from contracts to marketing documents.
Here are some key considerations when inserting logos and other graphics:
- Logo Placement: The logo should be placed prominently, typically in the header of the document. This makes it immediately visible and ensures that the client associates the document with your business.
- Quality and Size: Ensure that any images, including logos and graphics, are high quality and appropriately sized. Avoid pixelation or distortion that can detract from the professional appearance of the document.
- Consistency: Use the same logo or graphic style across all your documents to maintain consistency. This includes using the correct colors, fonts, and positioning in line with your brand guidelines.
- Subtle Enhancements: While logos and graphics are important, be sure not to overwhelm the document with too many images. Keep the focus on the content, using graphics to enhance, not distract.
By thoughtfully adding logos and other graphics, you can create documents that are visually appealing, on-brand, and easily recognizable, helping to improve your business’s overall image and client experience.
Saving Your Document for Future Use
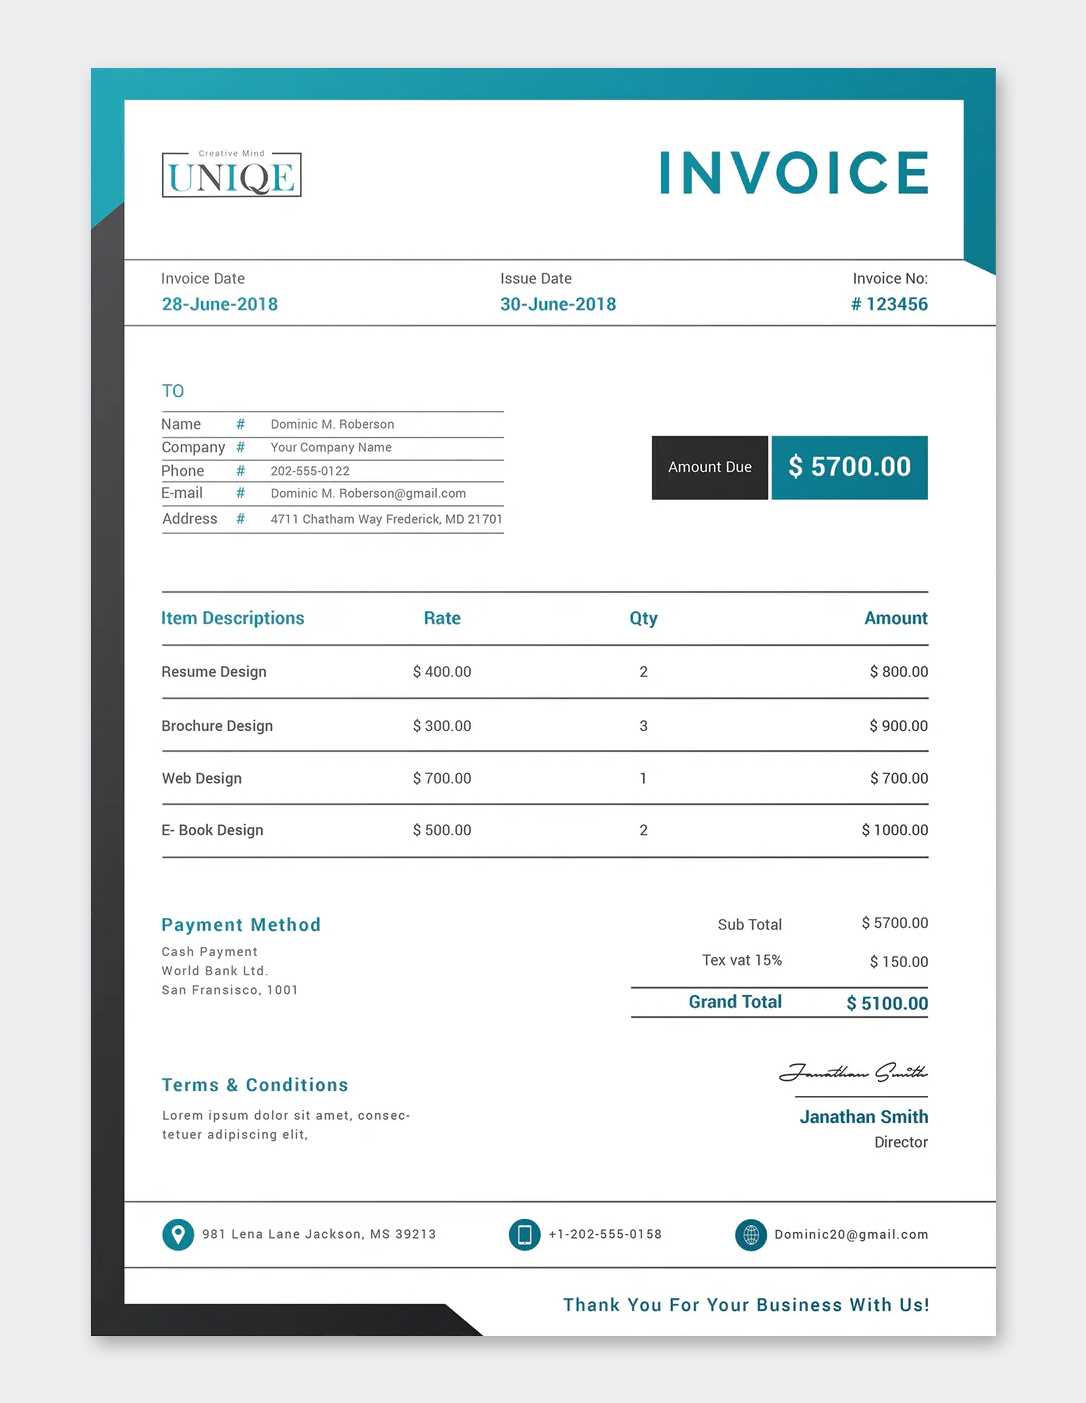
Once you have designed a professional and well-structured document, it’s important to save it in a way that allows you to easily access and reuse it for future transactions. By saving your file as a reusable model, you can streamline your workflow, eliminate the need to start from scratch each time, and ensure consistency in your communications with clients.
Here are a few tips for saving your document for future use:
- Save as a Template: After setting up the structure and formatting, save your document as a template file. This ensures that the layout, fonts, and branding elements remain intact each time you open it.
- Use Descriptive File Names: Give your saved document a clear and descriptive name, so you can quickly identify its purpose or version. For example, “Client Billing Template” or “Service Record Template.”
- Keep it Organized: Save your document in a designated folder where all your business-related files are stored. This makes it easier to find and keep track of all important documents.
- Backup Regularly: To avoid losing your files, back them up to cloud storage or an external drive. This ensures you won’t lose your work due to technical issues.
By following these steps, you can ensure that your document remains accessible and ready for use whenever you need it, saving time and maintaining consistency in your financial communications.
Exporting Your Document as PDF
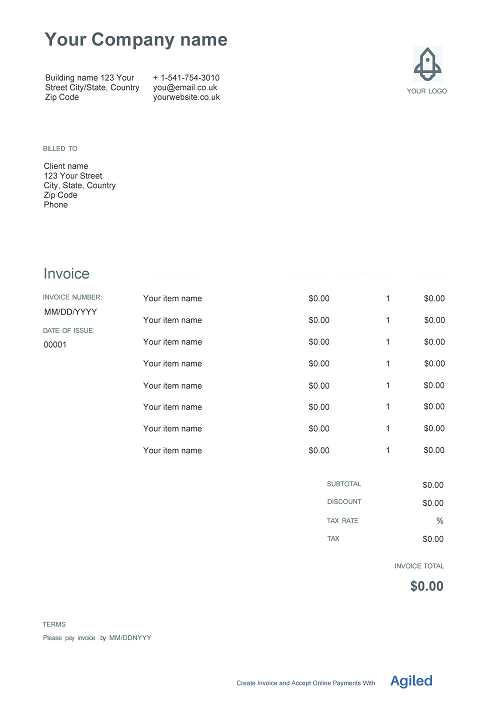
Once your financial document is complete, exporting it to a PDF format is an important step for ensuring that it is easy to share, print, and preserve its layout and formatting. PDFs are universally accessible, and they retain the integrity of your design, making them ideal for professional use. Whether you’re sending the document via email or storing it for future reference, a PDF ensures that the recipient sees exactly what you intended.
Benefits of Exporting to PDF
Here are the key advantages of converting your document to a PDF:
- Preserves Layout: PDF files retain the exact layout, fonts, and images, ensuring your document looks the same across all devices and platforms.
- Universally Accessible: PDFs can be opened on nearly any device without the need for specialized software, making them easy to share with clients and colleagues.
- Secure: PDF files can be password-protected, ensuring sensitive information remains confidential.
- Smaller File Size: PDF documents are typically smaller in size than other file formats, making them easier to share and store.
How to Export as PDF
Follow these steps to convert your document into a PDF:
- Finish Your Document: Ensure all information is accurate and the formatting is final before exporting.
- Access the Save or Export Option: In most software, go to the “File” menu and select “Save As” or “Export.”
- Select PDF Format: In the file type dropdown, choose PDF as the output format.
- Save and Name the File: Choose a location to save your PDF and give the file a clear name for easy reference.
- Check the PDF: After saving, open the PDF to ensure all elements are correctly displayed and that there are no formatting issues.
By exporting your document to a PDF, you ensure that your work is easily accessible, secure, and professionally presented every time you share it.
How to Modify Templates for Different Clients
Customizing your document for different clients is an essential practice to ensure that each interaction is personalized and relevant. Each client may have unique requirements, preferences, or details that need to be included, so adapting your base document to meet these needs can make your communication more professional and client-focused. This process allows you to maintain consistency while also tailoring the content to reflect specific terms, products, or services for each client.
Steps to Modify Your Document
Here are some key steps to effectively modify your document for each client:
- Update Client Information: Make sure to adjust the contact details, including the client’s name, address, and any relevant identifiers, like account numbers or purchase order references.
- Adjust Services or Products: Modify the list of products or services offered to reflect what the specific client has purchased. Ensure that each line item accurately represents the agreement.
- Custom Terms and Agreements: Different clients may have different terms. Adjust payment terms, delivery dates, and any applicable discounts or taxes as needed.
- Personalize Communication: If appropriate, include a personalized message or thank you note that aligns with your relationship with the client.
Example of Modifying Document for Different Clients
Here’s an example of how to update a base document for two different clients:
| Section | Client A | Client B |
|---|---|---|
| Client Name | John Doe Enterprises | Jane Smith Corp. |
| Services Offered | Web Development, SEO Optimization | Graphic Design, Digital Marketing |
| Payment Terms | 30 days net | Due upon receipt |
| Discount | 10% off for early payment | Special pricing for first project |
By following these steps and customizing the document based on each client’s specifics, you can provide a more professional, tailored experience while maintaining efficiency and consistency in your processes.
Protecting Your Document with Passwords
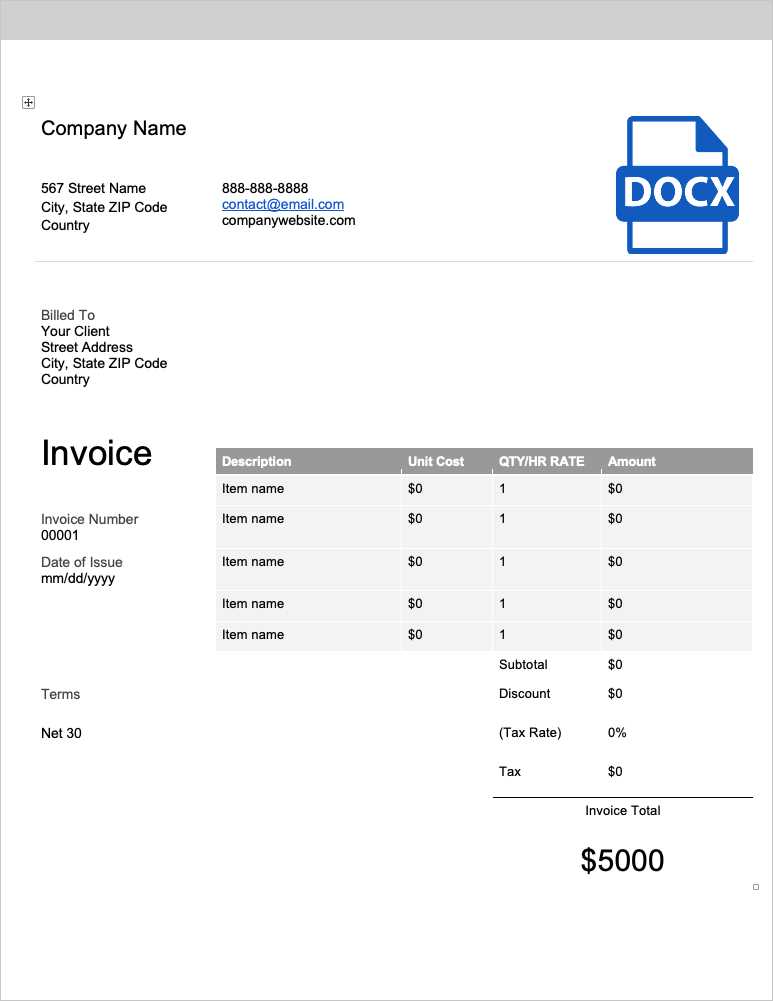
When handling sensitive financial information, it’s crucial to protect your files from unauthorized access. One effective way to ensure that only authorized individuals can view or modify your documents is by setting up password protection. This adds an additional layer of security, safeguarding both your business’s data and your clients’ private information. By encrypting your files with a password, you reduce the risk of your documents being accessed or altered by unintended parties.
Here are some key reasons to secure your document with a password:
- Confidentiality: Sensitive data, such as client details, payment terms, and pricing information, should be kept private. Password protection ensures that only trusted individuals can access or alter this information.
- Data Integrity: Securing your files prevents unauthorized changes to your documents, helping maintain their integrity and ensuring that the content remains accurate and consistent.
- Professionalism: Password protection adds a level of professionalism to your business practices, demonstrating that you take the security of client information seriously.
How to Add Password Protection
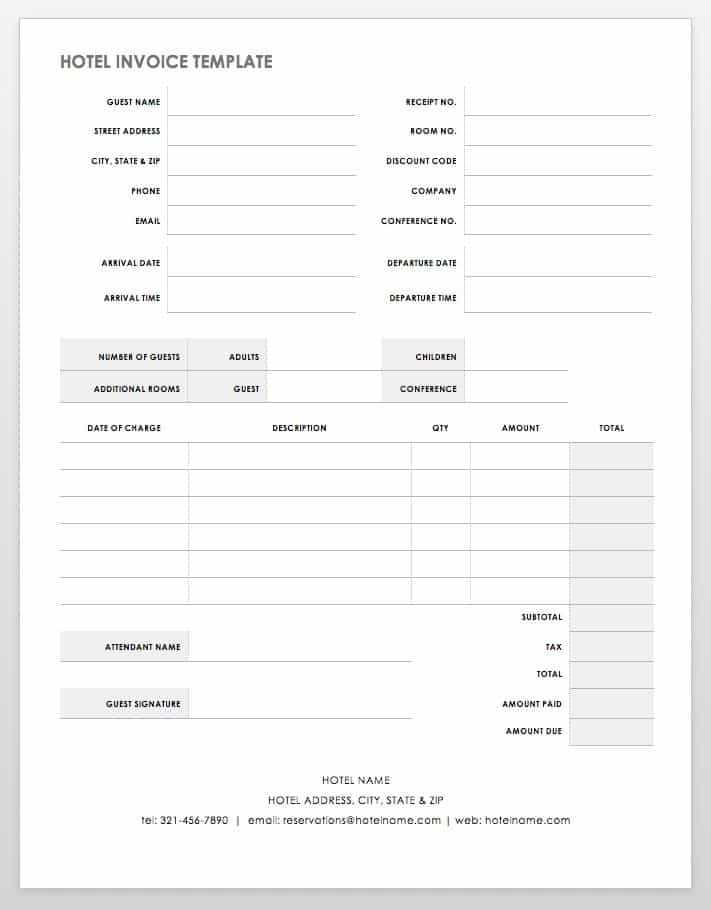
Follow these steps to protect your file with a password:
- Step 1: Open your document and go to the “File” menu.
- Step 2: Click on “Info” and select “Protect Document” or a similar option in your software.
- Step 3: Choose the option to add a password and enter a strong, secure password. Make sure it’s something not easily guessed and avoid using simple words or patterns.
- Step 4: Save the document with the password protection enabled.
- Step 5: Share the password securely with anyone who needs access, ensuring it’s not sent in the same communication as the document.
By implementing password protection, you can ensure that your financial documents remain safe and that only those with the correct credentials are able to view or edit them.
Tips for Maintaining Consistency in Documents
Ensuring consistency across all your business documents is vital for presenting a professional image to your clients and partners. Consistency in design, layout, and language helps to build trust and streamline communication. Whether you’re sending out financial records, quotes, or receipts, maintaining a uniform approach enhances your credibility and makes your documents more efficient to process and understand.
Key Elements for Consistency
To achieve consistency in your business documents, focus on the following aspects:
- Use a Standardized Layout: Always stick to a defined structure. For example, place key information such as dates, amounts, and client details in the same locations. This reduces confusion and ensures the reader can quickly find the information they need.
- Consistent Branding: Ensure that all documents reflect your brand identity. This includes using the same logo, fonts, colors, and style across all materials. Consistent branding strengthens your business’s recognition and adds a sense of professionalism.
- Uniform Language and Tone: Keep the language consistent. Whether formal or informal, ensure your communication style matches across all documents. This creates a cohesive experience for your clients.
Best Practices for Document Consistency
Here are some best practices to ensure uniformity in your documents:
- Establish a Template: Create a master version of your document with fixed formatting, font choices, and section headings. This serves as a model for future documents, ensuring all of them follow the same pattern.
- Double-Check for Errors: Review your documents before sending to ensure that everything is correctly formatted and free of mistakes. Pay special attention to dates, client details, and monetary values.
- Update Regularly: Revisit your layout and content periodically to ensure that it still aligns with your current branding and communication standards. Small tweaks can help you stay relevant while maintaining consistency.
By focusing on these key areas, you can maintain a consistent and professional look across all your business documentation, reinforcing your brand and improving the clarity of your communications.
Common Mistakes to Avoid When Preparing Financial Documents
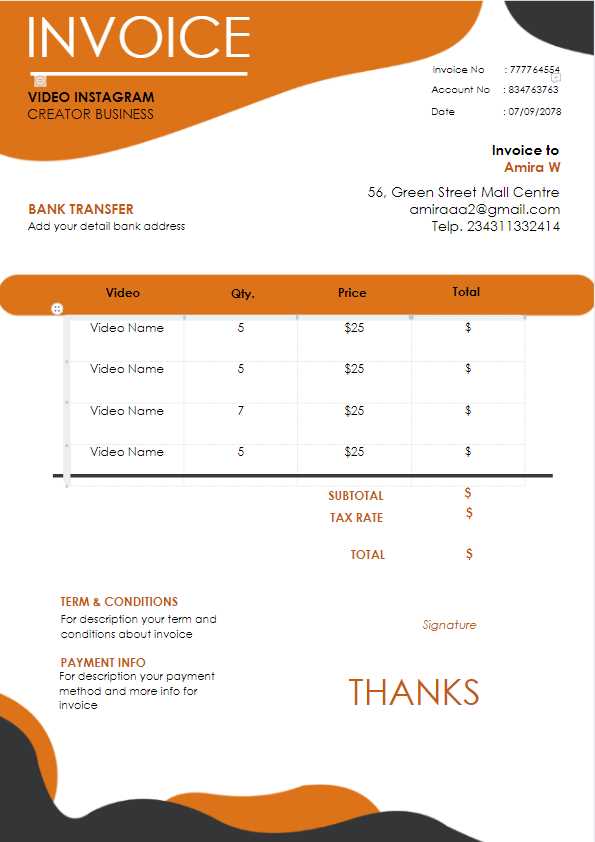
Preparing financial documents requires attention to detail and accuracy. Small errors can lead to confusion, delayed payments, or misunderstandings with clients. To ensure your documents are clear, professional, and error-free, it’s essential to be aware of common mistakes that could undermine your business transactions. Avoiding these pitfalls will help maintain a positive relationship with your clients and ensure smooth financial operations.
Key Mistakes to Watch Out For
Here are some of the most frequent errors that occur when preparing financial documents:
- Missing Contact Information: Failing to include essential details such as the client’s name, address, or contact number can delay payments and make your document look unprofessional. Always double-check that all necessary contact information is correct and visible.
- Incorrect Dates: Errors in the document date or due date can lead to confusion or disputes. Always verify the date of issue and ensure that payment terms reflect the correct deadlines.
- Unclear Payment Instructions: Vague or missing payment methods or instructions can create confusion. Clearly specify the accepted payment methods (bank transfer, credit card, etc.) and include all necessary details, such as bank account numbers or payment links.
- Omitting Terms and Conditions: Not including terms and conditions or payment policies can lead to disputes later on. It’s important to outline payment terms, late fees, and other relevant policies upfront.
- Unclear Item Descriptions: Failing to provide detailed descriptions of the services or goods provided can result in confusion or disagreements. Be specific about what is being billed to ensure transparency and clarity.
- Overlooking Taxes: Forgetting to include applicable taxes or incorrectly calculating them can lead to issues with compliance or confusion with clients. Always double-check tax rates and include them where necessary.
How to Avoid These Mistakes
To minimize errors and ensure accuracy in your financial documents, consider these tips:
- Double-Check All Information: Before finalizing the document, review all details carefully. Ensure client information, dates, and amounts are correct.
- Use Standardized Formats: Consistency in layout, formatting, and language will reduce the risk of missing important details. Always follow a clear and organized structure.
- Leverage Automation: Consider using invoicing software or built-in templates that automatically calculate taxes, total amounts, and apply consistent formatting.
- Proofread: A final review of the document can help catch small mistakes that may have been overlooked during th