Music Teacher Invoice Template for Easy and Professional Billing

Managing financial transactions efficiently is crucial for any professional offering personalized lessons. Whether you’re providing individual sessions or group classes, organizing payments can quickly become overwhelming. A streamlined approach not only saves time but also enhances professionalism and ensures smooth interactions with clients.
Having a clear and organized document to outline the charges for services rendered can significantly simplify this process. By adopting an easy-to-use billing structure, instructors can focus on what truly matters–delivering quality sessions. This also helps in maintaining transparency with clients and avoiding any misunderstandings regarding payment details.
Customizing a structured billing document can address the specific needs of your lessons while maintaining a professional appearance. With the right tools, you can generate personalized records that suit your working style, and track payments with ease. A well-crafted financial statement reflects the quality of service you provide and helps maintain a positive relationship with your clients.
Essential Features of a Billing Document
When preparing a billing document for services provided, it’s important to include specific details that ensure clarity and professionalism. A well-organized record not only facilitates smooth payment but also sets expectations for clients. Several key elements should be included to guarantee that the document serves its purpose effectively.
- Clear Contact Information: Always include the name, address, and contact details of both the service provider and the client. This helps identify the parties involved and ensures there’s no confusion when processing payments.
- Service Description: Provide a detailed breakdown of the services rendered. This can include the type of session, lesson duration, and any additional services, such as preparation time or materials provided.
- Rate and Total Amount: Specify the hourly or session rate, along with the total amount due for the services. Clearly outlining this prevents misunderstandings about the charges.
- Payment Terms: Include the due date and any payment terms. This may cover early payment discounts, late fees, or accepted payment methods, ensuring that both parties are aligned on expectations.
- Unique Invoice Number: A unique identifier for each document allows for easy tracking and reference, helping both the service provider and client keep their records organized.
By including these fundamental elements, the document not only becomes a practical tool for managing transactions but also a reflection of the professionalism and reliability of the service provider.
How to Create a Billing Document
Creating a professional billing document requires a few key steps to ensure that all necessary information is included and easy to understand. The process should be simple, organized, and transparent for both the service provider and the client. By following these steps, you can produce a document that not only details the charges but also reflects your professionalism.
Step 1: Gather Relevant Information
Before drafting the billing record, make sure you have all the essential details. This includes your personal contact information, client details, and the specifics of the services provided. You should also determine the rates for your sessions and any additional fees or discounts you may apply.
Step 2: Format the Document Clearly
Once you have the necessary information, start organizing it in a clear and easy-to-read format. Typically, a well-structured document should include the following sections:
- Contact Details: The name, address, and contact information for both parties.
- Service Description: A breakdown of the lesson or service type, including duration and any other relevant details.
- Charges: A clear statement of rates, total amounts, and payment terms.
- Payment Terms: Include the due date and acceptable payment methods.
Ensure the information is presented logically and consistently, making it easy for the client to understand and process the payment promptly.
With these steps in mind, you’ll be able to create a document that serves its purpose efficiently while keeping transactions professional and organized.
Best Tools for Instructor Billing
Managing payments and keeping track of client transactions can become time-consuming without the right tools. Thankfully, there are various software and online platforms designed to simplify the billing process for instructors. These tools not only help automate calculations but also ensure that records are accurate, organized, and easy to access when needed.
1. Online Payment Platforms
Platforms like PayPal, Stripe, and Square offer seamless ways to accept payments and create professional billing records. These services allow instructors to easily generate receipts and track payments in real-time. Most platforms also integrate with other accounting tools, making it simpler to manage financial records.
2. Dedicated Billing Software
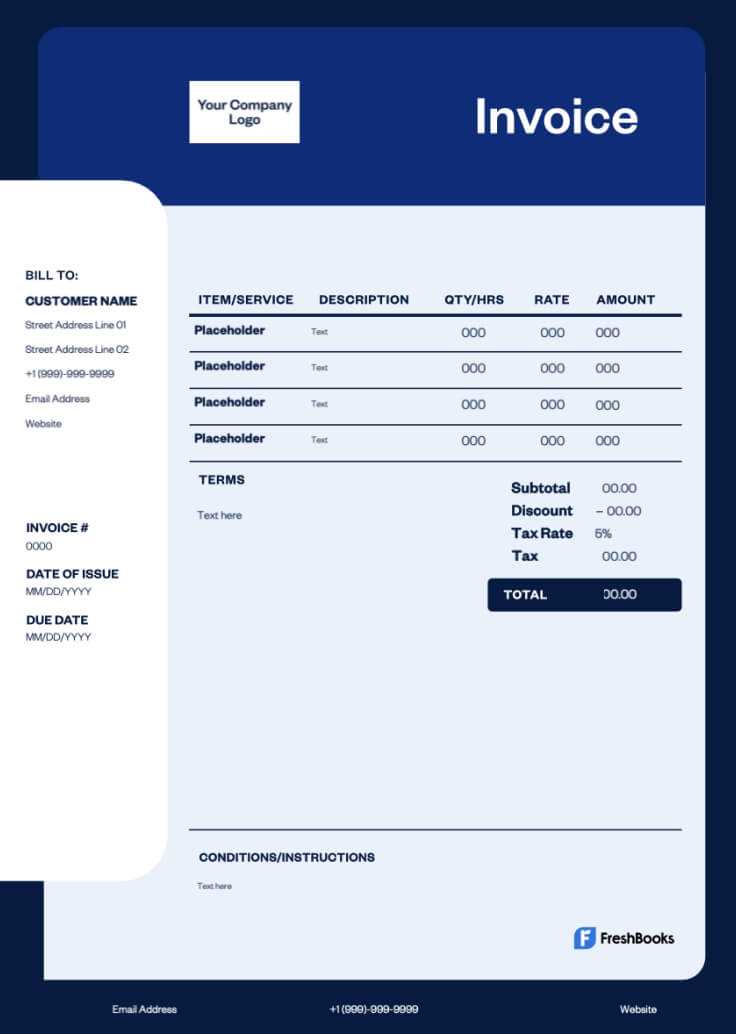
There are specialized billing programs designed specifically for freelancers and independent professionals. Software such as QuickBooks, FreshBooks, and Zoho Invoice allow users to create customized invoices, track payments, and even send reminders for overdue bills. These platforms also offer reporting features that can help instructors keep track of their earnings and expenses over time.
Key features to look for in billing tools include easy customization, secure payment gateways, automated reminders, and the ability to generate reports. Choosing the right tool can save instructors valuable time while ensuring their billing process is efficient and accurate.
Common Payment Terms for Instructors
When managing payments for services, it’s important to establish clear terms to avoid confusion and ensure timely transactions. Payment terms can vary depending on the nature of the service provided, but there are common practices that help maintain a smooth relationship between service providers and clients. These terms not only set expectations but also protect both parties in case of late payments or disputes.
1. Payment Deadlines
Setting a clear deadline for when payments are due helps to avoid delays. Common payment timelines include:
| Payment Term | Example |
|---|---|
| Due on Completion | Payment is due after each lesson or at the end of the month for recurring services. |
| Due in Advance | Full payment is required before the first lesson or at the start of each month. |
| Net 15, Net 30 | Payment is due 15 or 30 days after the service is provided, allowing time for invoicing. |
2. Accepted Payment Methods
Clearly stating which payment methods are accepted can simplify the process and ensure you receive funds in a timely manner. Common options include:
- Bank Transfer: Direct deposits into a specified account.
- Credit/Debit Cards: Payments made via online systems like PayPal, Stripe, or Square.
- Checks: Paper checks that are mailed and processed manually.
Providing multiple options can make it easier for clients to pay promptly, ensuring a smooth transaction process.
Why Use a Billing Document Template
Creating a billing document from scratch for every client can be time-consuming and prone to errors. By using a pre-designed document structure, you can streamline the process, ensuring consistency and professionalism. A well-organized document helps reduce confusion, accelerates payment processing, and makes it easier to manage financial records over time.
1. Time-Saving and Efficiency
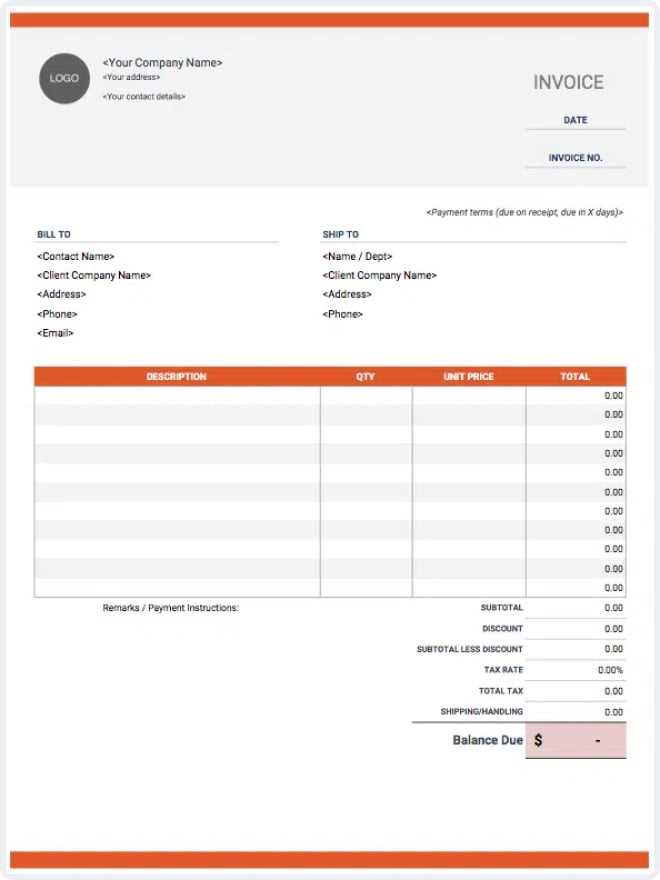
Using a ready-made structure eliminates the need to format documents every time you need to issue a payment request. This can save valuable time, especially when dealing with multiple clients or recurring services. With just a few adjustments, you can quickly generate an accurate billing statement, focusing more on your core responsibilities.
2. Professionalism and Accuracy
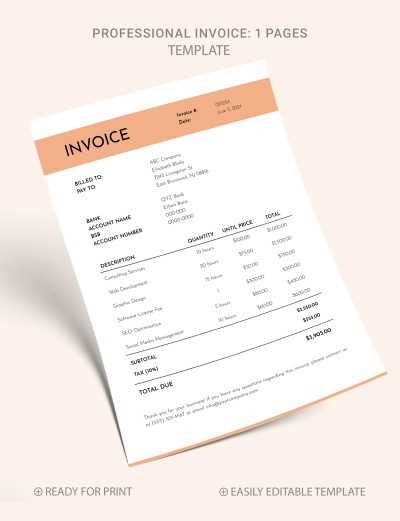
Providing a structured and polished document enhances your professionalism in the eyes of clients. It shows attention to detail and builds trust. A consistent format also reduces the risk of errors, ensuring all necessary information is included–such as rates, payment terms, and service details–without overlooking key elements.
In the long run, using a pre-designed billing format helps maintain clear and organized financial records, which can be useful for tax purposes or resolving any disputes that may arise. By using an efficient system, you can ensure that both you and your clients are on the same page, avoiding potential misunderstandings and delays.
Customizing Your Billing Document
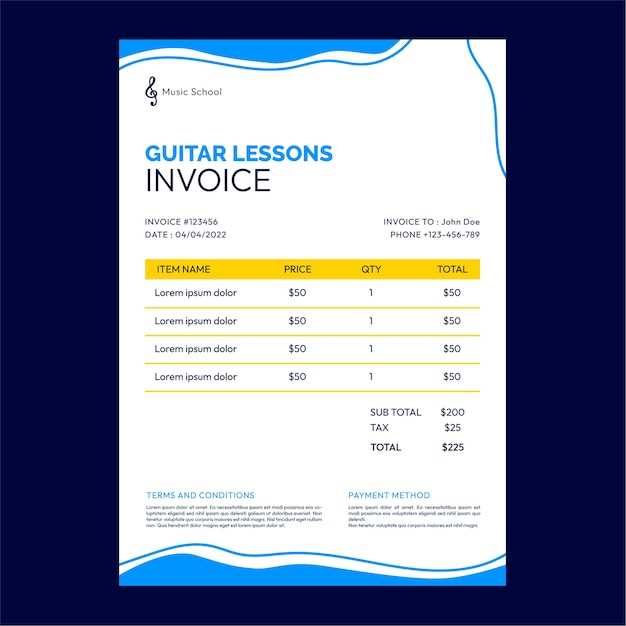
Personalizing your billing record can make it more aligned with your business needs and brand identity. Customization ensures that the document not only reflects the specifics of the services you provide but also maintains a professional and consistent look. Tailoring the design and content can help you stand out and foster better relationships with clients.
1. Adjusting the Layout and Design
One of the easiest ways to customize your billing document is by adjusting its layout and visual design. You can modify fonts, colors, and logos to match your personal or business branding. A professional appearance can enhance the perceived value of your services and give clients a sense of trust and reliability.
2. Adding Specific Details and Services
Including detailed descriptions of the services you provide ensures that both you and your clients have a clear understanding of what is being billed. Customize the document to reflect the unique aspects of each session, whether it’s the duration, location, or type of service. You can also add sections for discounts, taxes, or additional charges specific to the services offered.
Tailored payment terms are another key customization option. You can set different due dates, late fees, or payment methods to suit your preferences. Personalizing your billing record can make managing payments easier and more efficient while ensuring that you maintain a professional appearance.
How to Track Payments with Billing Records
Effectively tracking payments is crucial for managing finances and maintaining a smooth workflow. Using well-structured documents to record and monitor payments ensures that no transaction is overlooked and that both you and your clients are on the same page. By organizing payment history, you can easily track outstanding balances, follow up on overdue payments, and keep detailed financial records.
1. Record Payment Dates and Amounts
Every time a payment is made, update your billing records with the payment date and amount received. This helps you track whether clients have paid on time and in full. It’s important to include a reference number or note that ties the payment to a specific service or session, which will make it easier to cross-reference and resolve any discrepancies.
2. Use Accounting Software or Tools
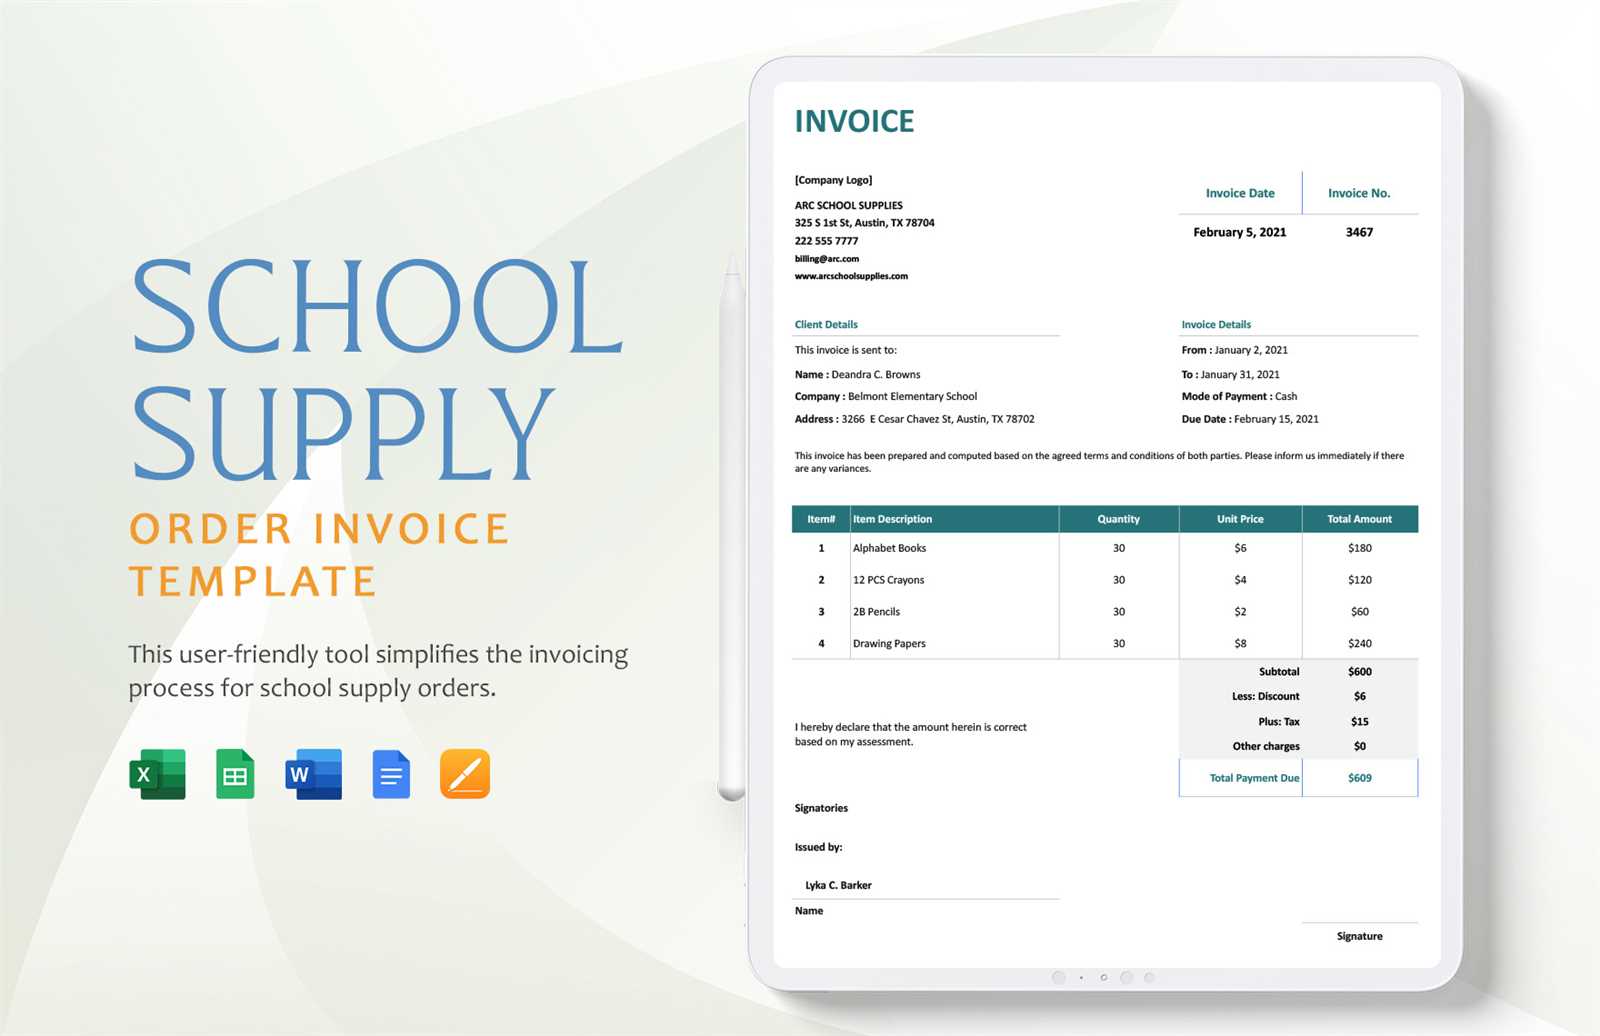
To make tracking easier, consider using accounting software or online platforms. Tools like QuickBooks, FreshBooks, or even simple spreadsheets allow you to input each payment as it comes in, automatically updating the outstanding balance. These systems can also generate reports that provide a clear overview of your income and pending payments, helping you stay on top of your finances.
Automated reminders can be set up within these tools, which will notify clients of upcoming or overdue payments, reducing the need for manual follow-ups. Tracking payments becomes much more efficient, saving you time while ensuring you receive the correct amounts on time.
Managing Multiple Students with One Billing Record
When providing lessons to multiple individuals, it can become challenging to manage individual payments for each session. However, with the right structure, you can consolidate charges for several clients into a single billing document. This approach not only simplifies the process but also helps in organizing your financial records more efficiently.
1. Grouping Charges by Client
To effectively manage multiple clients with one billing record, list each person’s charges separately within the same document. You can organize the information by name and include a breakdown of the services provided to each individual. This will allow you to see at a glance the total amount due from each student while maintaining clear records of their specific sessions.
2. Adding a Summary Section
At the end of the document, include a summary section that totals the charges for all clients. This can help both you and your students quickly review the total amount owed, making it easier to process payments. The summary section can also include applicable taxes or discounts that apply to all students collectively.
Consolidating payments in this way saves you time and reduces the need to create multiple records. It also ensures that clients can see their individual charges in context, helping them better understand the breakdown of costs and reducing the likelihood of confusion over payment details.
Legal Considerations for Billing Records
When issuing payment requests, it’s important to be aware of the legal requirements that can affect the structure and content of your documents. Adhering to legal guidelines ensures that both parties are protected and that you maintain proper documentation for tax purposes or potential disputes. Understanding these legal aspects will help you avoid misunderstandings and potential legal issues down the road.
One key legal consideration is the accuracy of the details provided. You must ensure that all the information on the document is truthful and clearly outlines the services rendered, rates, payment terms, and due dates. Misleading or incorrect information could result in disputes or legal challenges. Additionally, it’s important to include a section that covers late fees or penalties for missed payments, if applicable, as this is often required to ensure enforceability in many jurisdictions.
Another important factor is keeping records for tax purposes. Depending on your location and the nature of your services, you may be required to report your earnings, including payments received for lessons. Having clear and consistent billing records makes it easier to track income and ensure compliance with tax laws. Be sure to retain copies of all issued billing documents for the required duration, as stipulated by local laws.
How to Add Taxes to Your Billing Record
Including taxes in your payment documents is a necessary step for complying with local regulations and ensuring that clients are aware of the total amount due. Depending on the jurisdiction, you may need to apply specific tax rates to your charges. It is important to clearly show these taxes on your document to avoid confusion and maintain transparency.
1. Identify Applicable Tax Rates
Before applying taxes, you need to determine the correct tax rate based on your location or the location of your clients. This could include sales tax, VAT, or other types of taxes depending on the services you provide. The rates may vary depending on where you are operating, so it’s essential to stay updated on local tax laws.
2. Calculate and Display the Tax
Once you know the applicable tax rates, you can calculate the tax on each service and add it to your billing document. Here’s an example of how taxes might be displayed:
| Description | Amount |
|---|---|
| Base Charge | $100.00 |
| Tax (8%) | $8.00 |
| Total | $108.00 |
Transparency is key–make sure the tax amount is clearly listed, so the client knows exactly what they are being charged. This helps avoid misunderstandings and ensures that you are following tax compliance rules.
Top Software for Generating Billing Records
For professionals managing multiple clients, using specialized software to create and manage payment documents can save a lot of time and effort. These tools offer various features that streamline the billing process, from customizing documents to tracking payments and sending reminders. Choosing the right software can help ensure your financial transactions are organized, accurate, and easily accessible.
1. QuickBooks
QuickBooks is a comprehensive accounting software that allows users to create detailed billing documents, track payments, and manage financial records in one place. Its user-friendly interface and customizable templates make it easy to tailor the documents to your specific needs.
2. FreshBooks
FreshBooks is another popular choice, known for its intuitive design and powerful billing features. This software allows you to generate professional payment requests quickly, track hours worked, and even set up recurring billing for regular clients.
3. Zoho Invoice
Zoho Invoice is a free tool for freelancers and small businesses, offering features such as customizable billing records, automated reminders, and time tracking. It also integrates with various payment gateways, making it easy for clients to pay directly through the document.
4. Wave
Wave is a free accounting software that includes an invoicing feature, allowing users to create and send billing documents effortlessly. It also provides detailed reporting and payment tracking, ideal for smaller operations looking to manage finances without additional costs.
5. PayPal
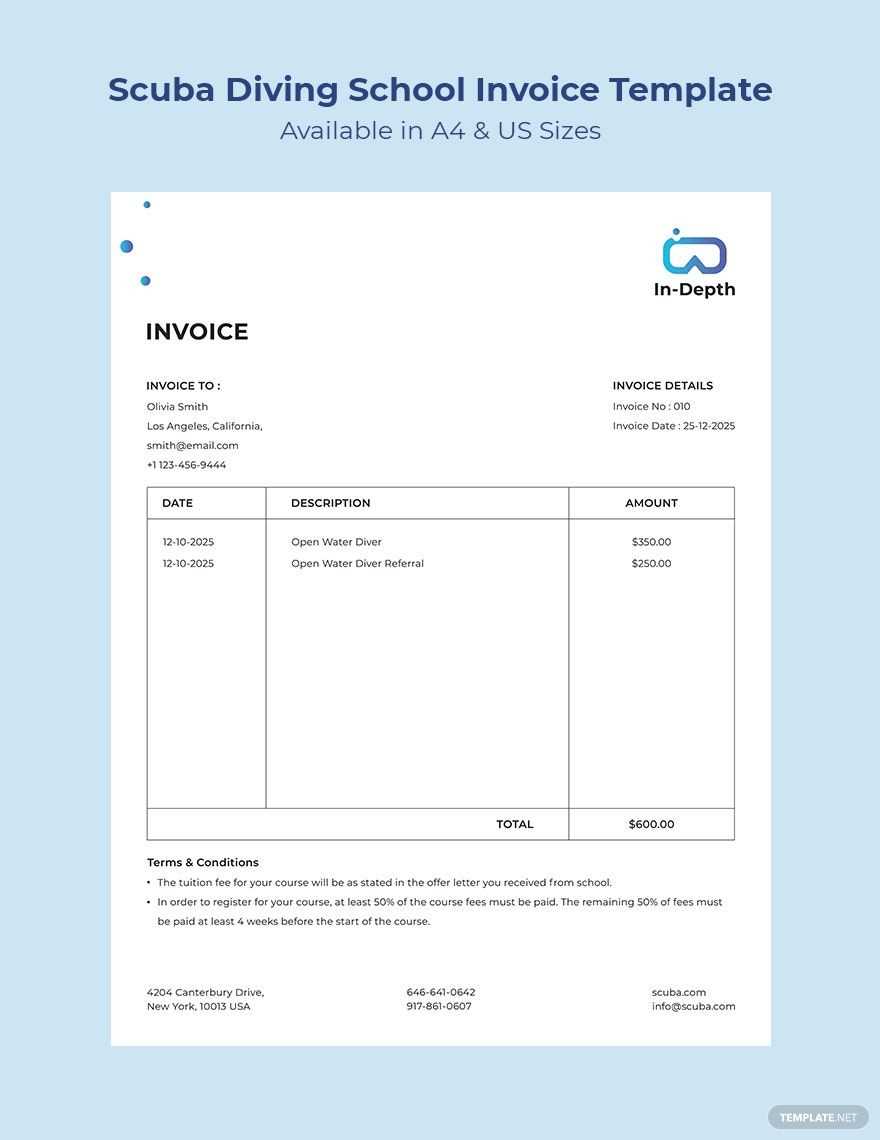
PayPal is well-known for its payment processing, but it also offers simple tools for generating billing documents. You can create and send customized payment requests directly from your PayPal account, which is especially useful for businesses that frequently receive payments online.
Each of these tools offers unique features that can help professionals streamline their billing processes. Choosing the right option depends on your specific needs, whether it’s simple document generation, payment tracking, or advanced accounting features.
Creating Professional Billing Records for Lessons
When providing instructional services, presenting a professional and well-organized payment record is essential. A polished document not only reflects your credibility but also ensures clarity in payment terms, services rendered, and client expectations. Crafting an accurate and detailed payment request helps avoid confusion and supports smoother transactions between you and your clients.
1. Include Clear Service Descriptions
Every billing document should clearly outline the type of service provided. Include details such as the duration of each session, the specific type of instruction offered, and the date(s) the service was rendered. For example, if the lesson lasted an hour or if there were any special arrangements, these should be specified. A well-detailed description ensures the client understands exactly what they are being charged for.
2. Keep Payment Terms Transparent
Clearly state your payment terms on the document to avoid misunderstandings. This includes the total amount due, the due date, and acceptable payment methods. If you offer payment plans, discounts, or additional charges, include these as well. Transparency in payment terms builds trust and ensures clients are aware of when and how to pay.
Professional layout and accuracy in your billing records not only help to build your reputation but also streamline the payment process, making it easier for both you and your clients to stay organized.
How to Organize Billing Records
Efficiently organizing payment documents is crucial for maintaining financial clarity and staying on top of your business. Proper record-keeping allows you to track transactions, monitor overdue payments, and easily retrieve any necessary information. An organized system reduces stress, minimizes errors, and ensures you can quickly access all relevant details when needed.
1. Categorize Your Records
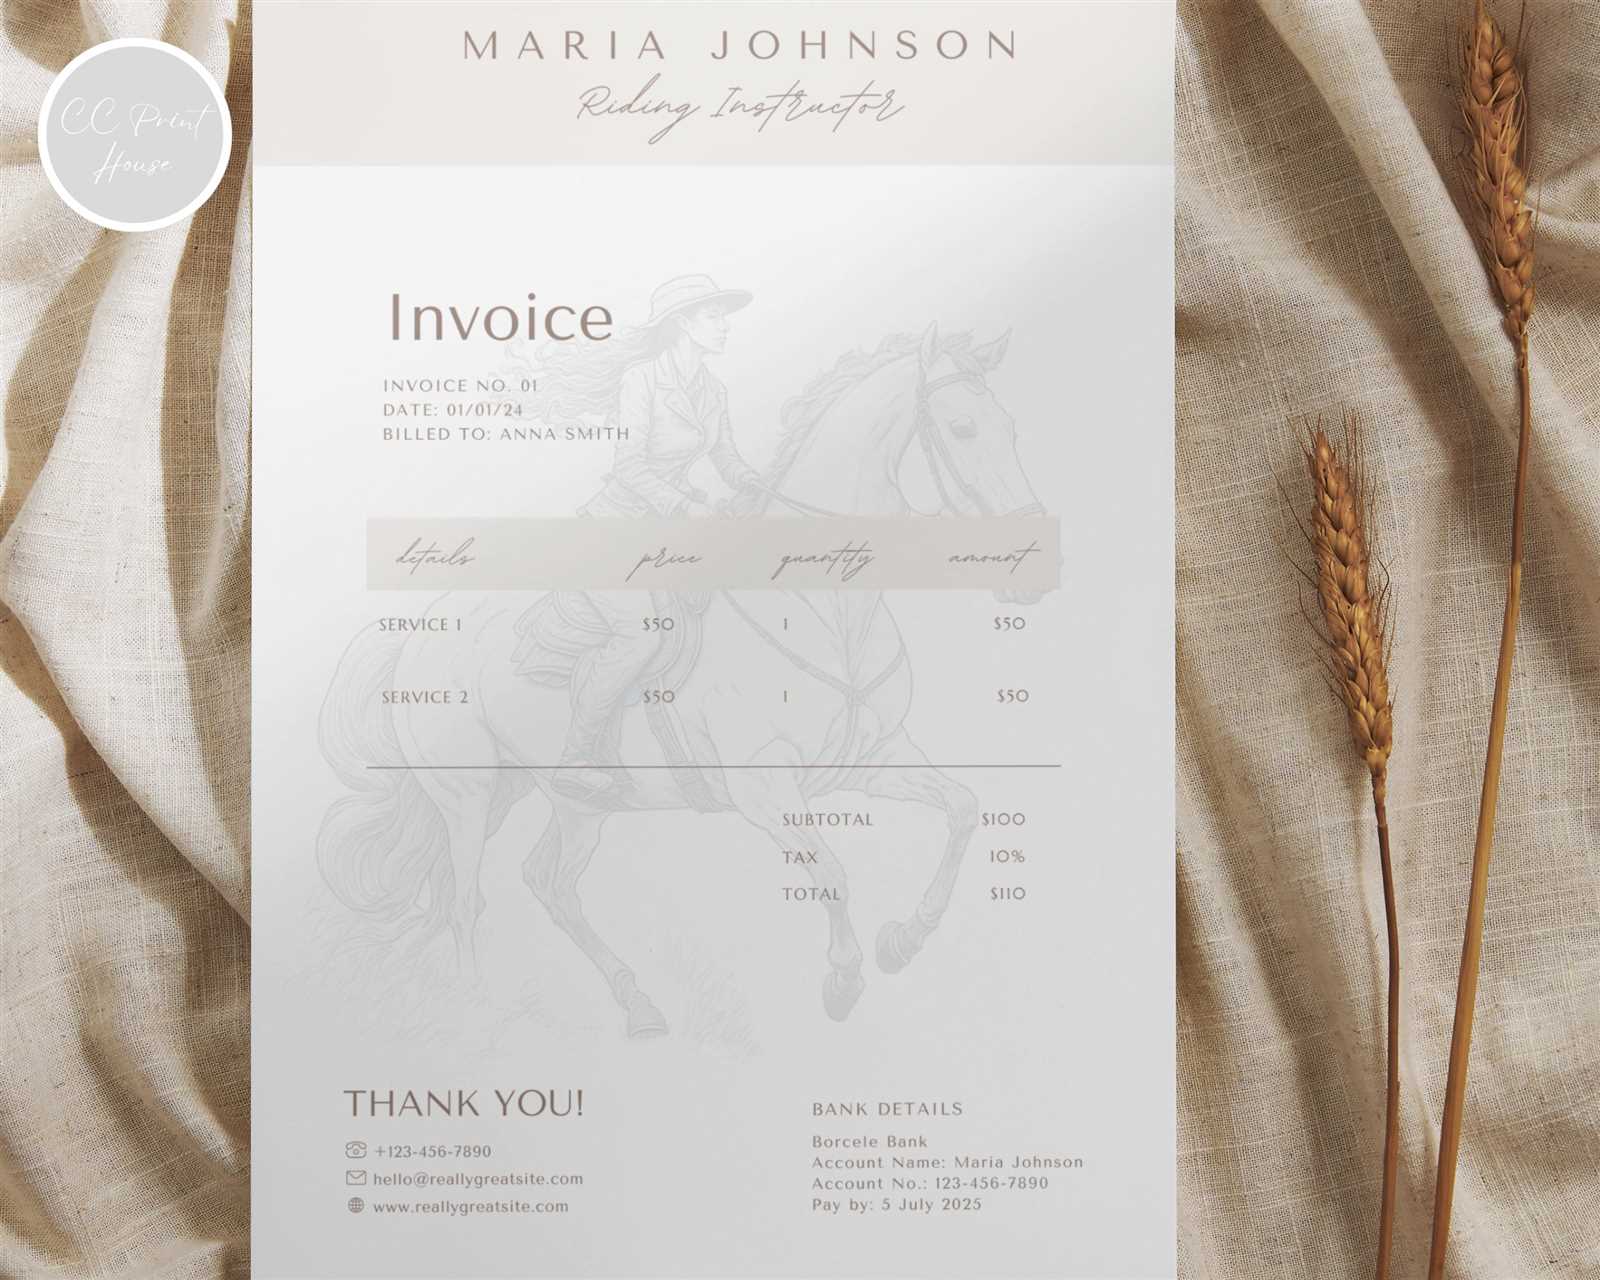
One of the first steps in organizing payment documents is to categorize them effectively. Consider grouping your records by month, client, or service type. This approach will help you find specific documents quickly and prevent a cluttered filing system. Here are some common categories to use:
- By Client: Store all documents related to a specific individual in one folder or file for easy access.
- By Date: Organize records chronologically to track payments over time and monitor outstanding balances.
- By Service: Group documents according to the types of services provided, making it easier to track income from different streams.
2. Use Digital Tools for Better Tracking
Utilizing digital tools can significantly improve your ability to organize and manage records. Cloud storage services like Google Drive, Dropbox, or OneDrive provide a safe and easily accessible space for storing documents. Additionally, accounting software such as QuickBooks, FreshBooks, or Zoho Invoice can automatically organize and categorize your payment records.
Digital organization allows for easy updates, quick retrieval, and automatic backups, ensuring that your records are always secure and accessible. Using software tools can also help you generate reports, track overdue payments, and create recurring payment reminders, streamlining the entire process.
Best Practices for Instructor Payments
Managing payments effectively is a vital part of running any instructional business. Ensuring that both you and your clients have a clear understanding of payment expectations helps maintain a professional relationship and reduces the likelihood of misunderstandings. Implementing best practices for handling payments not only streamlines your workflow but also ensures consistent cash flow and smooth financial operations.
1. Set Clear Payment Terms
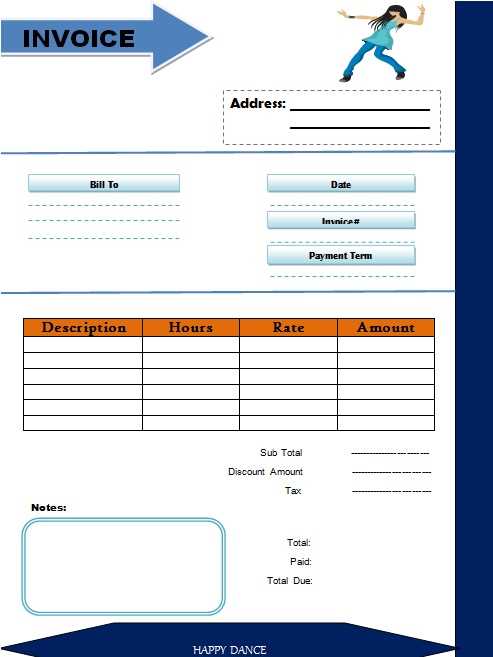
Establishing clear and transparent payment terms from the start is essential. Whether you charge per session or offer a package deal, outline the payment structure in writing. Make sure your clients are aware of when payments are due, what methods are accepted, and any penalties for late payments. Having these terms clearly communicated from the beginning helps prevent confusion and disputes.
2. Offer Multiple Payment Methods
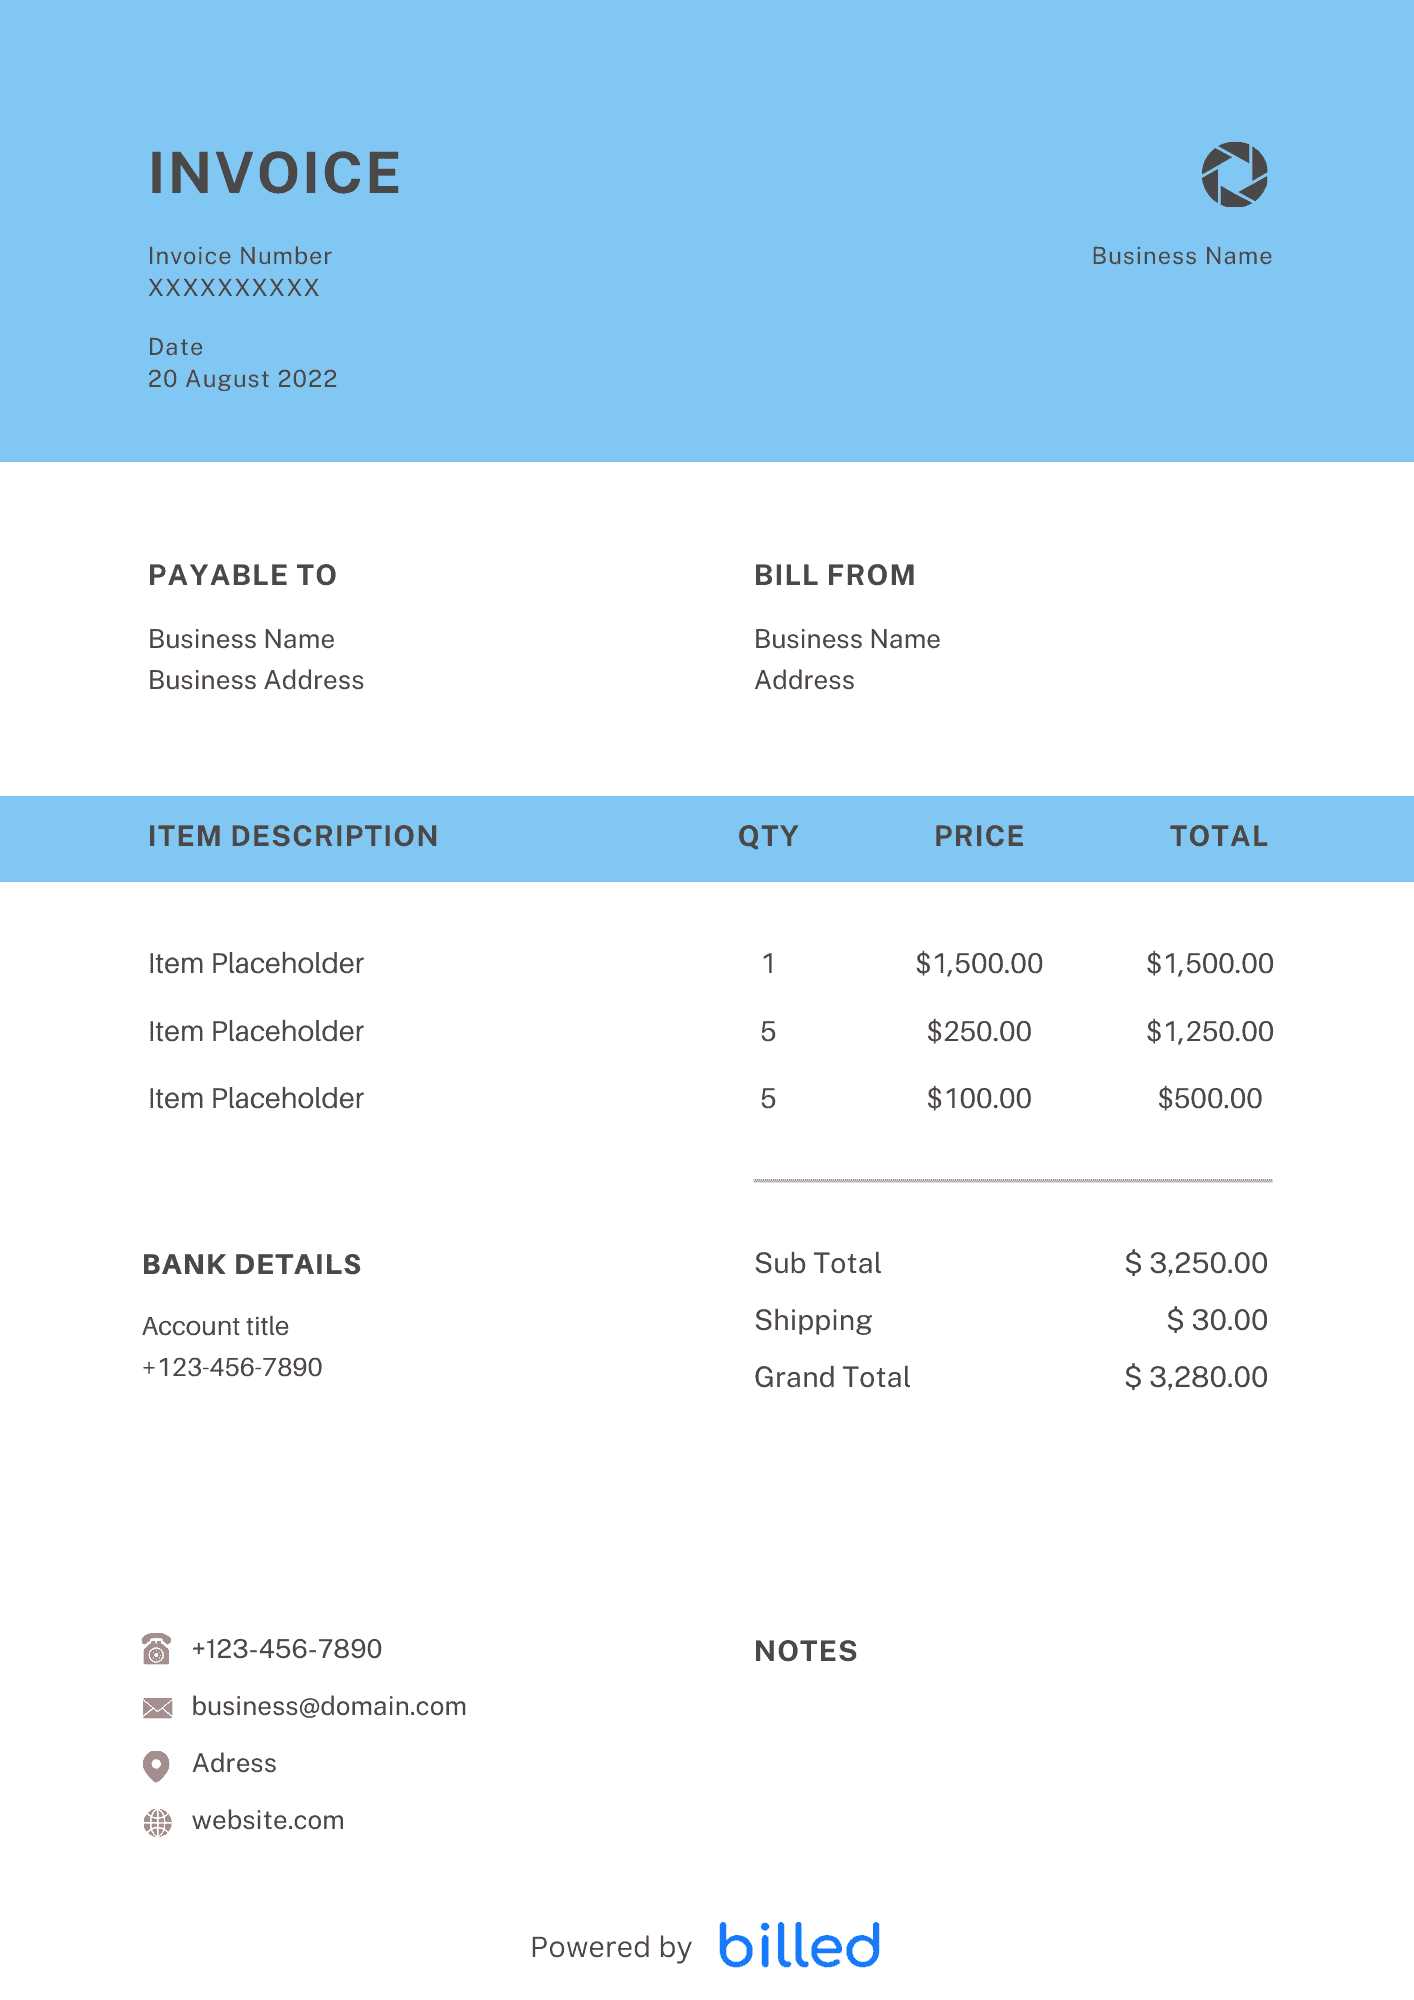
To accommodate your clients’ preferences, it’s beneficial to offer a variety of payment methods. This could include bank transfers, credit card payments, online payment services like PayPal, or even checks. The more options you provide, the easier it will be for clients to pay on time, which can improve your overall cash flow.
3. Implement Recurring Payments
If you have regular clients, setting up recurring payments can save both you and them time. Many online payment platforms allow you to set up automatic billing for ongoing lessons. This ensures that payments are made on time without the need for manual invoicing each time, providing peace of mind for both parties.
Consistency in payment practices ensures that you maintain financial stability while also offering a professional and convenient experience for your clients. By following these best practices, you create a system that is not only efficient but also fair and transparent.
Billing Mistakes to Avoid as an Instructor
Creating accurate and professional payment requests is essential for maintaining good relationships with your clients and ensuring timely payments. However, mistakes in billing can lead to confusion, delays, or even disputes. Avoiding common errors when preparing your payment records will help streamline the process and build trust with your clients.
1. Lack of Detailed Descriptions
One of the most frequent mistakes is failing to include enough detail in the billing document. Without clear descriptions of the services provided, clients may not understand what they are being charged for. This can lead to questions or dissatisfaction. Always specify the type of service, the date it was provided, and any special circumstances, such as extended sessions or additional resources used. Providing these details helps eliminate ambiguity and ensures that both you and your clients are on the same page.
2. Missing Payment Terms

Another common error is not including clear payment terms. If you do not specify when payment is due, how it should be made, or any penalties for late payments, it can cause confusion. Clearly outline payment expectations, including the due date and acceptable methods of payment. This avoids misunderstandings and ensures that both you and your clients know what is expected.
Accuracy and clarity in your billing documents help to create a professional environment, reduce the chance of disputes, and ensure that payments are made on time. By avoiding these common mistakes, you can streamline your payment process and improve your client relationships.