How to Create an Invoice Template in Word
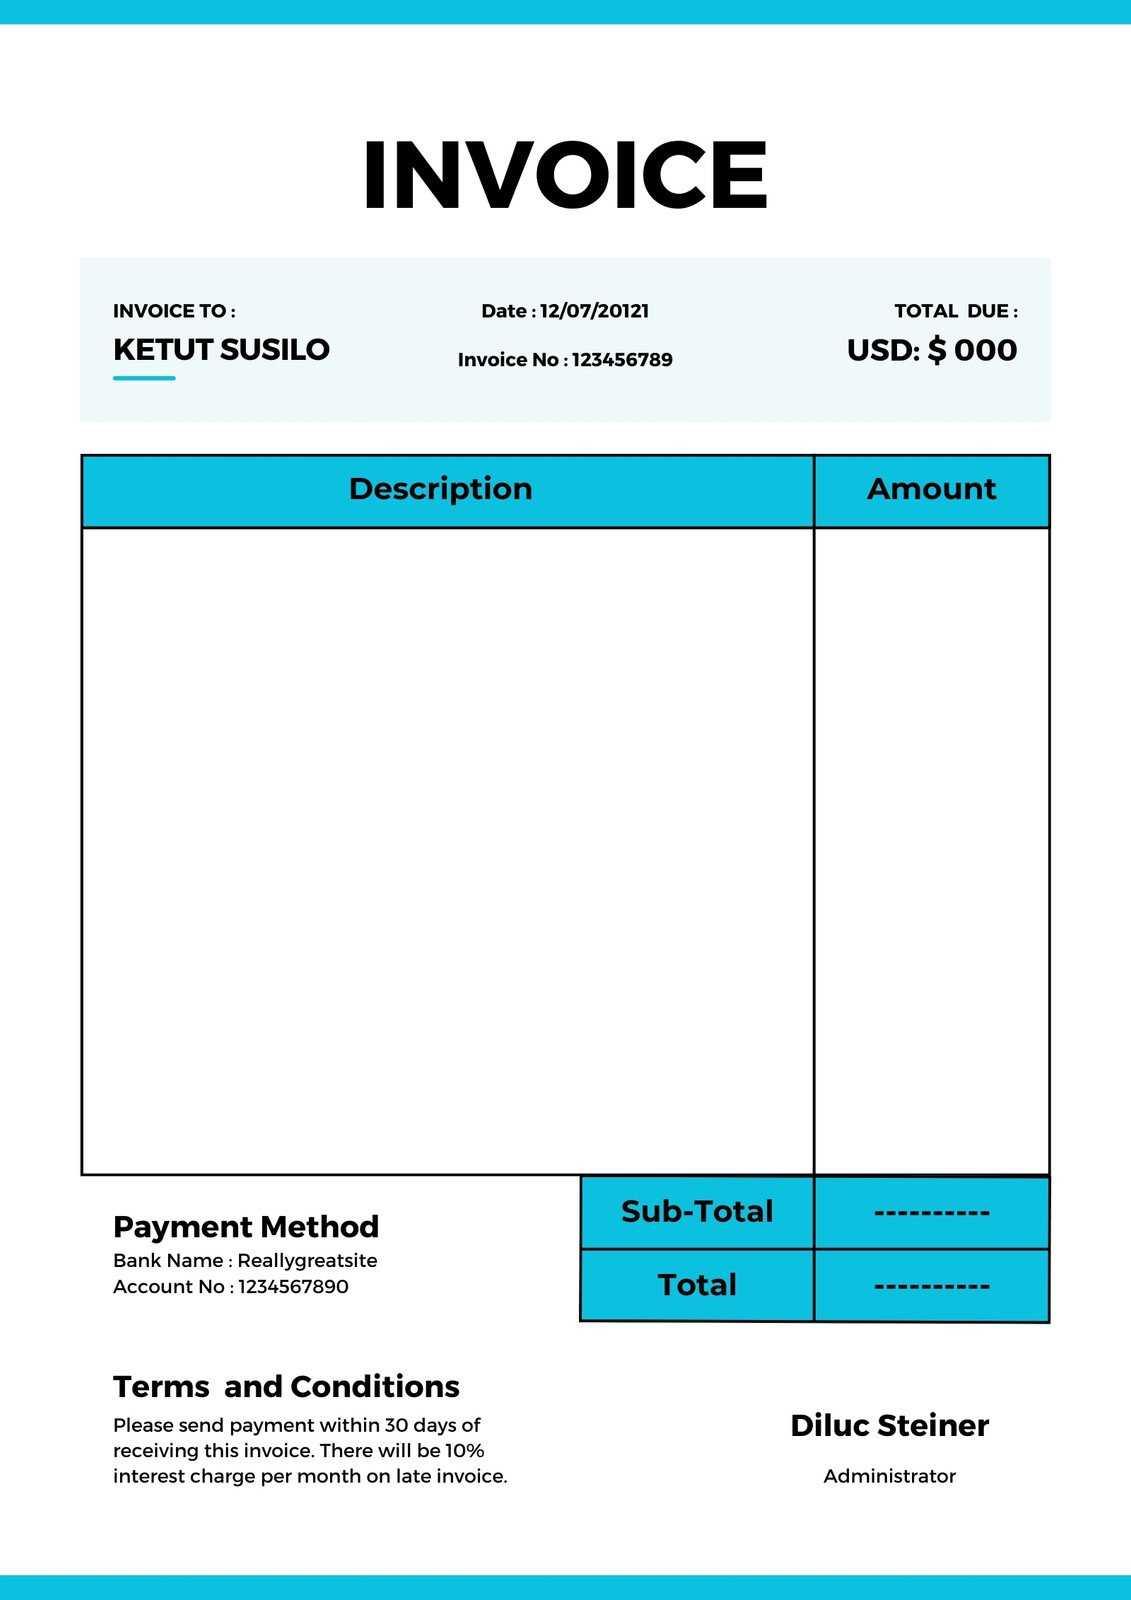
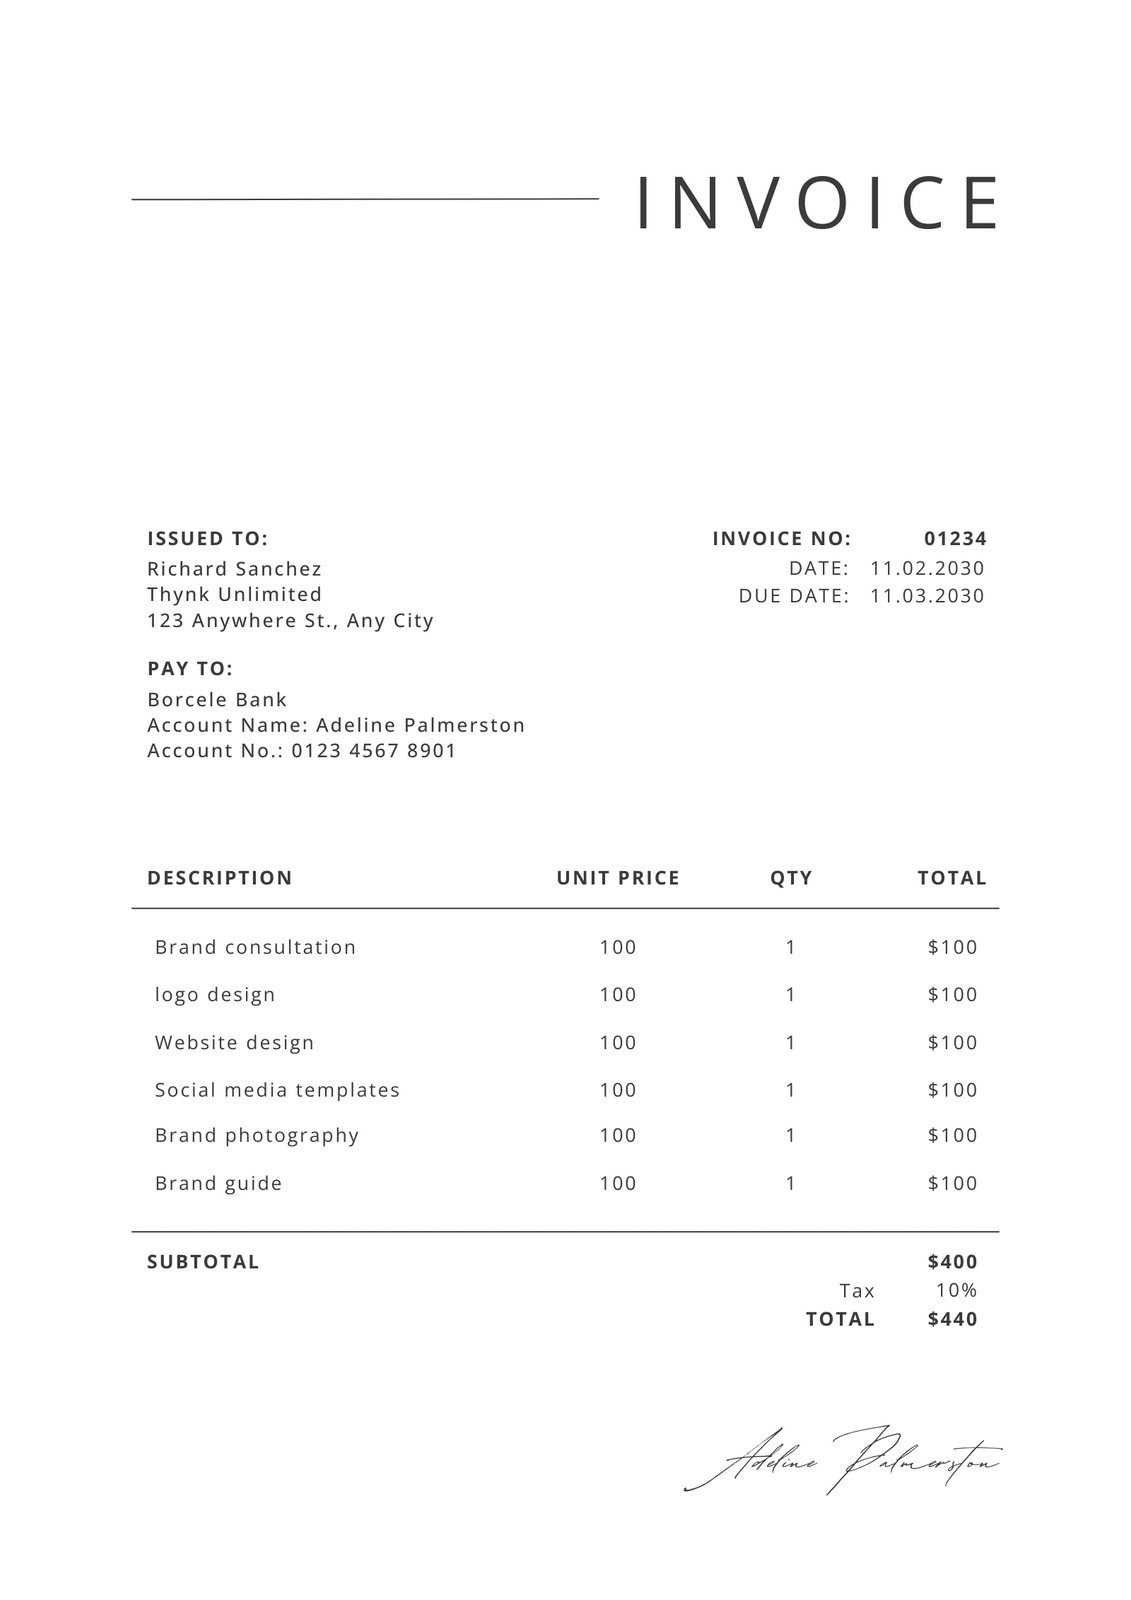
Whether you’re a freelancer, small business owner, or contractor, having a clear and consistent method for generating billing documents is crucial. A well-structured document not only helps ensure timely payments but also presents a professional image to clients. By establishing a reliable document structure, you can save time and avoid errors in the billing process.
Customization is key when it comes to tailoring the look and feel of your documents. Adjusting elements like layout, fonts, and details allows you to create a personalized format that aligns with your brand. Easy-to-follow guidelines can help streamline this process, even if you’re new to document creation.
With the right approach, you can have a standardized design that is both functional and visually appealing, helping you to manage financial transactions more effectively.
How to Design a Professional Billing Document
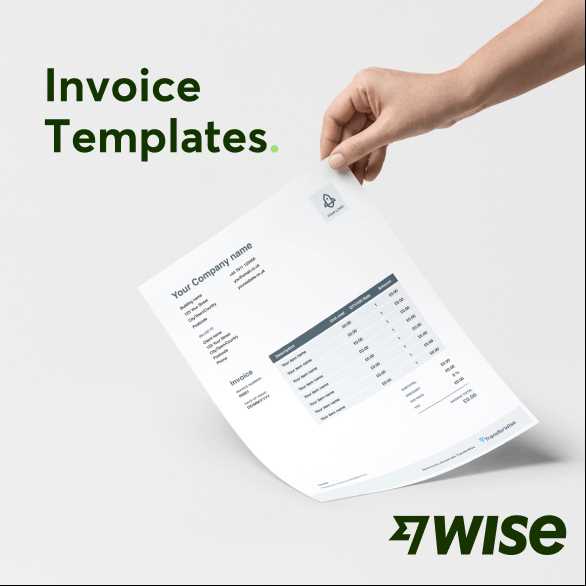
Designing a polished and clear billing document is essential for businesses aiming to maintain professionalism and consistency in financial communication. The layout and structure should reflect the seriousness of the transaction while remaining easy to understand. A well-designed document not only improves the client experience but also reduces the chance of misunderstandings.
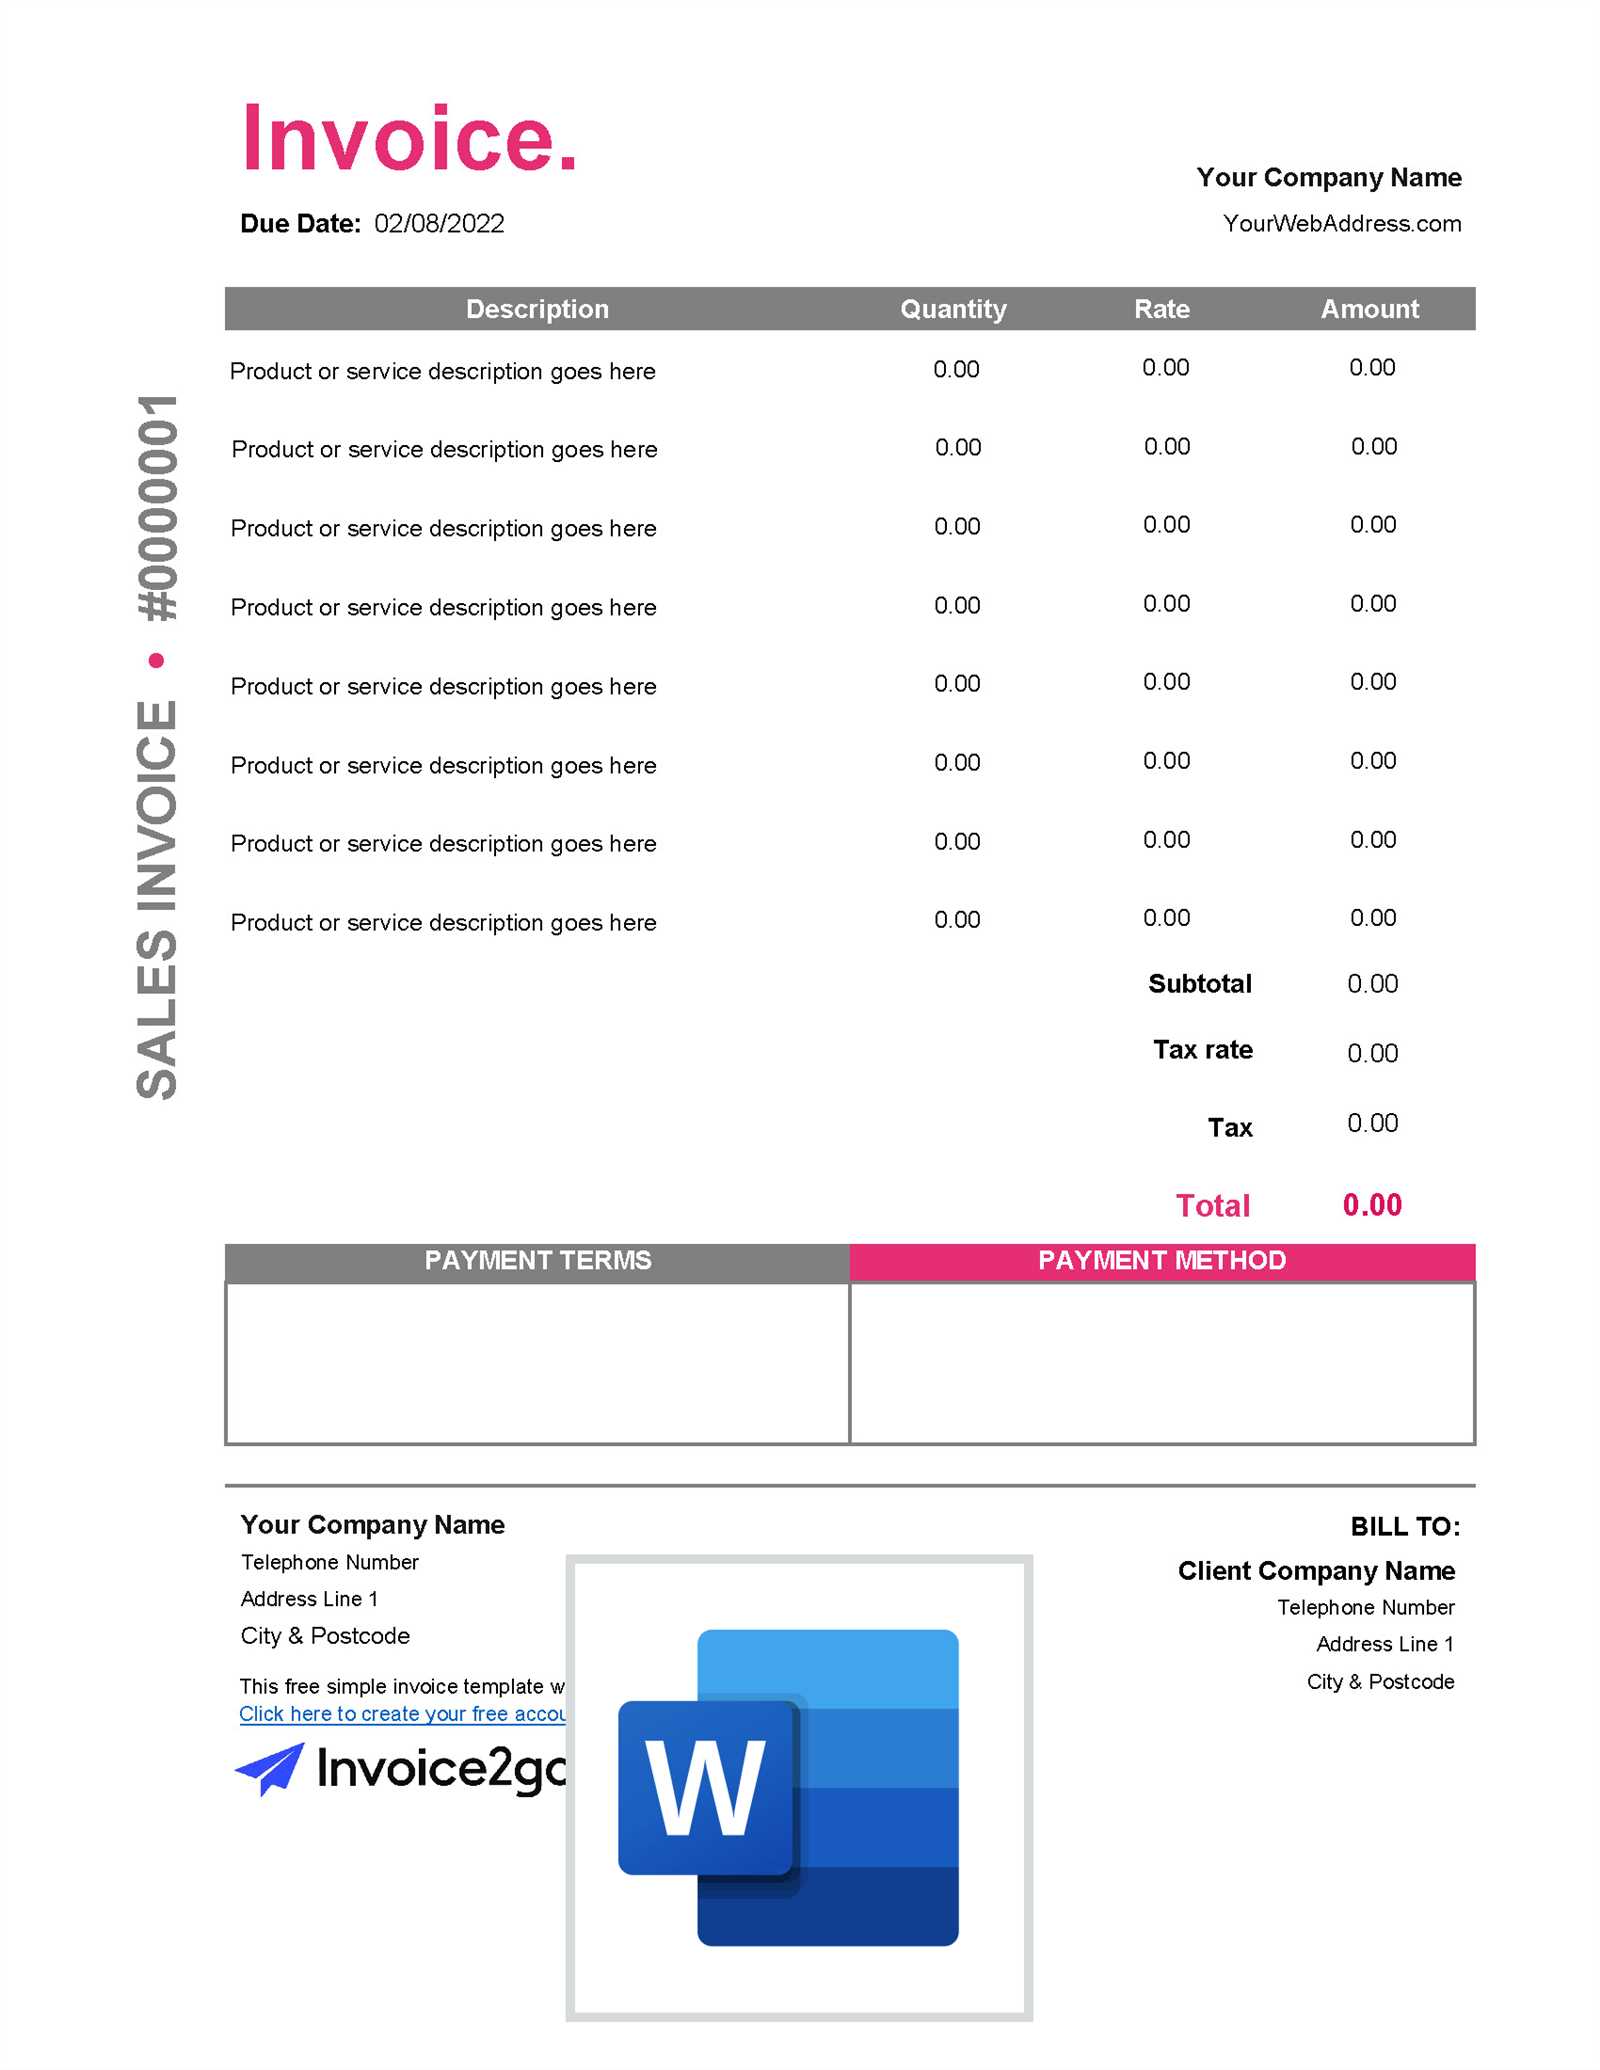
When structuring your document, start by considering the key sections that need to be included. A clean layout with clear divisions between different elements helps ensure that all necessary information is easy to locate and understand. Here are the basic components you should focus on:
| Section | Description |
|---|---|
| Header | Include your company name, contact details, and logo for a professional touch. |
| Client Information | Clearly display the client’s name, address, and contact details. |
| Service or Product Details | List the items or services provided, along with quantities and pricing. |
| Payment Terms | Include important details such as due dates, payment methods, and any discounts or taxes applied. |
| Footer | Provide any additional information, such as your business’s payment instructions or legal disclaimers. |
Each section should be clearly defined and visually separated to avoid clutter. Using lines, bold text, and ample white space will help guide the reader’s eye to the most important parts. By focusing on these fundamental areas, you’ll be able to design a clear, professional billing document that works for your business.
Step-by-Step Guide to Designing a Billing Document
Creating a professional billing document doesn’t have to be complicated. By following a simple, organized process, you can generate an effective and visually appealing document in no time. This guide will walk you through each step to ensure your document contains all the necessary details while maintaining a clean and professional look.
Step 1: Set Up Your Document
Start by opening a blank document. Before you begin adding content, it’s important to set the layout to reflect a professional style. Adjust your margins and page orientation according to your preferences. Make sure the document has enough space to accommodate all relevant sections without feeling overcrowded.
Step 2: Add Your Business Information
Your company details should be prominently displayed at the top. This can include:
- Company name
- Logo (optional)
- Business address
- Phone number and email address
- Website URL (if applicable)
Make sure this information is easy to find so your client can contact you if needed.
Step 3: Include Client Information
Next, add the client’s name and contact details. Include:
- Client’s name or company name
- Client’s address
- Phone number or email address
This ensures that both parties are clearly identified and can be easily contacted.
Step 4: List the Services or Products
Now, break down the services or products provided. You can organize this section in a table for clarity:
| Item Description | Quantity | Unit Price | Total |
|---|---|---|---|
| Example Service | 2 | $50 | $100 |
Make sure to detail every product or service, including quantities and prices. This helps both parties understand the charges.
Step 5: Specify Payment Terms
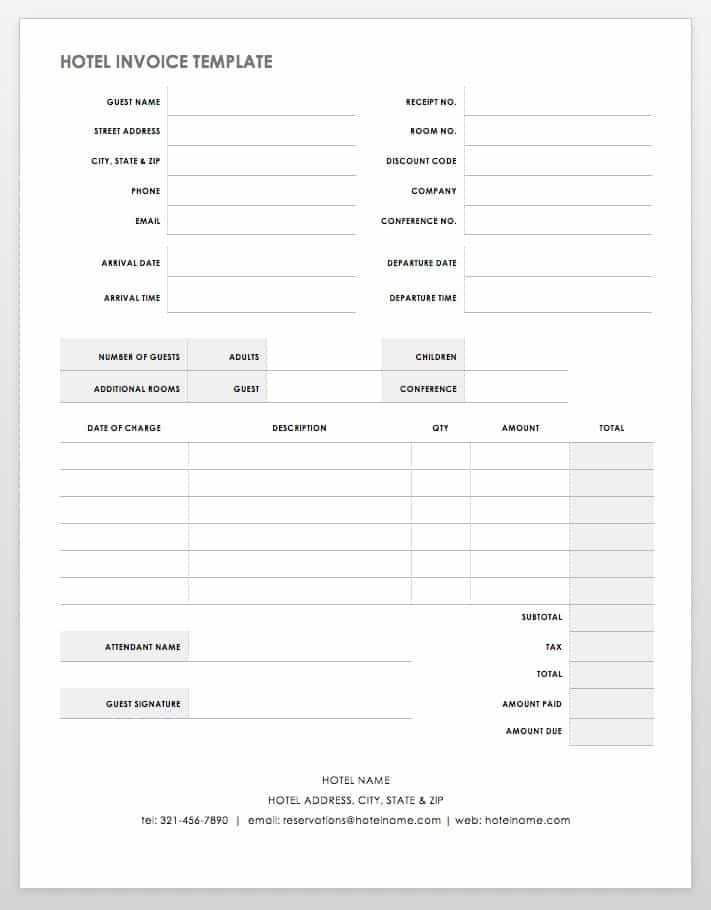
Include any relevant payment terms, such as:
- Due date
- Accepted payment methods
- Late payment penalties (if applicable)
Clearly stating payment expectations can help avoid confusion and delays.
Step
Customizing Billing Documents for Your Business
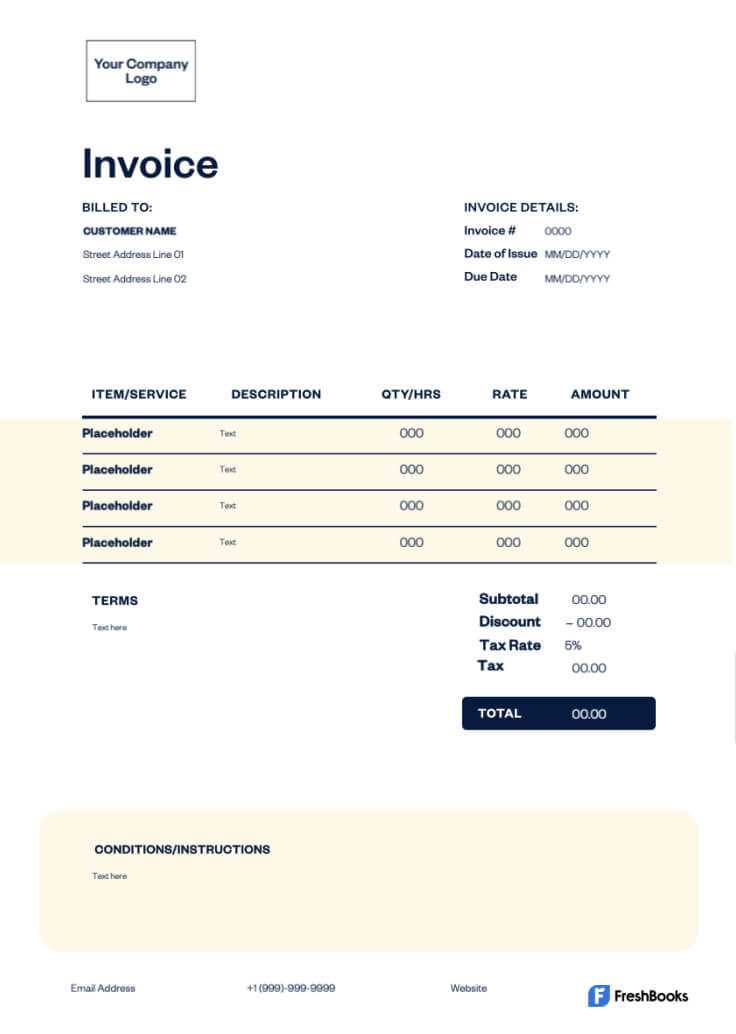
Personalizing your billing documents to align with your business identity helps create a consistent and professional image for your brand. By adjusting design elements, you can ensure that your documents reflect your company’s values while maintaining functionality. Customization not only makes the document look appealing but also allows it to serve your unique needs more effectively.
Layout customization is one of the first areas to consider. Whether you choose a simple, clean design or a more elaborate style, it’s important to keep the content clear and easy to navigate. Adjusting the margins, font styles, and text sizes can give your document a more professional feel without overwhelming the reader.
Another key aspect is branding. Incorporating your company’s logo, colors, and font style creates a cohesive look across all your business communications. This consistency strengthens your brand identity and makes your documents instantly recognizable to clients.
Adding customized fields to reflect specific business practices is also crucial. For example, if your business offers various services or products, you can adjust the layout to include detailed descriptions, quantities, and unit prices. You might also want to include payment terms that are tailored to your business practices, such as early payment discounts or special conditions for repeat customers.
Finally, consider including additional information such as social media links, business registration numbers, or even a personal thank-you note to your clients. These small details can help build stronger client relationships and make your documents stand out.
Essential Components of a Billing Document
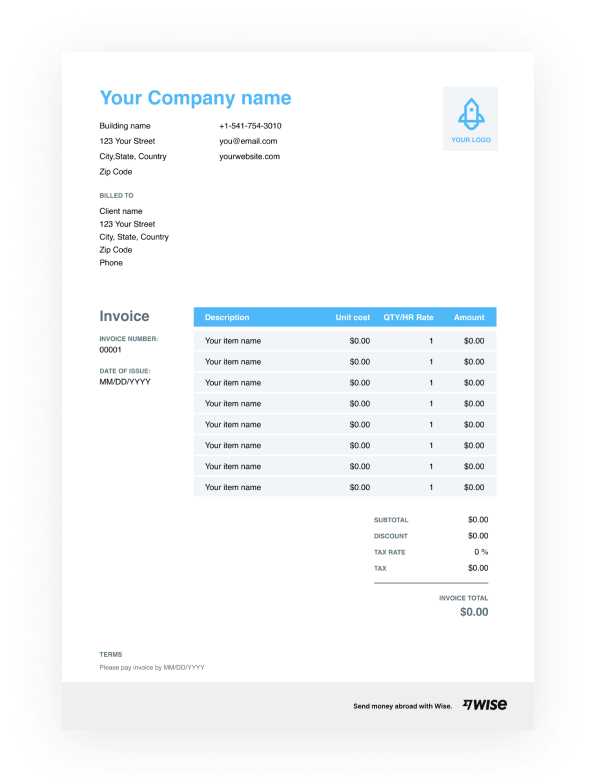
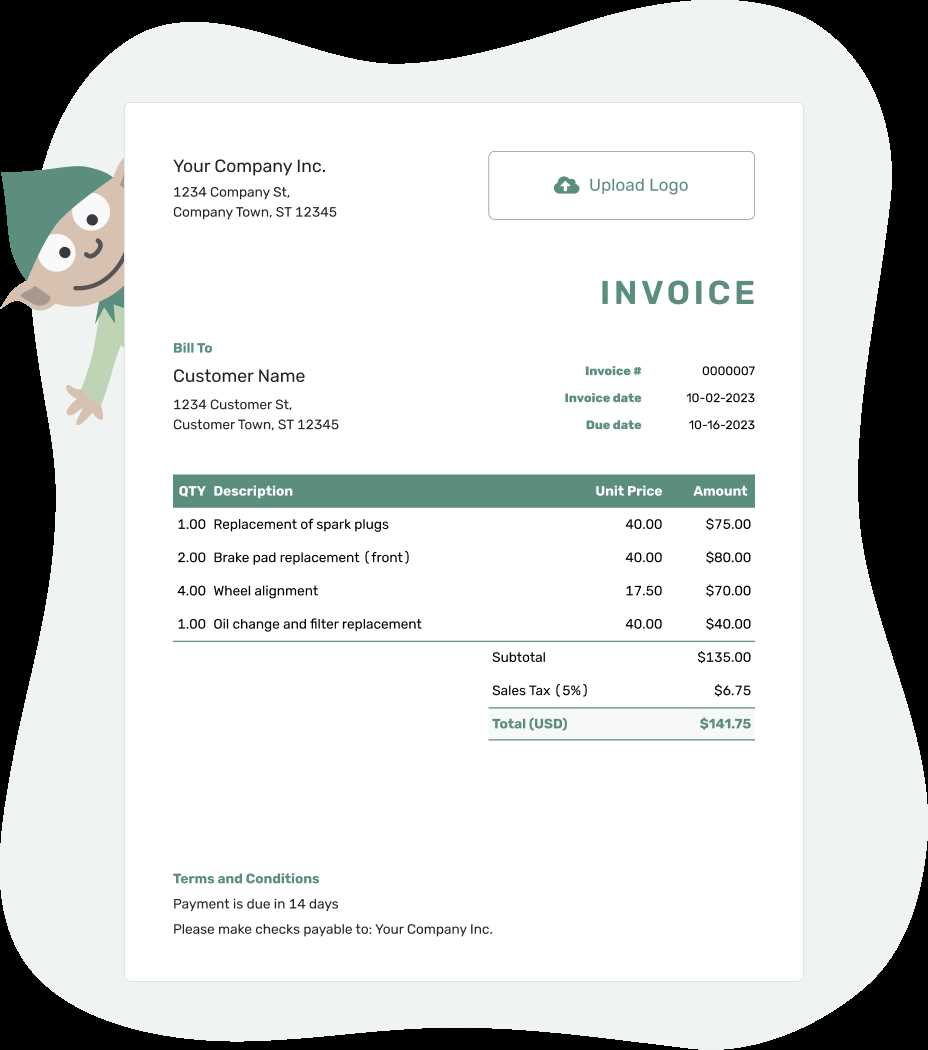
For a billing document to be effective, it must include several key components that clearly outline the transaction between you and your client. These elements ensure that both parties understand the services or products provided, the amounts due, and the terms of payment. Without these basic parts, your document may lead to confusion or disputes.
Key Sections of a Professional Document
Here are the essential sections to include in any billing document:
- Business Details: Your company name, contact information, and logo should be clearly visible at the top.
- Client Information: Include the client’s name, address, and contact details to ensure proper identification.
- Itemized List of Services/Products: Provide a breakdown of each product or service with quantities, unit prices, and total amounts.
- Payment Terms: Include payment due dates, accepted methods, and any penalties for late payments.
- Tax Information: Ensure all applicable taxes are clearly stated, including the tax rate and the amount charged.
- Thank You Note: A brief note of appreciation can help build better relationships with clients.
Additional Optional Sections
While the above components are critical, some businesses may benefit from additional details depending on their specific needs:
- Discounts: If offering any discounts, make sure to list them clearly.
- Notes or Special Instructions: Include any necessary notes or instructions related to the transaction.
- Legal Information: Some businesses may need to add disclaimers or legal terms to comply with regulations.
By including these essential components, you ensure that your billing documents are clear, professional, and legally sound, helping to avoid confusion and ensuring timely payments.
Tips for Formatting Billing Documents
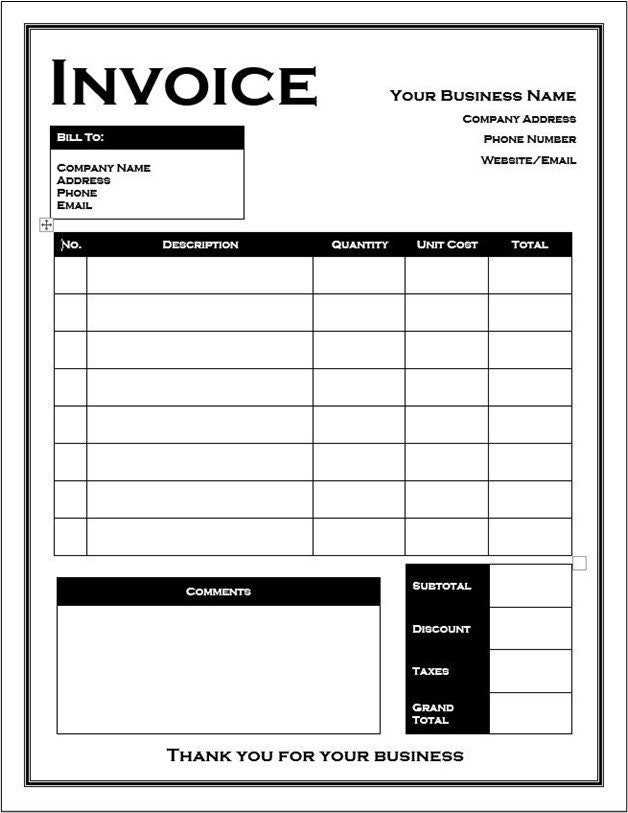
Proper formatting plays a key role in ensuring that your billing documents are clear, professional, and easy to read. A well-organized layout not only helps your clients quickly understand the charges but also enhances your business’s image. By following a few simple formatting tips, you can make your documents both functional and visually appealing.
Start by using a clean and consistent layout throughout your document. Avoid clutter by leaving sufficient white space between sections, ensuring that each part of the document is distinct and easy to navigate. This will make it easier for clients to locate important information like payment terms and itemized charges.
Another important aspect is font choice. Select a professional and easy-to-read font, such as Arial, Calibri, or Times New Roman. Stick to one font style for the body of the document and another for headings or section titles to create a clear visual hierarchy.
Make use of tables to display the details of the products or services provided. A well-structured table helps break down the information into digestible chunks and allows for easy reference. Use borders and shading sparingly to highlight the most important details, such as totals or due dates.
Also, ensure that all amounts are aligned to the right for easy comparison, and consider bolding important sections, such as total costs or payment due dates, to make them stand out.
Lastly, remember to double-check that all content is aligned properly and that there are no formatting inconsistencies. A polished document with consistent margins, font sizes, and text alignment ensures your billing document appears professional and well-prepared.
Choosing the Right Layout for Billing Documents
Selecting the right layout for your billing documents is crucial for clarity and professionalism. A well-organized design helps clients quickly find the information they need, making the document easier to read and understand. The layout should not only look good but also serve its functional purpose of communicating important details clearly.
When deciding on a layout, consider the following aspects:
- Alignment: Keep text, numbers, and headings aligned properly. A clean alignment helps the document appear organized and easy to follow. Typically, left-align the business and client information, while right-align the amounts and totals.
- Sections: Organize your document into clearly defined sections. This can include business details, client information, services/products, payment terms, and totals. Each section should be visually separated to make it easy for the reader to navigate.
- White Space: Avoid overcrowding the document with too much text or too many elements. Use white space generously to create breathing room around each section. This improves readability and gives a more polished, professional look.
- Use of Tables: Tables are ideal for breaking down product or service descriptions, quantities, and pricing. They keep the information organized and easy to compare. Ensure the table has clear headings and enough space for easy viewing.
- Header and Footer: Include your business logo, contact details, and other important information in the header. A footer can be used for legal disclaimers, payment instructions, or a thank-you note.
Choosing a layout that reflects your business’s style while maintaining functionality is essential. A simple, clean design with the right organization can enhance the overall effectiveness of your billing documents, improving client communication and making the payment process smoother.
How to Add Your Business Logo to Billing Documents
Including your business logo in your billing documents helps reinforce your brand identity and adds a professional touch. A logo creates visual recognition and trust, making the document look more polished and official. The process of adding a logo is straightforward and can be done in a few simple steps, ensuring that your business stands out in all communications.
Step 1: First, make sure you have a high-quality version of your business logo saved in a commonly used format, such as PNG or JPEG. It’s important that the logo is clear and not pixelated, even when scaled down.
Step 2: Open your document and place the cursor where you want the logo to appear, typically at the top of the page near your business details. You may want to place it in the header so that it appears on every page if the document spans multiple pages.
Step 3: Insert the logo by selecting the “Insert” option in your document editor, then choosing the “Picture” or “Image” option. Browse for the saved logo file on your computer and select it to add it to your document.
Step 4: Resize the logo to fit appropriately within the header area. It should be large enough to be recognizable but not overpowering or distracting from the rest of the content. Make sure the image is aligned properly, either centered or aligned to the left, depending on your preferred layout.
Step 5: Finally, ensure that the logo doesn’t interfere with other essential information, such as contact details or payment terms. Adjust the spacing around the logo to keep the layout neat and balanced.
Adding your business logo to your billing documents enhances your professional appearance and provides a sense of consistency across all your business communications.
Saving and Reusing Your Billing Document Design
Once you have designed your billing document, it’s important to save it in a way that makes it easy to reuse for future transactions. This allows you to maintain consistency and save time on administrative tasks. By saving a reusable version, you can quickly update client information, itemized lists, and amounts without having to start from scratch each time.
Step 1: After finalizing the design of your billing document, make sure to save it as a template file. This will ensure that all your formatting, layout, and design elements are preserved for future use.
Step 2: Name the file appropriately, using a simple and clear name such as “BillingDocumentTemplate” or “BusinessInvoiceSample,” so you can easily identify it later.
Step 3: When saving, choose a format that is compatible with the software you are using. For instance, many programs allow you to save documents as “template” or “dotx” files, which will preserve the design but allow for easy editing of the content each time you use it.
Step 4: Store your template in an organized location, such as a dedicated folder on your computer or cloud storage, for easy access. This way, you can quickly find the file whenever needed.
Step 5: Each time you need to issue a new document, simply open the template, make the necessary changes such as client name, service details, and payment terms, and save it as a new file. This ensures that your billing documents are always up to date, yet still consistent in design and format.
By saving and reusing your document design, you not only maintain a professional and consistent appearance but also save time and effort on repetitive tasks.
Adjusting the Billing Document for Different Clients
Each client may require slightly different details or formatting to be included in your billing documents. Customizing the layout and content based on the client’s specific needs can enhance professionalism and ensure clarity in communication. By adjusting the document, you can better reflect the nature of your relationship with each client, whether it’s based on contract terms, service types, or agreed-upon pricing structures.
Personalizing Client Information
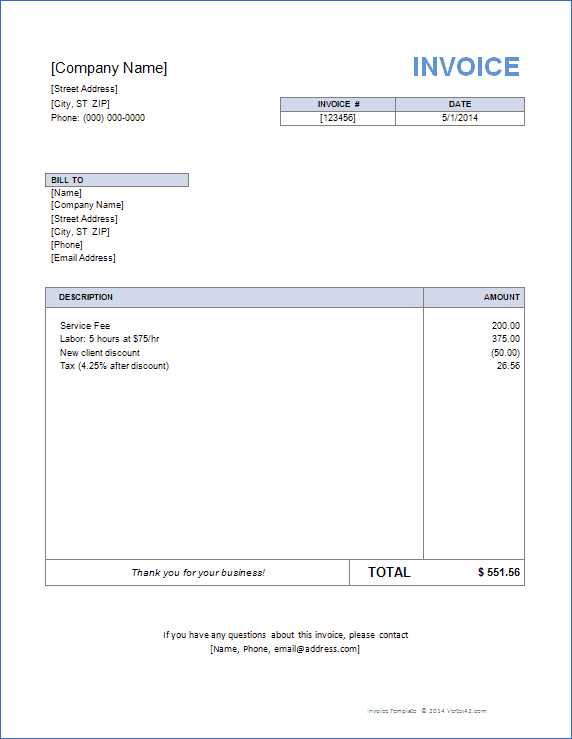
Client Name and Address: The first and most obvious change is to update the client’s name and address details. These are typically found in the header section of the document. Ensure that the client’s contact information is up to date, as errors here can cause confusion and delays in payment.
Business Terms: Different clients may have different payment terms. Adjust the payment due date, as well as any relevant terms such as late fees, discounts for early payment, or special instructions. These terms should be clearly highlighted so the client understands the expectations.
Modifying the Service or Product List
Specific Charges: Depending on the client, the products or services listed on the document will change. Update the descriptions, quantities, and prices according to the agreement with that particular client. This ensures accuracy and helps avoid any misunderstandings when the document is reviewed.
Discounts or Special Rates: If applicable, ensure that any client-specific discounts, pricing, or promotional rates are included in the document. This might involve adjusting the total amount or breaking down the cost structure to clearly reflect these changes.
Adjusting your billing document for each client doesn’t just ensure that all information is accurate; it also demonstrates attention to detail and a high level of service. This approach helps build trust and reinforces your professionalism in every interaction.
Including Payment Terms in Your Billing Document
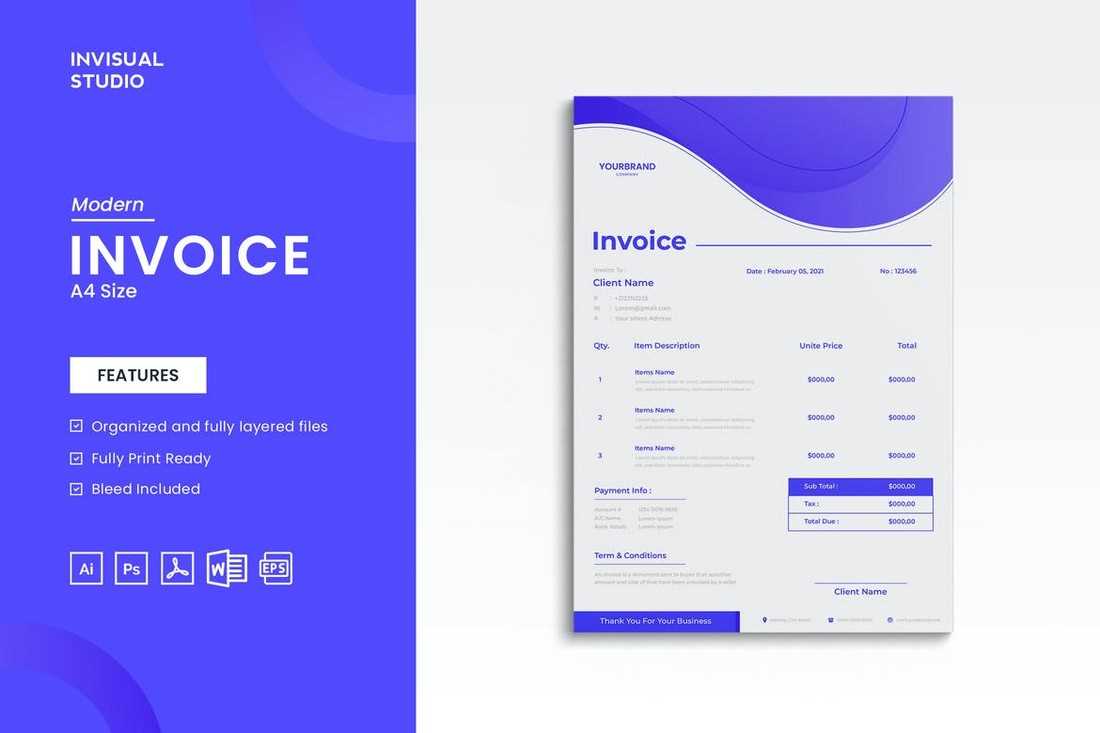
Clearly outlining the payment terms in your billing documents is essential for setting expectations and ensuring timely payments. Whether you’re offering extended payment periods, providing discounts for early settlement, or imposing late fees, these details help avoid confusion and disputes. By including precise payment terms, you create transparency and guide your clients through the payment process smoothly.
Types of Payment Terms to Include
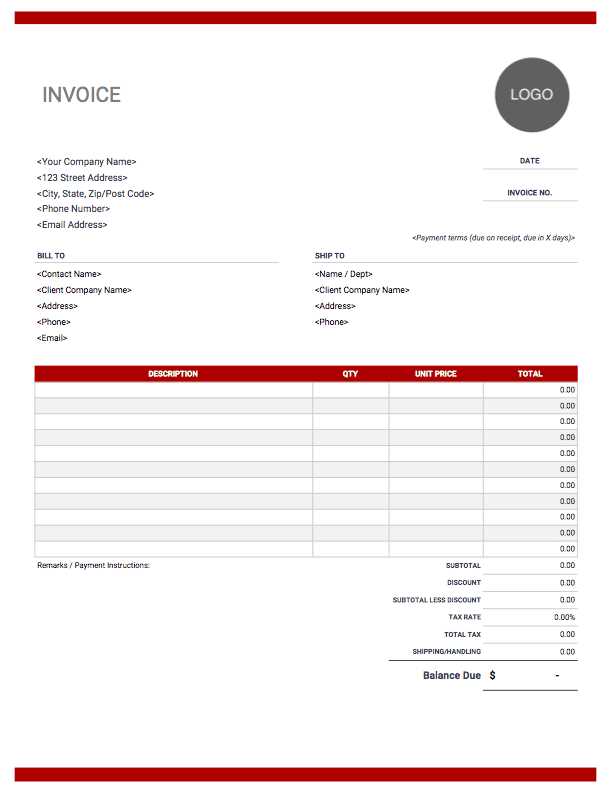
Payment Due Date: Always specify the exact due date by which the payment should be completed. This eliminates ambiguity and helps clients understand when the payment is expected.
Discounts for Early Payment: If you offer discounts for early payment, such as 5% off for payments made within 10 days, be sure to highlight this in your document. This can encourage quicker settlements and strengthen client relationships.
Late Fees: In some cases, it’s important to outline the penalties for overdue payments. Indicate any interest or late fees that will be charged after the due date, and ensure this is clearly visible to avoid any surprises for your clients.
Sample Payment Terms Table
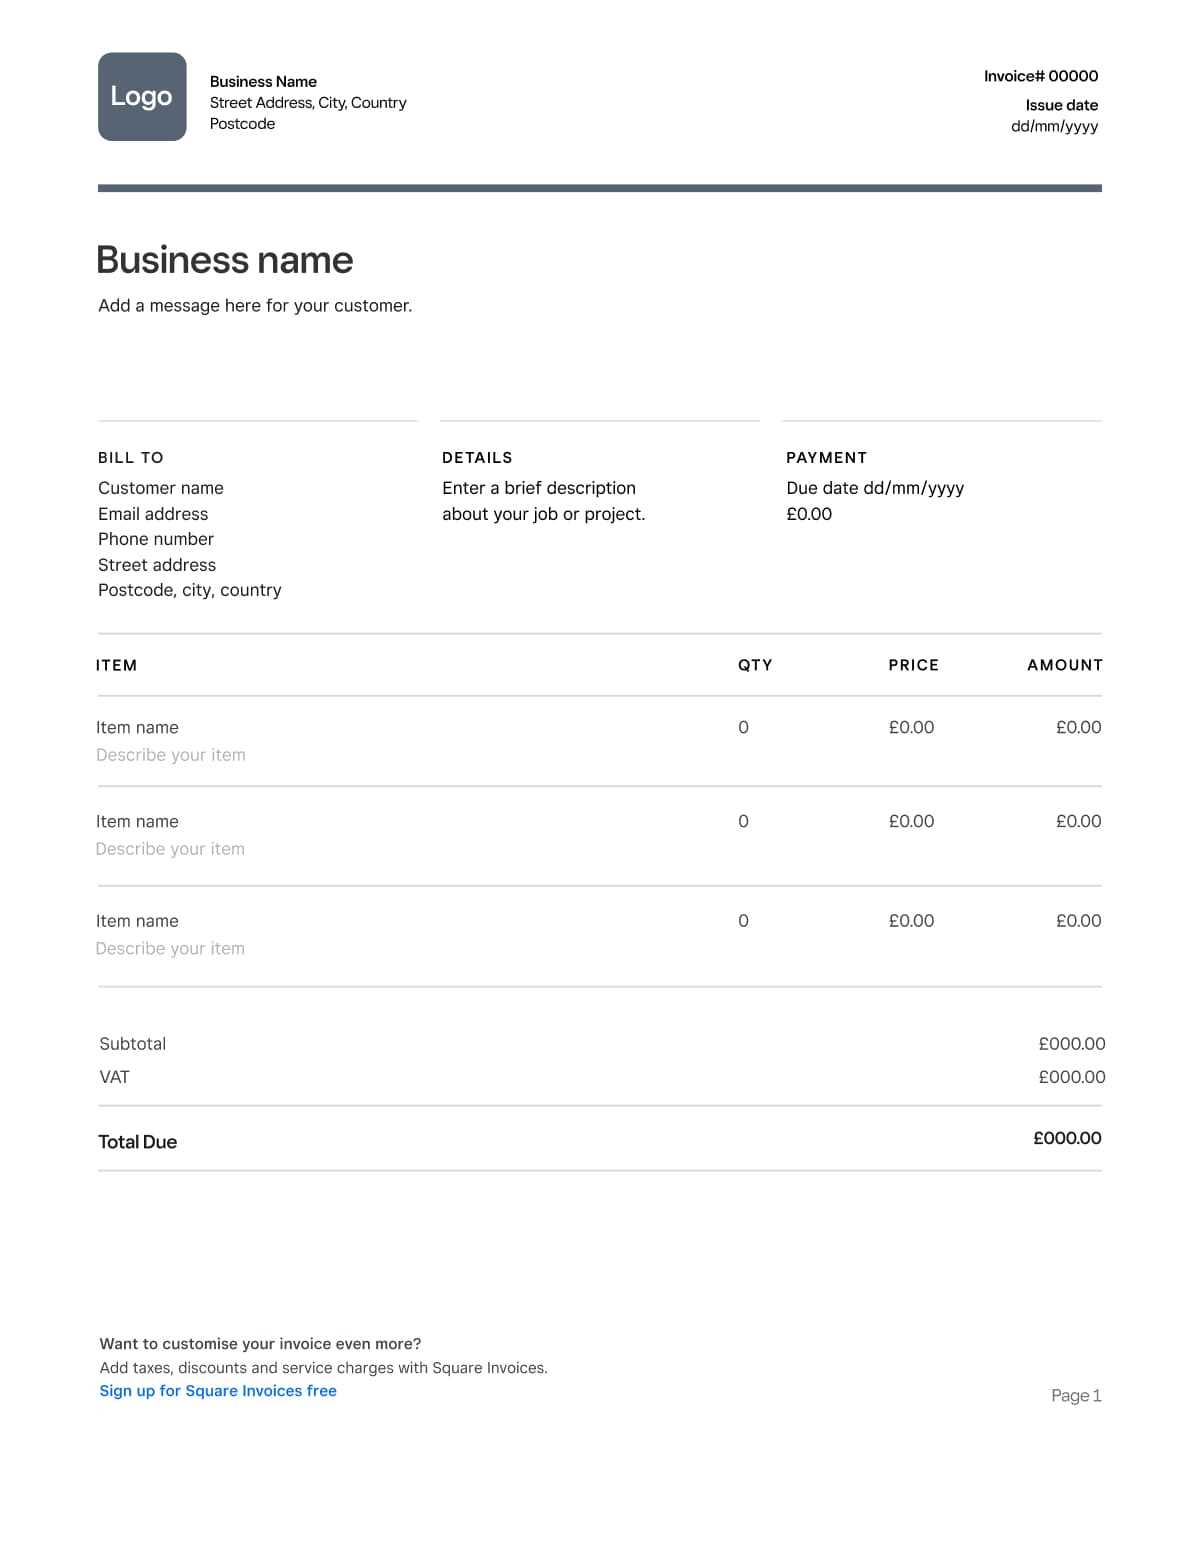
| Payment Term | Details |
|---|---|
| Due Date | Payment is due within 30 days of receipt of the bill. |
| Early Payment Discount | 5% discount if paid within 10 days. |
| Late Fee | A 2% fee will be charged for payments made after the due date. |
By including these payment terms clearly in your billing documents, you set the tone for timely payments and avoid misunderstandings. It’s essential to make these terms visible and easy to understand, as they are key to maintaining a healthy cash flow for your business.
How to Design a Professional Billing Document Footer
A well-designed footer is an essential part of any billing document. It provides additional information that can improve the client experience, while also reinforcing your business’s professionalism. The footer is where you can include crucial details such as payment instructions, contact information, and legal disclaimers, all of which contribute to the clarity and completeness of the document.
Key Elements to Include in the Footer
When designing the footer of your billing document, consider including the following elements:
- Business Contact Information: Include your business name, address, phone number, and email address to make it easy for clients to reach out if they have questions or need assistance.
- Payment Instructions: Clearly state how payments should be made. Whether through bank transfer, credit card, or online platforms, ensure the process is straightforward and easy for clients to follow.
- Legal Disclaimers or Notes: If applicable, you can include any legal terms, such as return policies, warranty information, or statements regarding non-payment. These details can help prevent misunderstandings in the future.
- Business Registration Information: If required, add your company’s registration number or tax identification number for legal and tax purposes.
Design Considerations for the Footer
The footer should be simple and clean, yet informative. Avoid cluttering this section with too much text or complex designs. It should complement the overall layout of the document while making important information easily accessible. Consider using smaller font sizes for the footer to ensure it doesn’t dominate the page, but still remains readable.
By including these elements in the footer, you not only ensure that your clients have all the information they need, but you also reinforce the professionalism and legitimacy of your business.
Best Practices for Document Numbering
Numbering your billing documents properly is essential for maintaining an organized record-keeping system and ensuring that each transaction is easy to track. Using a consistent, logical numbering scheme can help you stay on top of accounts, simplify your bookkeeping, and avoid any confusion in the future. Adopting best practices for document numbering is a key aspect of professionalism and efficiency in any business.
Choosing a Numbering System
There are several approaches to numbering your documents. The best system depends on your business size, volume of transactions, and personal preference. Below are some options to consider:
- Sequential Numbering: This is the most straightforward approach, where you assign a unique number to each document in the order they are created. For example, 001, 002, 003, etc. This method is simple to implement and ensures easy tracking.
- Date-Based Numbering: Some businesses prefer to incorporate the date into the document number. For example, you could use a format like 2024-001 for the first document of the year. This helps easily identify when a document was issued.
- Client-Based Numbering: In some cases, especially with large volumes of clients, it might be useful to assign a client-specific identifier to the numbering scheme. For instance, you could use a format like CLIENT001-001, where CLIENT001 is the unique client code and 001 is the document number.
Sample Numbering Scheme Table
| Format | Example | Benefits | |||||||||||||
|---|---|---|---|---|---|---|---|---|---|---|---|---|---|---|---|
| Sequential | 001, 002, 003 | Simple to implement, easy tracking | |||||||||||||
| Date-Based | 2024-001, 2024-002 | Easy to identify the year, clear order | |||||||||||||
| Client-Based | CLIENT001-001, CLIENT001-002 | Easy to t
Adding Taxes and Discounts to Billing Documents
In any business transaction, it is essential to properly account for taxes and discounts to ensure accuracy and transparency. Whether you are charging sales tax or offering a promotional discount, these elements should be clearly reflected in the billing documents. This helps to avoid confusion and provides both the business and the client with a clear understanding of the amounts due. How to Include Taxes
Taxes are an important part of many transactions, and properly applying them ensures compliance with local regulations. The method for adding taxes depends on the type of tax and the region in which your business operates. Here are some considerations:
Including DiscountsOffering discounts can be a great way to incentivize clients to make a purchase or to show appreciation for repeat business. Properly applying discounts helps maintain transparency and ensures the final total is calculated correctly. Some key tips for adding discounts include:
Sample Tax and Discount Table
|
