Hourly Rate Invoice Template in Word Format
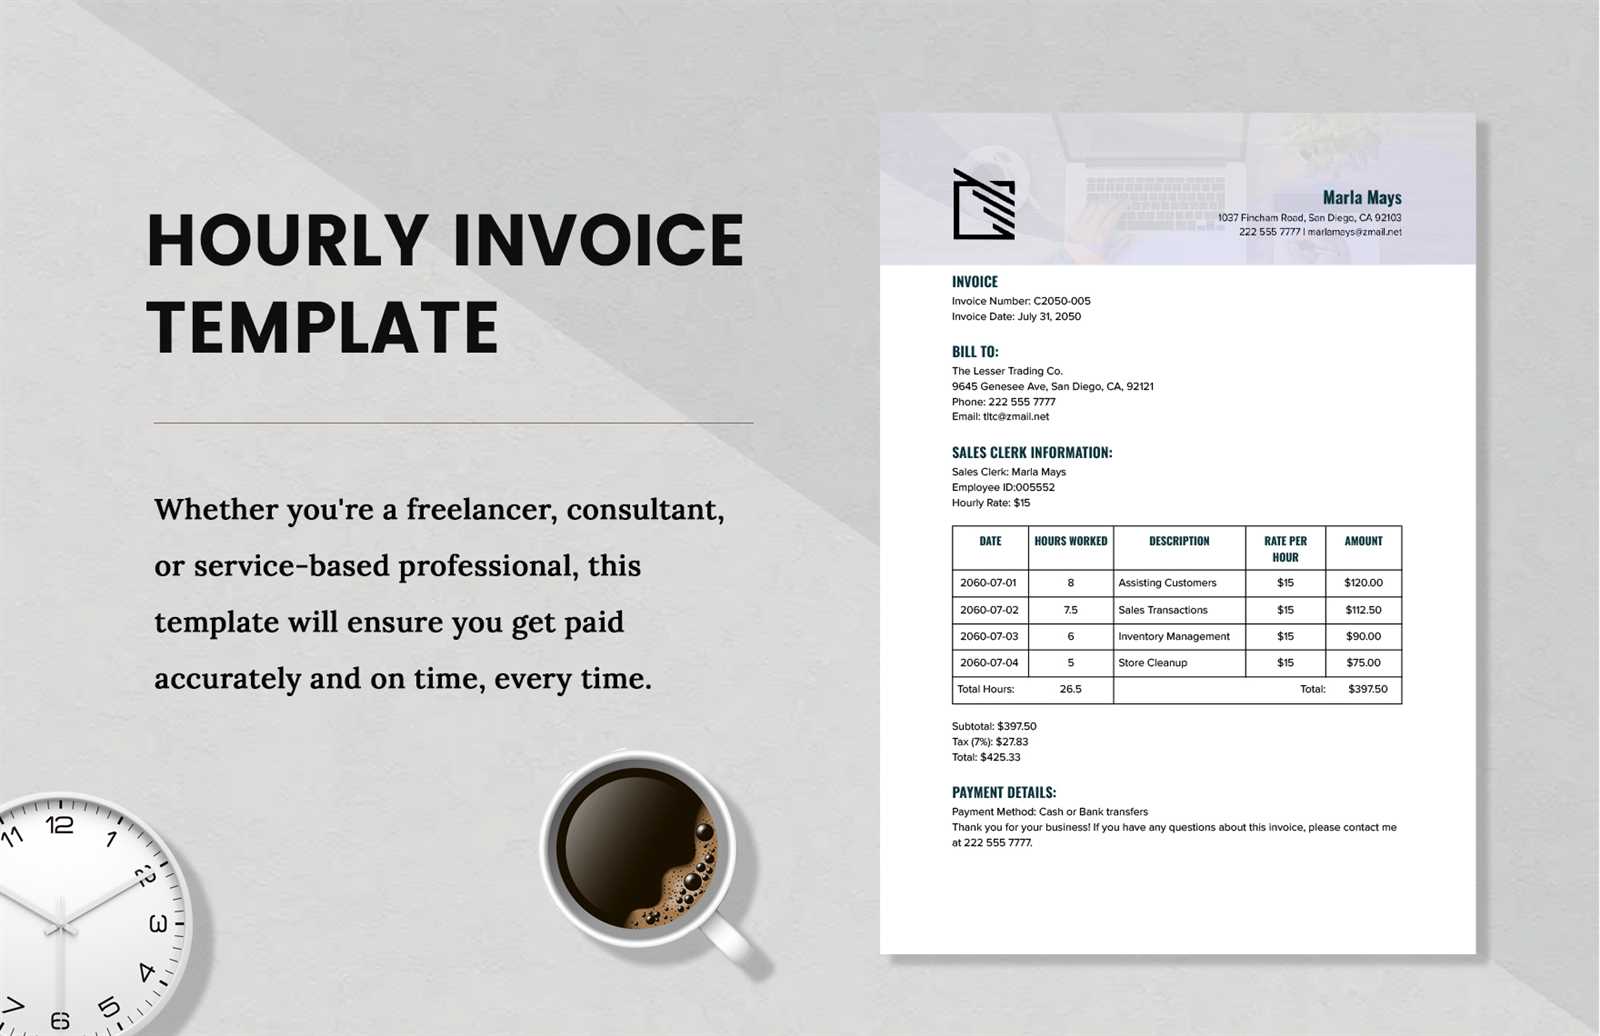
Why Use Hourly Billing Documents
For professionals offering time-based services, clear documentation of hours worked and associated costs is crucial. Such forms provide both the service provider and the client with a transparent overview of the work completed and the corresponding payment due. This approach helps avoid misunderstandings and ensures both parties are on the same page.
Using structured billing documents brings several benefits:
- Transparency: Clients can easily see how time was spent and what tasks were performed.
- Accuracy: Clear records reduce the chance of errors in calculating fees or time spent.
- Professionalism: Well-organized documents enhance the overall impression of your business practices.
- Time management: Helps both parties track time efficiently, especially for long-term or ongoing projects.
Additionally, this method simplifies tracking payments and provides a detailed history, which can be useful for both tax purposes and resolving disputes if they arise.
Customizing Your Billing Document
Personalizing your payment forms is key to ensuring they meet your specific business needs. Tailoring these documents allows you to include all the necessary details and make them visually appealing while maintaining clarity. Customization ensures that the final result accurately reflects your professional image and communicates the relevant information to your clients.
Key Elements to Adjust
When customizing your billing form, focus on the following areas to enhance its functionality and presentation:
- Company Details: Add your business name, logo, contact information, and other identifying details.
- Client Information: Include space for client names, addresses, and reference numbers to ensure proper identification.
- Project Description: Ensure that there is enough room to outline the services provided, including dates and time spent.
- Payment Terms: Clearly specify payment methods, due dates, and any late fees if applicable.
Design and Layout Considerations
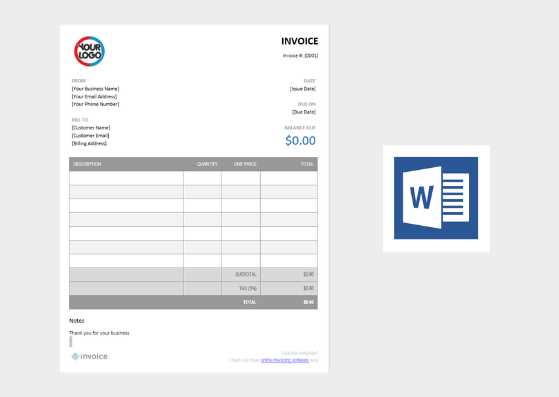
Adjusting the design and layout of your document can make it more user-friendly. Consider the following tips:
- Clear Sections: Use distinct sections to separate the billing period, description of work, and payment details.
- Readable Fonts: Choose professional, easy-to-read fonts for all text, ensuring that the document is legible both on-screen and in print.
- Consistent Styling: Apply consistent margins, headers, and font sizes to maintain a neat and organized appearance.
By customizing your billing documents, you can ensure that they reflect your business’s professionalism while making the billing process smoother for both you and your clients.
How to Create a Billing Document in Word
Creating a professional payment document from scratch can seem daunting, but with the right approach, it becomes a simple task. By following a few key steps, you can produce a well-organized, clear, and effective billing document that covers all the necessary details for both you and your client.
Step-by-Step Process
Here’s how to easily create a payment document in a word processing program:
- Open a New Document: Start by opening a blank document to begin the creation process.
- Include Your Business Information: Add your company name, address, phone number, email, and website at the top for easy identification.
- Add Client Information: Include the client’s name, contact details, and address, ensuring the document is personalized for the recipient.
- Set Up the Date and Document Number: Include a date field and a unique document number for easy reference and record-keeping.
- List the Services Provided: Create a section where you can describe the work done, including specific tasks and hours worked or services rendered.
- Specify the Payment Terms: Clearly outline the total cost, payment due date, and preferred payment methods.
- Add a Footer: Include any additional information, such as business terms, late fees, or thank-you notes.
Design Tips for a Professional Look
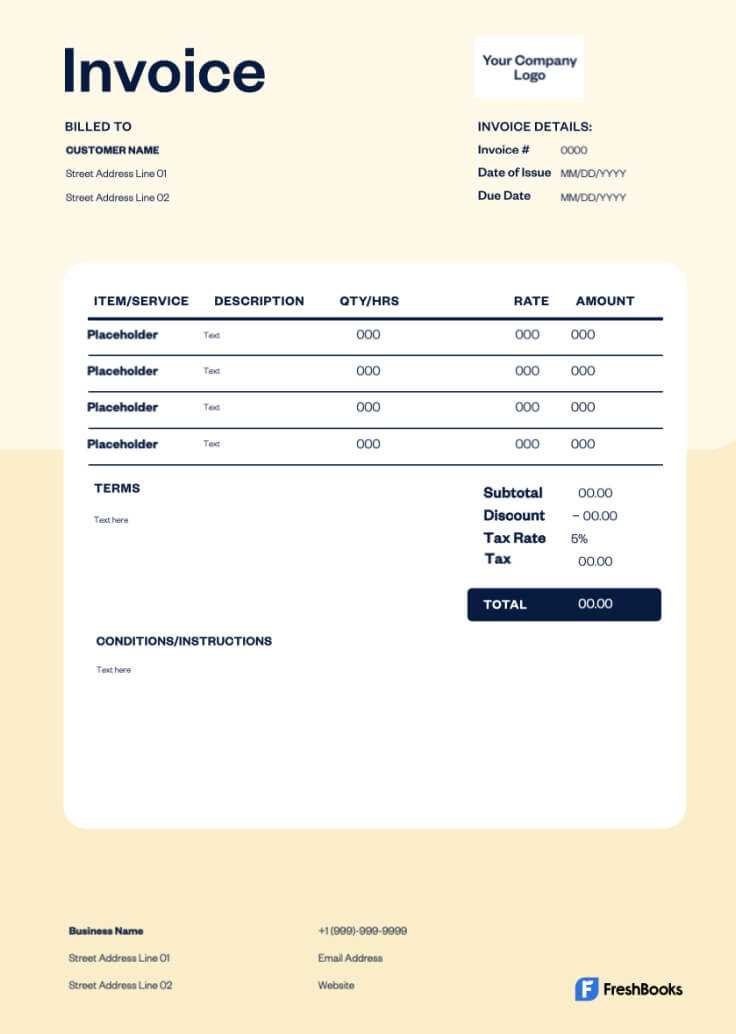
To enhance the appearance of your document, consider these design elements:
- Use Tables: Tables help structure the information clearly, making it easy to follow and reference.
- Choose a Clean Font: Use a readable, professional font such as Arial or Times New Roman to ensure your document is easy to read.
- Ensure Consistent Spacing: Proper spacing between sections and text will make the document look clean and organized.
Once you’ve completed these steps, you’ll have a fully functional and professional payment document ready for use in any transaction.
Benefits of Using Word for Billing Documents
Creating payment records using a word processing program offers several advantages that can improve the efficiency and professionalism of your business. The flexibility and customization options available make it easier to create documents that are both functional and visually appealing, without the need for specialized software or complex tools.
Here are some key benefits of using a word processor for your billing documents:
- Easy Customization: You can quickly adjust the layout, fonts, and structure to suit your specific needs, ensuring each document reflects your business style.
- Wide Accessibility: Most people are familiar with word processing software, making it easy to create and edit documents without additional training.
- Professional Design: Using built-in formatting tools allows you to produce neat, organized, and polished documents that convey professionalism to your clients.
- Convenience: No need for expensive software; many word processors come pre-installed, making them an accessible option for anyone looking to create billing documents.
- Compatibility: Documents created in a word processor can be easily shared via email or printed for hard-copy distribution, ensuring wide compatibility with different platforms and devices.
Overall, using a word processor to create your payment forms simplifies the process while offering a wide range of customization options that help maintain professionalism and clarity in your business transactions.
Essential Information for Payment Documents
To ensure that your billing forms are both accurate and clear, certain details are essential. These elements not only help streamline the payment process but also make it easier for both you and your clients to track services and payments. Including the correct information in your documents ensures that everything is transparent and professional.
Key Details to Include
When preparing a billing document, make sure to include the following crucial information:
| Information | Description |
|---|---|
| Service Provider Details | Your business name, contact information, and logo (if applicable) to ensure the document is personalized and easily identifiable. |
| Client Details | Client’s full name, address, and contact information for proper record keeping and easy reference. |
| Work Description | Clearly describe the services or tasks performed, including dates, hours, and any other relevant details. |
| Total Amount | List the total cost for the services rendered, ensuring that calculations are transparent and easy to verify. |
| Payment Terms | Include payment due dates, accepted payment methods, and any late fees or penalties for overdue payments. |
Additional Considerations
Besides the core elements, it’s also helpful to include any reference numbers or purchase order numbers if applicable. This can further help in identifying and tracking payments, especially in larger or ongoing projects.
Formatting Tips for Professional Billing Documents
The appearance of your payment records plays a significant role in the way your business is perceived. Well-organized and clearly formatted documents not only make a strong impression on clients but also ensure that all necessary details are easy to find. Proper formatting can help you convey professionalism and reliability in every transaction.
Consistent structure is one of the most important elements when creating a professional document. Use simple, clean layouts with distinct sections to organize the information logically. Ensure that the content flows smoothly from one part to the next, making it easy for clients to read and understand the document at a glance.
Here are some tips to enhance the formatting of your payment documents:
- Use Clear Headings: Create separate headings for each section, such as “Client Details,” “Service Description,” and “Payment Terms,” to break up the content and make it more digestible.
- Consistent Fonts: Stick to a professional font, like Arial or Times New Roman, and use no more than two different fonts throughout the document to maintain a clean and cohesive look.
- Proper Spacing: Use adequate spacing between sections and rows to avoid a cluttered appearance. This will make the document easier to read and visually appealing.
- Align Text Correctly: Align text uniformly, especially numbers (such as totals and hours worked), to make it easy for clients to verify the calculations.
- Include a Footer: Add a footer with any relevant additional details, such as business terms, contact information, or a thank-you note, to round out the document professionally.
Following these formatting tips ensures that your payment documents look polished and organized, reflecting the professionalism of your business and helping to foster a positive relationship with your clients.
How to Calculate Payment for Services
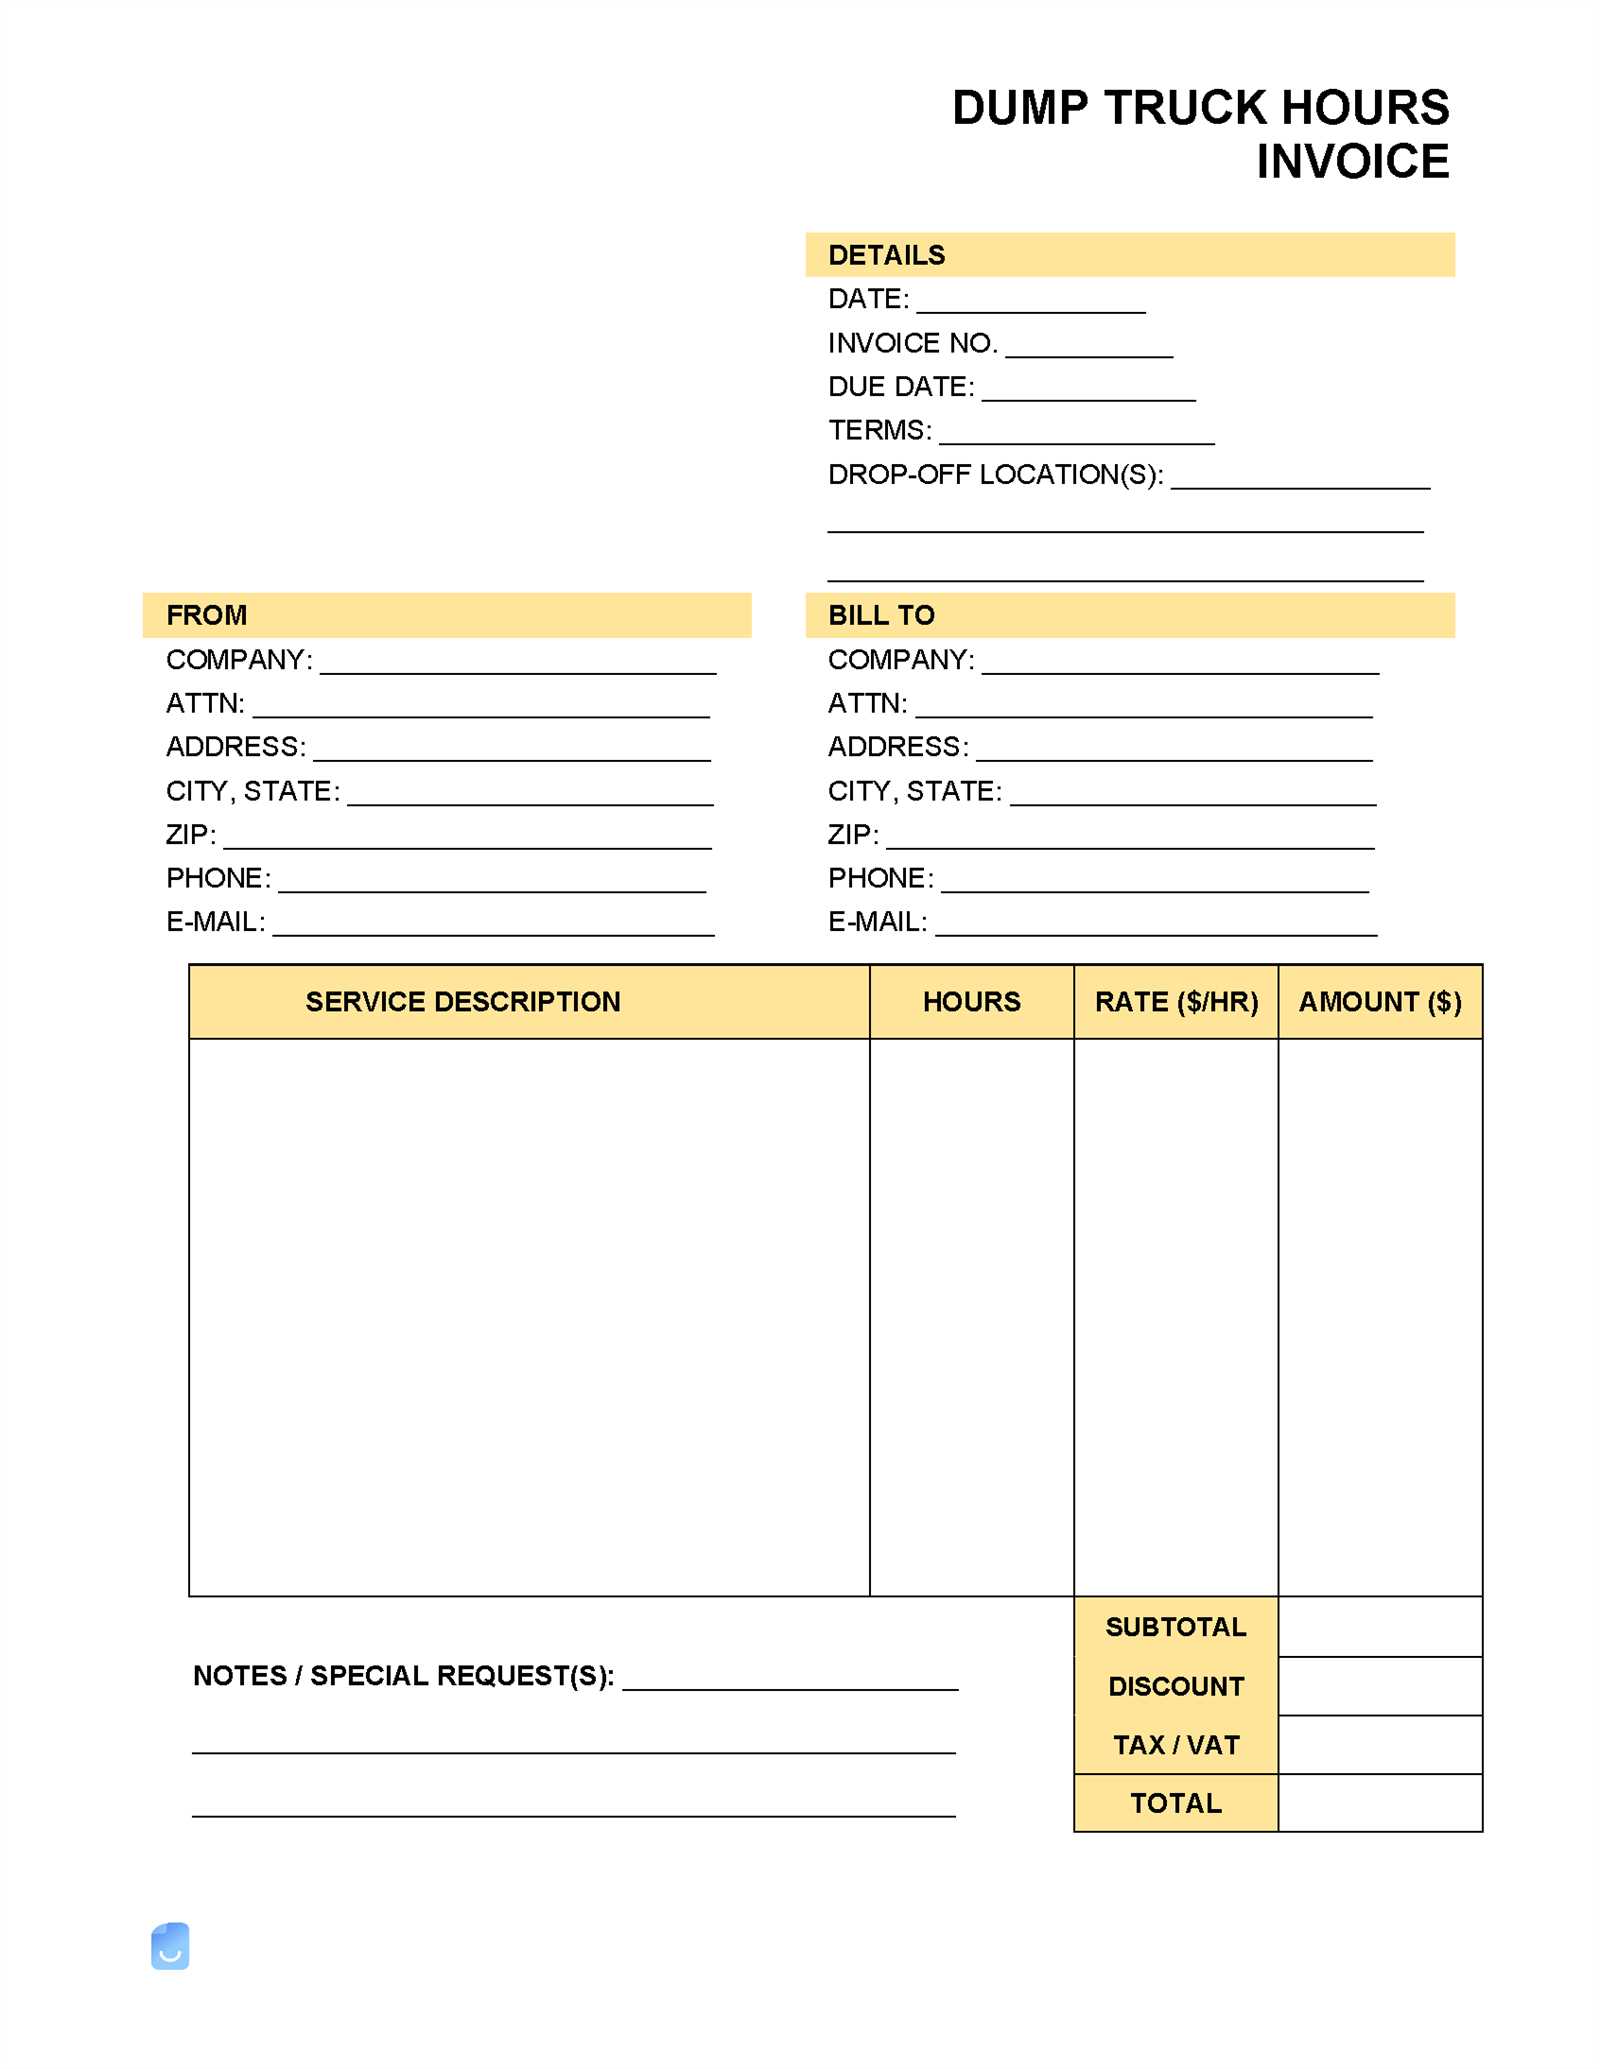
Determining the appropriate compensation for your work is essential for maintaining financial stability and ensuring that both you and your clients are satisfied with the terms of agreement. Properly calculating the amount to charge for your time requires considering multiple factors, including your business expenses, experience level, and industry standards. In this section, we’ll walk you through the steps to calculate a fair price for your services.
Here’s a simple breakdown of how to calculate the amount you should charge for your services:
| Step | Description |
|---|---|
| 1. Determine Your Desired Salary | Consider how much you want to earn annually. Factor in your personal expenses, lifestyle, and savings goals. |
| 2. Calculate Your Work Hours | Estimate how many billable hours you can work per year. Deduct time for vacations, holidays, and non-billable activities like administrative work. |
| 3. Factor in Business Expenses | Account for any overhead costs, including software, tools, office rent, and other business-related expenses. |
| 4. Add Profit Margin | To ensure you’re covering your expenses and generating profit, add a reasonable margin to your calculations. |
| 5. Calculate the Final Amount | Divide your desired salary plus business expenses and profit margin by the number of billable hours to find your final amount to charge per hour. |
Once you have your calculated figure, you can adjust it depending on the market demand, your expertise, and client expectations. Regularly reviewing your pricing strategy helps you stay competitive while ensuring your business remains profitable.
Common Mistakes in Billing for Time-Based Services
When preparing billing documents for services based on time, it’s easy to overlook certain details that can lead to misunderstandings or financial losses. Avoiding these common errors ensures that your clients are satisfied, and your business remains professional. In this section, we’ll explore some of the most frequent mistakes made during the billing process and provide tips for avoiding them.
Here are some common mistakes to watch out for when preparing documents based on time worked:
| Mistake | Explanation |
|---|---|
| Not Tracking Time Accurately | Failing to record the exact amount of time spent on tasks can result in undercharging or overcharging clients. Be sure to track each task diligently. |
| Omitting Detailed Descriptions | Providing vague descriptions of work done can create confusion. Always include specific details of the tasks completed to clarify the value of your services. |
| Incorrect Calculations | Errors in math, whether due to incorrect rates or missed hours, can lead to inaccurate charges. Double-check your calculations before submitting. |
| Not Setting Clear Payment Terms | Failure to specify payment terms, such as due dates or late fees, can result in delayed payments. Clearly outline these details in the document. |
| Using Inconsistent Rates | Using different rates for similar services or clients can create confusion. Establish and maintain consistency in your pricing structure. |
Avoiding these common mistakes ensures that your time-based billing is accurate, transparent, and professional, fostering positive relationships with clients and improving cash flow management.
Saving Time with Pre-made Documents
Creating billing records from scratch can be a time-consuming task, especially when you have multiple clients or projects to handle. By using pre-made forms, you can significantly reduce the time spent on administrative tasks. These ready-made documents allow you to focus on the core aspects of your business while ensuring that all essential information is included and correctly formatted.
Why Choose Pre-made Forms?
Using pre-designed forms offers several benefits that streamline your workflow:
- Consistency: With pre-made forms, every document you create follows the same format, ensuring uniformity across all communications.
- Ease of Use: Pre-made documents often come with fields you can simply fill in, reducing the time spent on setting up your forms from scratch.
- Professional Appearance: These documents are typically designed with an aesthetically pleasing and professional layout, giving a polished look to all your transactions.
- Quick Customization: You can easily adjust the details, such as services provided or client information, to suit each project or client, without needing to redo the entire document.
How Pre-made Forms Help You Save Time
By utilizing these ready-to-use solutions, you eliminate the need for repetitive design work. Instead, you can concentrate on adding specific details relevant to each client or job, making the process faster and more efficient. This ultimately helps you manage more projects simultaneously, saving time for other important business activities.
Using Word for Accurate Time Tracking
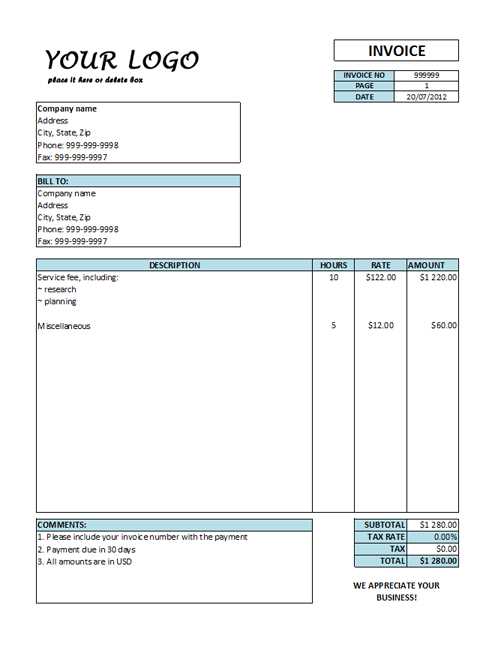
Properly tracking the time spent on various tasks is essential for ensuring that you are compensated fairly and that clients are charged accurately. By using a word processing tool, you can maintain clear and consistent records of the work performed. This method provides a simple way to document hours, track progress, and prevent errors in time calculation.
How to Effectively Track Time
Using a word processor for tracking your work hours involves creating a simple, organized structure that allows you to log each task, its duration, and any other relevant details. Below is an example of how you can structure your time entries:
| Date | Task Description | Start Time | End Time | Total Hours |
|---|---|---|---|---|
| 05/01/2024 | Client Website Update | 9:00 AM | 12:00 PM | 3 hours |
| 05/02/2024 | Design New Logo | 10:00 AM | 2:30 PM | 4.5 hours |
Benefits of Using a Word Processor
By keeping track of your time in a word processor, you enjoy several advantages:
- Easy Access: You can quickly open your document and add new entries without needing additional software or tools.
- Customizable Formats: You can adjust the layout and add specific fields that suit your work style.
- Clear Documentation: Every task and hour worked is documented in a simple, readable format, making it easier to review your progress or share records with clients.
With this approach, you can ensure accuracy in tracking your work and provide clear, organized data when it’s time to summarize your efforts for billing purposes.
Custom Fields to Include in Your Document
When creating a document for time-based services, it’s important to include fields that capture all the necessary details relevant to your specific needs. Custom fields help to personalize the document and ensure that both you and your client have a clear understanding of the services rendered, payment terms, and other important information. Below, we’ll explore essential fields to consider adding to your billing document.
Important Fields to Add
Including customized fields in your document can make it more comprehensive and ensure accuracy. Here are some fields that can be valuable additions:
| Field | Description |
|---|---|
| Service Description | Provide detailed descriptions of the tasks performed to avoid confusion and ensure transparency. |
| Client Contact Information | Include full contact details for the client, such as phone numbers, emails, and addresses, for easy communication. |
| Payment Terms | Specify payment due dates, accepted payment methods, and any late fee policies to set clear expectations. |
| Project Milestones | For long-term or ongoing work, including project milestones helps both parties track progress and agree on completion stages. |
| Tax Information | Ensure that tax rates and applicable fees are clearly shown to avoid misunderstandings during payment. |
Customizing for Your Needs
Adding these fields allows you to create a document that suits your business model and enhances the clarity of your communications with clients. Depending on your industry or service, you may need to add other custom fields to suit the specifics of your work.
Best Practices for Document Design
Creating a professional and visually appealing document not only helps with clarity but also ensures that all the necessary information is presented in a way that’s easy to understand. A well-structured document can leave a positive impression on clients, reduce confusion, and make the payment process smoother. Here, we explore key design practices to help you create effective and professional documents for your services.
Key Design Principles
Good design is about more than just looks; it’s about functionality and usability. Follow these best practices to ensure your document is clear and organized:
- Clear Layout: Use sections and headers to clearly separate different types of information. Avoid cluttering the page with too much text or too many details in one area.
- Readable Fonts: Choose a professional and easy-to-read font. Ensure the font size is large enough for clients to read without difficulty.
- Consistent Formatting: Stick to one or two font styles throughout the document to maintain consistency. Use bold or italics sparingly to highlight important information.
- Whitespace: Don’t overcrowd the page. Leave adequate space between different sections and rows to make the document visually balanced and easy to scan.
- Use of Colors: If using colors, select a simple color palette that aligns with your branding. Avoid bright or overly saturated colors that might distract from the content.
Designing for Clarity
While it’s important to have a visually appealing design, the main goal is always to ensure clarity. The client should immediately know where to find key details such as services provided, amounts due, and payment terms. Keep the following in mind:
- Highlight Key Information: Use bold text, underlining, or a larger font size to make key sections, such as the total amount due, stand out.
- How to Add Tax to Your Document
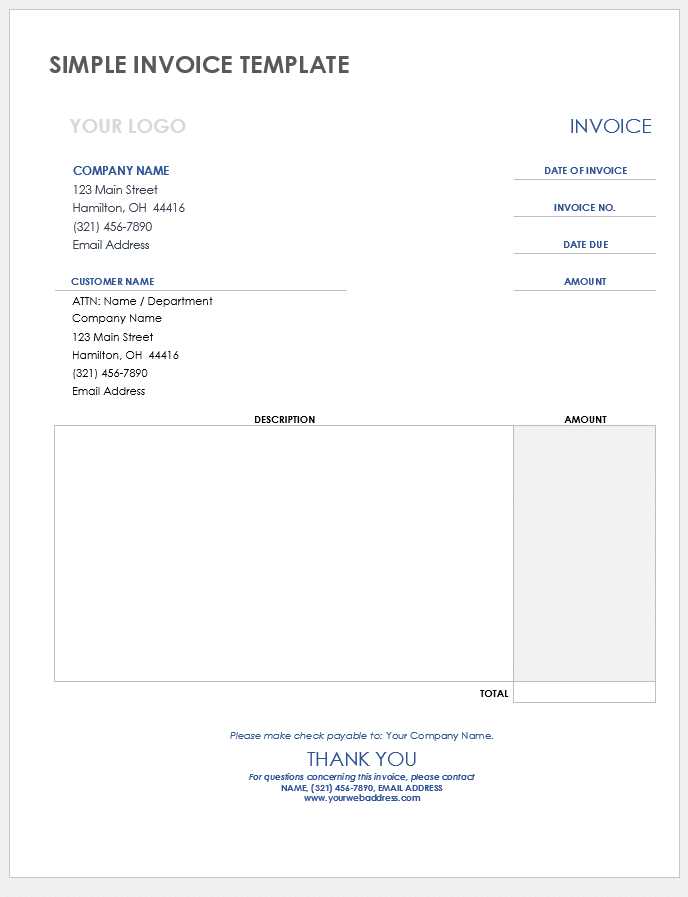
When preparing a document for services rendered, it’s crucial to account for any applicable taxes that need to be added to the final amount. Including tax in your bill helps ensure compliance with local tax laws and provides your client with a clear breakdown of what they owe. Below, we explain the steps to accurately calculate and add tax to your document.
Understanding Tax Calculation
Before you add tax to your document, it’s important to understand how tax rates work in your jurisdiction. Different regions may have varying tax percentages, and some services may be exempt from taxation altogether. Make sure you are aware of the specific tax rates that apply to your business type and the location of your clients.
Steps to Add Tax
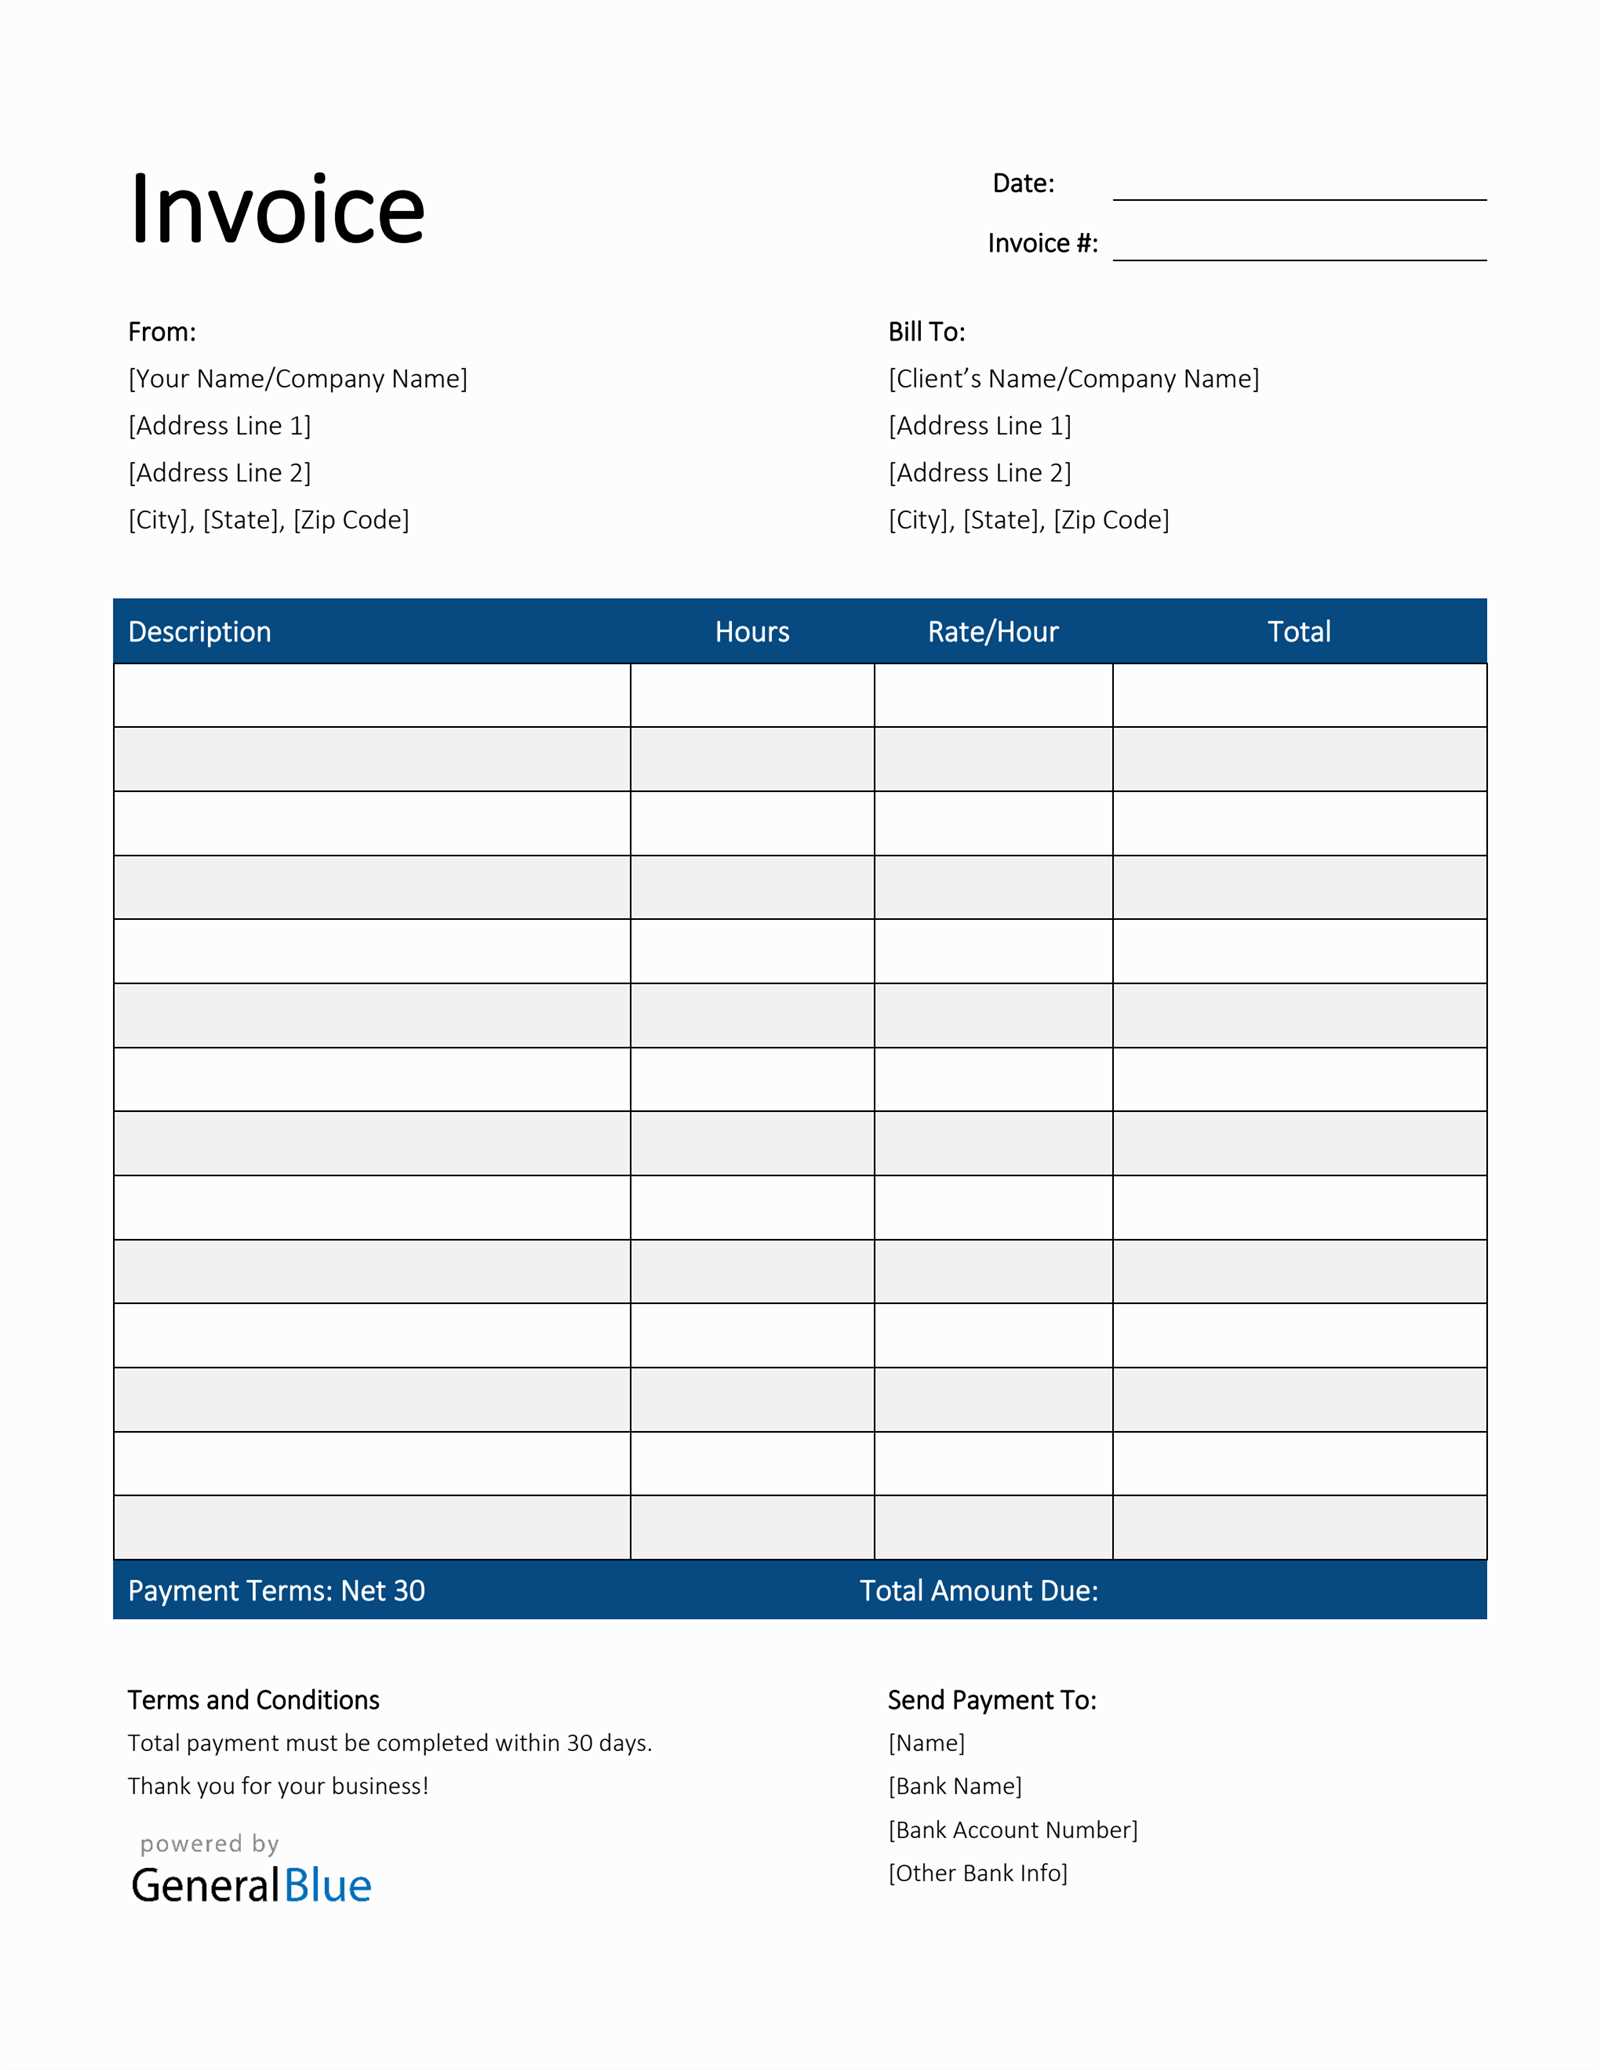
Here’s a simple guide to help you add tax to your final amount:
- Step 1: Determine the applicable tax rate for your services.
- Step 2: Multiply the total amount of your services by the tax rate.
- Step 3: Add the tax amount to the subtotal to get the final amount due.
Example Calculation
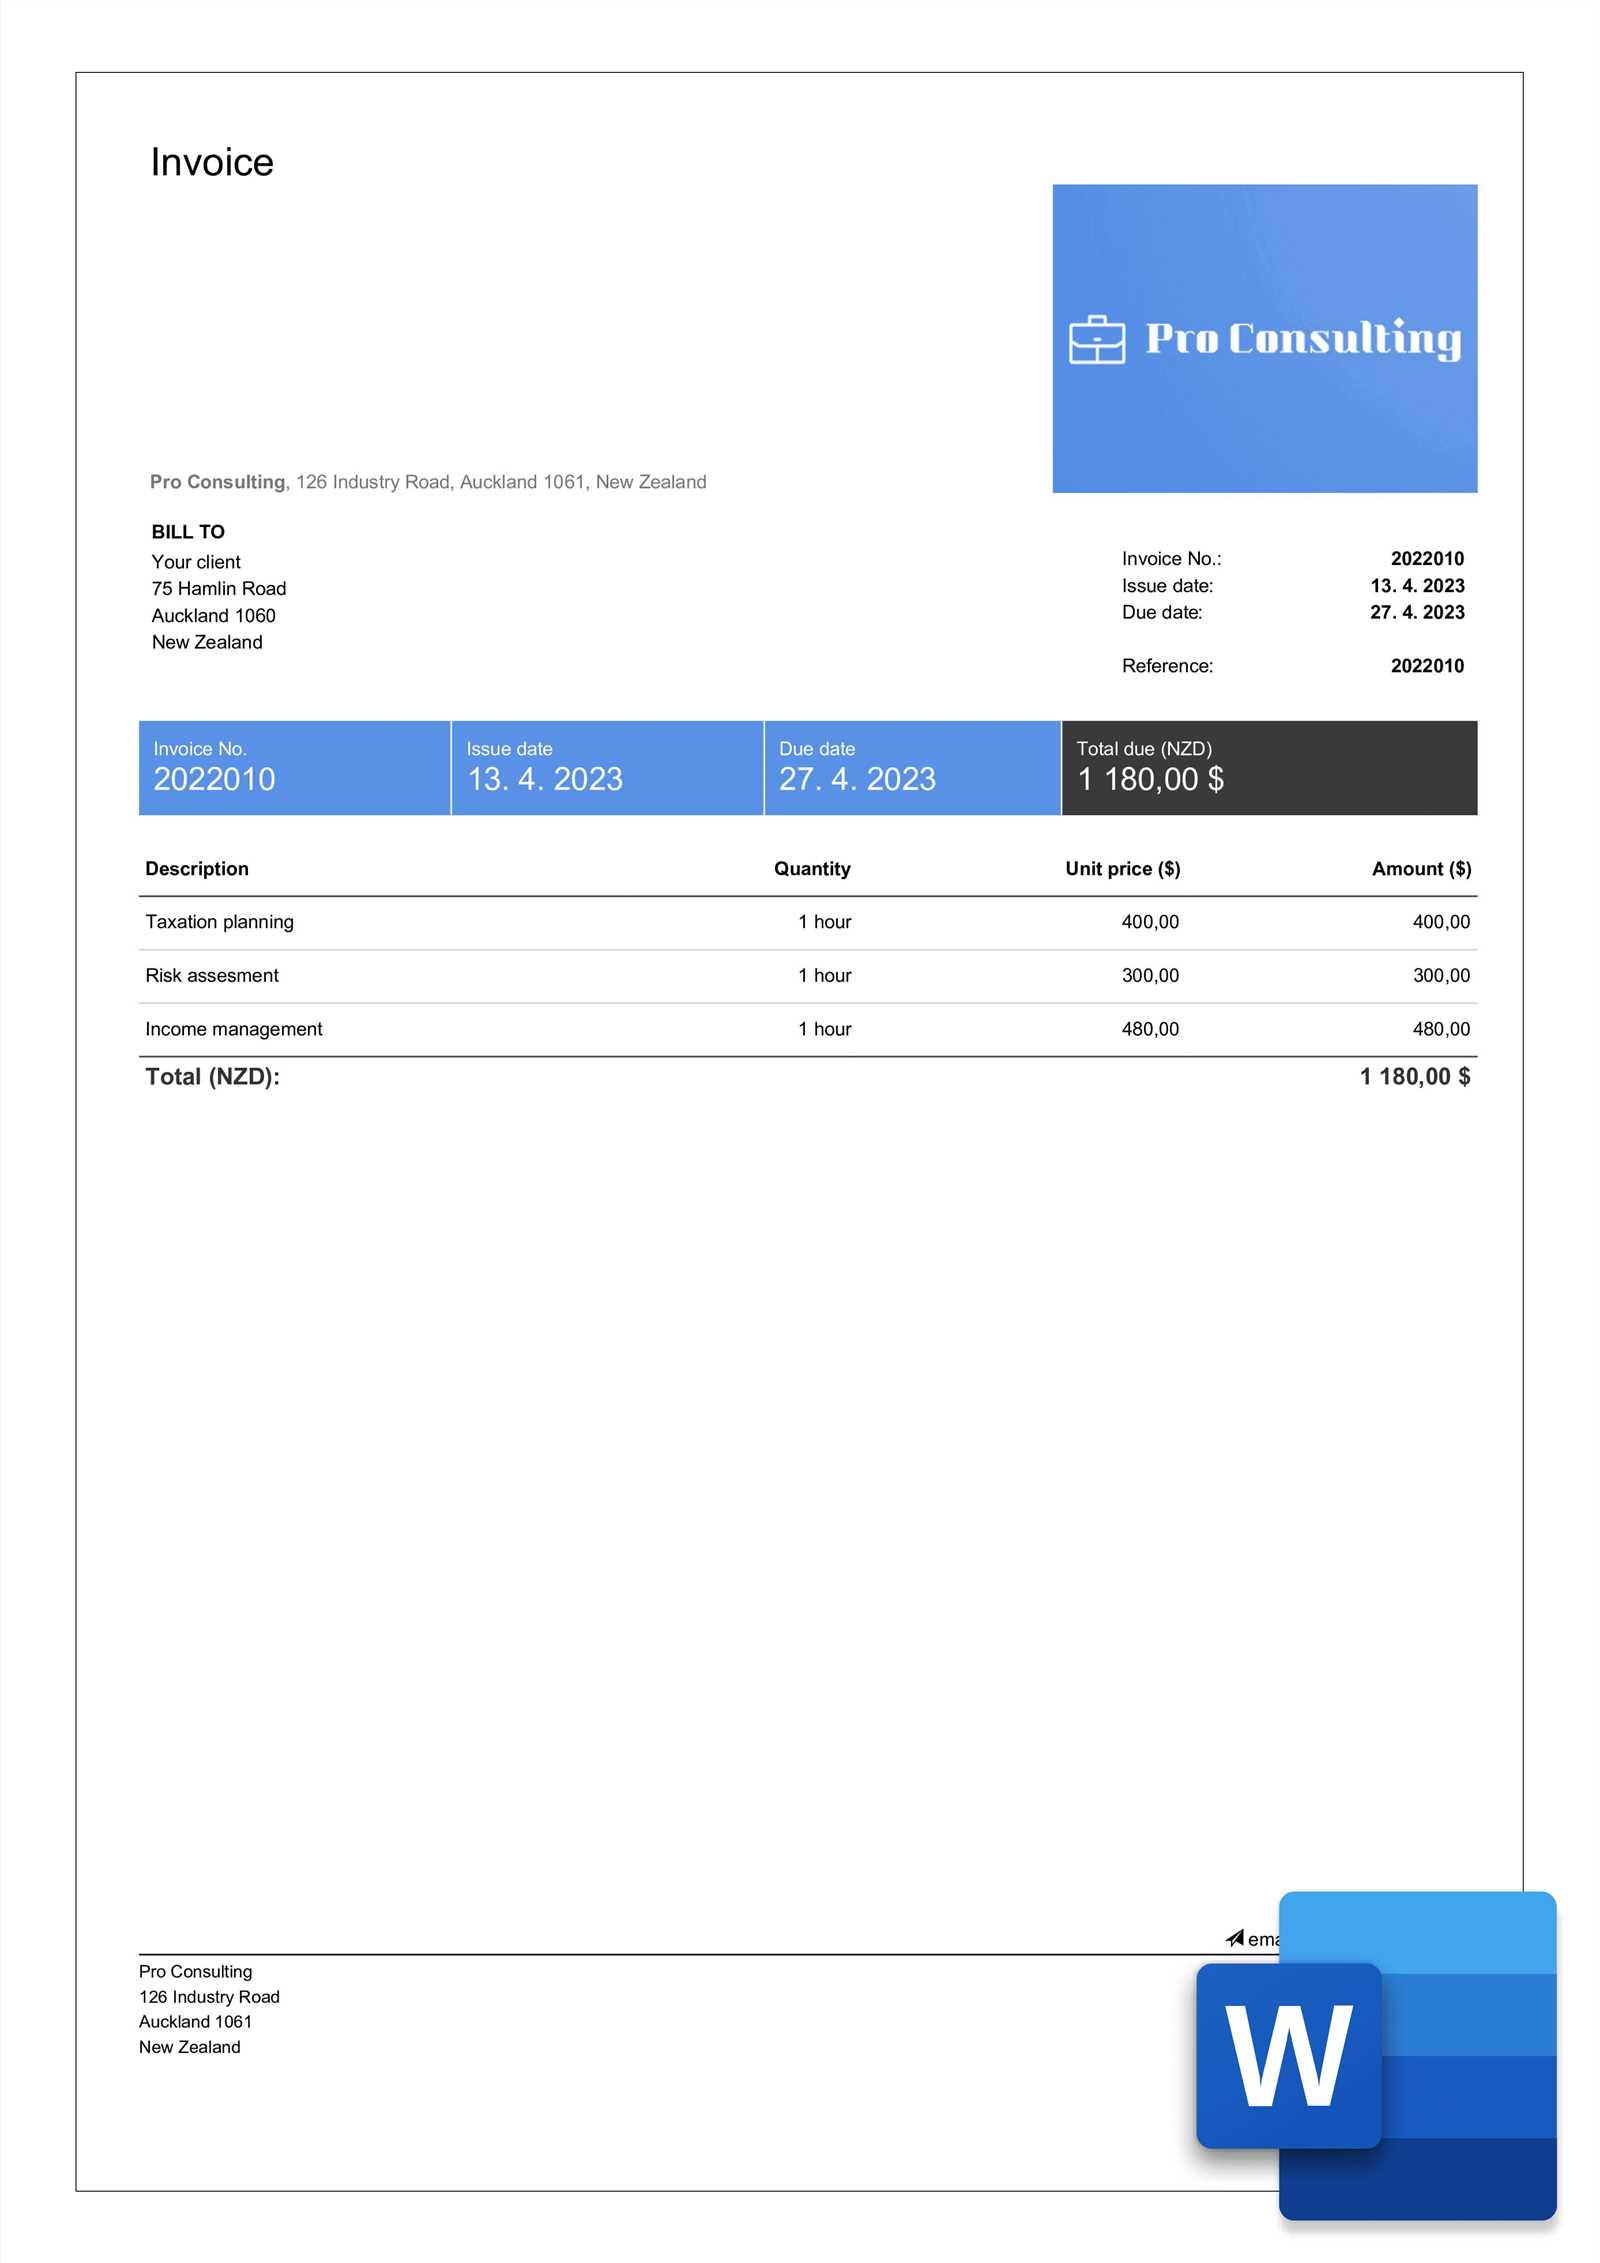
Here is an example of how you would calculate and display tax in your document:
Description Amount Service Total $500 Tax (8%) $40 Total Amount Due $540 In this example, the tax rate is 8%, and the total amount due after tax is $540. Make sure to clearly display both the tax amount and the final total for the client’s convenience.
Integrating Payments in Your Document
Including payment details in your billing document is essential for a smooth transaction process. Clearly outlining how clients can make payments ensures timely processing and minimizes confusion. By integrating payment methods directly into your document, you provide a convenient reference for both you and your client.
Key Payment Methods to Include
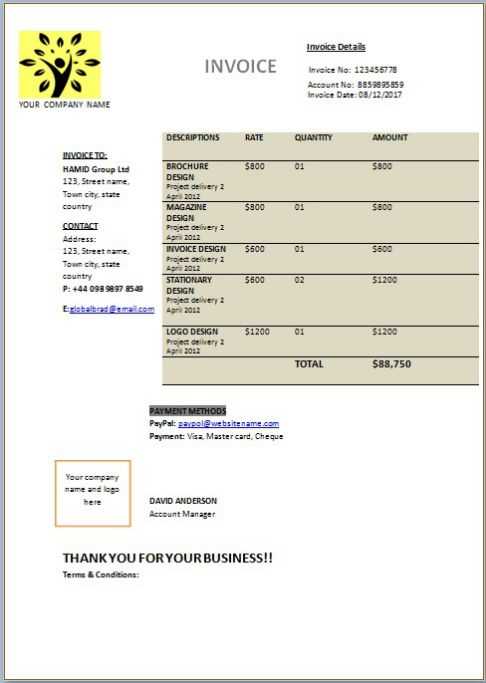
When preparing your document, you can offer a variety of payment options to suit your clients’ preferences. Here are some common methods to consider:
- Bank Transfer: Provide your bank account details for direct transfers.
- Credit or Debit Card: Include payment gateways or links to services like PayPal, Stripe, or Square.
- Check Payment: Specify where to send the physical check and to whom it should be addressed.
- Online Payment Links: Insert links to your business’s online payment portal for easy processing.
Clear Payment Instructions
To ensure clarity, provide the following details in your document:
- Payment Due Date: State when payment is expected to avoid misunderstandings.
- Amount Due: Reconfirm the total that needs to be paid, including any taxes or additional fees.
- Accepted Payment Methods: List all the methods clients can use to pay.
- Late Payment Terms: Specify any penalties or interest for overdue payments.
Example Payment Section
Here’s how you might format the payment information in your document:
- Due Date: October 15, 2024
- Total Due: $500.00
- Accepted Methods: Bank Transfer, Credit Card, PayPal
- Late Fee: 5% per month after the due date
Providing clear payment instructions not only help
Ensuring Document Accuracy and Clarity
Maintaining precision and transparency in your billing documents is crucial for fostering trust with clients and ensuring timely payments. Accuracy prevents any potential disputes, while clarity helps clients quickly understand the details of the charges. By paying attention to these elements, you can streamline the payment process and maintain a professional relationship.
Double-Check the Details
One of the key steps in ensuring accuracy is reviewing all information carefully before finalizing the document. This includes verifying:
- Client Information: Make sure that the name, address, and contact details are correct.
- Service Descriptions: Ensure that all services provided are clearly described and match the agreement or contract.
- Amount Due: Double-check that all calculations are accurate, including any discounts or additional fees.
- Payment Terms: Clearly state the payment due date, accepted methods, and any penalties for late payments.
Provide Clear Breakdown
Another way to improve clarity is by breaking down charges into categories. This helps the client understand exactly what they are paying for. For example:
- Service Fees: Itemize each service or task performed.
- Taxes: List applicable taxes separately, so clients can see how they were calculated.
- Discounts: Clearly state any discounts applied and the reason for them.
Use a Professional Layout
Organize the document in a simple, easy-to-read format. Keep headings bold and distinct, and use bullet points or tables to break up large amounts of text. A well-structured document makes it easier for your client to process and ensures no details are overlooked.
By prioritizing both accuracy and clarity, you minimize the chances of confusion and make the payment process smoother for everyone involved.