How to Create an HTML Print Invoice Template for Your Business
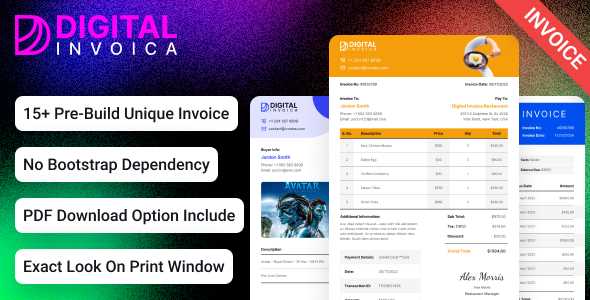
When managing a business, having a well-organized and easy-to-use document format is essential for maintaining professionalism and clarity in financial communications. With the right tools, crafting personalized statements that reflect your brand and meet your operational needs can be simple and efficient. In this section, we will explore how to design and customize such documents, ensuring they are both functional and visually appealing.
Customizable formats provide flexibility, allowing you to modify content, style, and layout according to your specific requirements. Whether you need to include tax details, payment terms, or unique identifiers, a tailored approach ensures that each communication aligns with your business goals.
Efficient design is key. A well-organized structure not only saves time but also improves clarity for clients, making transactions smoother. In the following sections, we will walk through the steps to create visually clean and user-friendly files that can easily be shared or printed, enhancing both productivity and customer experience.
Creating a Simple HTML Invoice Template
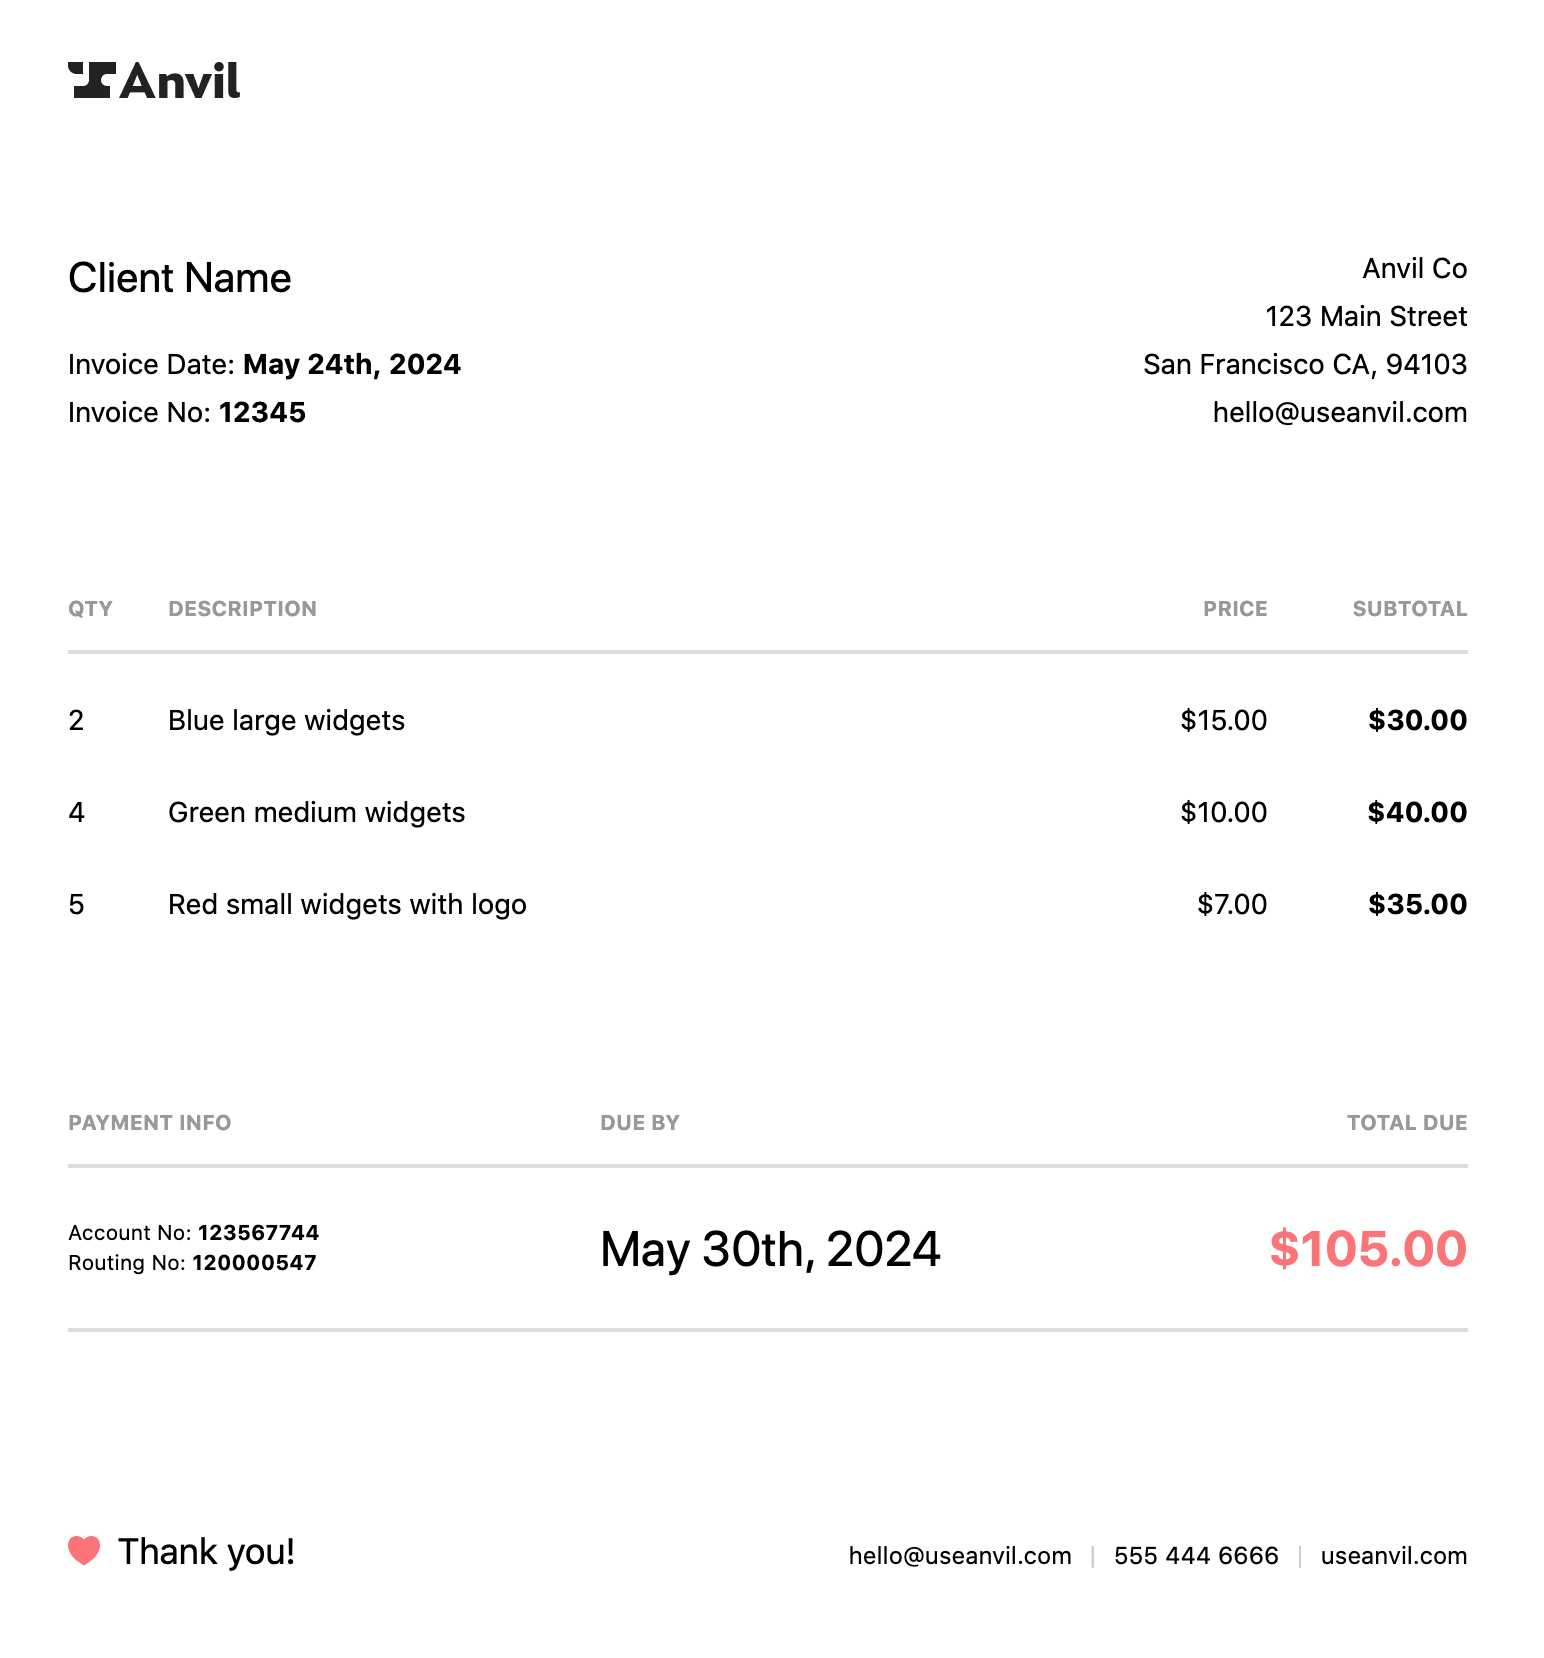
Designing a basic document layout for billing purposes doesn’t require complex tools or software. A clean and functional design can be achieved with just a few lines of code. The key is simplicity, ensuring that the document clearly communicates essential information while maintaining a professional look.
To begin, structure the document with key sections that include client details, itemized charges, and payment terms. This ensures that all necessary information is easy to locate. Here’s a general structure you can follow:
- Header: Include your business name, logo, and contact details.
- Client Information: List the recipient’s name, address, and contact details.
- Items/Services: Provide a clear list of the products or services provided, including pricing, quantity, and total cost.
- Payment Terms: Specify the payment due date and any other relevant conditions.
- Footer: Add a thank-you note or additional business contact information.
Once you’ve outlined the basic structure, start by defining the document’s format. You can use simple tags to create sections, and CSS (Cascading Style Sheets) can help style the layout to look professional. A basic design may only require minimal formatting, but you can enhance the appearance by adjusting fonts, adding borders, or applying padding and margins for clarity.
By focusing on the essentials, such as clear headers and concise itemization, you can create a functional document that effectively conveys billing information. With these simple steps, you’ll have a practical and professional layout that serves your business needs.
Why Use HTML for Invoices
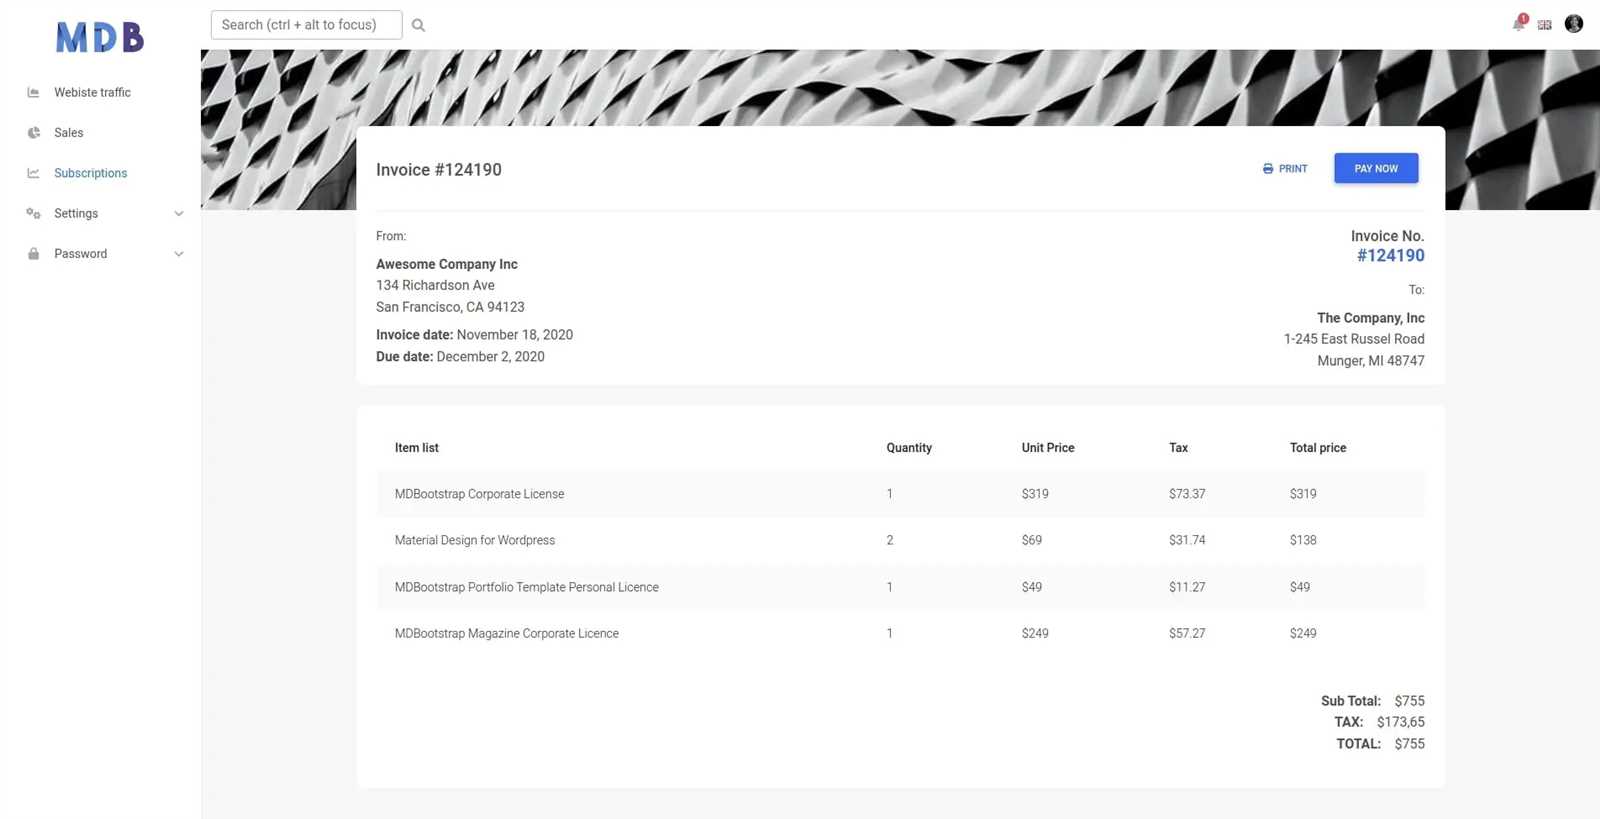
Choosing the right format for creating and sending financial documents can greatly impact the efficiency of your business operations. Using a flexible, easily customizable format offers numerous advantages, especially when it comes to both functionality and presentation. With a digital solution, you can create and modify documents in a way that meets your specific needs while maintaining a professional appearance.
Key Benefits of Using HTML for Billing Documents
There are several reasons why this approach is highly recommended:
- Customizability: HTML allows for complete control over the design and layout, letting you tailor every aspect of the document to suit your brand identity.
- Compatibility: This format works seamlessly across multiple devices and browsers, ensuring accessibility for both your team and clients without compatibility issues.
- Ease of Update: Making changes or adding new information is straightforward, as you can easily edit the code without relying on complex software.
- Cost-Effective: Unlike paid software solutions, HTML provides a free and open-source way to create professional documents without additional expenses.
- Professional Appearance: With the ability to incorporate custom styling, you can design documents that are polished and aligned with your company’s branding.
Efficiency and Automation
Another significant advantage is the ability to automate the creation of such documents. By integrating scripts or data from your accounting system, you can automatically populate details like client information, pricing, and dates, reducing the time spent on manual entries.
In conclusion, using HTML for creating your billing documents is an efficient, cost-effective, and highly customizable solution that provides both flexibility and a professional look for your business communications.
Advantages of Printable HTML Templates
Using customizable formats for creating business documents offers numerous advantages that can streamline workflows, improve efficiency, and maintain consistency. When you design a document that is both easy to adjust and professional in appearance, it adds value to your business by ensuring that communication with clients and partners remains clear and organized. These formats offer flexibility, ease of use, and can be tailored to meet various business requirements.
Key Benefits of Using Customizable Formats
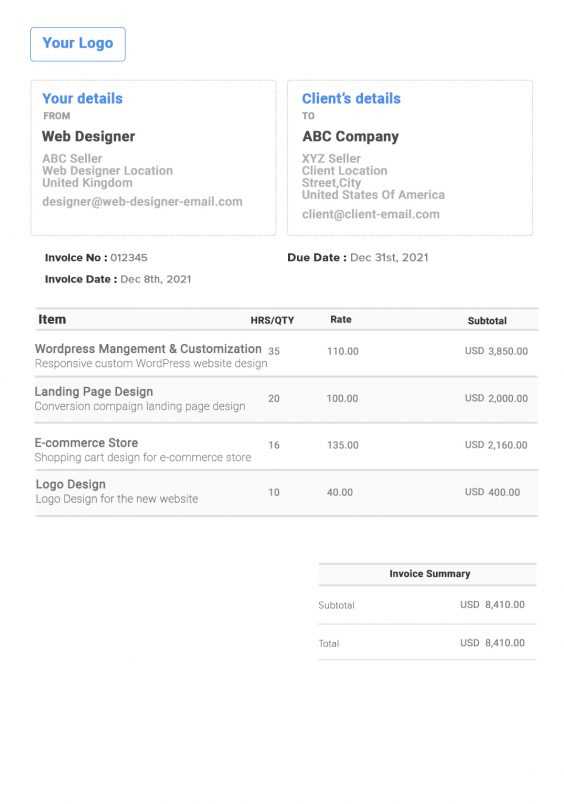
The ability to easily customize and adapt documents offers several compelling reasons to consider this approach:
- Flexibility in Design: Customize every aspect of the layout, including fonts, colors, and spacing, to align with your company’s brand.
- Consistency: Once a layout is created, it can be reused for all future communications, ensuring uniformity in your documents.
- Easy to Update: Making changes to your format is quick and simple, allowing you to adapt the content as needed without any complex software or tools.
- Cross-Platform Compatibility: Such formats are accessible across various devices and operating systems, ensuring that your documents are viewable by recipients no matter their setup.
- Cost-Effective: No need for expensive software. These solutions are free and accessible, allowing you to create and modify your documents without extra cost.
Printing and Sharing Flexibility
One of the main reasons for using such customizable formats is the ability to quickly create printable versions of your documents. The output can be saved and shared easily in digital formats, allowing for both hard copy and electronic sharing.
Here’s a comparison table that highlights some of the key features and benefits of using printable, customizable formats:
| Feature | Benefit | ||||||||||||||||||||||||||||||||||||
|---|---|---|---|---|---|---|---|---|---|---|---|---|---|---|---|---|---|---|---|---|---|---|---|---|---|---|---|---|---|---|---|---|---|---|---|---|---|
| Customization | Adjust design, layout, and content as needed | ||||||||||||||||||||||||||||||||||||
| Ease of Use | Simple to modify and update with minimal technical knowledge | ||||||||||||||||||||||||||||||||||||
| Cross-Platform | Compatible across different devices and browsers | ||||||||||||||||||||||||||||||||||||
| Professional Output | Produces clean, polished documents suitable for business | ||||||||||||||||||||||||||||||||||||
| Item Description | Quantity | Unit Price | Total |
|---|---|---|---|
| Web Development Service | 1 | $500 | $500 |
| Logo Design | 1 | $200 | $200 |
By using clear headers, organized rows, and clean margins, your document will look both professional and easy to navigate. Don’t forget to ensure that there is adequate spacing between sections for improved readability.
In conclusion, a well-designed layout enhances not only the functionality of your documents but also helps establish credibility and trust with your clients, ensuring that your communications remain clear and professional.
Customizing HTML Invoice Templates
Personalizing your business documents is a powerful way to reinforce your brand identity and create a professional appearance. Tailoring the layout and content to fit your specific needs ensures that each document aligns with your company’s values while providing all the necessary details in a clear and attractive way. Customization allows you to adjust design elements, colors, and fonts to match your corporate style, while also making sure that critical information is always easy to access and understand.
Adjusting the Layout and Design
The first step in customization is adjusting the layout to fit your requirements. This includes organizing the sections logically and clearly. For example, you may want to highlight important details such as due dates, payment instructions, and itemized costs. Use a flexible grid or table layout to ensure that the content is well-aligned and visually balanced. Some adjustments you may consider include:
- Font Styles: Choose legible fonts that match your brand’s tone–whether formal, casual, or modern.
- Color Scheme: Customize background and text colors to reflect your brand’s color palette, ensuring consistency across all business materials.
- Spacing and Margins: Adjust line heights, padding, and margins to create a document that is visually appealing and easy to read.
- Headers and Footers: Include custom headers with your company logo, name, and contact information, and design a footer for additional notes or legal disclaimers.
Adding Specific Business Details
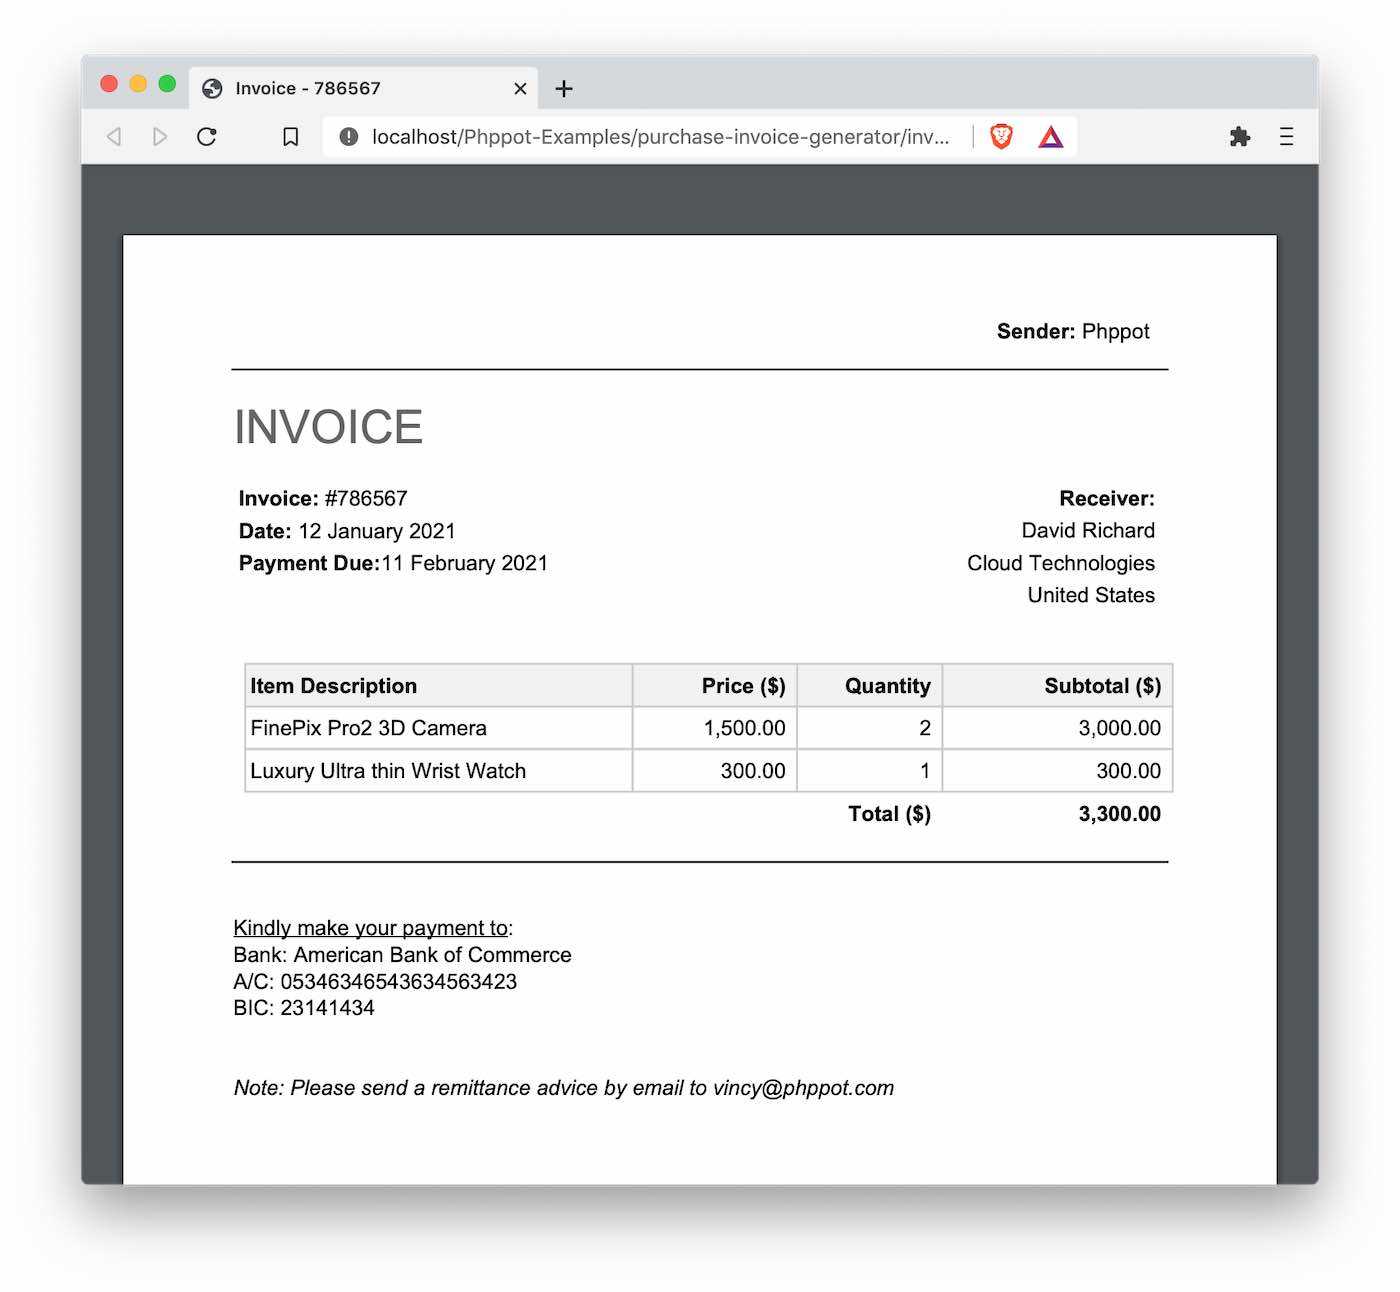
Next, incorporate all the essential details that are unique to your business operations. This might include:
- Payment Methods: Specify the accepted methods of payment, including bank transfers, credit cards, or online payment gateways.
- Discounts and Tax Information: Automatically apply discount rates or tax percentages, if relevant, to the itemized list.
- Terms and Conditions: Add a section outlining your terms of service, payment terms, or return policy to avoid any misunderstandings.
By making these adjustments, you ensure that each document reflects your brand while providing all necessary details for a smooth transaction. A customized layout helps your business stand out and creates a lasting, professional impression with clients.
Integrating CSS for Better Styling
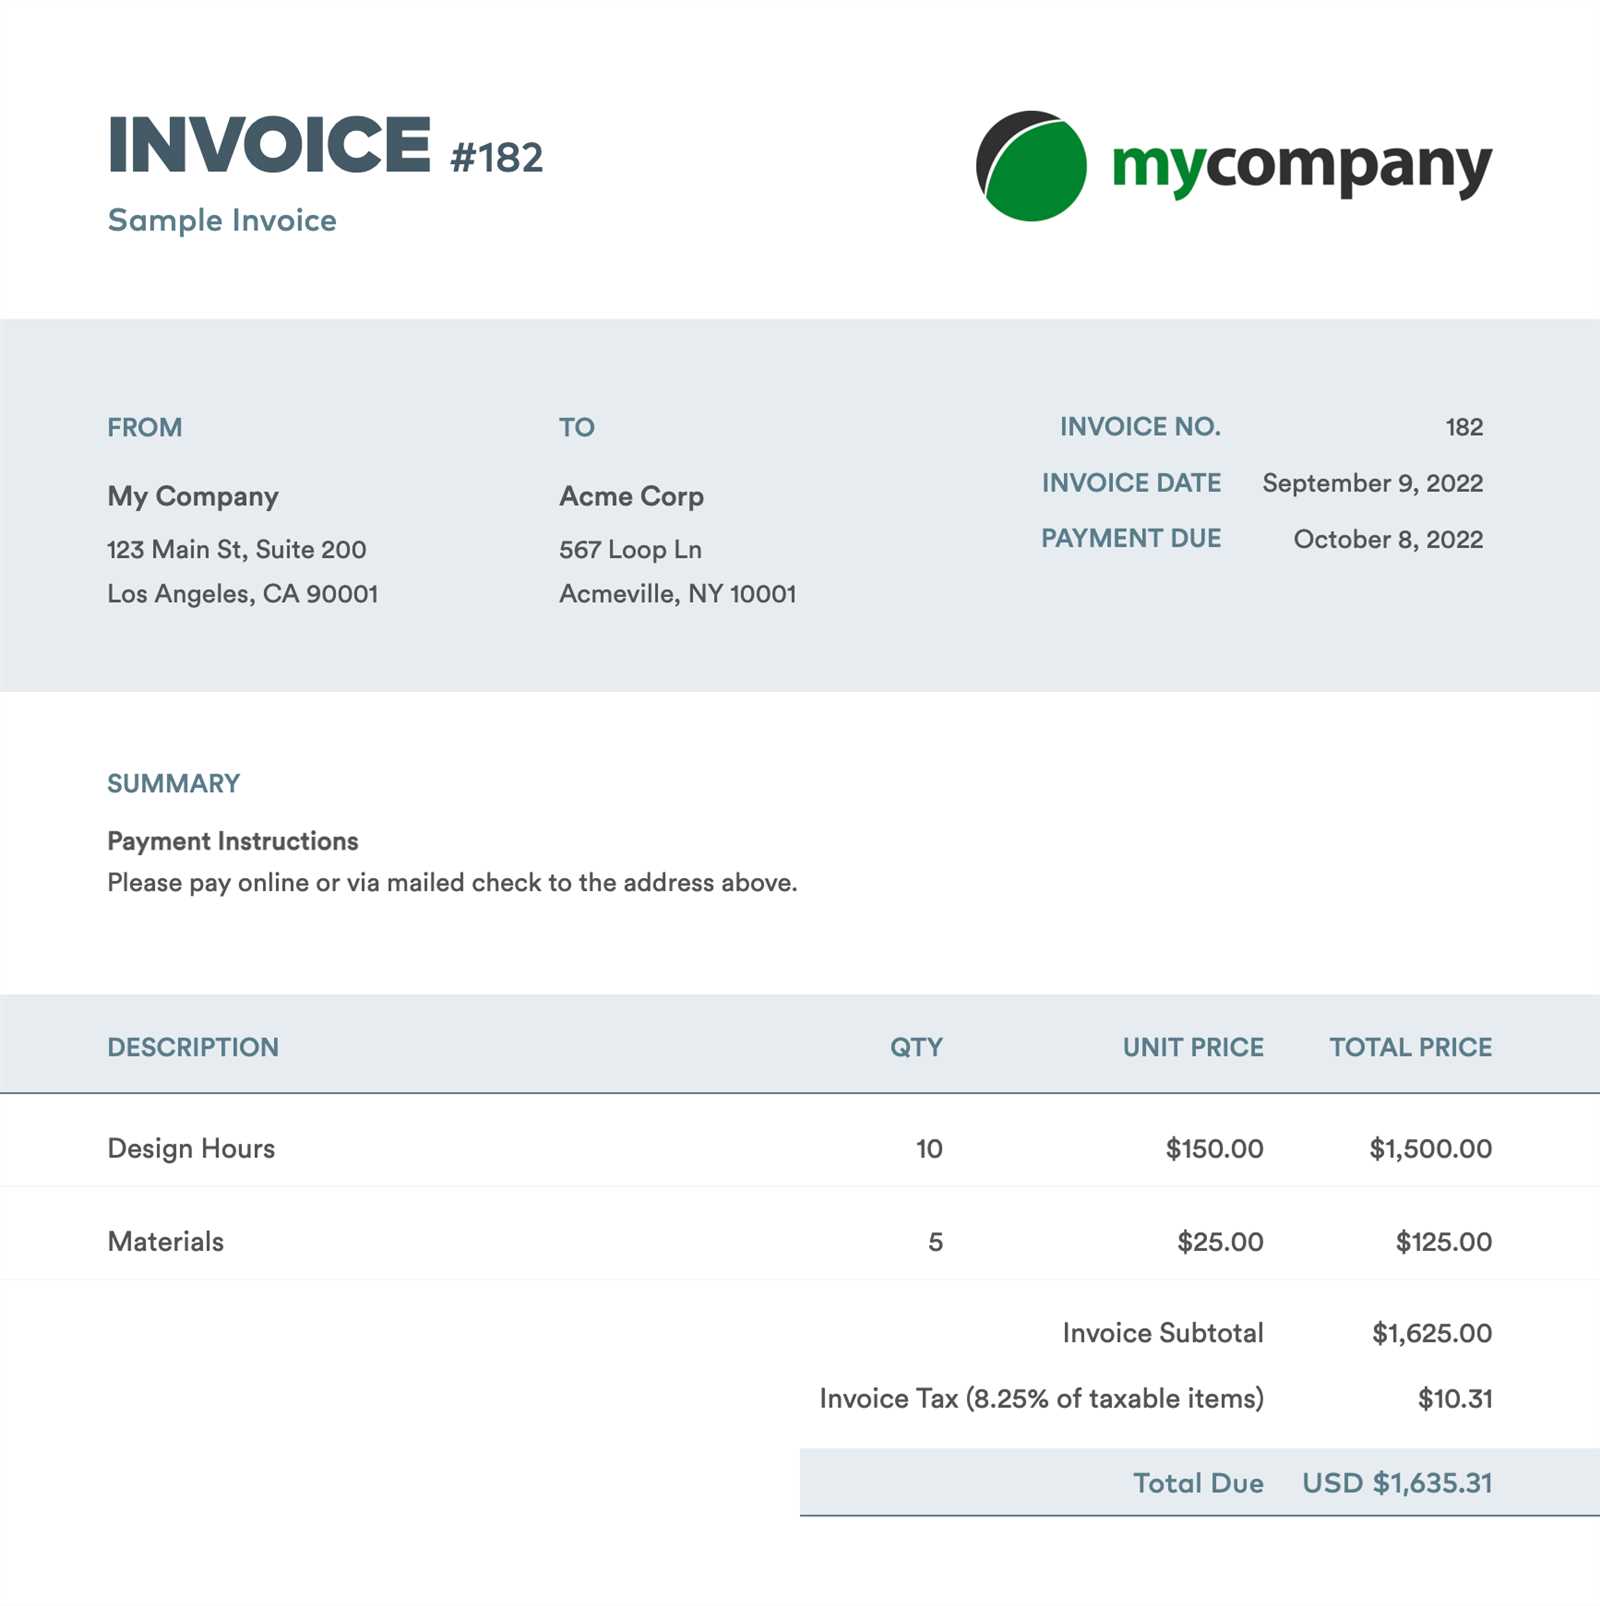
To enhance the visual appeal and readability of your business documents, styling plays a crucial role. By incorporating Cascading Style Sheets (CSS), you can control the layout, fonts, colors, and spacing, making your documents look more polished and professional. With the right styles, your document can become more than just a tool for communication; it becomes a reflection of your brand’s attention to detail and quality.
CSS allows you to manipulate various aspects of the document’s appearance, from overall structure to minute details like text alignment and background color. Through strategic use of CSS, you can create a clean, organized design that ensures key information is highlighted and easy to navigate.
Here are some key benefits of using CSS for your documents:
- Consistent Design: Apply uniform styles across all pages, ensuring that fonts, colors, and spacing are consistent throughout.
- Improved Readability: Control text size, line height, and spacing for easier reading, especially in itemized lists or detailed descriptions.
- Customization: Use styles to match your company’s branding, from color schemes to fonts, enhancing the overall aesthetic and making your documents instantly recognizable.
- Responsiveness: CSS allows you to create layouts that adapt to different screen sizes, making your documents mobile-friendly.
For example, you can use CSS to:
- Adjust the font type and size for different sections of the document.
- Set background colors or images for specific areas like the header or footer.
- Define borders and padding to clearly separate sections and make the content visually appealing.
- Format tables for clearer presentation of itemized lists or totals.
By integrating CSS, your documents will not only convey information clearly but also make a lasting impression on your clients, reinforcing your business’s professionalism and brand identity.
How to Add Company Logo to HTML Invoices
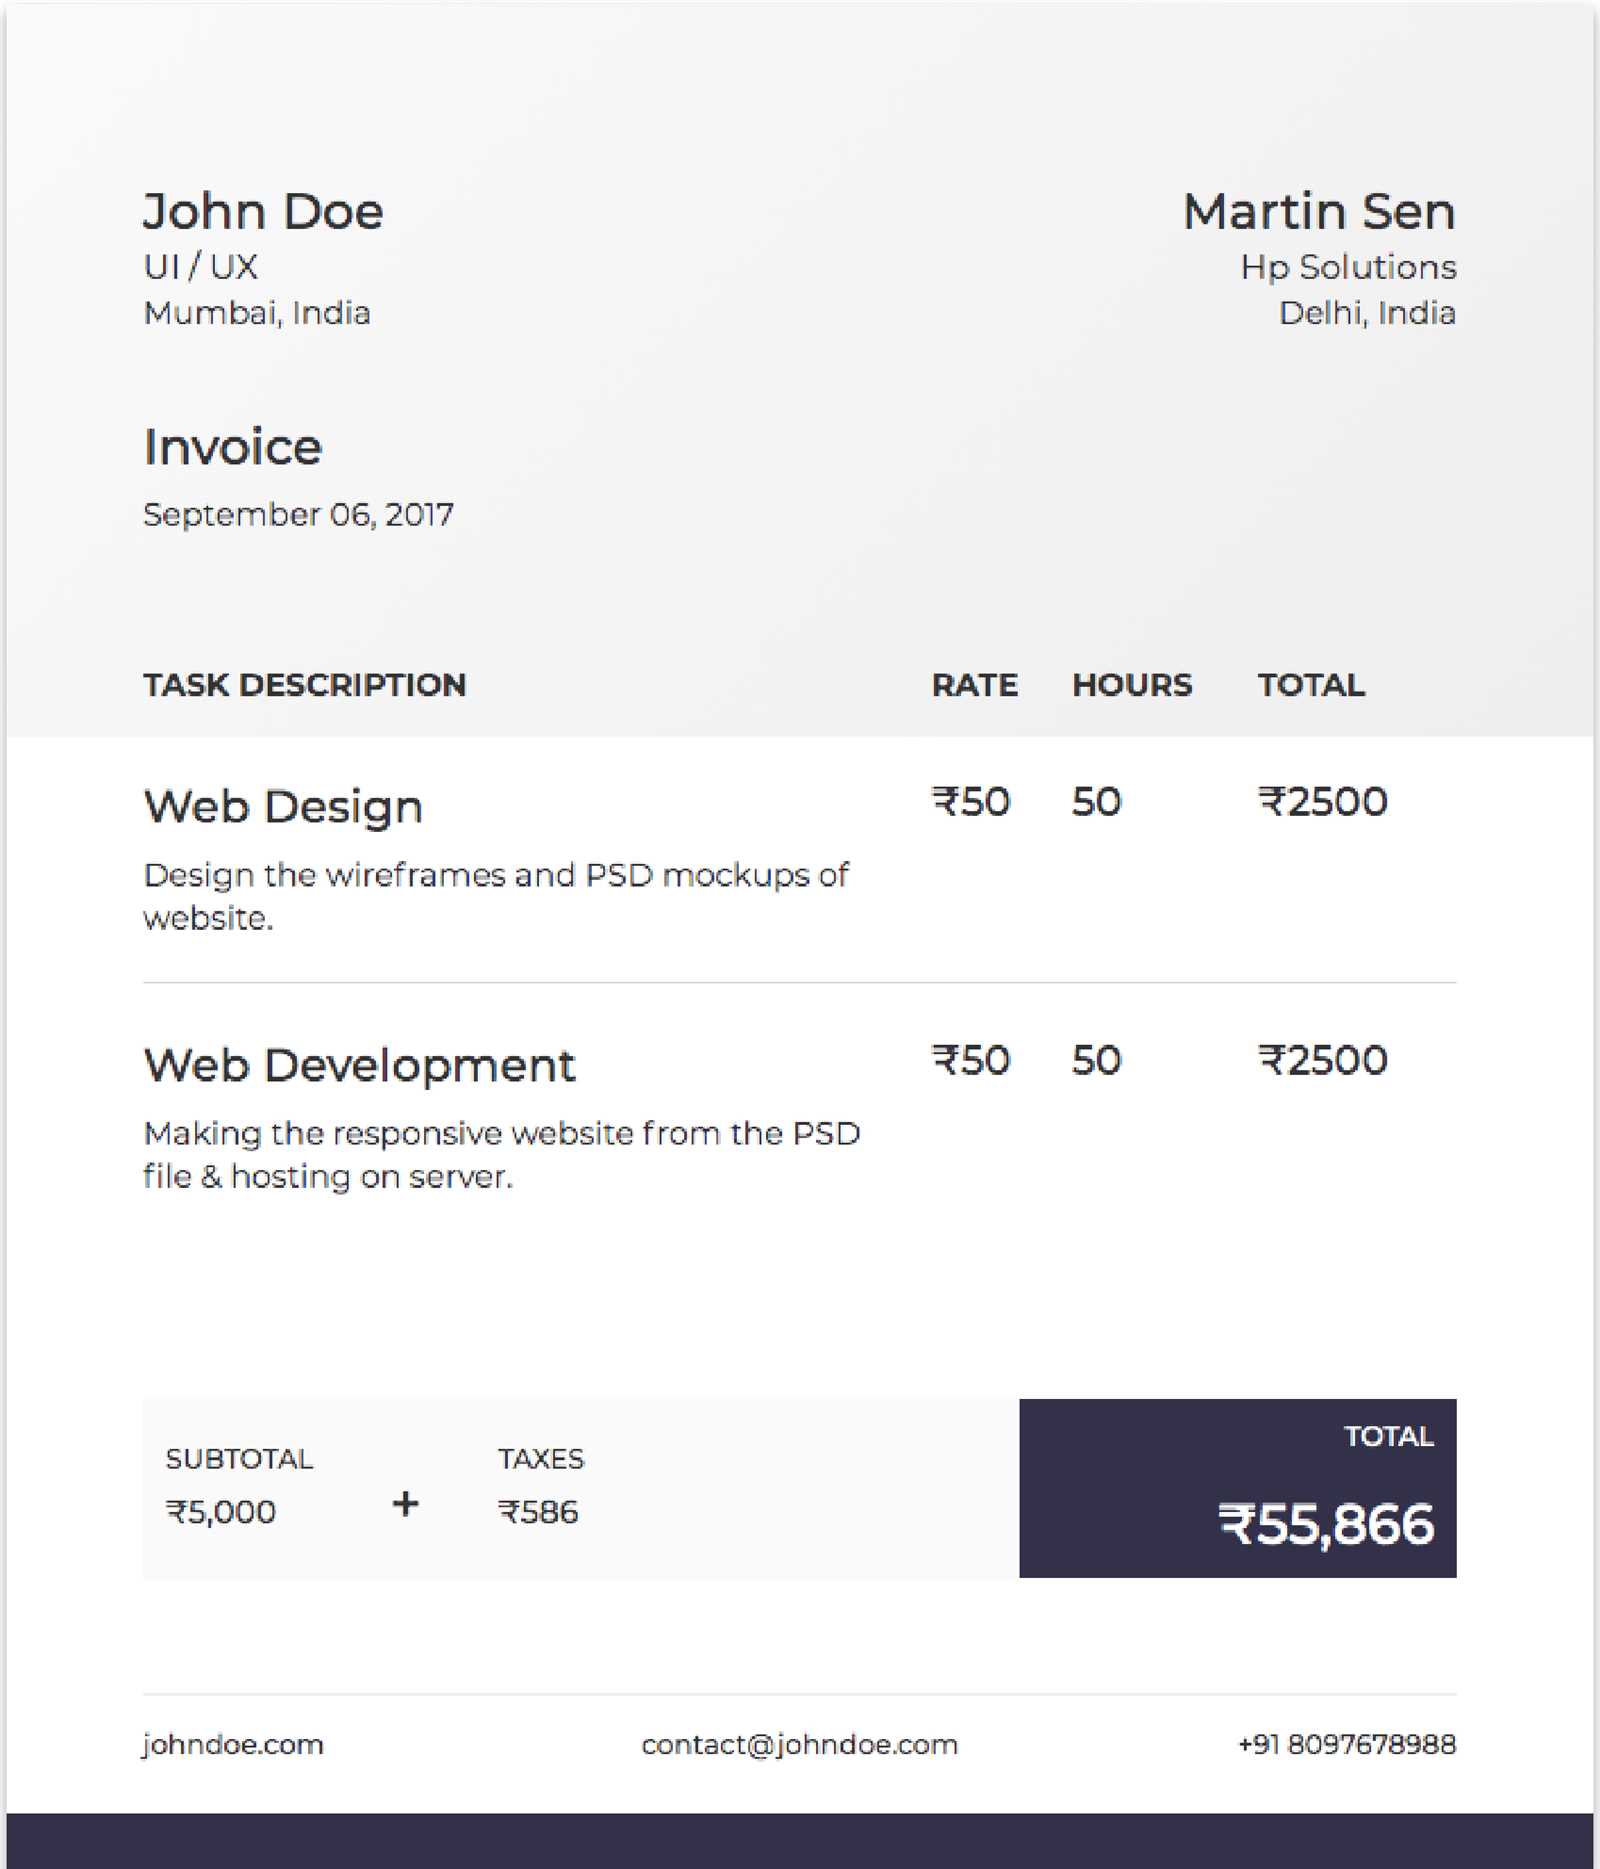
Incorporating your company’s logo into business documents not only helps reinforce brand identity but also gives a professional and polished look to the overall design. Adding a logo to your documents is a simple process that can be achieved using basic code, making your communications instantly recognizable and aligned with your brand’s image.
To add your company’s logo, you can use an image tag to embed the logo file in the document. Typically, logos are placed in the header or at the top of the page to immediately capture attention. The process is straightforward and can be customized according to the document’s layout and design needs.
Here’s a basic example of how to add an image file, such as a logo, to your document:
<img src="path_to_logo.jpg" alt="Company Logo" width="200" height="100">
In this example, the `` tag is used to reference the logo file, and the `width` and `height` attributes help adjust the size of the logo for the document’s layout. The `alt` attribute provides alternative text for accessibility purposes, in case the image doesn’t load or for screen readers.
By placing the logo in the header, you ensure it’s one of the first things the recipient notices. You can also adjust the alignment to the left, right, or center, depending on your design preference:
<img src="path_to_logo.jpg" alt="Company Logo" style="display: block; margin: 0 auto;">
In addition, you can use CSS to further customize the logo’s placement, ensuring it fits well with the rest of the document’s structure. Consider using padding or margins to create appropriate space around the logo, making it stand out without overpowering the content.
Adding your company logo is a small but impactful step in creating professional documents that align with your brand and help build trust with your clients.
Essential Fields in an Invoice Template
When creating a billing document, it’s crucial to include all the necessary information in a structured and easy-to-understand format. This ensures clarity and prevents any misunderstandings between you and the recipient. A well-organized layout not only facilitates accurate communication but also reflects professionalism. Below are the key fields you should include in your document to ensure it covers all required details.
Important Sections to Include
Here are the essential fields to consider for any business document designed for payments:
- Company Information: Your business name, address, phone number, email, and website should be clearly displayed. This lets the recipient easily identify the source of the document.
- Client Information: The name, address, and contact details of the recipient are important for ensuring the document reaches the correct party.
- Document Number: Assign a unique reference number to each document for easy tracking and record-keeping.
- Date of Issue: Indicate the date the document was created or sent. This helps establish a timeline for payment deadlines.
- Due Date: Clearly state when the payment is due. This avoids any confusion about payment terms and encourages timely settlements.
- Itemized List: Include a detailed list of the products or services provided, with columns for item description, quantity, unit price, and total cost for each line item.
- Subtotal: The sum of all individual costs before taxes, discounts, or additional charges are applied.
- Taxes and Discounts: Include applicable tax rates or any discounts that have been applied to the total amount.
- Total Amount Due: Clearly display the final amount, including taxes and any adjustments, that the recipient needs to pay.
- Payment Instructions: Include information on how and where the payment can be made, such as bank account details, online payment methods, or other relevant instructions.
- Terms and Conditions: If applicable, include a section outlining your payment terms, return policies, or any other conditions that apply to the transaction.
Optional Fields to Enhance Your Document
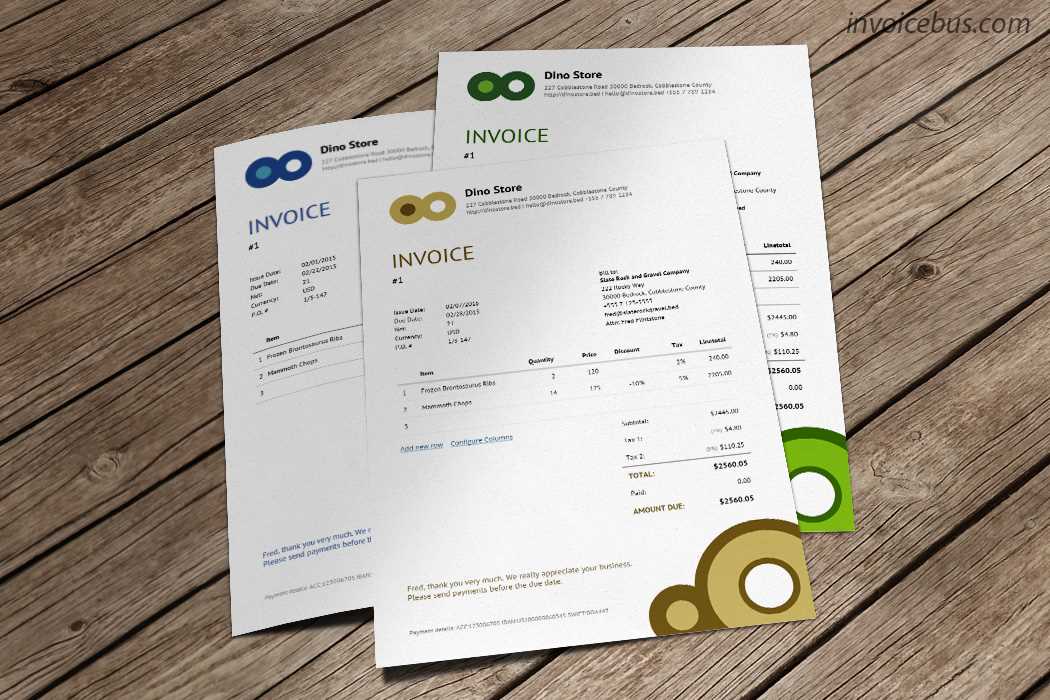
While the above fields are critical, you may also want to include the following to improve clarity and provide additional information:
- Purchase Order Number: If relevant, including a PO number helps link
Formatting Date and Time in HTML Templates
When creating business documents, displaying dates and times accurately is crucial for clarity and professionalism. Whether it’s for the issue date, due date, or specific timestamps, formatting these details in a clear and consistent manner ensures that both you and your clients are on the same page regarding deadlines and transaction timelines.
Common Date and Time Formats
There are several standard ways to format dates and times depending on your region and preference. Below are some commonly used formats:
- MM/DD/YYYY: Commonly used in the United States. For example, “03/15/2024”.
- DD/MM/YYYY: Preferred in many countries outside the U.S. For example, “15/03/2024”.
- YYYY-MM-DD: An international standard, often used in business and technical settings. For example, “2024-03-15”.
- Full Date with Day of the Week: Includes the day of the week for more detailed information. For example, “Friday, March 15, 2024”.
- 12-hour format: Includes AM/PM designation. For example, “03:30 PM”.
- 24-hour format: Used in many business contexts, especially internationally. For example, “15:30”.
Implementing Date and Time Formatting
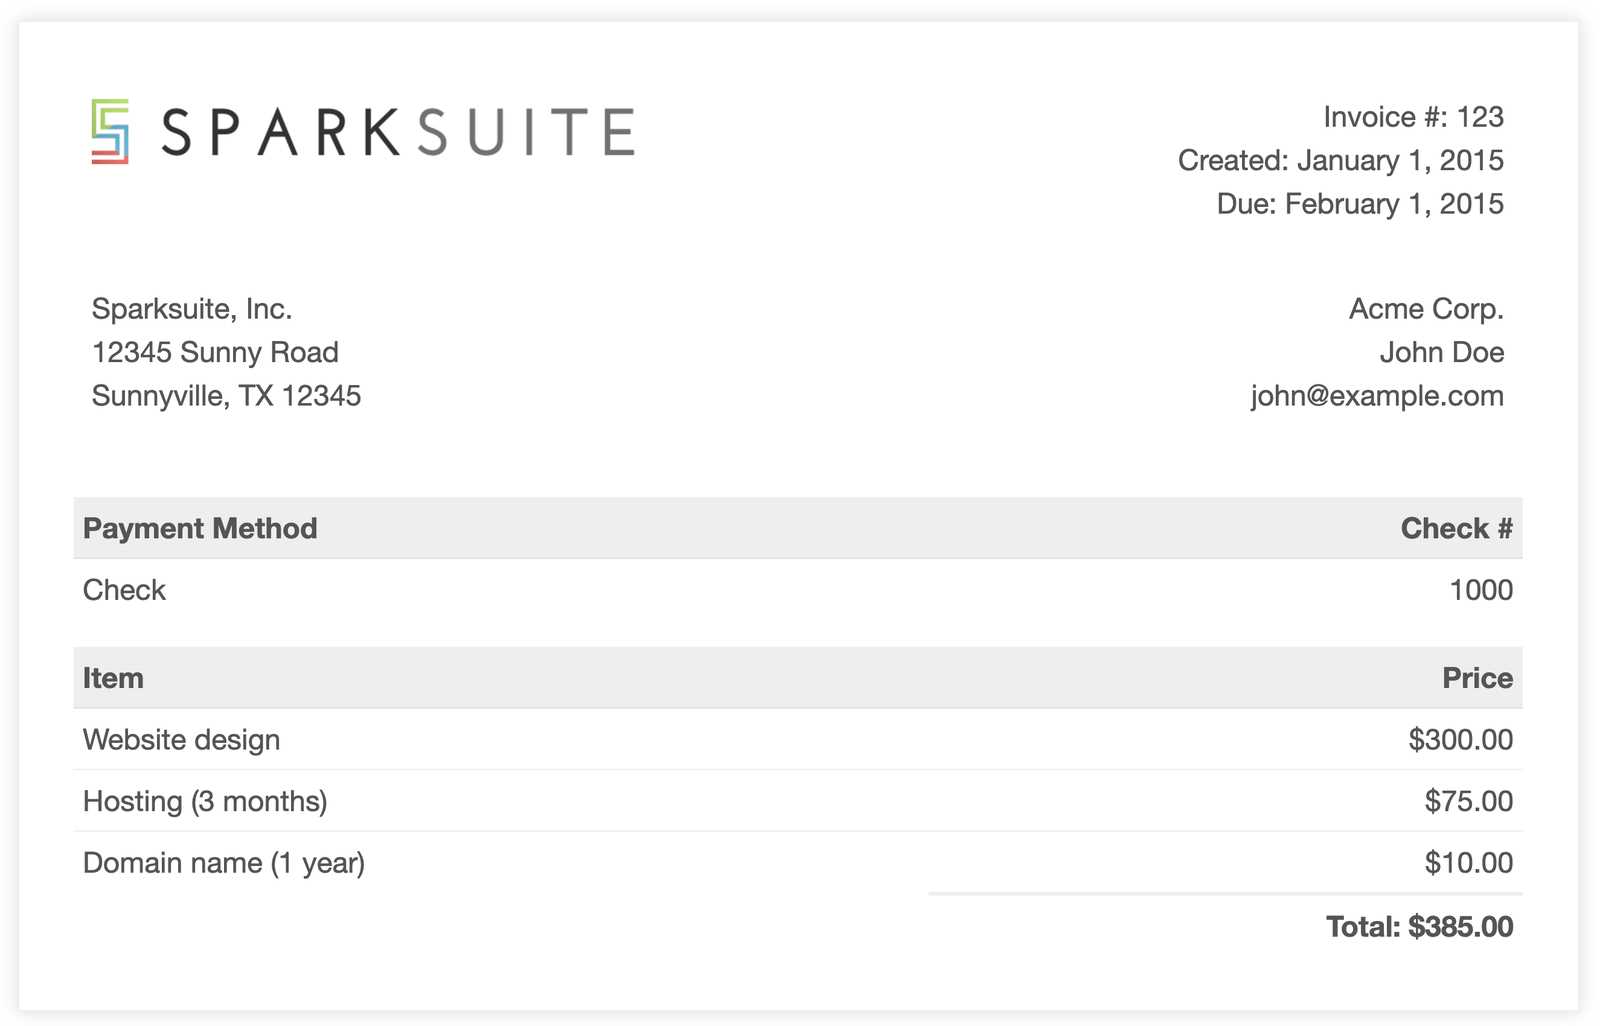
In a document layout, displaying the date and time consistently is essential. You can manually input formatted date and time information, or use scripts to dynamically generate them based on the current time. Below are a few approaches:
- Static Dates: For fixed dates like the issue or due date, manually enter the date in the desired format.
- Dynamic Dates: You can use JavaScript to automatically display the current date when the document is generated. For example:
<script>
const date = new Date();
const formattedDate = date.toLocaleDateString("en-US");
document.getElementById("date").innerText = formattedDate;
</script>
This script dynamically generates the current date in the “MM/DD/YYYY” format and inserts it into the do
Adding Tax and Discounts in HTML Invoices
When preparing billing documents, it is essential to include accurate tax and discount information to ensure clarity and transparency in transactions. Properly calculating and displaying these amounts not only reflects professionalism but also helps avoid confusion during payment. Including taxes and discounts in your documents ensures that both the business and the client are on the same page regarding the final amount due.
Taxes are typically calculated as a percentage of the total amount before tax, and discounts are often applied either as a percentage or a fixed amount. These calculations can be manually entered or automatically generated based on pre-set formulas, depending on the complexity of the document. Here are some methods to include these elements in your billing documents:
Adding Tax Information
To add tax, calculate the tax rate and apply it to the subtotal. This can either be done manually or dynamically. Here’s an example of how you might show tax in a document:
- Tax Rate: Display the applicable tax rate (e.g., “Sales Tax: 5%”).
- Tax Amount: Calculate the tax amount based on the subtotal. For example, if the subtotal is $200 and the tax rate is 5%, the tax would be $10.
- Total After Tax: Add the tax amount to the subtotal to get the total amount after tax. For example, “$200 + $10 = $210”.
Applying Discounts
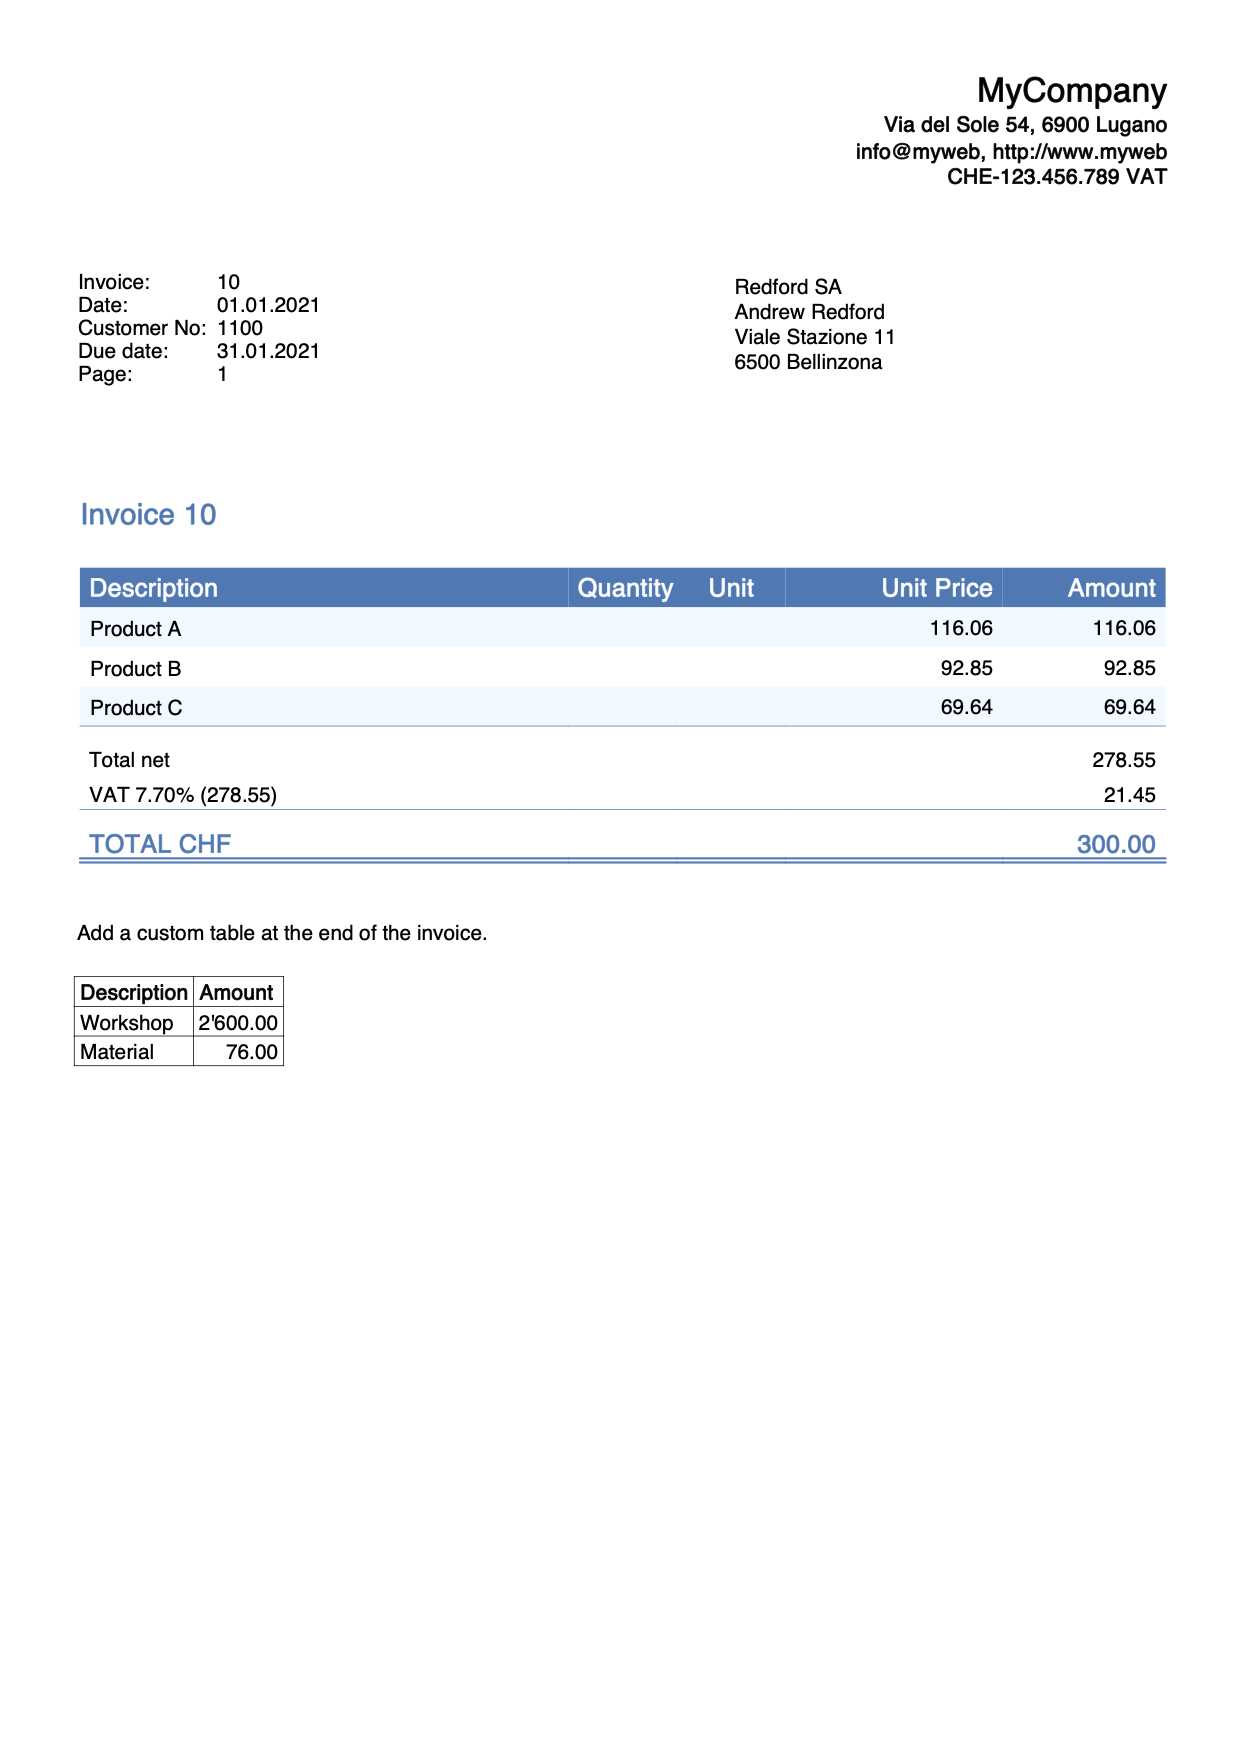
Discounts can be applied either as a percentage of the subtotal or as a fixed amount. Here’s how you might handle discounts:
- Percentage Discount: If the discount is 10%, for example, you calculate the amount by multiplying the subtotal by 0.10. If the subtotal is $200, the discount would be $20.
- Fixed Discount: A fixed amount discount can be directly subtracted from the total. For example, a $20 discount applied to a $200 subtotal would result in a $180 total.
- Discounted Total: After calculating the discount, subtract it from the subtotal (or the amount after tax) to get the final amount due.
It’s important to clearly list any discounts applied and the reasons behind them, such as promotional offers, early payment discounts, or bulk purchase deals. Transparency in how these adjustments are made ensures trust and minimizes confusion.
Here’s an example of how you might structure this in your document:
- Subtotal: $200
- Sales Tax (5%): $10
- Discount (10%): -$20
- Total Amount Due: $190
By including tax and di
How to Embed a Payment Link
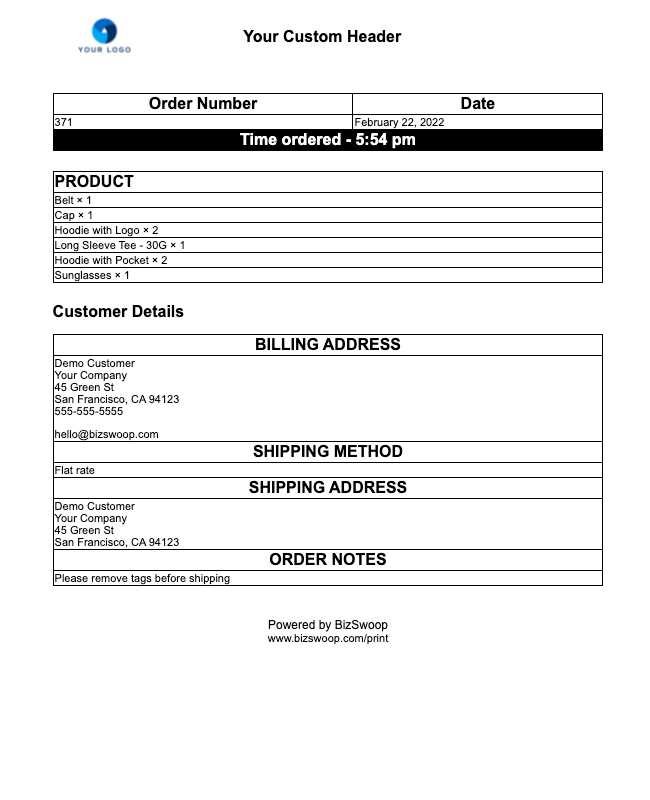
In today’s digital age, providing a seamless payment experience is crucial for efficient transactions. Including a direct payment link in your business documents makes it easier for clients to pay promptly without needing to manually enter payment details or visit an external site. By embedding a payment link, you simplify the payment process and encourage faster settlements.
To embed a payment link, you need to include a clickable URL in your document. This URL can direct clients to your payment gateway, where they can complete the transaction securely. Payment processors like PayPal, Stripe, and others offer easy ways to generate these links for your clients. Once you have the payment link, you can embed it in your document as a text link or a button for better visibility.
Embedding a Payment Link as Text
One of the simplest ways to embed a payment link is by creating a hyperlink using the `` tag. Here’s an example of how to do it:
<a href="https://www.paymentgateway.com/pay?amount=100" target="_blank">Click here to pay</a>
In this example, the link text “Click here to pay” will take the user directly to the payment page when clicked. The `target=”_blank”` attribute ensures the link opens in a new browser tab, allowing users to return easily to the document after completing their payment.
Creating a Payment Button
If you prefer a more prominent call to action, you can also embed a clickable payment button. Many payment services, such as PayPal, offer customizable buttons that can be added to your documents. These buttons are often designed to stand out and encourage users to make payments immediately.
<a href="https://www.paymentgateway.com/pay?amount=100" target="_blank">
<button type="button">Pay Now</button>
</a>
With this method, the user will see a “Pay Now” button that they can click to be directed to the payment page. This is a great option for businesses looking to make the payment process as smooth as possible for their clients.
By embedding a payment link or button directly in your document, you provide a quick and convenient way for clients to make payments, helping to streamline your transaction process and improve customer satisfaction.
Responsive Design for HTML Invoice Templates
In today’s mobile-first world, it’s important that your business documents adapt to various screen sizes, ensuring that they are easy to read and navigate on any device. A responsive design approach allows your documents to adjust automatically to different screen widths, providing a user-friendly experience on both desktop computers and mobile devices. This is especially crucial for clients who may view your documents on smartphones or tablets.
Responsive design involves using flexible layouts, images, and media queries to create a fluid document that adapts seamlessly to different screen sizes. By applying these principles, you ensure that your documents retain their readability and professionalism, regardless of how they are viewed. Below are some practical tips for creating responsive business documents.
Using Flexible Layouts
One of the key components of a responsive document is using a flexible layout that adjusts based on the screen width. This can be achieved through the use of percentage-based widths instead of fixed pixel values. For example:
<div style="width: 100%;">Content goes here</div>
By setting the width to 100%, the element will scale to fit the available screen width, ensuring that the document remains properly aligned and proportional across different devices.
Ensuring Readability with Media Queries
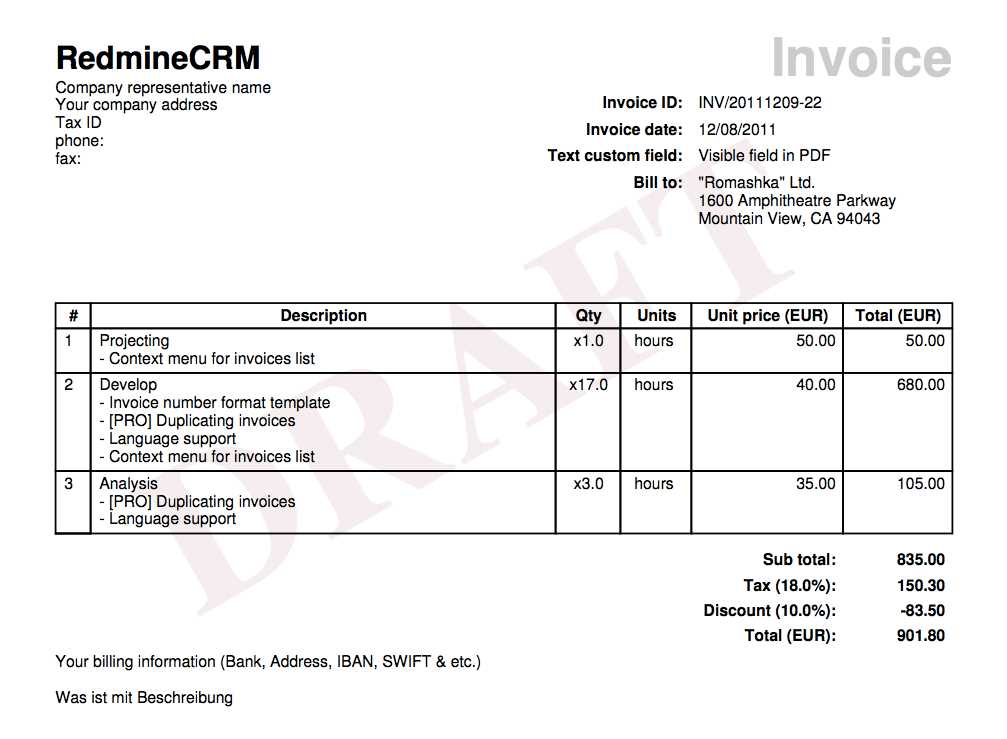
Media queries allow you to apply specific styles depending on the device’s screen size. For example, you can modify font sizes, hide or show elements, and adjust margins to enhance readability on smaller screens. Here’s an example of a media query:
<style>
@media only screen and (max-width: 600px) {
body {
font-size: 14px;
}
.item-list {
font-size: 12px;
}
}
</style>
In this example, if the screen size is 600px or less (typically a smartphone), the font size will be reduced to ensure that the text remains readable without excessive scrolling or zooming.
Responsive Tables
Tables are often a crucial part of billing documents, especially when displaying itemized lists. However, on smaller screens, tables with fixed widths may become hard to navigate. To address this, you can make tables responsive by allowing them to scroll horizontally on smaller devices. For example:
<div style="overflow-x:auto;"> <table> <tr> <th>Item</th> <th>Quantity</th> <th>Price</th> </tr&
Printing HTML Invoices Directly from Browser
In many business scenarios, it’s essential to provide clients with a physical copy of their transaction details. Printing directly from a web document is a convenient way to achieve this, enabling businesses to quickly generate and print billing documents from the browser without the need for third-party software. By leveraging built-in browser capabilities, you can streamline the printing process and ensure consistency in the output.
The process involves setting up your document for easy printing, using browser print functionalities, and applying the correct settings to ensure that the document is printed in a clean, professional format. In this section, we'll explore how to enable printing directly from a browser with minimal effort, ensuring a smooth and efficient experience for both the business and the client.
Using the Print Dialog
Most modern browsers come with a built-in print dialog that allows users to easily print a document with just a few clicks. To trigger this dialog, you can use simple JavaScript functionality that opens the print menu directly from the document. This is useful when you want to provide a "Print" button or link for users to print a business document.
<button onclick="window.print()">Print Document</button>
The code above creates a button that, when clicked, opens the browser's print dialog. The user can then select the printer and print the document, just as they would with any other web page. This method allows for quick and easy printing, ensuring that the document remains intact and aligned as intended.
Customizing the Print Layout
When preparing a document for printing, it's important to ensure that it appears correctly on paper. Browser-based printing can sometimes result in unwanted elements or poor formatting if the layout is not optimized. To control this, you can use CSS media queries specifically for printing. These allow you to hide non-essential content and adjust the document's layout to ensure it looks good on paper.
<style> @media print { body { font-size: 12px; } .no-print { display: none; } .content { width: 100%; margin: 0; } } </style>In the example above, any elements with the class `.no-print` will be hidden during the print process, ensuring that only the relevant content is displayed. Additionally, the layout is adjusted to ensure that the document prints at an appropriate size and format.
By leveraging these built-in tools, businesses can quickly provide clients with a printed copy of their documents, all while maintaining a clean and professional appearance. This ensures that the printing process is as smooth and efficient as possible, saving time and improving customer satisfaction.
Saving HTML Invoices as PDF
In many business scenarios, it is useful to save digital copies of documents in a format that is universally accessible and maintains the layout integrity across all devices and platforms. Saving your billing documents as PDF files ensures that the formatting remains consistent and easily sharable with clients. PDFs are widely used for their portability and ease of use, making them an ideal choice for archiving or sending official documents.
By converting your document into a PDF, you make it easier for clients to download, store, and print the document if needed. Additionally, PDFs are often more secure compared to other formats, as they allow for password protection and encryption. There are several methods to save your business documents as PDFs directly from the browser, ensuring a smooth and professional experience for both the business and its clients.
Using Browser's Built-in Save as PDF Function
Most modern browsers come with a built-in feature to save any webpage as a PDF. This method is simple and does not require any additional tools or libraries. To save your document as a PDF, follow these steps:
- Open the document in the browser.
- Click on the browser's menu (usually represented by three dots or lines in the upper-right corner).
- Select "Print" from the menu options.
- In the print dialog that appears, select "Save as PDF" as the destination printer.
- Click "Save" and choose the location where you want to store the PDF.
This approach is quick and easy, allowing you to save any document as a PDF with minimal effort. However, it may not offer advanced customization options for the layout or appearance of the final document.
Using JavaScript Libraries to Automate the PDF Generation
If you want more control over the process and need to automate PDF creation from your business documents, you can use JavaScript libraries like jsPDF. These libraries allow you to generate PDFs directly from your web page without needing to rely on the browser’s built-in print functionality. Using jsPDF, you can manipulate text, images, and styling elements to create a PDF that perfectly matches your intended design.
<script src="https://cdnjs.cloudflare.com/ajax/libs/jspdf/2.5.1/jspdf.umd.min.
Common Mistakes in HTML Invoice Design
Designing a professional and effective billing document can be more challenging than it appears. Many businesses overlook certain aspects of the design process, leading to documents that are difficult to read, unprofessional, or confusing for clients. These mistakes can undermine the purpose of the document, which is to convey clear, important information. Understanding the most common errors in design can help you avoid these pitfalls and create polished, functional documents.
In this section, we'll explore some of the most frequent mistakes made when designing business documents, and provide suggestions on how to improve them for a better user experience. These design missteps can affect everything from layout and typography to functionality, so it's important to address them early in the creation process.
Poor Readability and Font Choices
One of the most common mistakes in business document design is using fonts that are difficult to read. This can happen when the font size is too small, or when fonts with overly decorative styles are used. A document’s primary goal is to communicate information quickly and clearly, so readability should always be a priority.
What to avoid: Small font sizes (below 10px), complex or overly decorative fonts, and poor contrast between text and background.
Best practice: Use standard, readable fonts such as Arial, Helvetica, or Times New Roman, and ensure that text is large enough (at least 12px) to be legible on both desktop and mobile devices.
Inconsistent Layout and Str
Best Practices for HTML Invoice Templates
Creating a well-structured and user-friendly document for billing purposes is crucial for maintaining a professional image and ensuring clarity. By following best practices in design and layout, you can ensure that your business documents are easy to understand, visually appealing, and fully functional across different devices and platforms. These practices cover everything from layout to content organization, ensuring the document meets both practical and aesthetic requirements.
In this section, we'll discuss key best practices to keep in mind when creating digital billing documents. These practices are designed to help you build a document that is not only clear and concise but also reliable for both business and customer use.
1. Clear and Organized Layout
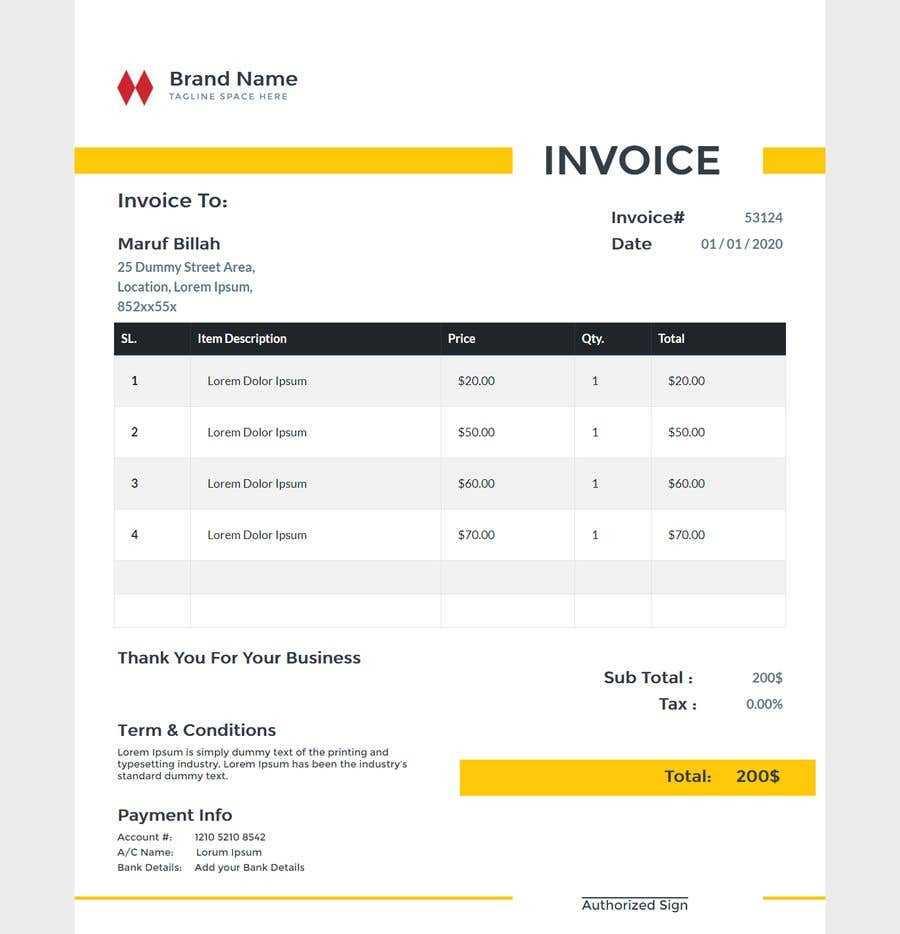
A well-structured document is essential for ensuring that the recipient can easily find important details, such as the total amount due, payment instructions, and transaction breakdown. The layout should follow a logical order, grouping similar information together and using clear headings to separate sections.
Best practices for layout:
- Use a grid layout to ensure consistent alignment of elements.
- Organize the document into clear sections: header, customer details, item list, totals, and footer.
- Ensure there’s enough white space to make the content easier to read and reduce visual clutter.
2. Consistent Typography and Branding
Typography plays a major role in how your document is perceived. Choosing the right fonts and maintaining consistency throughout the document helps create a cohesive and professional look. It’s also important to integrate your company’s branding elements, such as logos and colors, to maintain brand identity.
Best practices for typography and branding:
- Use legible, standard fonts like Arial or Helvetica, and avoid overly decorative or complex fonts.
- Ensure that font sizes are appropriate–typically, 12px for text and larger for headings.
- Incorporate your company’s colors, logo, and brand elements without overwhelming the content.
3. Clear and Accurate Data Representation
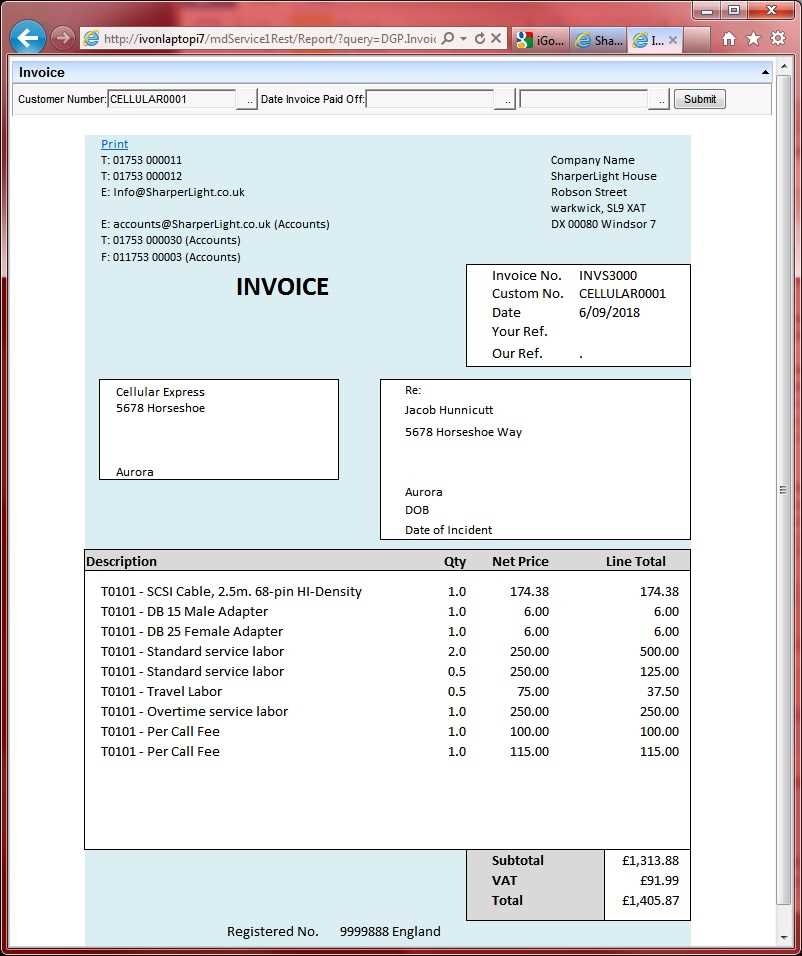
Business documents must convey data in a straightforward and error-free manner. This includes providing accurate pricing information, tax details, and item descriptions. Using tables for itemized lists and totals ensures that the information is presented clearly and is easy to reference.
Item Quantity Unit Price Total Item 1 2 $10.00 $20.00 Item 2 1 $15.00 $15.00 Subtotal $35.00 Tax (5%) $1.75 Total $36.75 Best practices for data representation:
- Use tables for itemized lists to present information clearly and professionally.
- Ensure that totals, taxes, and other important calculations are clearly labeled.
- Double-check all numbers for accuracy before sending the document.
4. Optimized for Print and Digital Formats
Whether your document is being viewed on a screen or printed on paper, it should maintain its clarity and readability. It’s essential to optimize the design for both digital and printed formats, so that the document looks good regardless of how it’s accessed. This can be achieved by using flexible layouts and ensuring compatibility with print-friendly settings.
Best practices for digital and print optimization:
- Ensure that the document scales properly across different screen sizes, from desktops to mobile devices.
- Use print-specific CSS to hide irrelevant content (like navigation bars) when printing.
- Test the document in both digital and print formats to ensure it maintains its quality in both environments.
By following these best practices, you can create a professional and functional business document that effectively conveys all necessary information while maintaining a clean and organized design. Whether you’re creating a one-off document or developing an automated system, these guidel