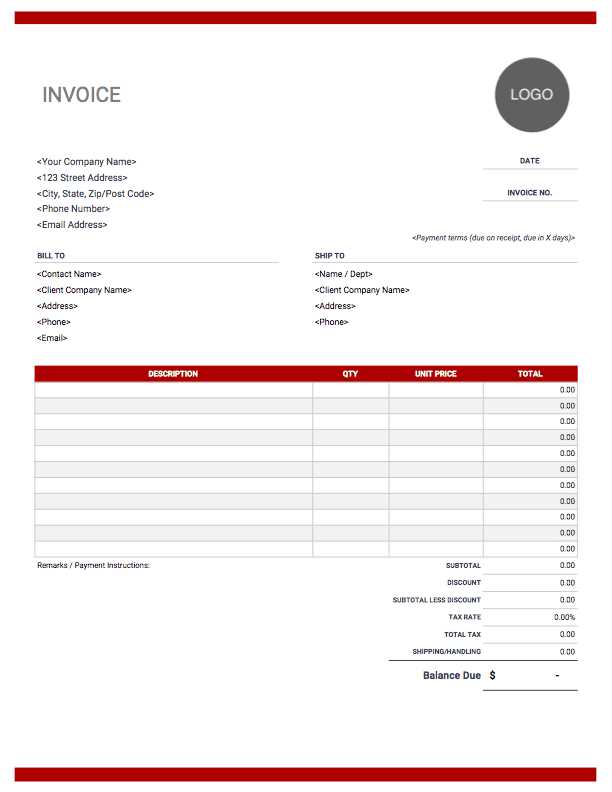
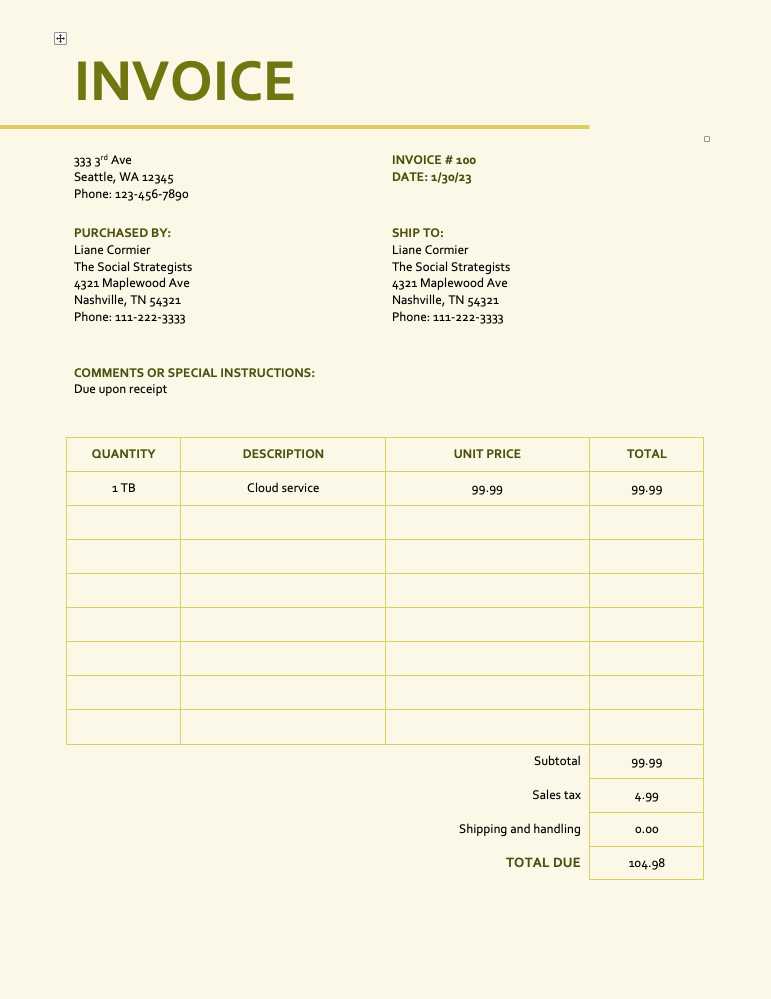
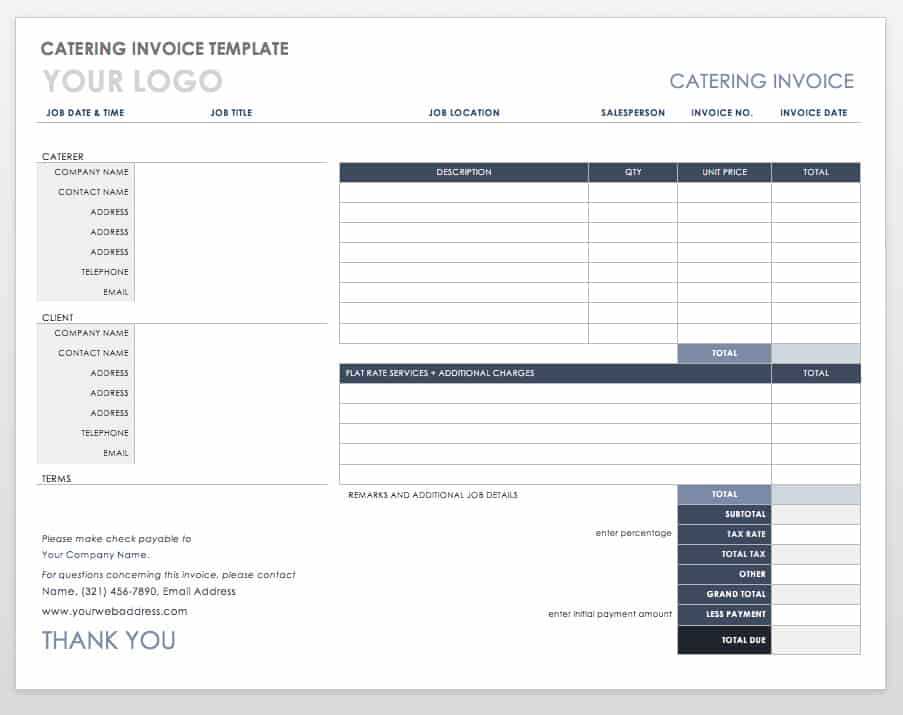
Download Customizable Invoice Template in Word Format
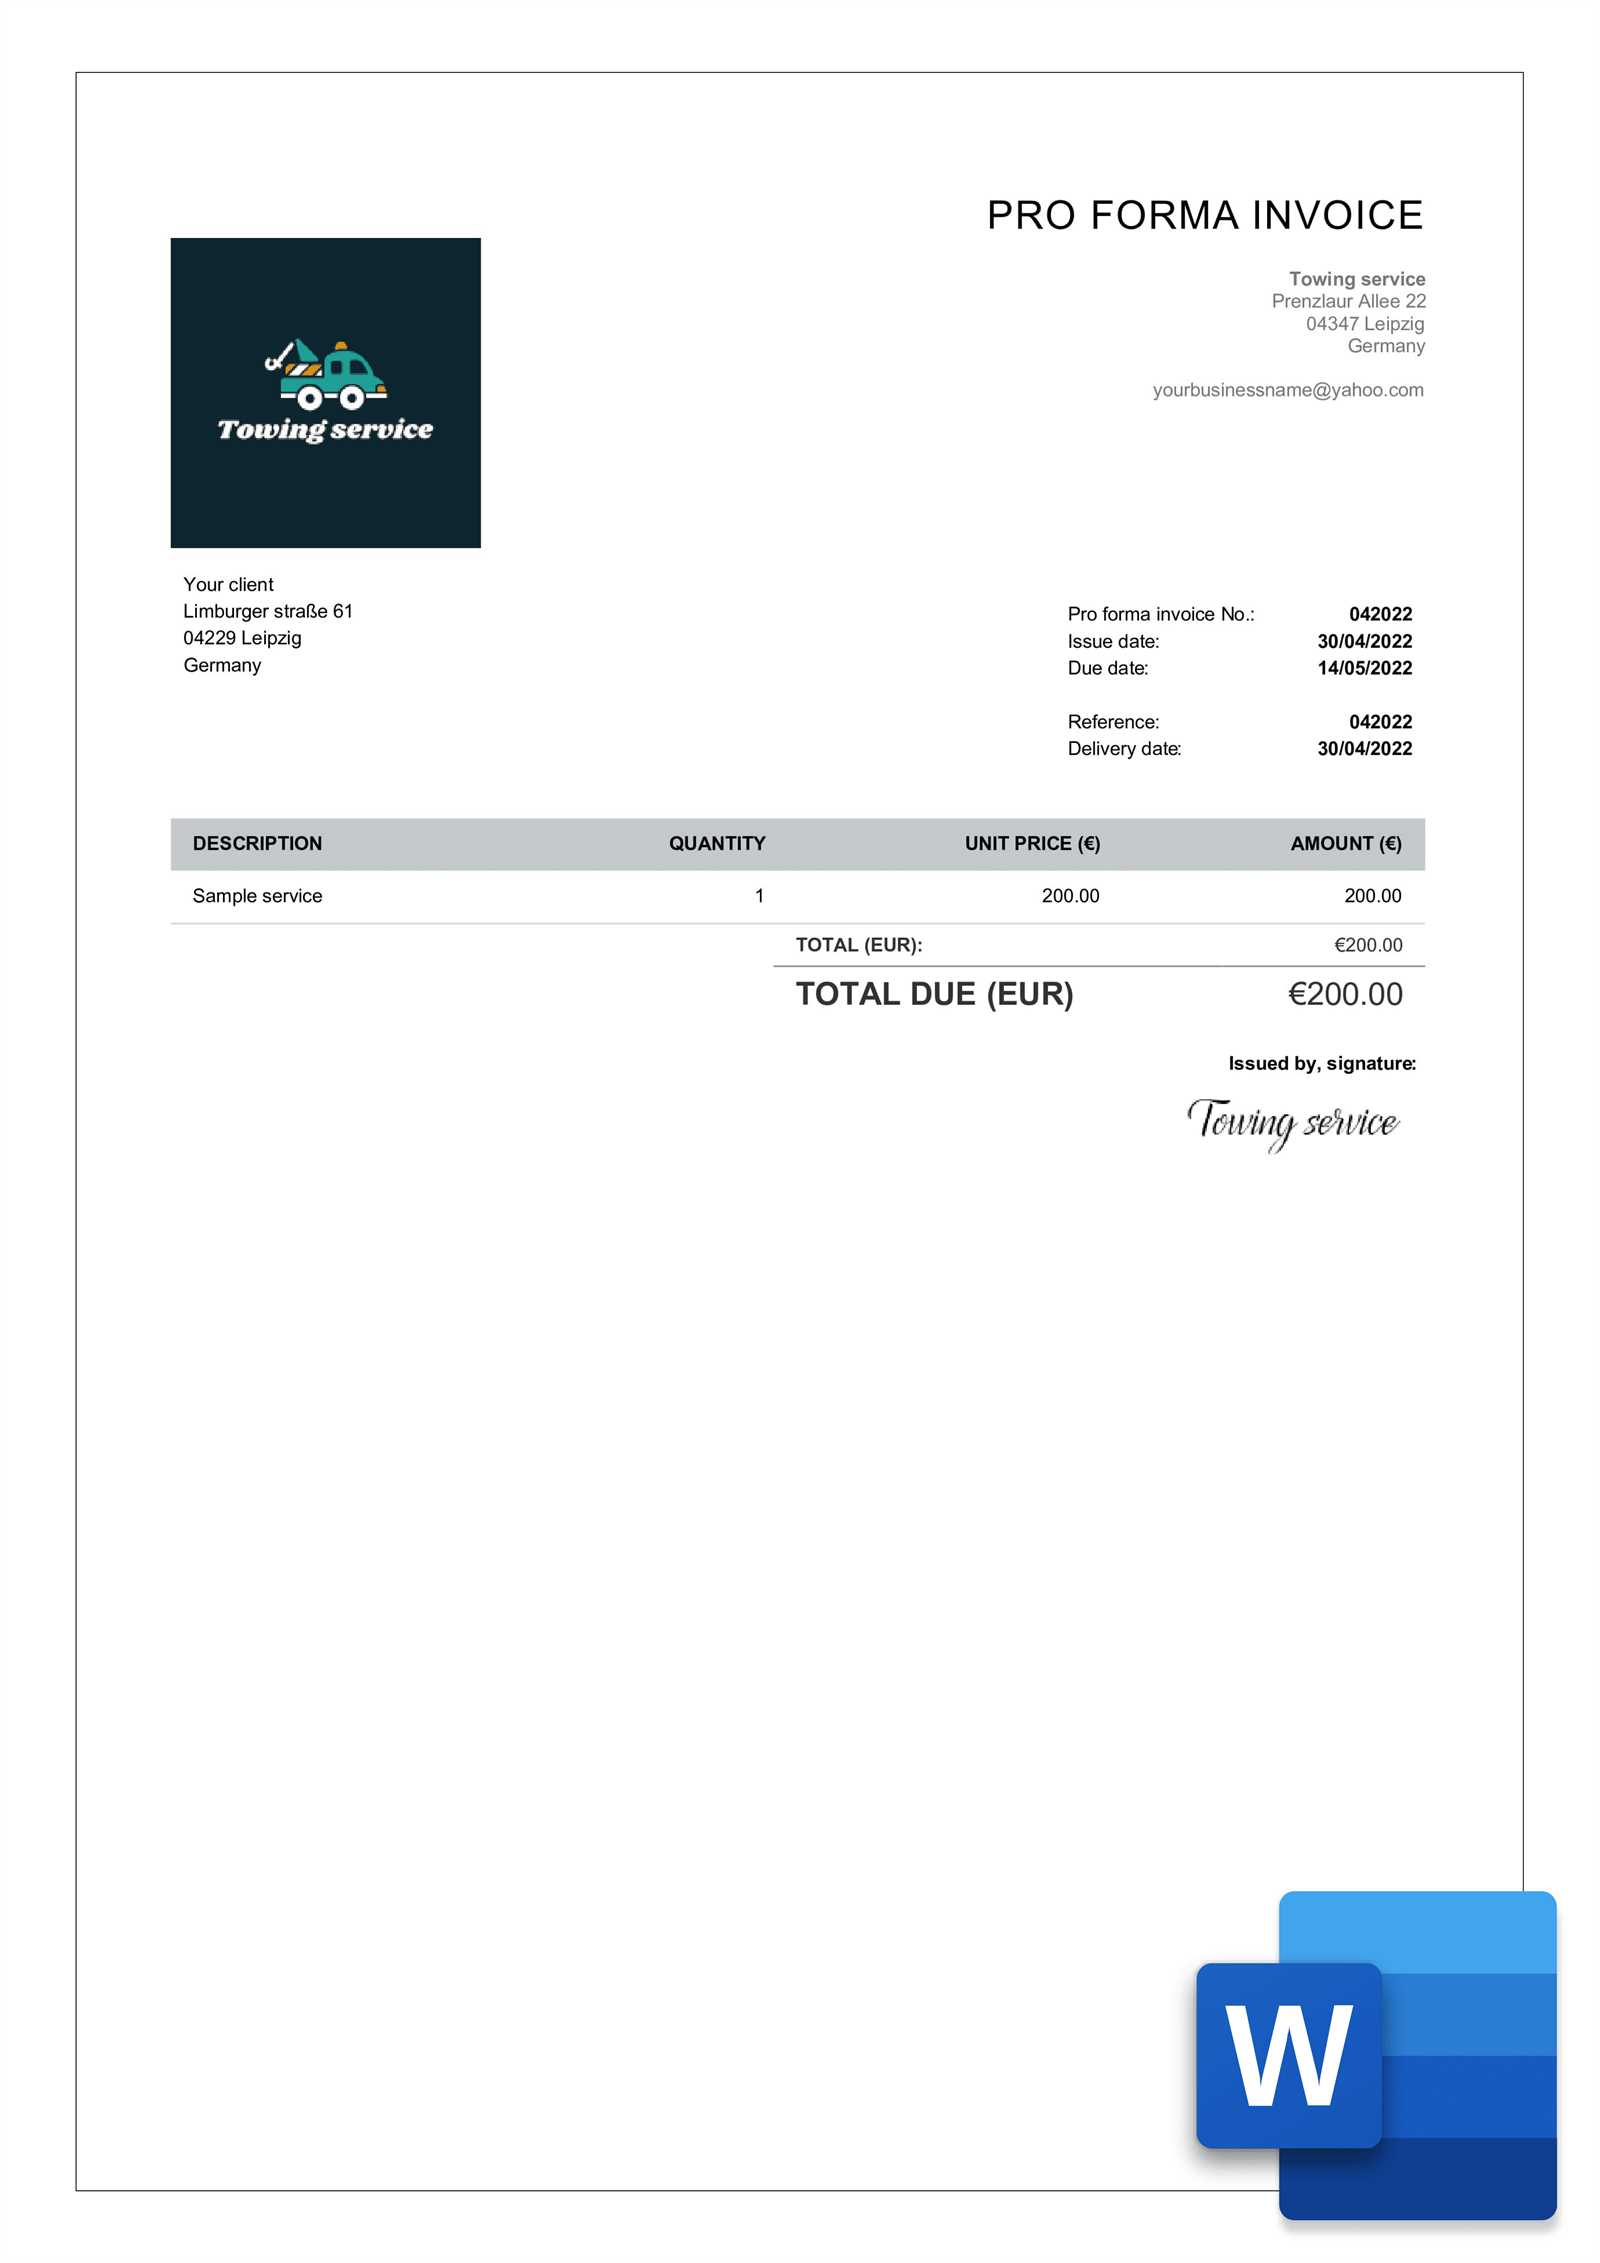
When it comes to managing financial transactions, having the right tools to generate accurate and professional-looking billing documents is essential. A well-organized and clear document not only helps ensure timely payments but also reflects the credibility of your business. Whether you’re running a small startup or handling freelance projects, being able to quickly produce custom payment requests can save valuable time and effort.
Customizable billing solutions allow for flexibility in design and content, enabling you to tailor each document to meet specific client needs. With the right approach, you can create documents that look polished, are easy to understand, and meet all legal requirements. These documents can be modified to fit different types of services, products, or payment terms, making them versatile tools for any professional setting.
In this guide, we will explore how to easily create these documents using popular software. You’ll discover how simple it can be to personalize each detail and format your documents for maximum impact, ensuring that your clients receive clear and precise information every time.
How to Create an Invoice in Word
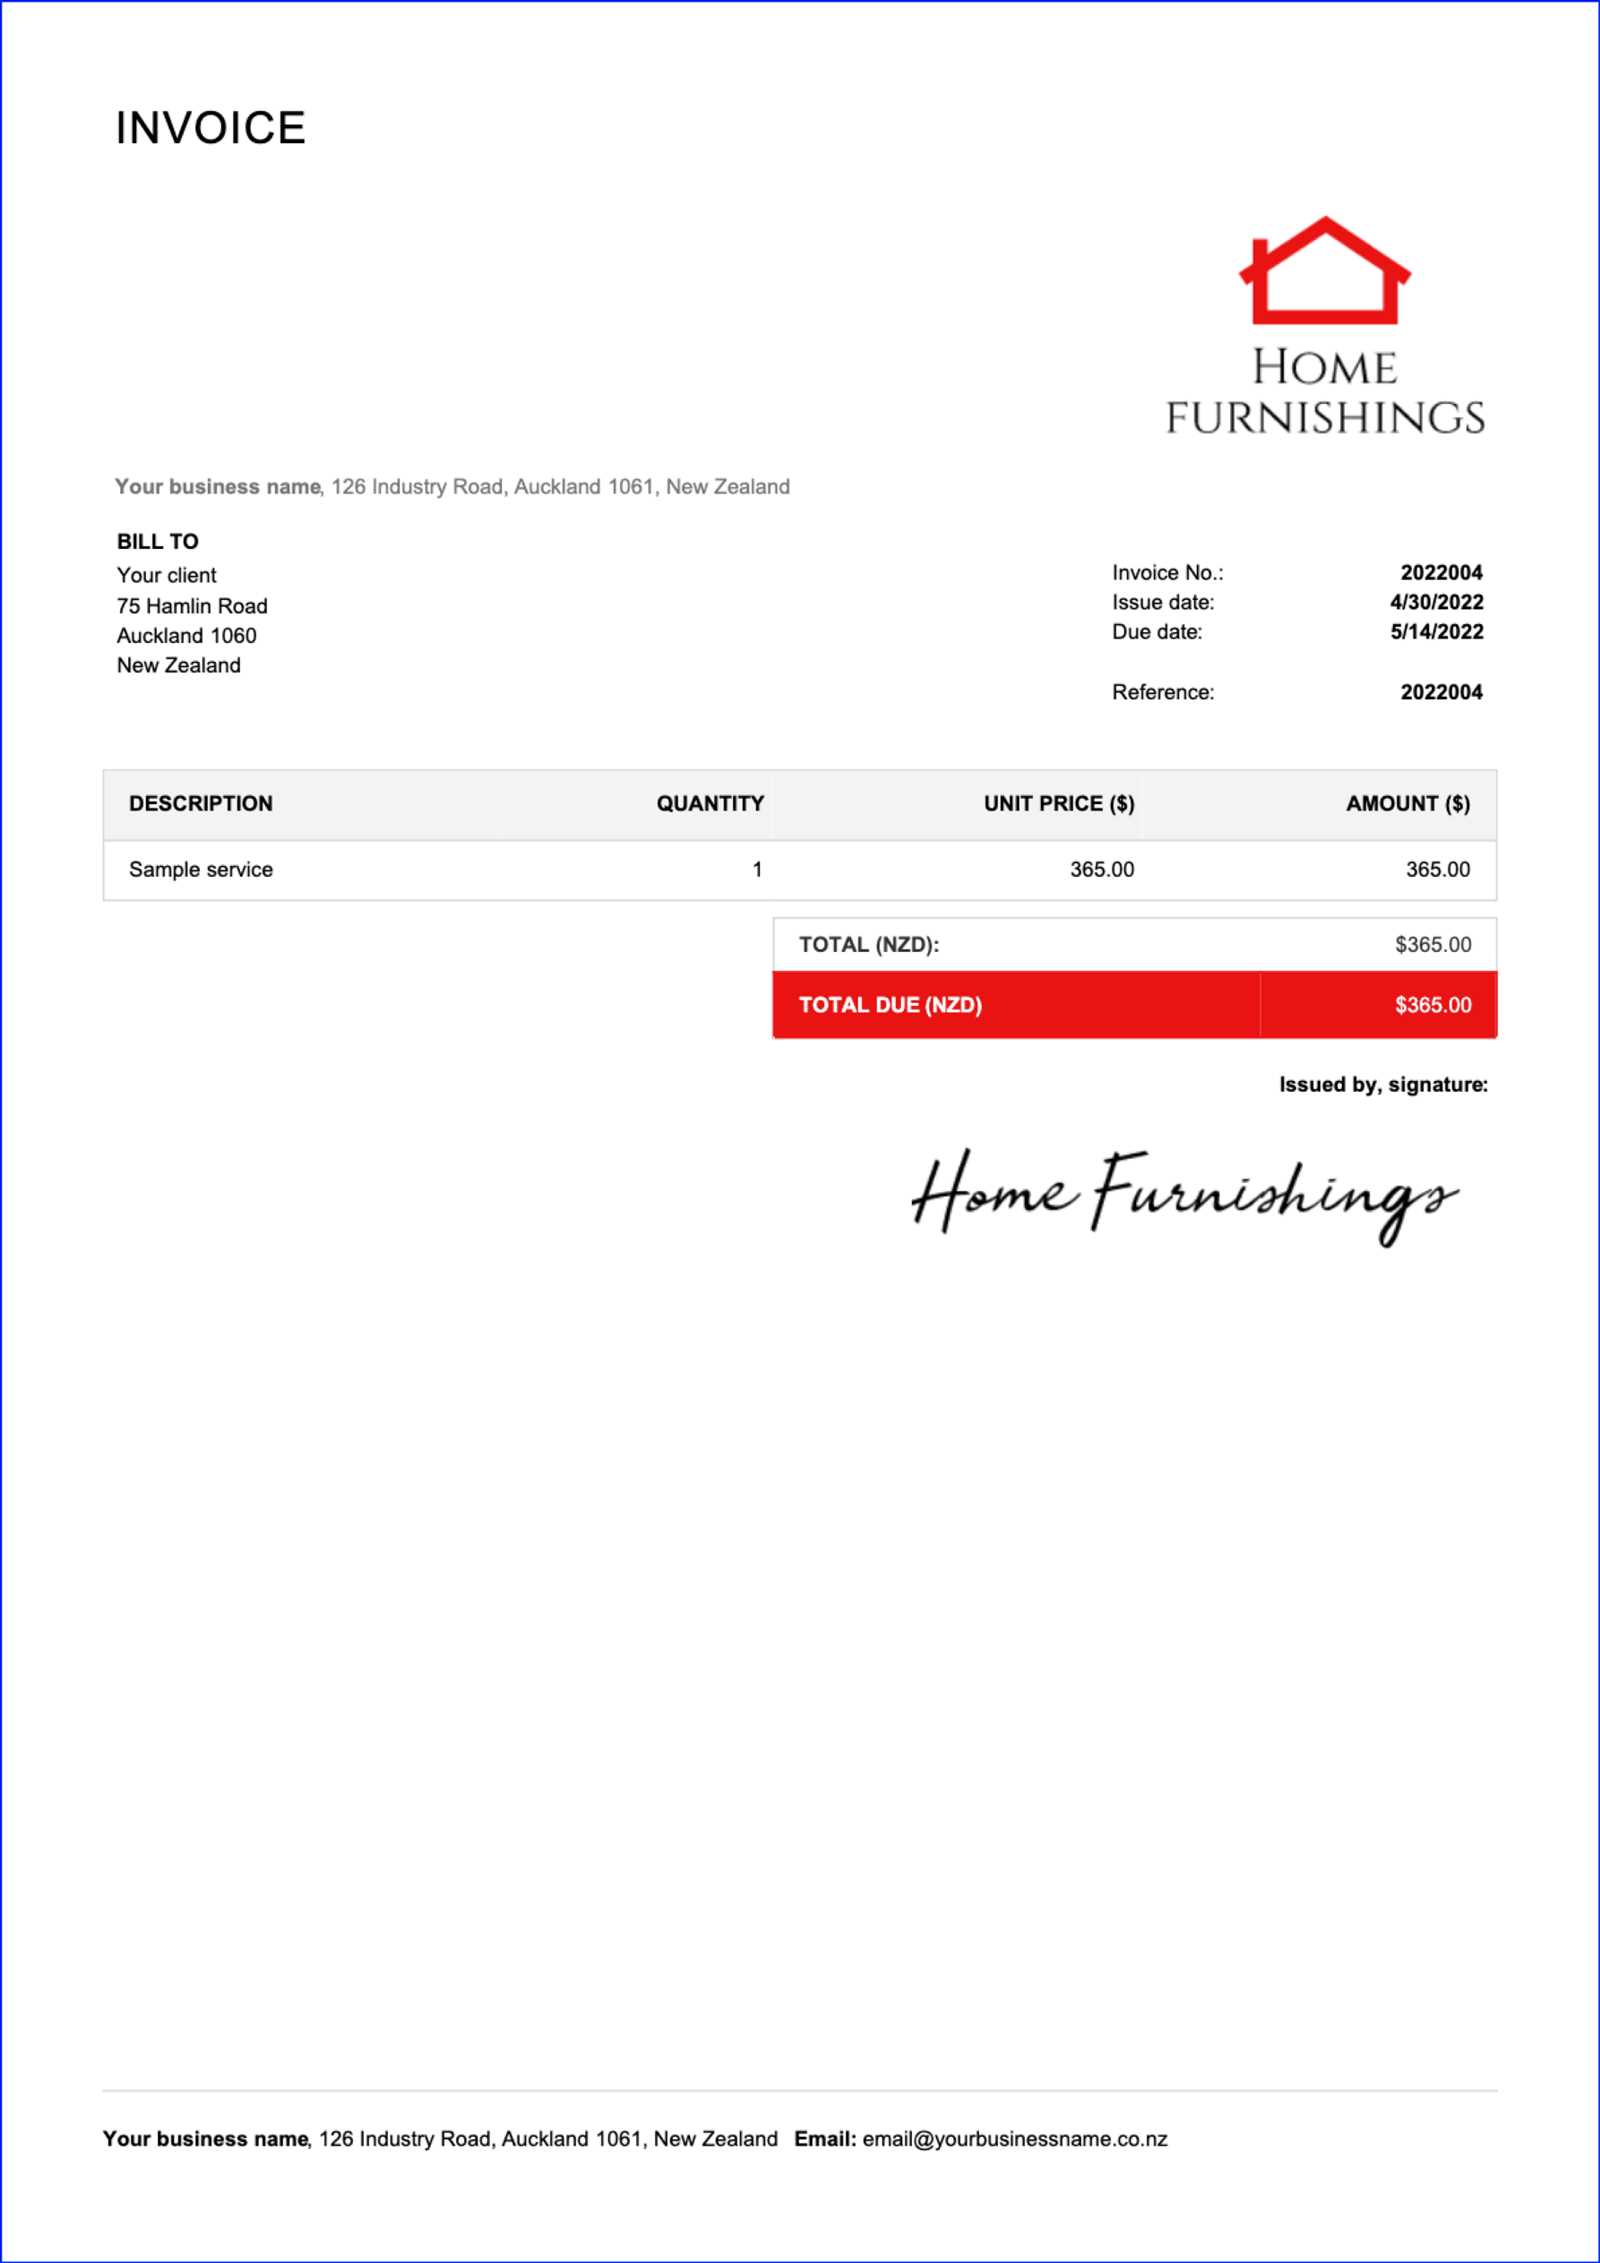
Creating a professional billing document is a straightforward process that can be done with the help of simple software tools. Whether you need to request payment for services rendered or goods sold, having a structured document ensures clarity and accuracy. By using easily accessible software, you can generate a custom, clean, and well-organized statement that meets your specific business needs.
Step 1: Set Up the Document Layout
Start by opening a blank document and adjust the page settings. Choose a suitable page size (usually letter or A4) and set margins to ensure the content fits neatly. You can also choose to create a header section for your company logo and contact details. Including your business name, address, phone number, and email at the top makes it easy for clients to reach out with any questions. Once the layout is set, add a title to the document that clearly indicates the nature of the document, such as “Billing Statement” or “Payment Request.”
Step 2: Include Essential Details
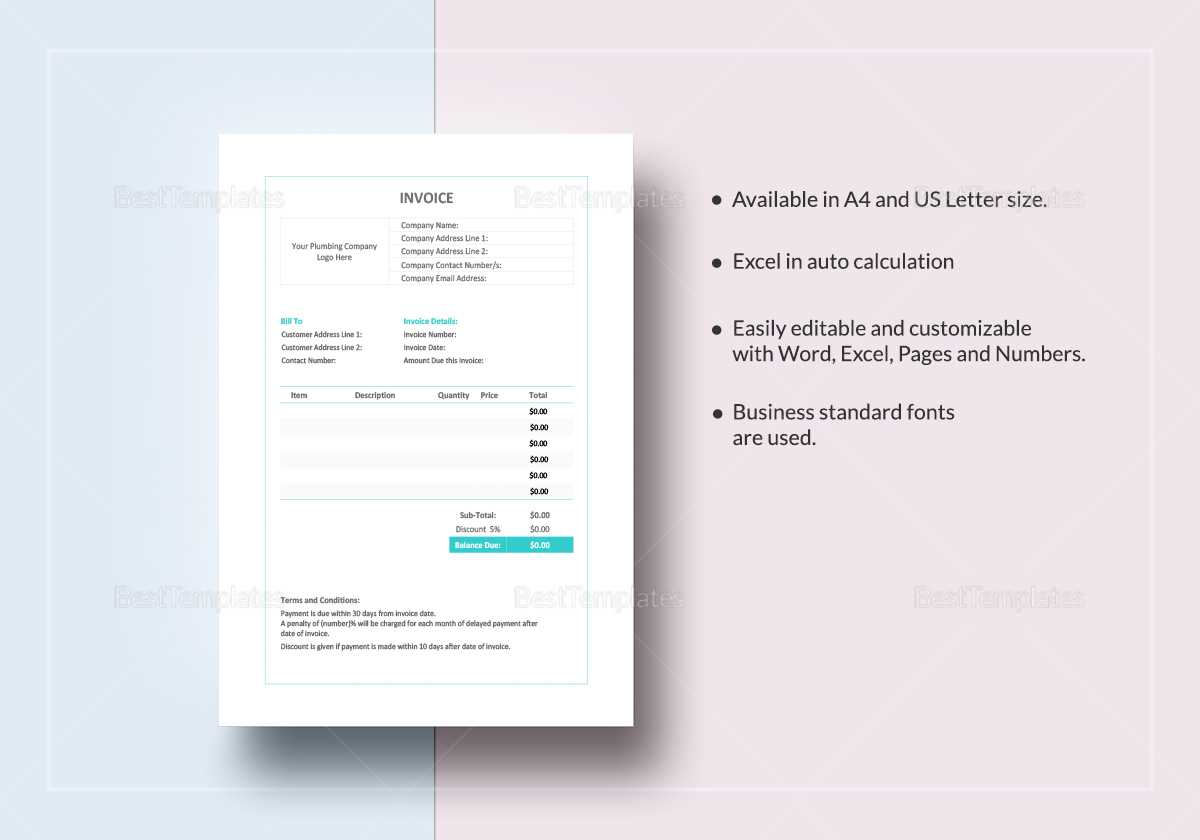
Next, focus on the core elements of the document. Include the recipient’s name and contact details in a clear and organized manner. Follow this with a unique identifier or reference number for the transaction. List the services or products provided, their individual costs, and the total amount due. Be sure to include payment terms, such as the due date and acceptable methods of payment. This structure helps both you and your client keep track of financial obligations and ensures transparency.
Why Use Word for Invoices
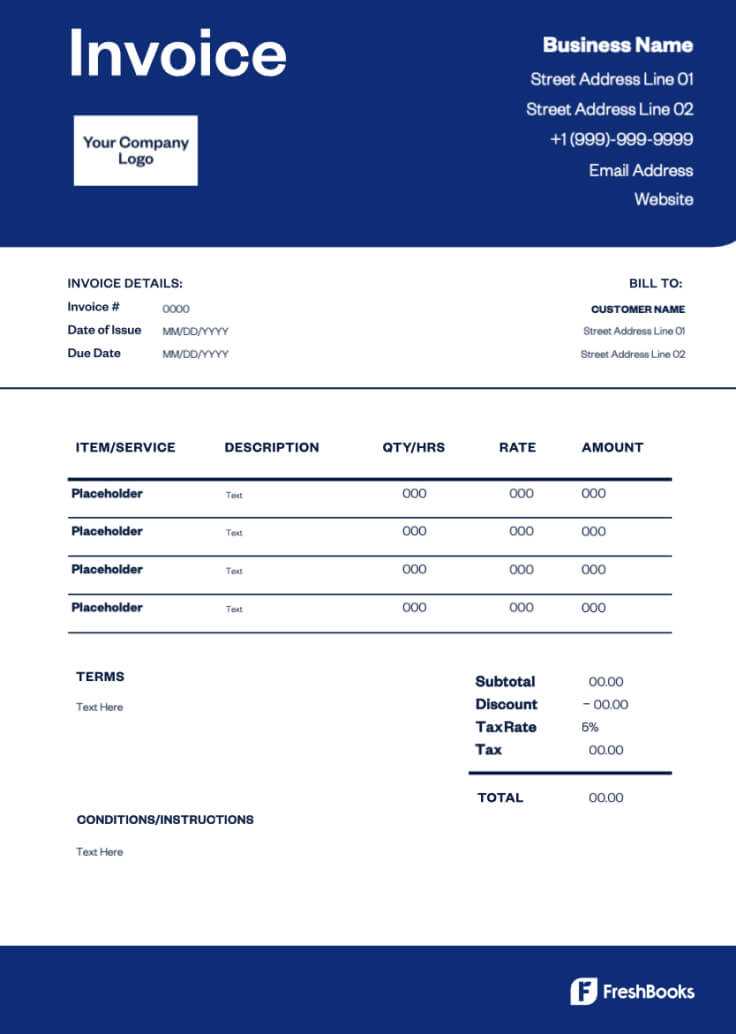
When managing financial transactions, having the right tools to create and customize billing documents is crucial for any business. One of the most popular software options for this task is Microsoft Word. Its widespread availability and ease of use make it a go-to choice for professionals looking to generate clear, structured documents without a steep learning curve.
Using this software offers several benefits. It allows for complete customization in terms of design and content. You can easily add company logos, change fonts, and adjust layouts, creating a document that reflects your brand’s identity. Additionally, it provides a simple way to update and modify details for each transaction, ensuring that every document is tailored to the specific needs of each client.
Another advantage is the ability to save and share these documents in various formats, making it easier to distribute them to clients, whether digitally or in print. The familiar interface and compatibility with other software make it a flexible solution for anyone looking to manage billing and payments efficiently.
Benefits of Customizable Invoice Templates
Having the ability to modify and personalize your billing documents brings significant advantages. Customizable structures allow businesses to adapt each document to their specific needs, ensuring that all relevant details are included in a clear and professional manner. Whether you’re managing a small business or handling multiple clients, the flexibility of these documents helps save time and reduces the risk of errors.
Enhanced Professionalism
Personalized documents give a polished and branded appearance, which can make a lasting impression on clients. Customizing the layout, colors, and fonts can align the document with your business’s identity, reinforcing your brand’s image. This level of attention to detail not only improves clarity but also boosts your credibility and trustworthiness in the eyes of your clients.
Efficiency and Time-Saving
Once a document structure is customized, it can be reused for different clients or projects, reducing the time spent on creating new documents from scratch. Instead of re-entering repetitive details, you can simply modify the key fields, saving valuable time. Here’s a quick comparison of a manual vs. a customized approach:
| Traditional Method | Customizable Approach |
|---|---|
| Manual formatting and data entry for each client | Pre-designed structure with editable fields |
| Potential for inconsistent design and errors | Consistent and professional output every time |
| Time-consuming updates for each transaction | Quick adjustments for each project or client |
With these benefits, using customizable formats can streamline the process of managing transactions and improve your overall business workflow.
Step-by-Step Guide to Editing Invoices
Editing a billing document to ensure accuracy and clarity is a simple process that can be done in just a few steps. Whether you’re modifying details for a recurring client or adjusting payment terms, the ability to easily update and personalize these documents is essential for maintaining professionalism and efficiency. Follow this straightforward guide to make quick adjustments to your existing documents.
Step 1: Open and Review the Document
Begin by opening the document that you wish to edit. Carefully review all sections, checking for any outdated or incorrect information. This includes the recipient’s details, the services or products listed, and the payment terms. Ensure that the layout is aligned with your preferences, with clear sections for each piece of information.
Step 2: Update Key Information
Now that you’ve reviewed the document, make necessary updates. For example, replace the recipient’s name, address, or contact details with the correct information. If the services or items provided have changed, update the list and adjust the prices accordingly. Don’t forget to modify the total amount due and include any applicable taxes or discounts. Ensure that the due date and payment instructions are current and easy to understand.
After making these changes, be sure to double-check all details to ensure there are no mistakes. This can help prevent misunderstandings and ensure timely payments. Once satisfied with the edits, save the document with a new name to keep your records organized and avoid overwriting the original version.
Free Invoice Templates for Small Businesses
For small business owners, having access to pre-designed billing documents is a cost-effective way to maintain professional standards without spending extra on custom designs. Free options are widely available, offering simple and customizable solutions that can be easily tailored to suit any business need. These tools save time, ensure consistency, and help small businesses stay organized.
Here are some key benefits of using free customizable billing documents:
- Cost-Effective: No need to invest in expensive software or hire a designer.
- Easy to Use: Pre-built formats allow for quick customization with basic editing tools.
- Time-Saving: Avoid having to create a new document from scratch for each transaction.
- Professional Appearance: Pre-designed layouts ensure your documents look polished and credible.
- Adaptable: Can be easily modified to fit your business’s unique requirements.
Here are some places where you can find free billing documents for your business:
- Online Resource Platforms: Websites offering downloadable formats in different styles and layouts.
- Business Software Tools: Many free accounting and finance tools provide built-in templates for easy creation.
- Document Sharing Sites: Free document-sharing platforms often have customizable options available for download.
These resources provide everything you need to create professional billing documents without the added expense or complexity of custom design work.
How to Format Your Billing Document
Properly formatting your billing document ensures clarity, professionalism, and consistency. A well-organized layout helps clients understand the details of the transaction at a glance and ensures that no important information is overlooked. In this section, we will go over the essential formatting steps to make your document both functional and visually appealing.
Step 1: Set Up the Basic Structure
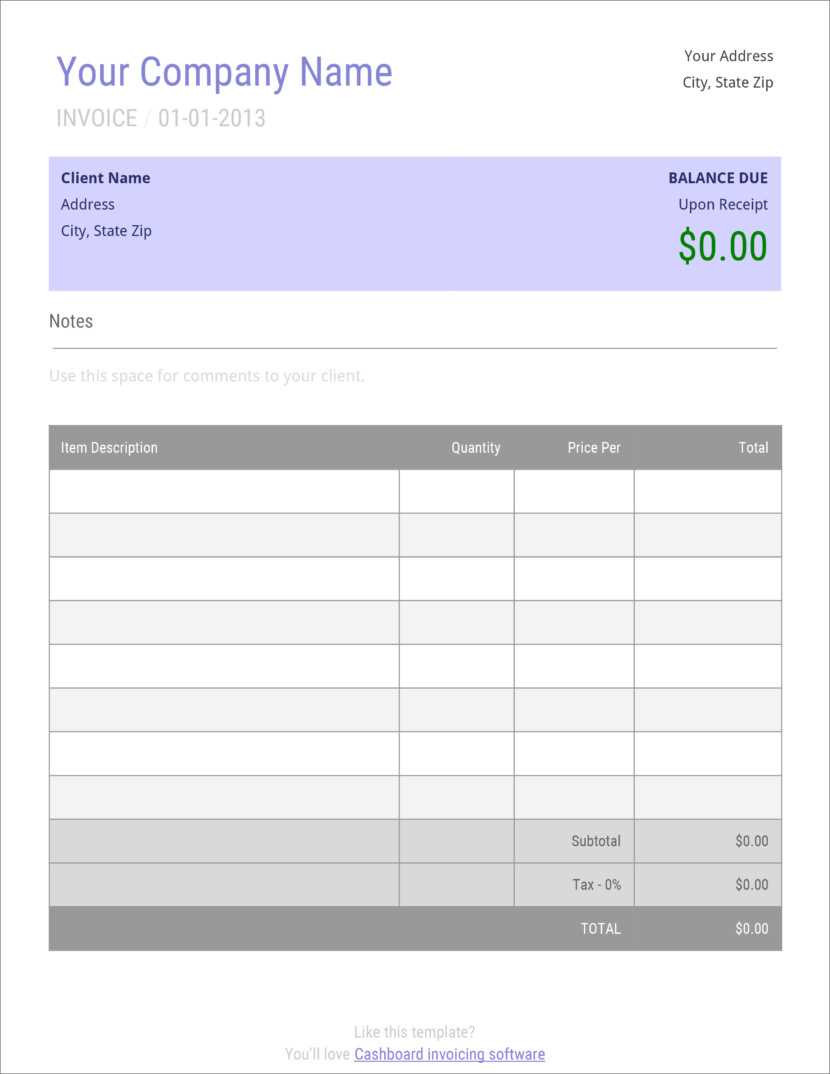
Start by creating a clean, organized layout that separates key sections clearly. Here’s how to break it down:
- Header Section: Include your business name, logo, contact information, and the document’s title at the top of the page.
- Recipient Information: Clearly display the client’s name, address, and contact details below the header.
- Transaction Details: List the services or products provided with corresponding quantities, rates, and total costs.
- Total Amount: Highlight the final amount due, including taxes or discounts, at the bottom.
Step 2: Adjusting the Layout for Readability
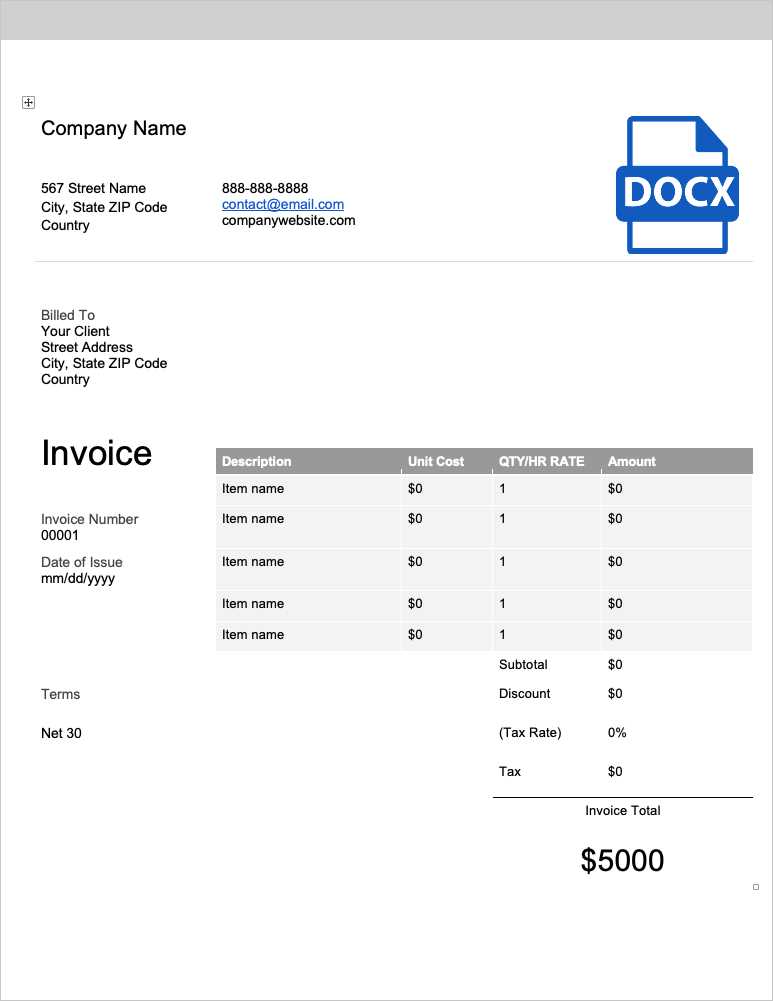
Ensure that the document is easy to read by adjusting the font, spacing, and alignment. Consider the following tips for improving readability:
- Use clear, simple fonts: Choose easy-to-read fonts like Arial or Calibri and ensure the font size is appropriate for each section (typically 10-12 pt for the body text).
- Align text consistently: Align headings to the left or center, and ensure that the numbers, such as prices and quantities, are properly aligned for easy comparison.
- White Space: Use margins and padding to ensure there’s enough white space around text and sections. This helps prevent the document from looking crowded.
- Highlight Important Information: Use bold or larger font sizes to draw attention to crucial elements like the due date, total amount, or payment instructions.
With these simple formatting tips, your document will look professional, be easy to understand, and make a positive impression on your clients.
Choosing the Best Invoice Design
Selecting the right design for your billing documents is essential for creating a professional impression and ensuring clarity for your clients. A well-thought-out layout not only makes the document visually appealing but also organizes critical information in a way that’s easy to navigate. The goal is to ensure that your client can quickly find the details they need, from payment terms to the total amount due.
Factors to Consider When Choosing a Design
When deciding on the design of your billing document, it’s important to keep in mind the following aspects:
- Brand Identity: The design should align with your company’s branding. Use colors, fonts, and logos that reflect your business’s image and professionalism.
- Clarity and Readability: Choose a design that prioritizes easy readability. Ensure the text is legible and that important information stands out.
- Organization: The layout should clearly separate key sections such as client information, transaction details, and payment terms to avoid clutter.
- Customizability: Opt for a design that allows you to easily modify or update details, such as prices, products, and contact information, without affecting the overall structure.
Popular Design Styles
Here are a few design styles to consider when selecting the best layout for your needs:
- Minimalist: A clean and simple layout with plenty of white space. Ideal for modern businesses looking for a sleek, professional look.
- Bold and Colorful: A more vibrant design with bold colors and strong typography, perfect for creative businesses wanting to make a statement.
- Traditional: Classic and formal layouts that adhere to conventional standards, ideal for legal, financial, or consultancy services.
- Customized Branding: A fully personalized layout that incorporates your logo, brand colors, and fonts, creating a consistent look across all your business materials.
Choosing the best design ultimately comes down to your brand’s personality and the kind of impression you wish to leave with your clients. Whether you prefer a more conservative style or something modern and creative, the right design will help elevate your professionalism and encourage timely payments.
Essential Elements of an Invoice
To ensure a clear and professional request for payment, it’s important to include all the necessary components in your billing document. Each section serves a specific purpose, making the document easy to understand for both you and your client. A well-structured document not only helps avoid confusion but also speeds up the payment process by providing all the relevant details upfront.
The key elements to include in any billing document are:
- Business Information: Your company name, logo, address, contact details, and any relevant registration numbers should be clearly visible at the top. This helps identify your business and provides clients with easy access to contact information.
- Client Details: Include the recipient’s full name, address, and any relevant contact information to ensure the document reaches the right person or department.
- Unique Identification Number: Each document should have a unique reference number for easy tracking and record-keeping. This helps both parties reference the document if needed.
- Itemized List of Goods or Services: Clearly list each item or service provided, along with corresponding quantities, prices, and any additional details (such as dates of service). This makes the document transparent and easy to verify.
- Total Amount Due: The final amount owed, including taxes and discounts (if applicable), should be highlighted at the bottom of the document to avoid any confusion.
- Payment Terms: Include the payment due date, acceptable methods of payment, and any late payment fees to ensure clarity regarding how and when payment should be made.
- Additional Notes: Optional space for any additional comments or special instructions for the client, such as thank you notes or instructions for processing payments.
Including these essential components in your document not only streamlines communication but also ensures that all parties are on the same page regarding the terms of the transaction. A complete, clear document helps foster trust and encourages timely payments from clients.
How to Save and Share Billing Documents
After creating and customizing your billing document, the next step is to save and share it with your clients in a way that ensures it’s easily accessible and secure. There are several options for saving and sharing, depending on your preferences and the tools at your disposal. This section will cover the best practices for storing and distributing your completed documents effectively.
Saving Your Document
To keep your billing document organized and easily retrievable, follow these simple steps:
- Choose the Right Format: Save your document in a format that is compatible with most devices, such as PDF or the default program format. PDFs are especially useful because they preserve the layout and prevent unauthorized changes.
- Name Your Document Clearly: Use a naming convention that makes it easy to identify the document. For example, use the client’s name and the date of the transaction, such as “ClientName_Invoice_2024-11-06.” This helps you keep your files organized and searchable.
- Save to Cloud Storage: Use cloud storage services like Google Drive, Dropbox, or OneDrive to save your documents. Cloud storage allows you to access your files from any device and share them easily with clients.
- Back-Up Locally: In addition to saving your document in the cloud, consider keeping a local copy on your computer or external drive for added security and access without an internet connection.
Sharing Your Document
Once your document is saved, sharing it with your client is the next step. Here are some of the most common ways to distribute your completed billing statement:
- Email: Attach your saved document to an email and send it directly to the client. Make sure the subject line is clear (e.g., “Payment Request for Services Rendered” or “Billing for [Month/Service]”).
- Link Sharing: If you’re using cloud storage, you can generate a shareable link to the document, allowing the recipient to view or download it directly from the cloud.
- Physical Copy: If needed, you can print the document and send it by mail, though this method is typically slower and less efficient.
- Secure Document Management Platforms: For businesses with high-security needs, consider using a secure document-sharing platform like DocuSign or Adobe Sign for electronically signing and sharing documents.
By following these steps for saving and sharing your completed documents, you can ensure smooth communication with your clients and maintain an organized record of all transactions.
Tips for Professional Billing Document Appearance
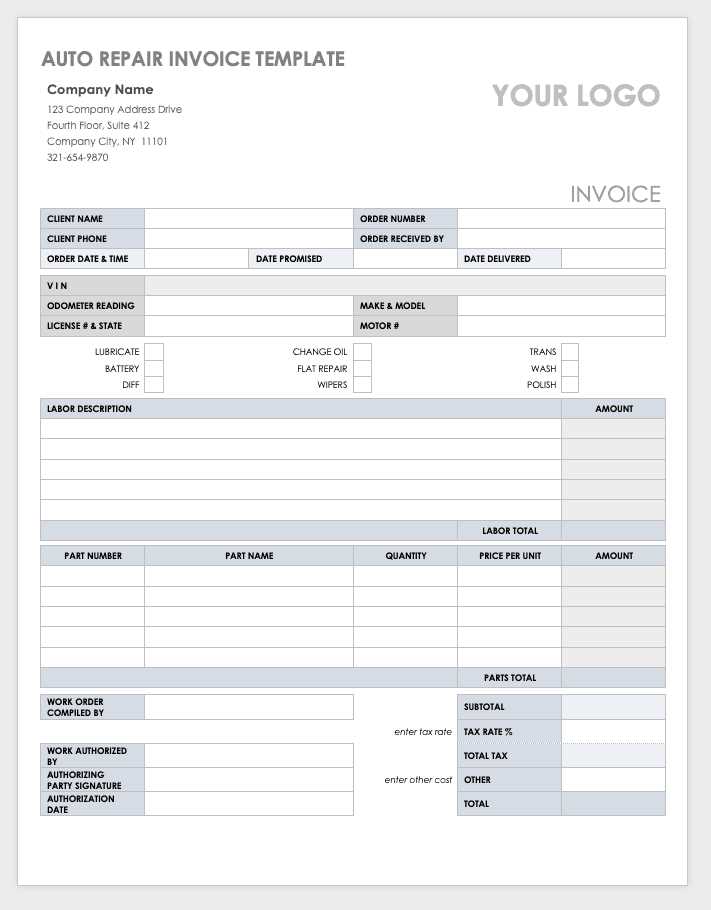
Having a well-designed billing document can make a lasting impression on your clients and help convey professionalism. A clean, organized, and visually appealing layout not only enhances your brand image but also ensures that the information is easy to read and understand. In this section, we’ll explore some key tips to improve the appearance of your documents and make them look polished and professional.
Key Design Considerations
To make your billing document stand out, consider the following design elements:
- Consistency: Use consistent fonts, colors, and formatting throughout the document. This ensures the document looks cohesive and well-organized.
- Minimalistic Design: Keep the layout simple and avoid clutter. A minimalist design with plenty of white space enhances readability and reduces visual distractions.
- Clear Hierarchy: Use different font sizes or bold text to distinguish important sections such as totals, due dates, or payment instructions. This helps guide the reader’s eye and highlights key details.
- Branding: Incorporate your company’s logo, colors, and branding elements to ensure the document reflects your business identity. This adds a personal touch and reinforces your brand’s presence.
Formatting for Readability
To make sure your document is not only professional but also easy to read, follow these formatting tips:
- Legible Fonts: Choose easy-to-read fonts like Arial, Calibri, or Times New Roman. Ensure the font size is large enough for comfortable reading (usually 10-12 pt for body text).
- Align Text Properly: Align text consistently for a neat, organized look. For instance, use left-alignment for the body text and right-alignment for monetary amounts or totals.
- Section Dividers: Use lines or spacing to visually separate different sections of the document (e.g., the header, client details, and transaction breakdown) to avoid visual overload.
- Highlight Key Information: Make sure the total amount due, due date, and payment methods stand out using bold text or larger font sizes. This ensures that your client sees the most critical details immediately.
By following these tips, you can create a visually appealing, organized, and professional document that reflects positively on your business and enhances client relationships.
Incorporating Your Business Logo in Documents
Adding your business logo to your billing documents helps reinforce your brand identity and makes your documents look more professional. A logo not only establishes trust with your clients but also makes your materials instantly recognizable. Whether you’re creating a customized document or editing a pre-designed one, inserting your logo is a simple process that can have a significant impact on the appearance of your work.
Why You Should Include a Logo
Including your company logo in your billing documents offers several key benefits:
- Brand Recognition: Your logo acts as a visual identifier for your business, helping clients immediately recognize your company.
- Professional Appearance: A logo adds a polished and professional touch to your document, making it look more credible and established.
- Consistency: By using your logo across all business materials, from receipts to contracts, you create a cohesive and consistent brand image.
Steps to Add Your Logo
Follow these simple steps to add your business logo to your document:
- Prepare Your Logo: Make sure your logo is available in a high-quality format, such as PNG or JPEG, for clear and sharp printing. If possible, use a version with a transparent background to avoid a white box around the image.
- Insert the Logo: Open your document and navigate to the header or top section. Insert the logo by selecting “Insert” from the top menu, then choosing “Picture” or “Image” from the options provided.
- Position the Logo: Resize and adjust the logo to fit appropriately within the document. You may want to align it to the left, right, or center, depending on your design preference.
- Adjust Layout: To ensure your logo does not overlap with text or other content, adjust the layout settings, such as text wrapping or margin space, to create a clean and organized look.
By following these steps, you can easily incorporate your logo into your documents, creating a consistent, professional appearance that enhances your business’s credibility and branding.
How to Automate Billing Document Creation
Automating the process of creating billing documents can save you time, reduce human error, and streamline your business operations. By setting up systems that automatically generate these documents, you can ensure that clients receive consistent, accurate information without manual effort each time. Whether you’re working with software tools or integrating systems with your accounting platform, automation can make managing your billing process much easier.
Choosing Automation Tools
The first step to automating the creation of billing documents is selecting the right tools or platforms. There are various options depending on the complexity of your business and the features you need:
- Accounting Software: Many accounting platforms, such as QuickBooks or FreshBooks, offer built-in automation for generating documents. You can input client details and transaction information, and the software will automatically create and format the document.
- Spreadsheet Integration: For businesses that prefer spreadsheets, tools like Microsoft Excel or Google Sheets can be connected to templates that automatically populate based on data entries, such as product prices and client information.
- Online Billing Platforms: Online services like Zoho Invoice or Wave allow you to create and send documents with minimal effort, utilizing templates that auto-fill with client and transaction details.
Steps to Set Up Automated Billing Documents
Once you have selected your preferred tool, follow these steps to set up automated document creation:
- Set Up Client Profiles: Input your clients’ contact information, billing preferences, and payment terms into the software. Most systems will allow you to save this data for future use, reducing the need for re-entry.
- Create a Template: Design a standard layout for your document. Most tools offer customizable templates, so you can adjust the format to match your business’s branding.
- Automate Data Entry: Link your transaction records (such as service dates, pricing, and quantities) to the automated system. When you input data into your main system, the billing document will update with the correct information.
- Schedule and Send: Many tools allow you to schedule when documents are sent. Set up automatic delivery so that clients receive their documents at the right time without needing any manual effort from you.
By automating the process, you can free up valuable time while ensuring accuracy and consistency in every billing document you create. This approach can streamline your workflow and help improve client satisfaction through timely and error-free billing.
Common Mistakes in Billing Document Templates
Creating billing documents requires attention to detail, as even small errors can lead to confusion, delays in payment, or damage to your professional reputation. Many businesses make common mistakes when designing or using these documents, which can affect clarity, accuracy, and overall efficiency. In this section, we’ll explore some of the most frequent errors and how to avoid them to ensure your documents are always clear, accurate, and professional.
Frequent Errors in Billing Documents
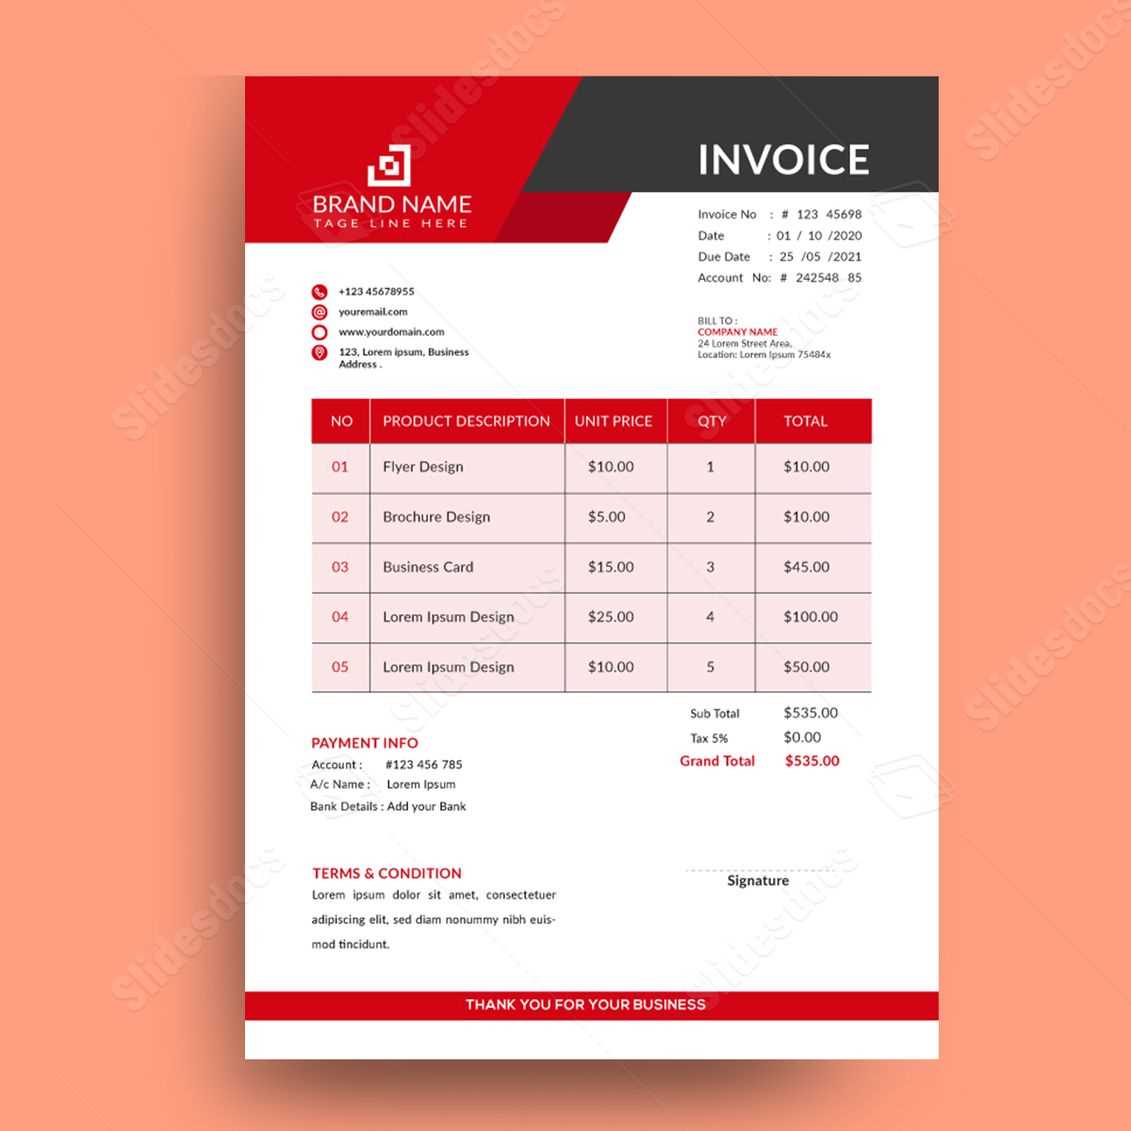
Here are some of the most common mistakes businesses make when preparing their billing statements:
- Missing Contact Information: Not including complete contact details for both your business and the client can cause confusion and delay payments. Ensure that all relevant phone numbers, email addresses, and physical addresses are listed.
- Incorrect Dates: Using the wrong issue or due dates can create misunderstandings and lead to missed payments. Always double-check the dates and confirm that they match the agreed-upon terms with the client.
- Unclear Payment Terms: Vague or missing payment instructions can lead to confusion about when or how payments should be made. Always specify the due date, payment methods, and any late fees that apply.
- Omitting a Unique Reference Number: Failing to include a unique reference or invoice number makes it difficult to track payments or resolve disputes. Always use a unique identifier for each document.
- Not Itemizing Charges Properly: Grouping items or services without clear breakdowns can confuse clients. Always list each item or service separately with associated prices and quantities to ensure transparency.
- Errors in Amount Calculation: Simple math mistakes can have a big impact on the accuracy of your billing documents. Always double-check the totals, including taxes and discounts.
How to Avoid These Mistakes
To ensure your billing documents are accurate and professional, follow these tips:
- Double-Check Your Data: Before sending any documents, carefully review all details, including the client’s information, charges, and dates, to ensure everything is correct.
- Use Consistent Formatting: Keep the layout of your document clean and organized, and always follow the same structure for ease of reference and to prevent errors.
- Automate Where Possible: Using accounting or billing software can help reduce the risk of errors by automatically populating information and calculating totals.
- Review Terms and Conditions: Always confirm that the payment terms are clearly stated and reflect any agreements made with the client.
Examples of Mistakes in Billing Documents
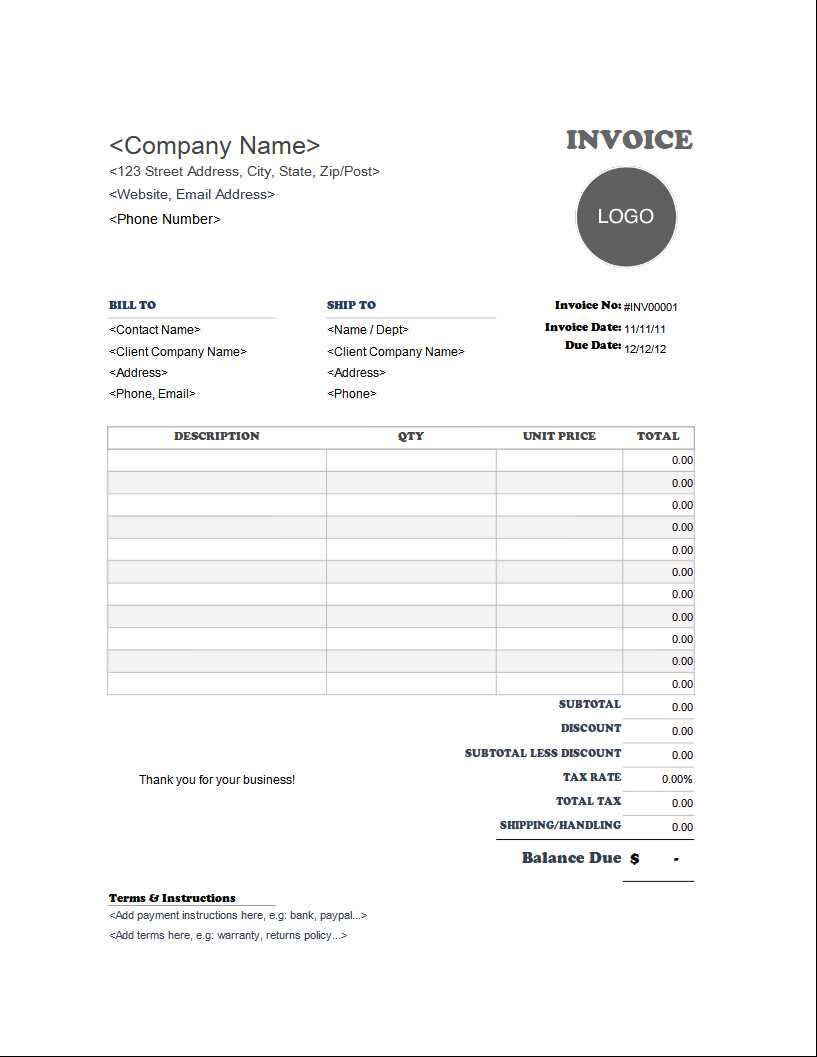
Here’s an example table highlighting some o
Legal Considerations for Billing Document Templates
When creating billing documents, it’s essential to ensure that they comply with legal standards and regulations. These documents not only serve as a record of transactions but can also play a role in resolving disputes or verifying payments. Failing to include the correct legal information can lead to complications, penalties, or even legal issues. In this section, we’ll explore the key legal considerations to keep in mind when designing these documents.
Key Legal Elements to Include
There are several crucial legal components that should be present in any billing document to ensure compliance and protect both parties involved:
- Business Identification: It’s important to include your company’s full name, business registration number, and tax ID (if applicable). This helps verify your business and establishes legitimacy.
- Clear Payment Terms: Always specify payment due dates, late fees, and payment methods to avoid confusion. Clearly outlining these terms can help prevent future disputes.
- Tax Information: If applicable, include tax rates and any other tax-related information, such as VAT or sales tax. This ensures that the correct tax amount is applied and transparent for both parties.
- Contractual Agreements: If the document relates to a contract, reference the relevant contract terms and conditions. This can serve as a reminder of the agreement and reinforce the legal standing of the document.
- Dispute Resolution Clause: It’s advisable to include a clause about how disputes will be resolved. This could specify the mediation process or legal jurisdiction in case of conflict.
Common Legal Mistakes to Avoid
Failing to include required legal details can lead to misunderstandings or even legal challenges. Here are some common mistakes to watch out for:
- Omitting Legal Identification Numbers: Not including your tax ID, business registration number, or other essential identification numbers can make your business appear unprofessional and complicate tax reporting.
- Unclear Payment Terms: If payment deadlines, interest rates, or late fees are not clearly stated, clients may delay payments or dispute charges, leading to cash flow issues.
- Lack of Proper Tax Information: Incorrect or missing tax details can result in non-compliance with tax regulations, potentially leading to fines or audits.
- Failure to Include Legal Jurisdiction: Without specifying a jurisdiction for dispute resolution, you may find yourself facing legal challenges in an inconvenient or unfavorable location.
Example of Legal Information Table
Here’s a sample table showcasing how to present the key legal components in your billing documents:
