How to Customize Your QuickBooks Invoice Template
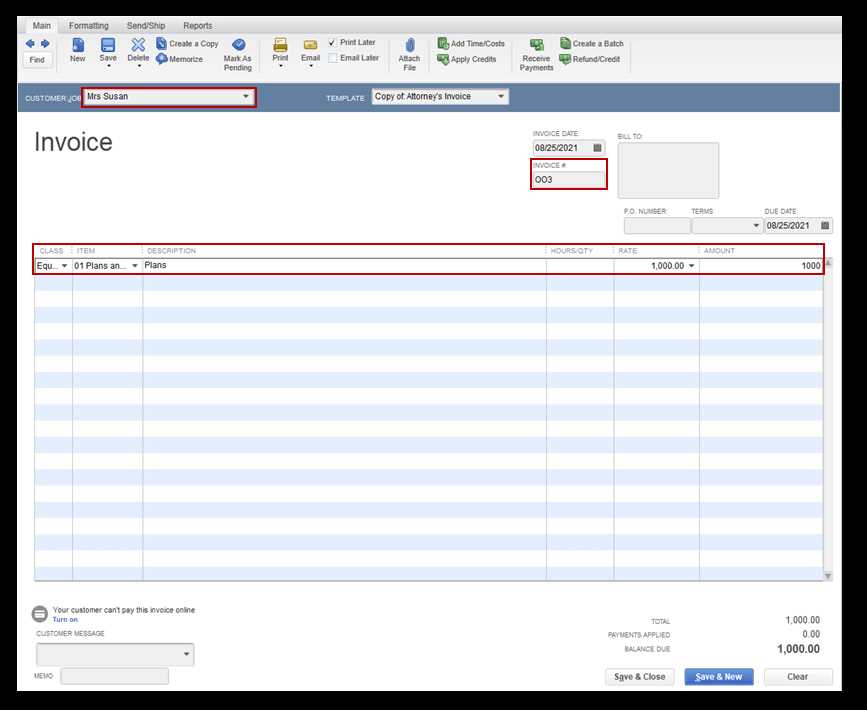
Managing client transactions efficiently is essential for any business, and one of the key elements is presenting professional and personalized billing statements. By adjusting the way you issue these documents, you can ensure they reflect your brand’s identity and meet specific needs. With the right approach, you can transform standard billing forms into customized assets that not only look professional but also improve the overall client experience.
Whether you’re looking to add logos, adjust layouts, or include personalized details, tailoring these documents can streamline your workflow and enhance communication. Instead of relying on generic templates, you have the ability to craft a design that aligns with your business goals. This flexibility also allows for clear, concise information presentation, reducing the likelihood of confusion for your clients and speeding up payment cycles.
In this guide, we’ll explore the steps to personalize these documents, offering practical advice to help you get the most out of your accounting software while keeping your branding consistent and your processes smooth.
QuickBooks Invoice Template Customization Guide
Personalizing the documents you send to clients can significantly improve your professional image and streamline your business processes. With the ability to adjust the design and content of these forms, you can ensure they reflect your company’s branding while also providing all necessary details in an easy-to-read format. Whether you’re creating a simple document or a more detailed one, making these changes helps ensure consistency and clarity in all your client communications.
Steps to Adjust Your Document Layout
To begin modifying your forms, you’ll first need to access the settings that control their appearance. Within the software, you’ll find an intuitive editor that allows you to change elements such as the header, footer, and body sections. Start by uploading your logo, adjusting fonts, and setting your preferred color scheme. Once these basic adjustments are made, you can move on to more specific customizations, such as adding custom fields or adjusting the spacing between sections for better readability.
Adding Additional Fields and Personalization
In addition to visual changes, you can also add or remove various fields to better suit your business needs. For example, you might include space for a purchase order number, project details, or specific terms and conditions that are relevant to each client. This level of personalization not only helps your forms look more professional but also ensures that the necessary information is easily accessible, reducing confusion and improving client satisfaction.
Why Customize QuickBooks Invoices
Tailoring the documents you send to clients offers several benefits that go beyond simple aesthetics. By adjusting the format and content, you can better align your business communications with your brand identity and ensure that key details are highlighted in the most effective way. Personalizing these documents helps establish trust and professionalism, making a positive impression on clients and improving overall workflow efficiency.
One of the main reasons to personalize these forms is to strengthen brand recognition. When your billing statements reflect your business’s logo, colors, and style, it reinforces your brand in every transaction. Clients are more likely to remember and trust businesses that present themselves professionally. This level of attention to detail helps differentiate you from competitors and builds credibility.
Additionally, personalizing the documents allows for better communication. By adding specific fields or adjusting the layout, you can ensure all necessary information is clearly displayed, making it easier for clients to understand payment terms, deadlines, and other key details. This can result in fewer inquiries from clients and quicker payments, ultimately boosting your cash flow.
Step-by-Step QuickBooks Template Editing
Modifying the appearance and content of your client documents is a straightforward process that allows you to tailor them according to your business needs. With the right steps, you can ensure that all necessary information is included and presented in a way that aligns with your brand. The following guide will walk you through the process of adjusting the layout and structure of your billing forms, from simple adjustments to more advanced features.
- Access the Document Editing Section: First, open your accounting software and navigate to the section where you manage your forms. Look for options related to document settings or layout customization.
- Select the Document to Edit: Choose the specific form you wish to modify. This could be a standard billing statement or one specifically for certain clients or services.
- Edit the Header and Footer: Start with the header by adding your company logo, name, and contact information. Adjust the footer to include payment terms, website links, or any other important details you want to display consistently.
- Adjust Font Styles and Colors: Select the fonts that match your brand’s identity. You can modify font size, style, and color to make the document visually appealing and easy to read.
- Modify the Layout: Rearrange sections to prioritize information that’s most important for your clients. For instance, you might want to highlight the total amount due, payment options, or deadlines.
- Add Custom Fields: Insert any additional fields required for your business, such as purchase order numbers or project codes. This can be particularly useful if you offer multiple services or have specific billing requirements.
- Preview the Changes: After making your adjustments, preview the document to ensure everything looks correct. This allows you to check for any alignment issues or missing information before finalizing the design.
- Save and Apply: Once you’re satisfied with the changes, save the updated form and apply it to future transactions. Be sure to keep a copy of the original layout in case you need to revert back to it later.
By following these steps, you can create professional, personalized documents that not only reflect your brand but also improve communication and streamline the billing process.
How to Add Your Logo to Invoices
Including your company logo in client documents is a simple yet effective way to reinforce your brand identity and maintain a professional appearance. By adding a logo to your billing statements, you ensure that every document you send out is instantly recognizable and aligned with your business’s visual style. The process of embedding your logo into these documents is straightforward and can be done in just a few steps.
To start, navigate to the settings or editing section where you manage the design of your forms. Look for an option to insert or upload an image. Once you locate this feature, you can upload the logo file directly from your computer or cloud storage. Most platforms support common image formats like PNG, JPEG, or GIF, so ensure your logo is in an appropriate format and size for easy viewing.
After uploading your logo, you will likely have the option to adjust its placement within the document. Typically, the logo is placed at the top of the page, either in the center or aligned to the left or right side, depending on your preference. You can also resize the logo to ensure it fits well with the overall layout without overpowering the rest of the information on the form.
Once your logo is placed and sized to your liking, preview the document to ensure it looks balanced and professional. When you’re satisfied with the placement and appearance, save your changes, and your branding will be included automatically in all future client documents.
Changing Fonts and Colors in QuickBooks
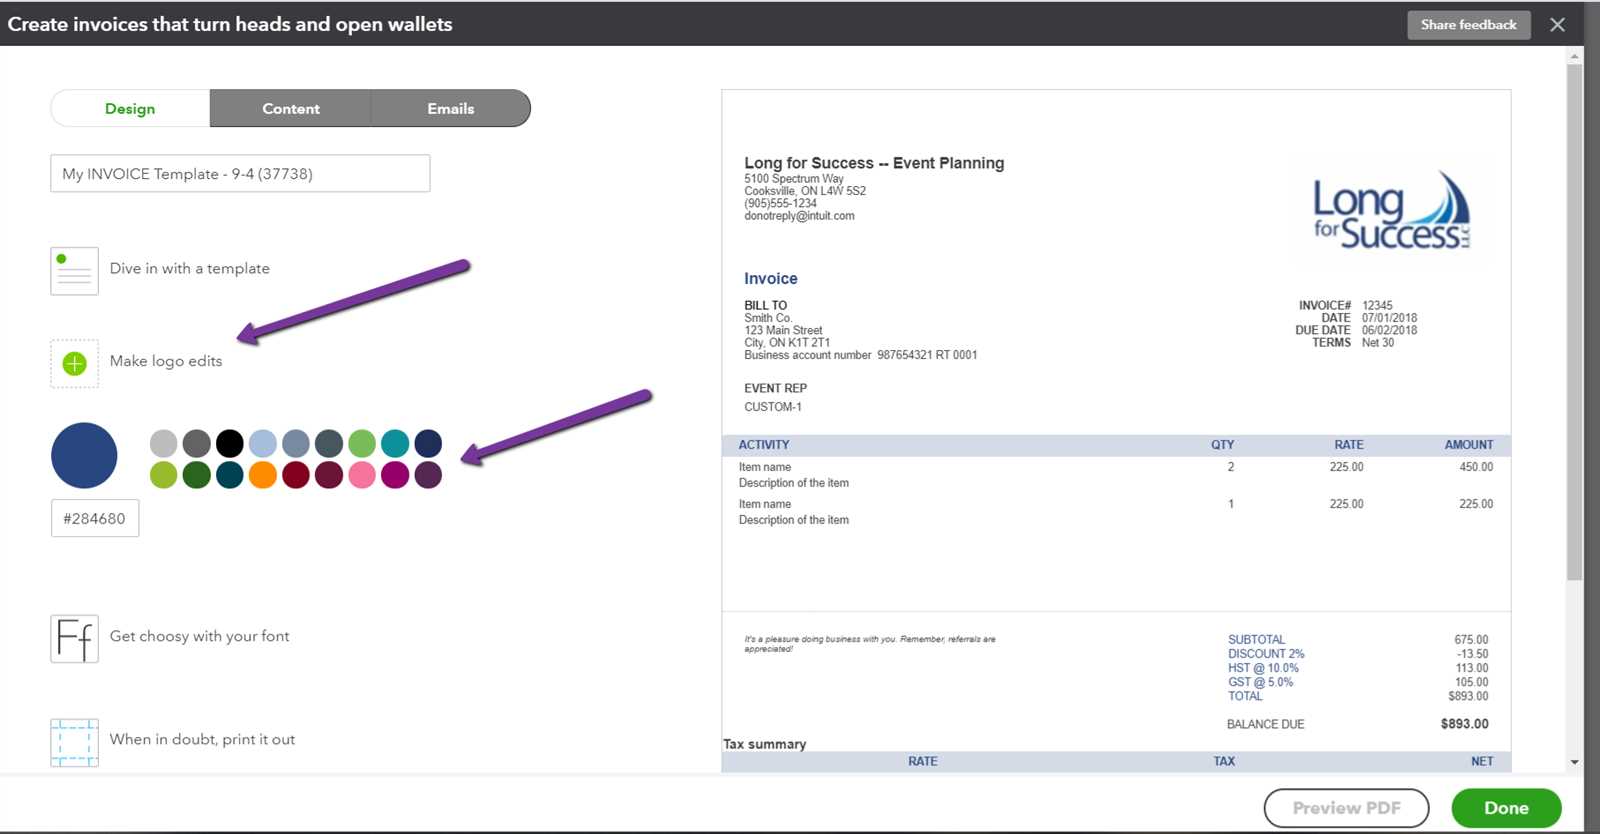
Adjusting the fonts and colors of your client documents is a key part of making them reflect your brand’s personality. By modifying these elements, you can make your documents more visually appealing, easier to read, and better aligned with your company’s style guide. Whether you want to highlight important sections or give the entire document a polished, professional look, changing the fonts and colors can help achieve that goal.
Steps to Change Fonts and Colors
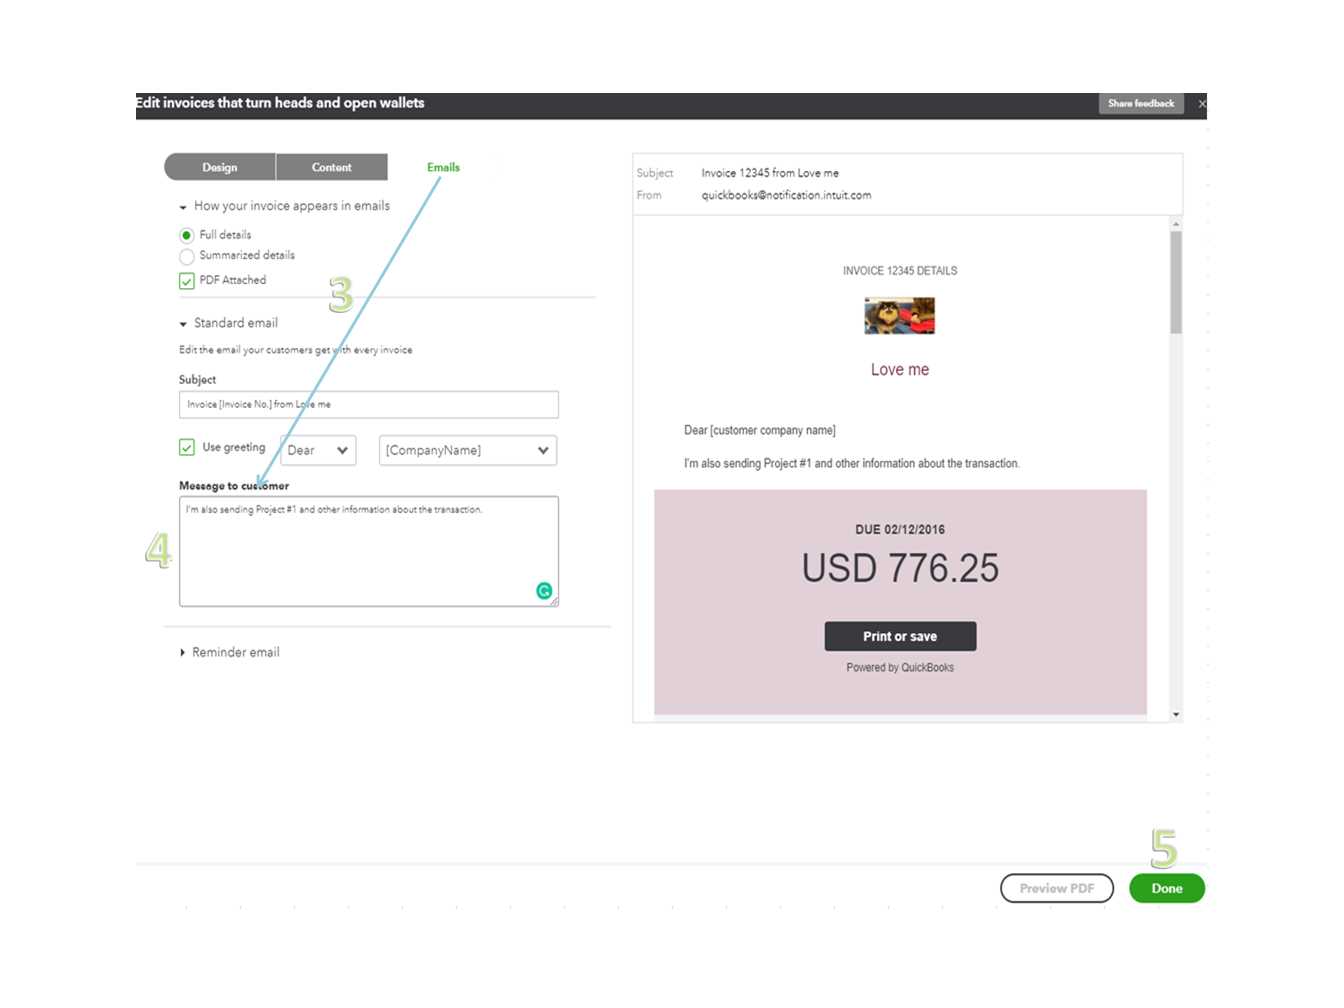
- Access the Document Design Settings: Open the section where you manage the appearance of your forms. Look for a design or layout editor that allows for font and color modifications.
- Choose the Section to Modify: Decide whether you want to change the font and color for the entire document or specific sections such as headings, item descriptions, or totals.
- Select Fonts: Choose a font that reflects your brand’s style. Most platforms offer a variety of font options ranging from professional to modern. Pick one that’s easy to read and consistent with your company’s identity.
- Adjust Colors: Pick colors that complement your logo and overall branding. Be sure to choose colors that are not too overwhelming, keeping readability in mind. You can set specific colors for text, headings, borders, or backgrounds.
- Preview and Save: Once the changes are made, preview the document to ensure the adjustments look balanced. If everything appears correct, save your changes to apply them to future forms.
Best Practices for Fonts and Colors
- Keep it simple: Stick to a limited number of fonts and colors to avoid overwhelming the reader.
- Ensure readability: Make sure the text contrasts well with the background to enhance legibility.
- Align with your brand: Use colors and fonts that reflect your company’s image and values.
By carefully selecting the right fonts and colors, you can make your client communications look cohesive and professional, while also ensuring that key information stands out.
Adjusting Invoice Layout for Your Needs
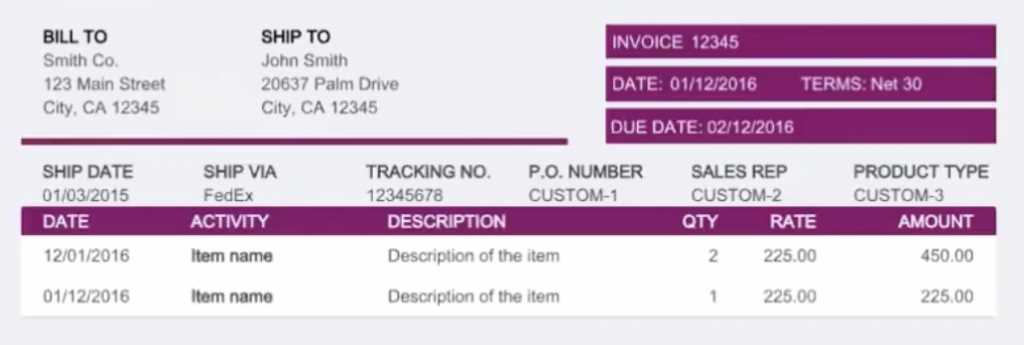
Organizing the structure of your billing documents is crucial to ensure that all necessary information is displayed clearly and effectively. By adjusting the layout, you can prioritize key details such as payment terms, item descriptions, or total amounts, making it easier for clients to understand and process the information. A well-arranged layout not only improves readability but also reflects professionalism and attention to detail.
One of the first things to consider when adjusting the layout is how you want to arrange the various sections. Here are some common elements you may want to consider reorganizing or resizing:
| Section | Suggested Placement |
|---|---|
| Header (Logo, Contact Info) | Top of the document, centered or aligned to the left |
| Client Information | Below the header, aligned to the left or right |
| Itemized List of Charges | Centered or left-aligned, below client details |
| Total Due | Clearly highlighted at the bottom of the form |
| Payment Terms | Placed at the bottom or in a prominent position to avoid confusion |
Once you’ve decided on the arrangement, ensure that the sections are properly spaced to avoid clutter. Proper alignment and consistent margins can greatly improve the flow and visual appeal of the document. You may also want to experiment with the positioning of the total due amount, ensuring it stands out to avoid any confusion when it comes time for the client to pay.
By tailoring the layout to meet your specific needs, you can make your documents not only more efficient but also more reflective of your brand’s professionalism.
Adding Custom Fields to QuickBooks Invoices
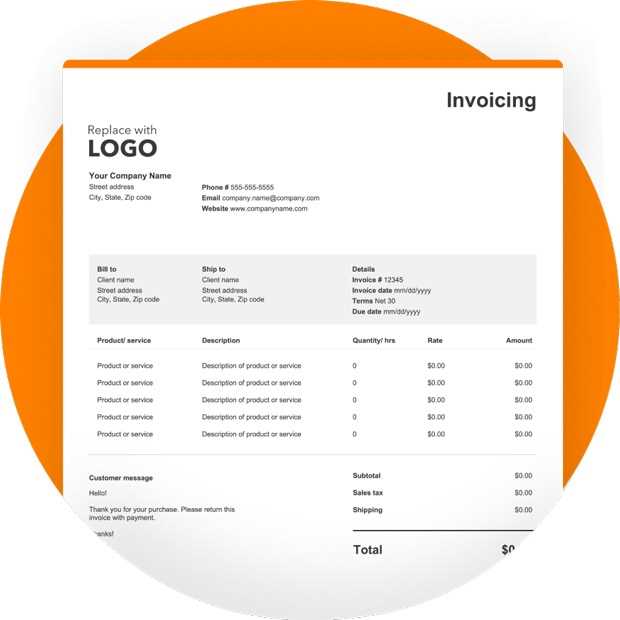
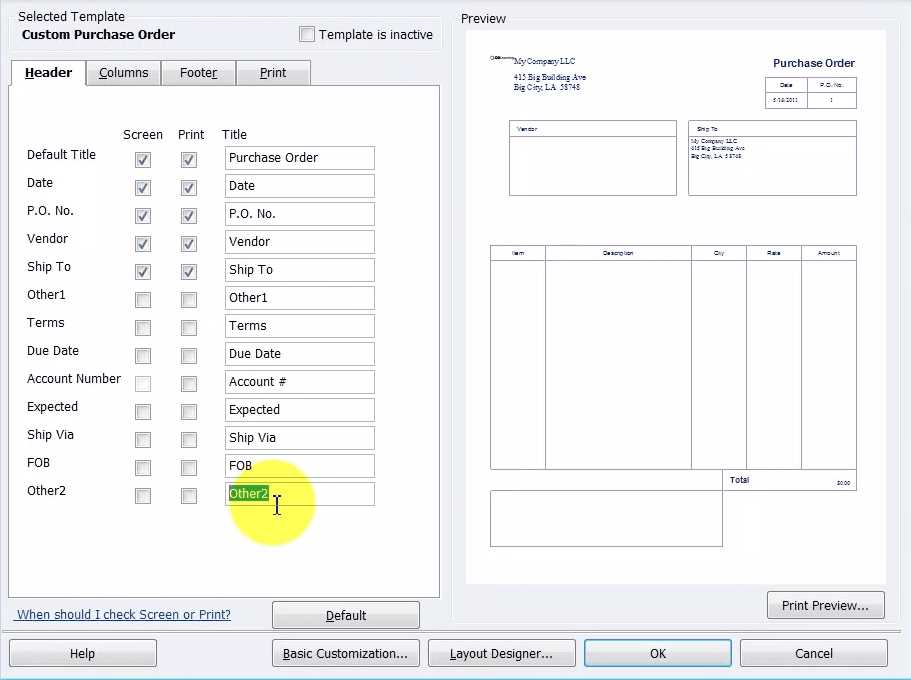
Incorporating additional fields into your billing documents can help capture important information specific to your business or client needs. By adding custom fields, you can ensure that every detail necessary for accurate record-keeping or client communication is included. This flexibility allows you to tailor the document to reflect unique requirements, such as project details, reference numbers, or special terms.
Custom fields can be used to display a variety of information, such as:
- Project or job numbers
- Customer purchase order (PO) references
- Additional notes or terms for specific transactions
- Discounts or promotional codes
Adding these fields is typically a simple process. Access the section where you manage your documents and look for an option to add or modify fields. Once you find it, you can select the type of information you wish to capture and position it in the desired area of the form.
Once added, you can format the new fields to fit with the existing design and ensure they don’t disrupt the overall flow of the document. This way, you can capture all the required data without overwhelming the client or making the form look cluttered.
These adjustments not only help streamline your billing process but also provide better insights into individual transactions, improving accuracy and communication with clients.
Personalizing Payment Terms and Due Dates
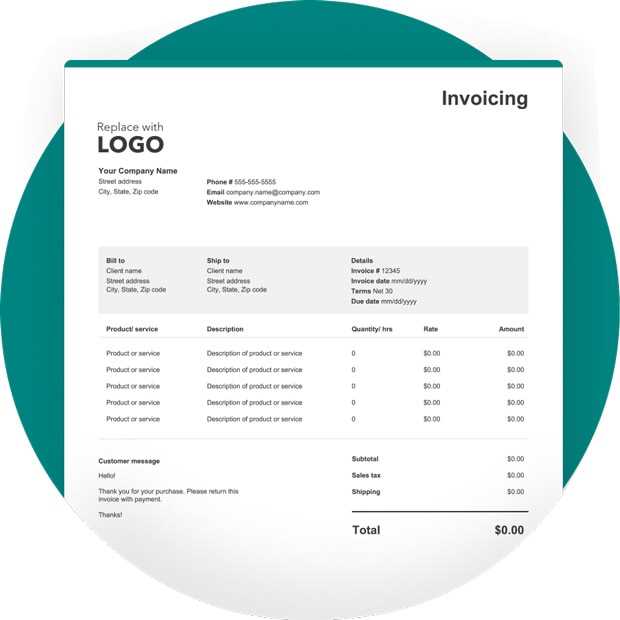
Setting clear and personalized payment terms is essential for smooth financial operations and ensuring timely payments. By adjusting the payment conditions and due dates on your client documents, you can set expectations upfront and prevent confusion. Tailoring these details to your specific needs helps to reflect your business practices and provides clients with a better understanding of when and how they should settle their balances.
There are several key aspects to consider when personalizing these elements:
- Payment Due Date: Decide on a standard due date or customize it for each client. Some businesses prefer setting a fixed period after the transaction (e.g., “Net 30,” “Net 60”), while others may need a specific due date for each job or order.
- Late Fees: If applicable, include any penalties for late payments. You can specify a flat fee or a percentage that will be applied after the due date has passed, making it clear to clients that timely payments are expected.
- Payment Methods: Clearly outline the available methods for payment, such as credit card, bank transfer, or online payment platforms. You can also list any relevant account information or instructions to facilitate easy payment processing.
- Early Payment Discounts: If you offer discounts for early payments, specify the terms, such as “2% discount if paid within 10 days.” This can incentivize clients to pay sooner and improve cash flow.
By adjusting these terms, you ensure that all the necessary information is readily available, minimizing any potential confusion for clients regarding payment deadlines and fees. Customizing these sections can also help improve cash flow by encouraging timely payments and reducing disputes over terms.
Once you’ve set your desired payment conditions, be sure to save and apply these sett
How to Save Custom Invoice Templates
Once you’ve personalized your client documents to suit your business needs, it’s important to save the changes so you can easily reuse them for future transactions. Saving your modified designs ensures consistency across all your billing communications and allows you to quickly generate new forms without needing to redo any formatting or layout adjustments.
The process of saving your modified documents is typically straightforward. Here are the general steps to follow:
| Step | Action |
|---|---|
| 1 | Complete all desired changes (e.g., layout, fonts, colors, fields). |
| 2 | Preview the document to ensure everything is aligned and looks correct. |
| 3 | Look for a “Save” or “Save As” option in the settings or design section. |
| 4 | Choose a name for your custom design to easily identify it later (e.g., “Standard Billing,” “Client A Template”). |
| 5 | Save the document, and apply it to future transactions or client communications. |
Once saved, your custom design will be stored in the system, allowing you to access it whenever needed. Most platforms also let you create multiple versions, so you can have separate layouts for different clients or services. By saving your preferred format, you avoid starting from scratch each time you need to send a new document, saving you both time and effort.
It’s also a good idea to regularly check your saved designs for updates or changes that may be needed as your business grows or evolves. Keeping your templates fresh ensures that your forms continue to meet your needs and reflect your current branding.
Creating Multiple Templates for Different Clients
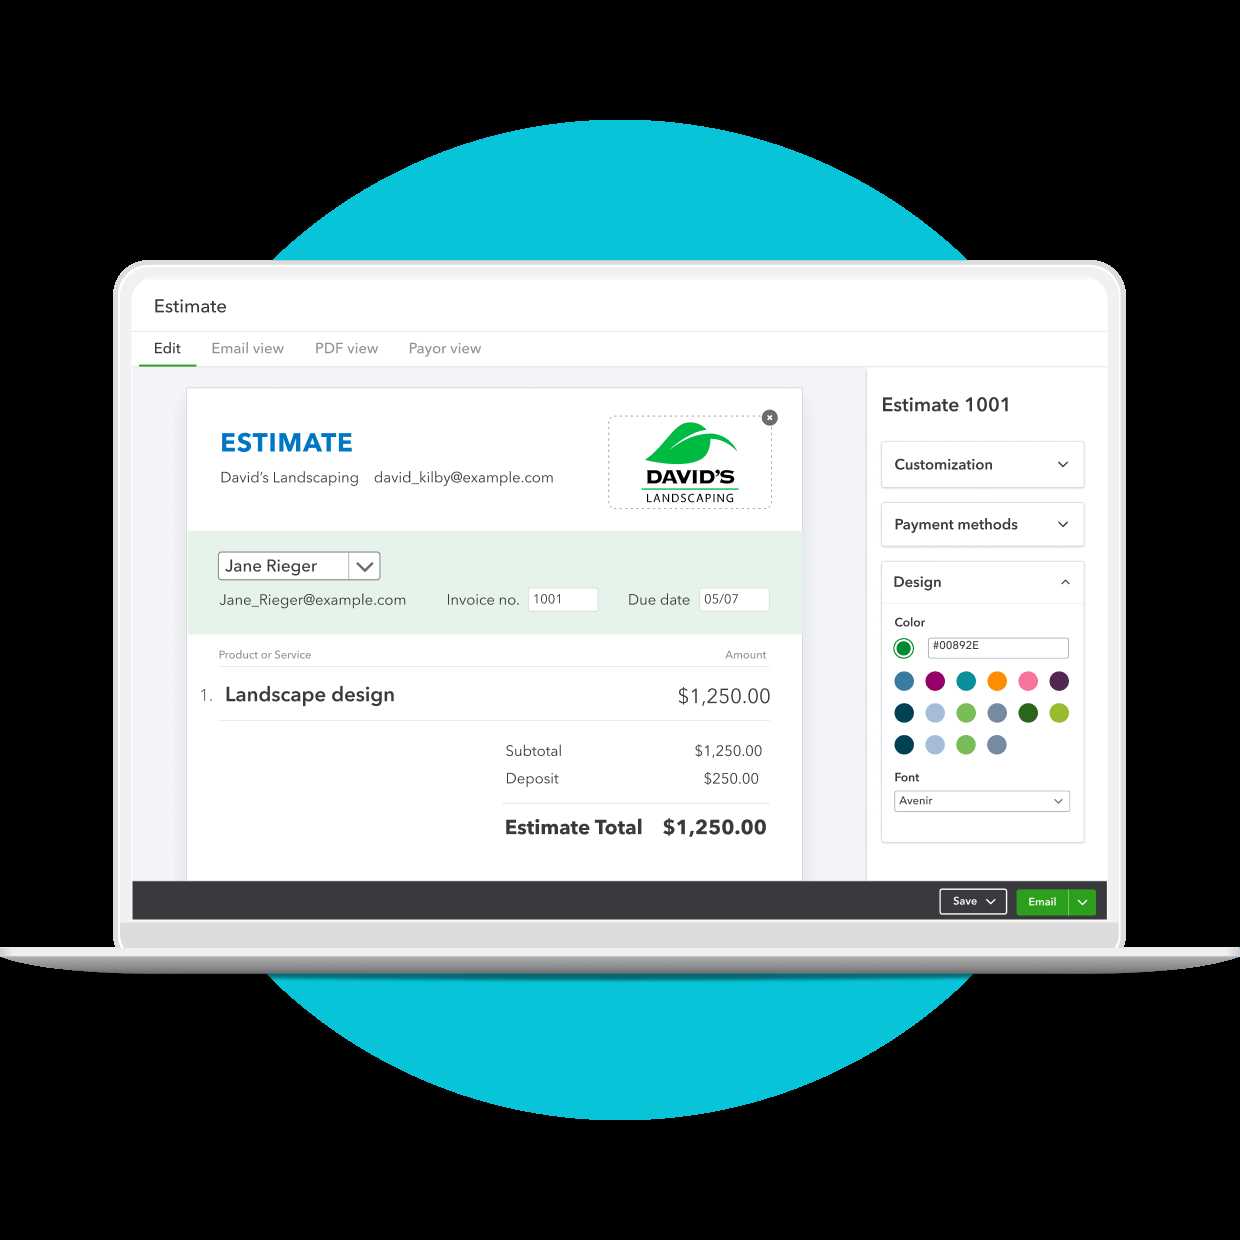
Different clients may have unique needs when it comes to the design and layout of their billing documents. By creating multiple versions of your client forms, you can tailor each one to suit the specific requirements of various businesses or projects. This approach helps maintain professionalism and ensures that the correct information is always presented in the most relevant way for each client.
Why Create Multiple Versions?
Having distinct designs for different clients allows you to streamline your workflow while maintaining a high level of personalization. Some clients may require additional fields, such as purchase order numbers or project codes, while others may need customized payment terms. By creating separate formats, you can save time and effort, as you won’t need to modify each form manually each time you send it out.
How to Create and Manage Multiple Versions
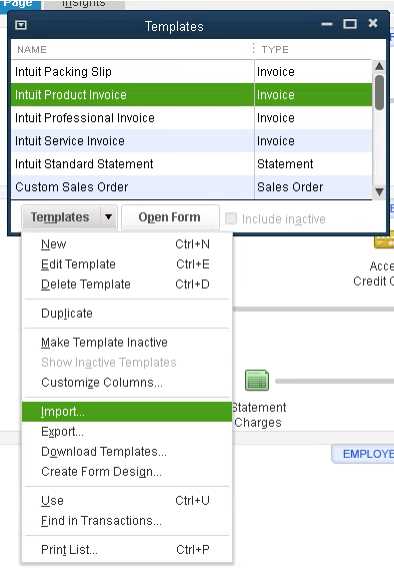
To create different versions of your forms, begin by designing a base layout that includes all the essential details. Once you’ve set up this basic version, you can make specific adjustments for each client or group. For example, you may want to add or remove fields, adjust payment terms, or change the layout based on the client’s preferences or industry requirements.
Once you’ve completed the customization for each version, save them under unique names to easily differentiate between clients. It’s a good idea to keep a record of which template corresponds to which client, ensuring you can quickly select the correct version when preparing future documents.
By creating and managing multiple layouts, you can ensure that each client receives a professional and relevant document that reflects their specific needs, improving client satisfaction and enhancing your business’s efficiency.
How to Edit Default Invoice Settings
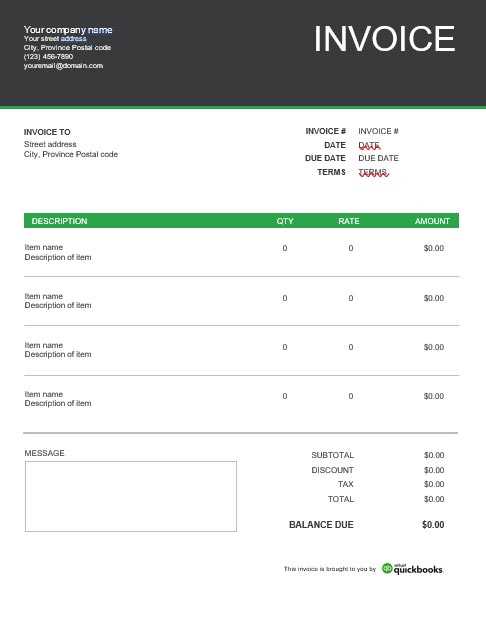
Adjusting the default settings for your client documents can help streamline your workflow and ensure consistency across all your communications. By modifying these initial settings, you can set up your documents to automatically include certain details like company information, payment terms, or default tax rates. This saves time and reduces the risk of missing essential information on each document you send.
What Can You Adjust in Default Settings?
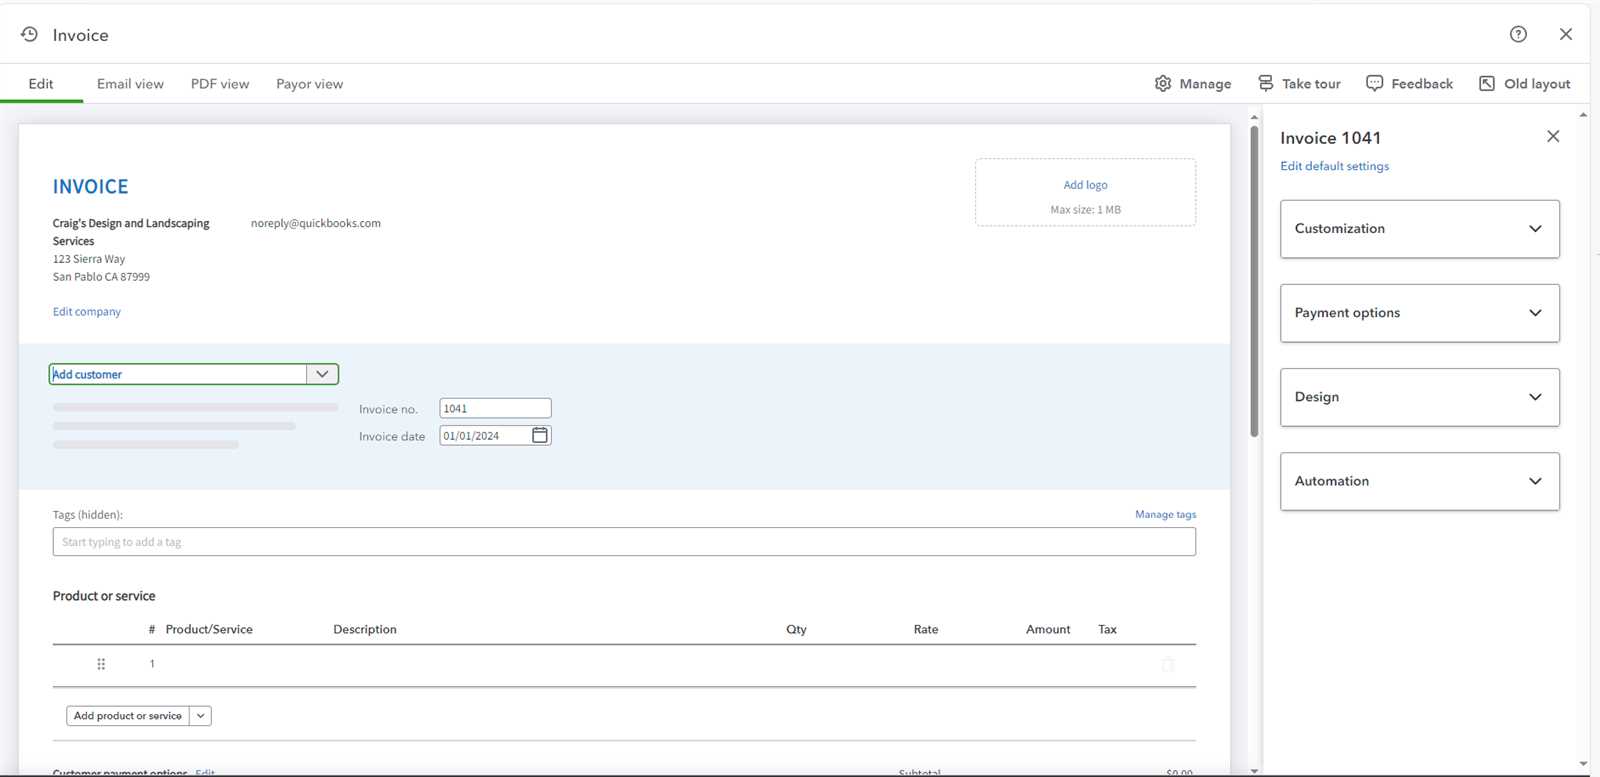
The default settings can be modified to reflect your business’s needs, and here are some of the key elements you can adjust:
- Company Information: Add or update your company’s name, logo, address, phone number, and email, so these appear automatically on every document.
- Payment Terms: Set up default payment terms (e.g., “Net 30” or “Due on Receipt”), so you don’t have to manually enter them each time.
- Tax Settings: Define tax rates that should apply to all transactions, or specify exemptions for particular clients or services.
- Numbering Preferences: Set up automatic numbering for documents, ensuring they follow a specific format (e.g., Invoice #001, #002) for easier tracking and reference.
- Currency: If you deal with multiple currencies, you can set a default currency to automatically apply to all documents unless changed manually for specific transactions.
Steps to Edit Default Settings
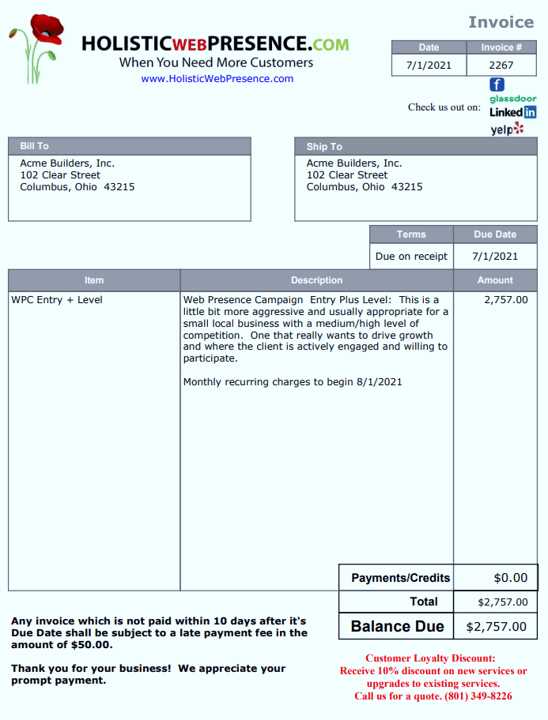
- Access the Settings Section: Open the settings or configuration section of your platform where document settings are managed.
- Locate the Default Settings Option: Find the section dedicated to document or form preferences. This is where you can update fields such as company info, payment terms, and more.
- Edit the Necessary Fields: Make changes to the default fields that need to be updated for your business. You can also add any specific notes or instructions that should appear on every document.
- Save the Changes: After making the desired adjustments, save the changes to ensure they’re applied to future documents automatically.
By editing the default settings, you can ensure that each document is consistent and aligned with your business’s processes. These changes help to save time and minimize errors, allowing you to focus on more important tasks while maintaining a professional appearance in every client communication.
Importing Custom Templates to QuickBooks
Bringing in external designs or layouts for your client documents allows you to fully align them with your branding and business needs. By importing custom forms, you can bypass the limitations of standard designs and create a unique look that reflects your company’s identity. Whether you’ve designed a form yourself or received one from a third party, the process of importing it into your platform is relatively simple.
Why Import Custom Layouts?
Importing custom layouts can help you achieve a more professional and personalized appearance for your client communications. Some businesses prefer unique designs for branding consistency, while others may need specialized fields or formatting to cater to particular industries. Importing these files ensures that each document automatically follows the custom rules and aesthetics that suit your operations.
Steps to Import Custom Designs
- Prepare the File: Ensure that the custom layout is in a compatible format, such as .XML or .DOCX, depending on the platform’s import options.
- Navigate to the Import Section: In the settings or design section, locate the option to import custom files. This will typically be found under form management or layout settings.
- Select the File to Import: Click the “Import” button and browse your computer or cloud storage for the custom file you wish to upload.
- Map the Fields: Once imported, you may need to map the data fields (such as customer name, address, or amounts) to match the layout’s design. This ensures that all information is placed correctly in the document.
- Preview the Document: After mapping the fields, preview the imported layout to ensure everything looks correct and functions properly.
- Save and Apply: Save the custom layout once satisfied and set it as the default option for your future documents, or select it when preparing new forms for specific clients.
By importing custom layouts, you gain the flexibility to craft the perfect client document that fits your needs, whether for a specific customer, project, or transaction type. This feature streamlines the creation of unique forms while maintaining the professional stan
Fixing Formatting Issues in QuickBooks Templates
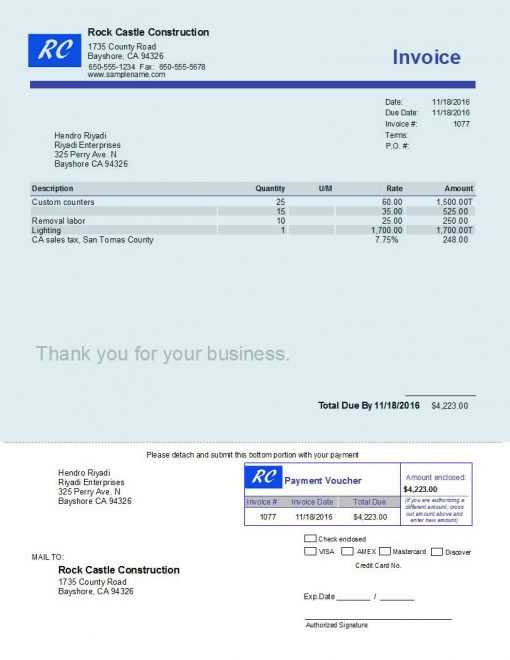
Sometimes, despite all the customization, your client documents may not appear as intended due to formatting issues. These problems can include misaligned text, inconsistent fonts, or elements that don’t display properly on certain screens or printers. Fixing these formatting errors is essential to ensure that your documents are clear, professional, and easy to read. With a few adjustments, you can address common formatting issues and improve the overall presentation of your forms.
Here are some typical formatting issues you may encounter and how to resolve them:
| Formatting Issue | Solution |
|---|---|
| Text Misalignment | Check the alignment settings for text fields, and adjust them to left, center, or right alignment as needed. |
| Inconsistent Font Styles | Ensure that the same font is applied consistently across all sections. Select the desired font family and size for each element (e.g., headings, body text, totals). |
| Overlapping Text or Fields | Review the spacing between sections or fields. Increase the padding or margin around text blocks or input fields to avoid overlap. |
| Missing or Incorrect Images (e.g., logo) | Re-upload the image file, ensuring it is in a compatible format (JPEG, PNG). Adjust the image size and position to fit properly within the document. |
| Improper Page Breaks | Check the document settings for page breaks. Adjust them if necessary to ensure that content isn’t split across pages incorrectly. |
By addressing these common issues, you can ensure that your forms are properly formatted and reflect the professionalism your business strives for. Regularly review your documents for alignment, consistency, and visual appeal before sending them out, and always preview the layout before finalizing the design.
If the issue persists after making adjustments, consider reverting to a default layout and reapplying the necessary changes. This can sometimes help resolve deeper formatting problems that are difficult to pinpoint.
Previewing Your Custom Invoice in QuickBooks
Before finalizing your client documents, it’s essential to preview them to ensure that everything appears as intended. Previewing allows you to check the layout, make sure the content is aligned correctly, and ensure that all the fields are populated accurately. This step helps you catch any formatting issues or missing information before sending out the document, ensuring professionalism and accuracy in your communications.
Here are some important things to consider when previewing your customized forms:
| Area to Check | What to Look For |
|---|---|
| Text Alignment | Ensure that headings, details, and totals are correctly aligned (left, center, or right) for readability. |
| Field Population | Confirm that all relevant data fields (e.g., client name, address, amounts) are populated correctly. |
| Branding Elements | Check that your business logo, color scheme, and fonts are displayed properly and match your brand’s identity. |
| Spacing and Margins | Review the document for adequate space between sections, ensuring that the layout isn’t cramped or overly spaced. |
| Page Breaks | Ensure that no important information is cut off between pages, and adjust the breaks if necessary. |
After making adjustments, it’s a good idea to preview your document multiple times, especially after making significant changes. Previewing not only ensures that your document is professional but also helps you spot any potential errors that may have been overlooked during the design process.
Most platforms allow you to preview your document in different formats, such as how it will appear when printed or emailed. Always preview in these different modes to check for issues that might not be visible in the default view. Once you’re satisfied with the layout, you can confidently save and send the final version to your clients.
Managing and Organizing Invoice Templates
Efficiently managing and organizing your client billing layouts is essential for maintaining a streamlined business operation. When dealing with multiple forms or documents, it can become challenging to keep track of which design belongs to which client or project. A well-organized system ensures that you can quickly access the correct layout, make necessary adjustments, and maintain consistency in your documents.
Here are a few best practices for managing your client document designs effectively:
- Use Descriptive Names: Label each form with a clear and descriptive name that reflects its purpose or client. For example, use names like “Client A Standard Design” or “Project X Billing Layout” to make identification easier.
- Organize by Client or Project: If you have multiple designs for different clients or projects, organize your files into folders or categories to prevent confusion. This method will help you quickly find the right design when needed.
- Keep a Version History: If you regularly update or tweak your layouts, maintain a version history so you can track changes over time. This helps you revert to previous versions if needed or compare new designs with older ones.
- Save Templates in a Centralized Location: Store all your form designs in a single, accessible location. Whether it’s a cloud drive or a specific folder on your computer, make sure all your layouts are stored in one place for easy access.
- Set Default Templates: Designate default layouts that will be used for most of your documents. This way, you don’t have to manually choose the layout for every new client document; it will automatically pull up your preferred option.
- Regularly Review and Update: Periodically review your document designs to ensure they are still relevant and up to date with any changes in your business practices or branding. Outdated forms should be archived or replaced with new ones to avoid errors.
By adopting these strategies, you can ensure that your billing forms are always easy to access, consistently applied, and well-organized. This not only saves you time but also enhances the professionalism of your client communications.
Tips for Maintaining Consistency Across Invoices
Consistency in your client billing documents is crucial for professionalism and clarity. When all your forms follow the same structure and style, it creates a cohesive brand identity and ensures that clients can easily navigate the information. Without a consistent approach, documents may appear disorganized or unprofessional, which can affect client perception. Here are some helpful tips to maintain uniformity in all your business forms.
Key Areas to Focus on for Consistency
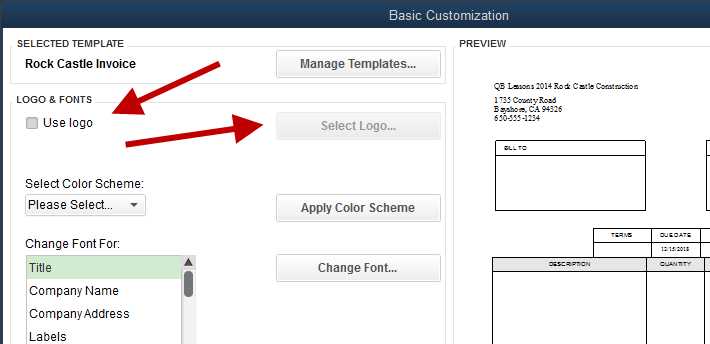
- Design and Layout: Stick to the same layout for all your documents, including the position of headings, fields, and totals. This helps clients easily locate key information each time they receive a document from you.
- Fonts and Colors: Choose a consistent font style and color scheme that matches your branding. Use the same fonts for headings, subheadings, and body text to maintain a unified look.
- Logo and Branding: Always include your logo in the same position on each document, typically at the top or in the header. This reinforces your brand identity and ensures that clients recognize your communications immediately.
- Language and Tone: Use consistent language and tone across all client communications. Whether you opt for formal or casual language, keeping it uniform helps establish your business’s voice and makes your interactions more professional.
- Standardized Terms: Make sure payment terms, tax rates, and other essential details are consistently used. This avoids confusion and ensures that all clients are aware of your standard business practices.
Steps to Ensure Consistency
- Create a Master Layout: Design a “master” version of your document that contains all the standard elements you want to include in every form. Use this as a base for all future client documents.
- Review Before Sending: Always review your document before sending it to ensure all formatting, fonts, and information are consistent with your standards.
- Use Default Settings: Set default options for layout, font style, and other settings to avoid manual adjustments every time you create a new document.
- Establish Guidelines: Create a style guide for your business forms, outlining the standard layout, fonts, colors, and language. This ensures that anyone in your organization can follow the same format.
- Regularly Update Templates: As your business grows and branding evolves, ensure that all forms are updated to reflect these changes. This keeps everything aligned and professional.
By following these tips, you can ensure that all your business documents are aligned with your brand’s identity and maintain a professional standard across the board. Consistency not only improves the clarity of your communications but also helps foster trust and reliability with your clients.